09 Dec 2014
by suzaku24
in Butter, Chocolates and Candies, Christmas, Fruits, Milk, Nuts, recipes, Seeds
Tags: Brazilian truffles, brigadeiro truffles, chocolate, food, recipe, truffle flavors, truffles
A few years ago I had made different types of truffles which got a bit messy to say the least. This year I wanted to try out a simpler version that required less ingredients and time. I recently found out about the Brazilian truffles called “Brigadeiro” through a few websites and I wanted to make this treat. Now there were two ways of making this truffle. One way was by Betty Crocker and the other was by Eugenie Kitchen.
I found that the one by Eugenie was simpler and less of a hassle to make when compared to the Betty Crocker version. Although I am tempted to make double the batch, at the moment I have upcoming projects that are due in the coming week.
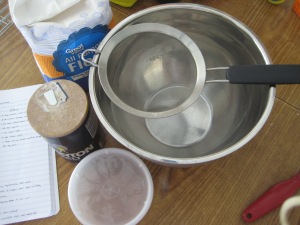
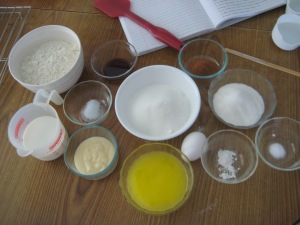
Here are the ingredients needed for this recipe:
- 14 oz. sweetened condensed milk
- 1 Tbsp. unsalted butter + extra for rolling the truffles
- 3 1/2 Tbsp. unsweetened cocoa powder, sifted
- pinch of salt (if you use unsalted butter)
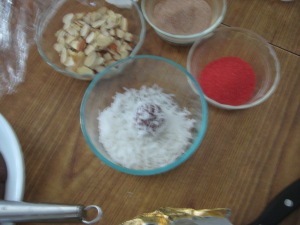
Decorations:
- Coconut flakes
- Cocoa powder
- Cinnamon-sugar
- Decorating sugar
- Pumpkin spice-sugar
- Green tea powder
- Dried berries (Cranberries, blueberries, strawberries, blackberries, etc.)
- Cookie crumbs (Almond, gingersnap, Oreo, graham cracker, etc.)
- Sprinkles
- Chopped nuts (Pistachio, walnut, almond, chestnut, etc.)
- Fine espresso powder
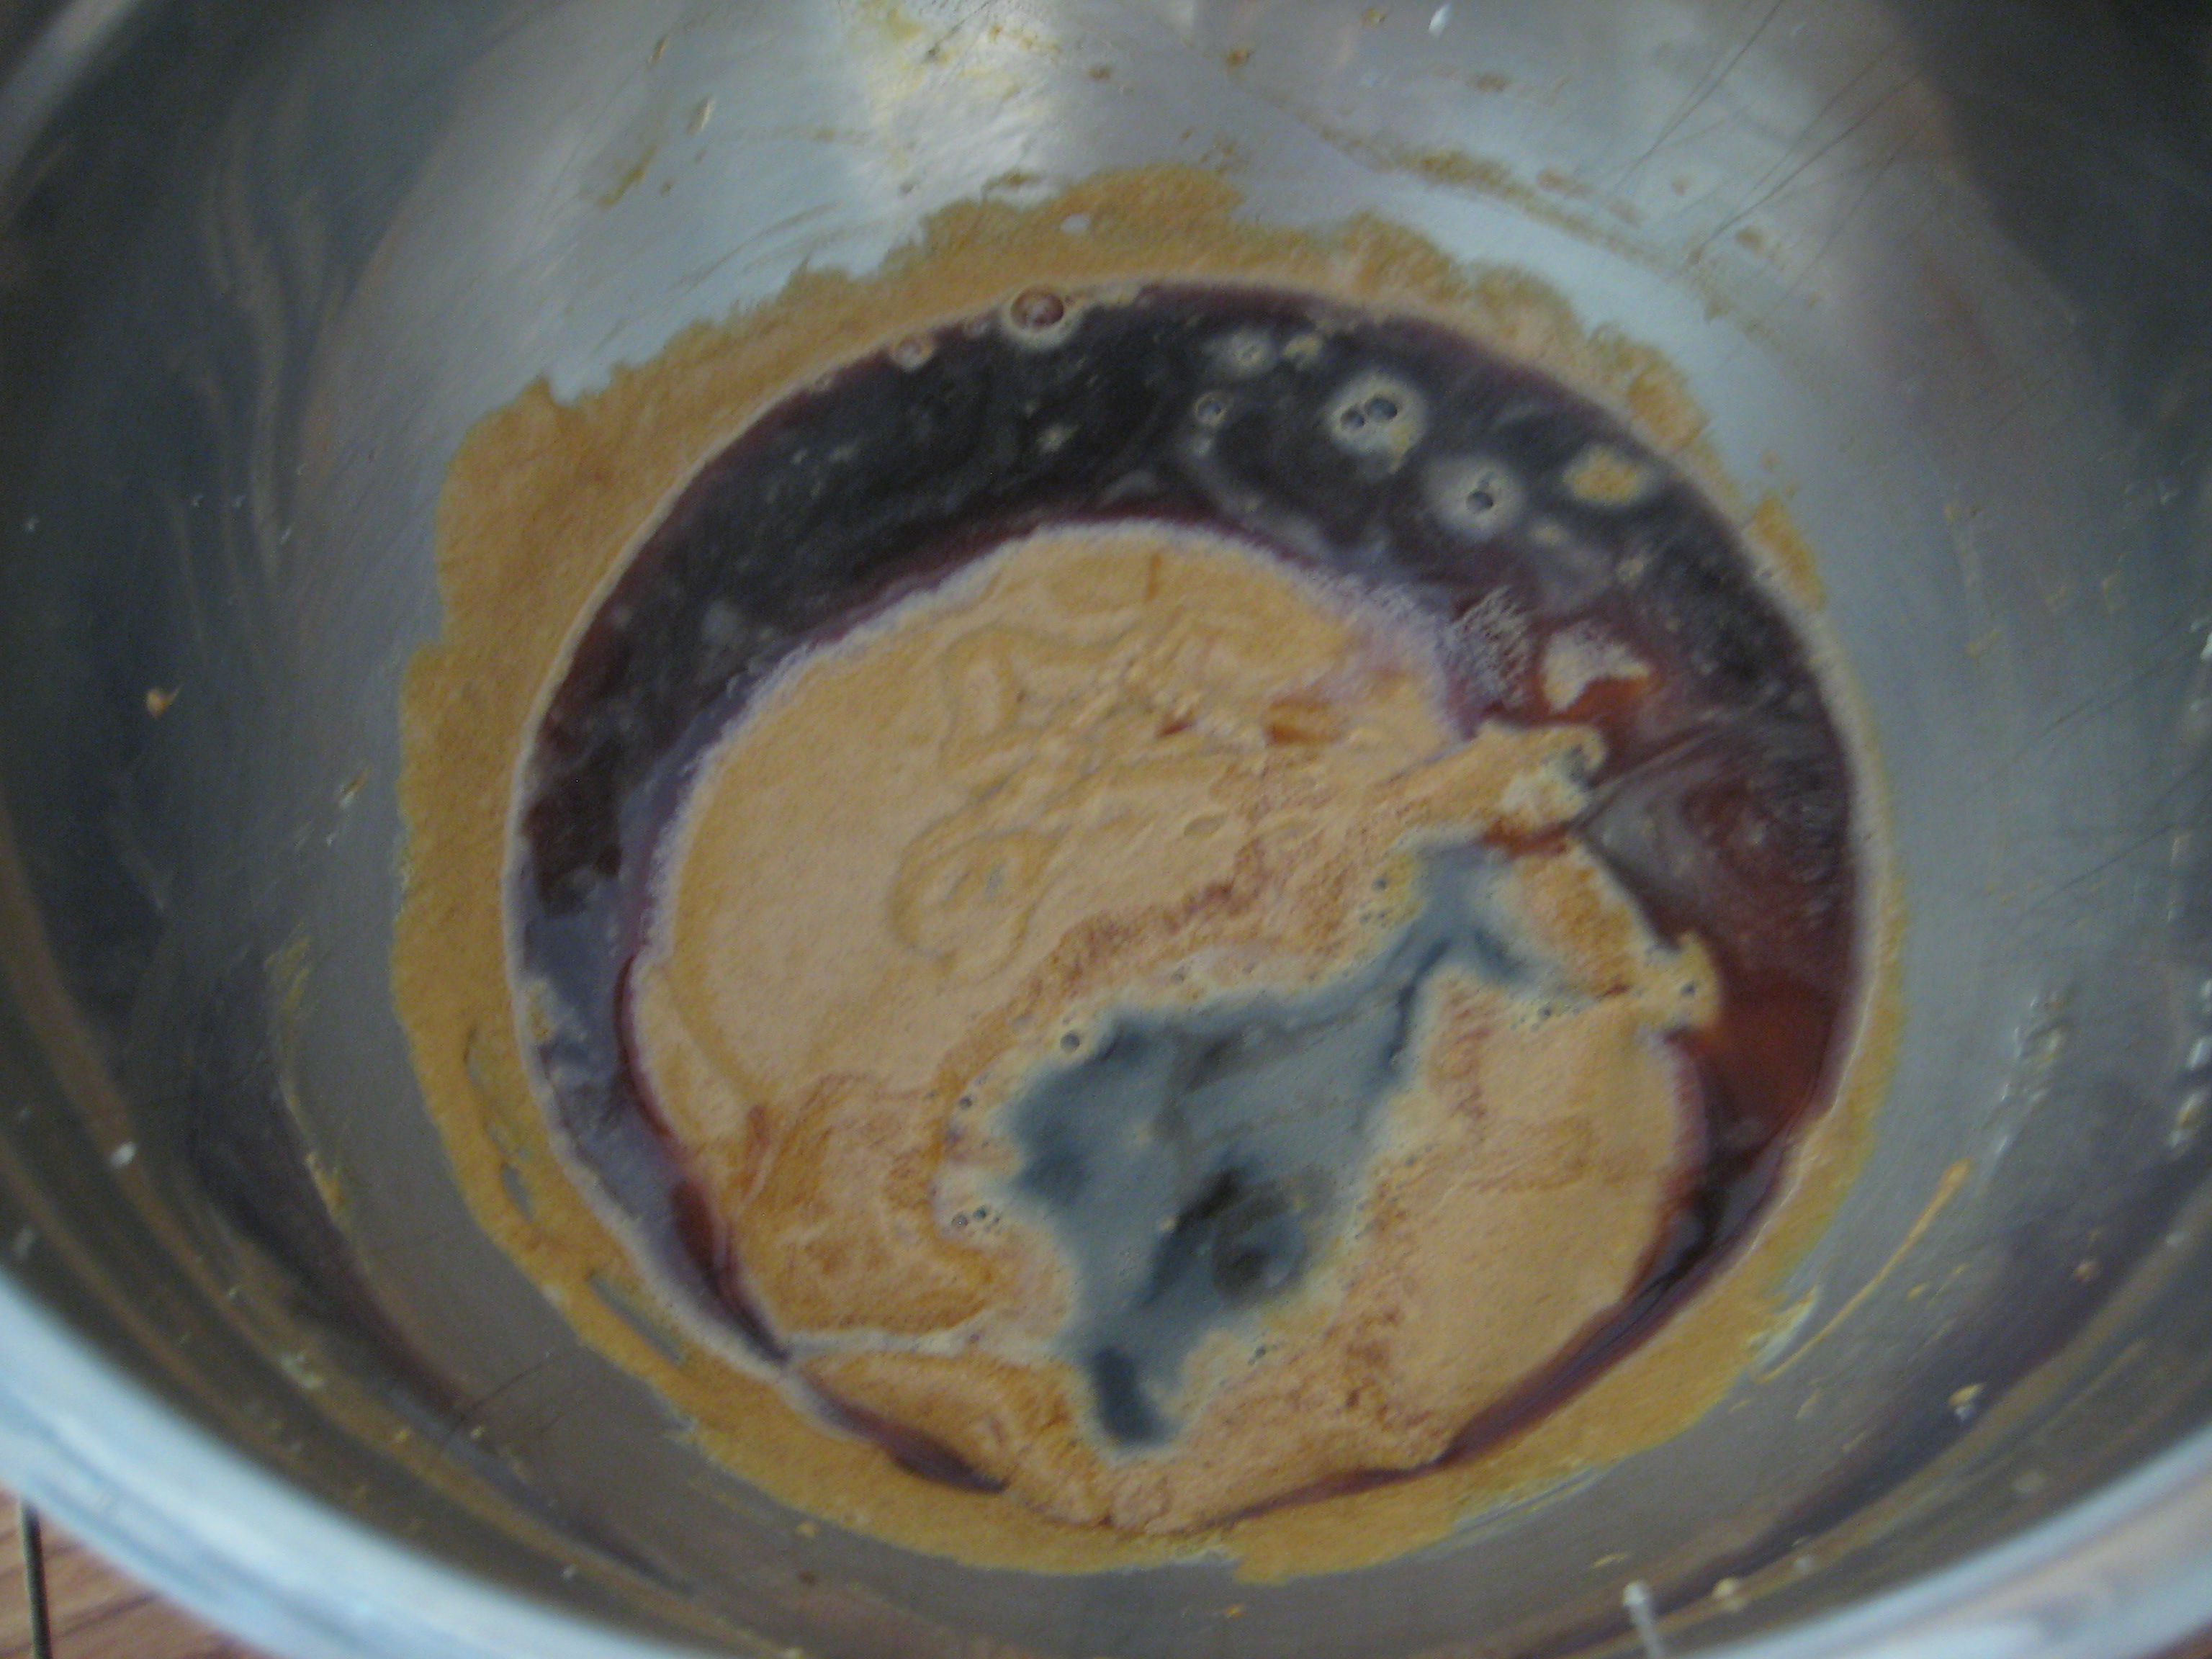
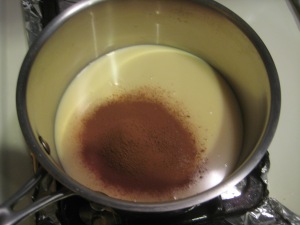
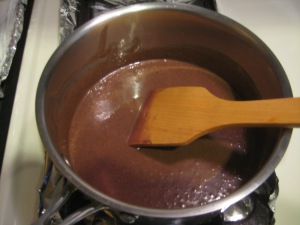
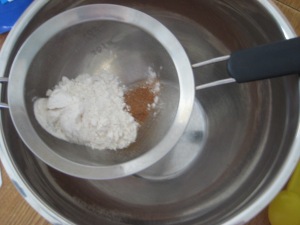
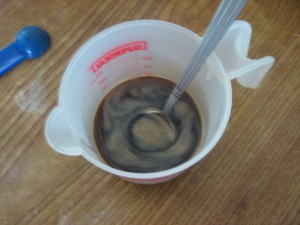
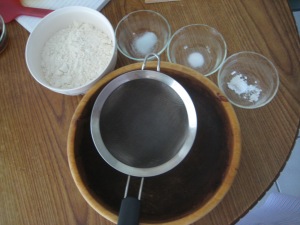
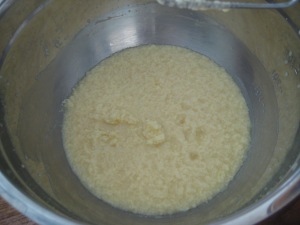
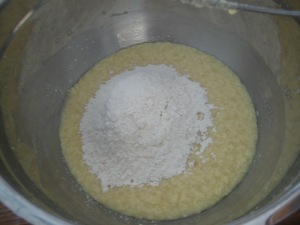
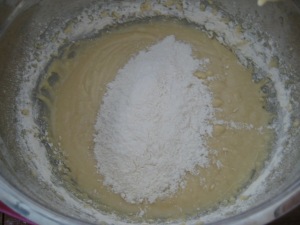
Step 1: In a thick-bottom sauce pan, add in the sweetened condensed milk and cocoa powder.
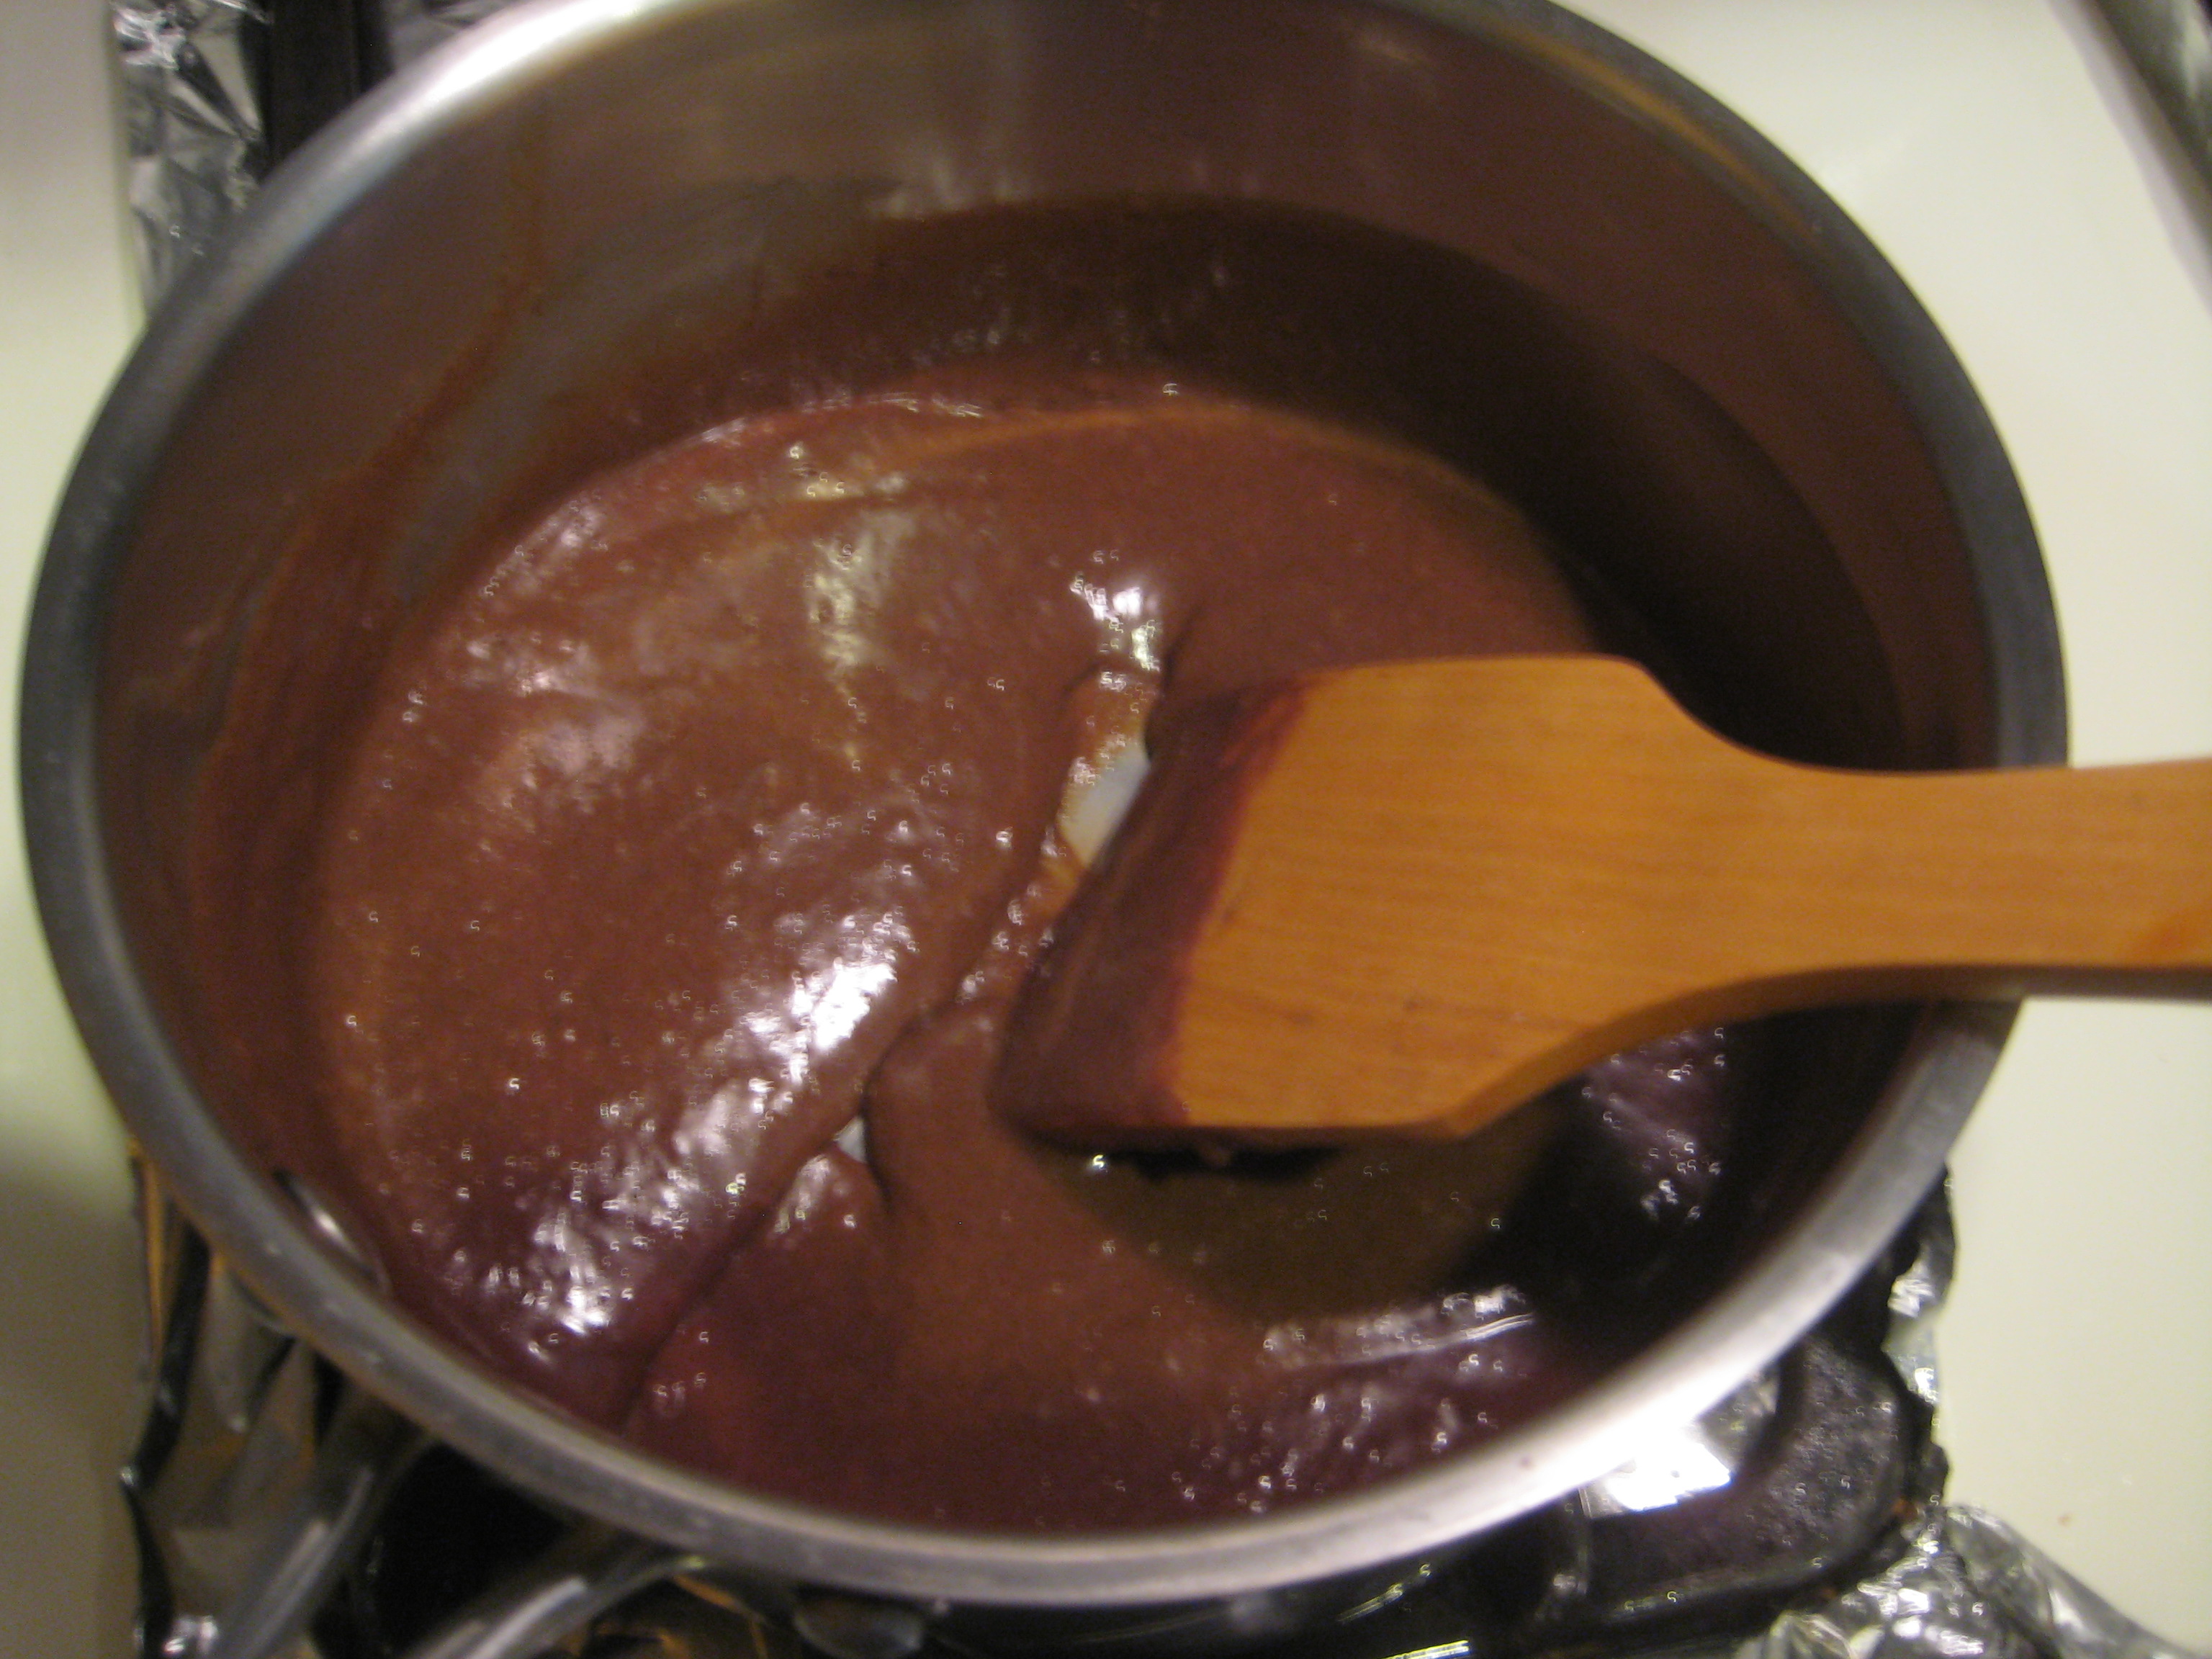
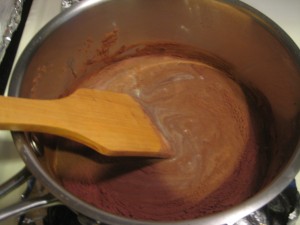
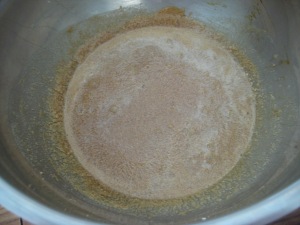
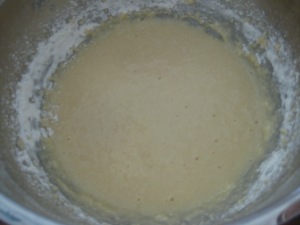
Step 2: Stir the mixture with a wooden spoon, over medium heat, until well combined.
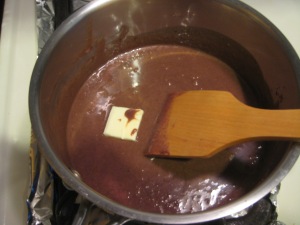
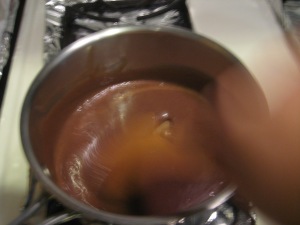
Step 3: Add in the butter and stir continuously until melted.
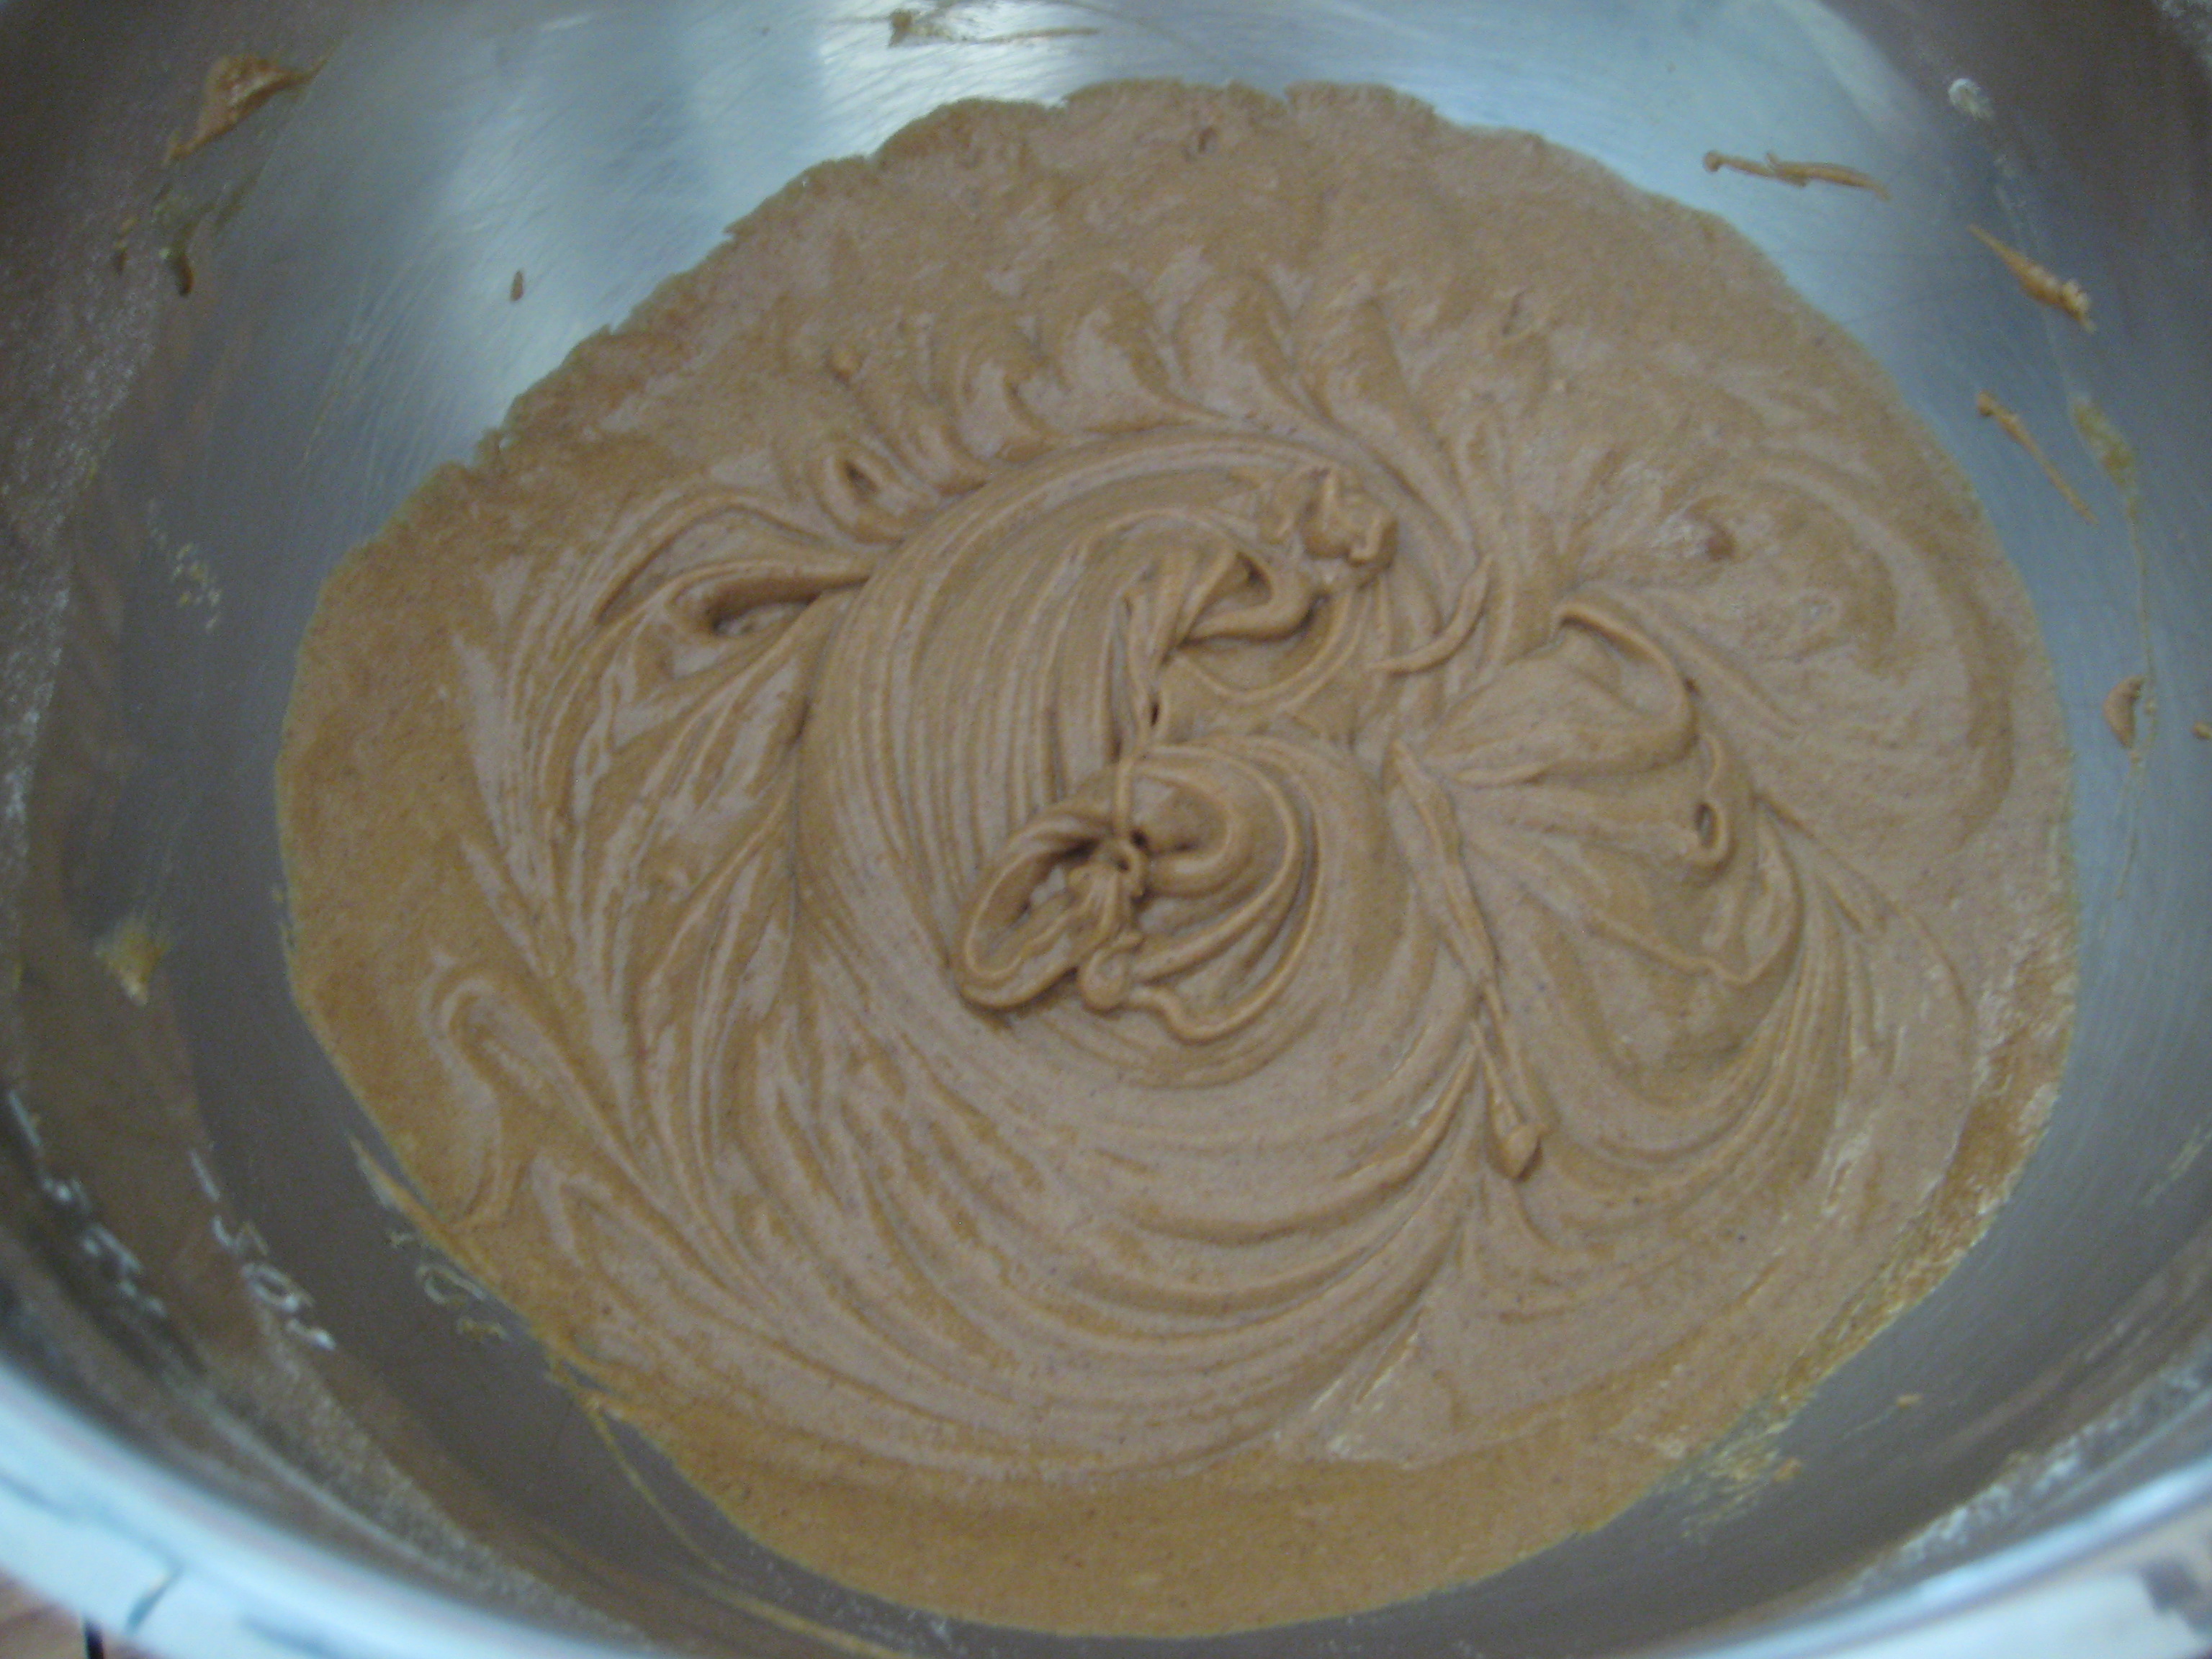
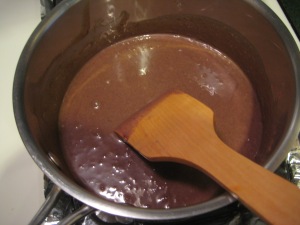
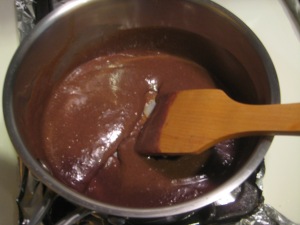
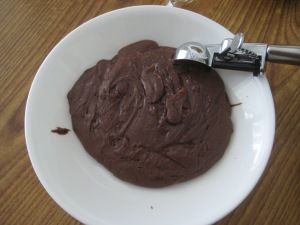
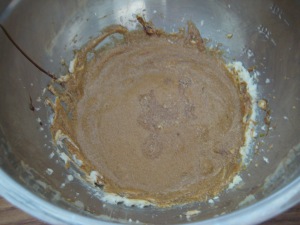
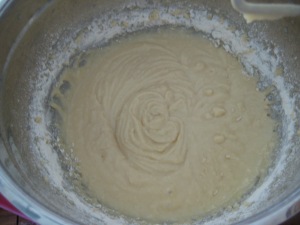
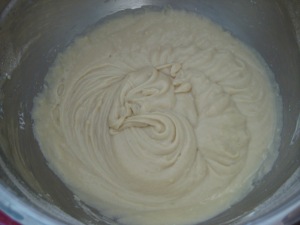
Step 4: When the mixture comes to a boil begin stirring rigorously until it thickens.
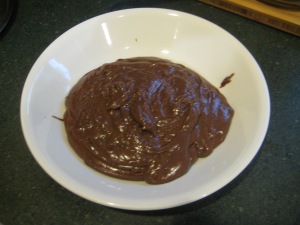
Step 5: Transfer thickened mixture into a heat-proof bowl and allow it to cool.
Step 6: Rub some of the extra butter into the palm of your hands.
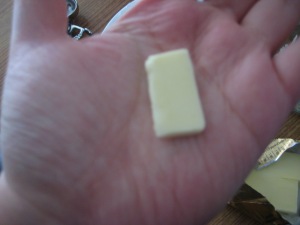
Step 7: Scoop out 1 tsp. of the Brigadeiro mixture and roll into balls.
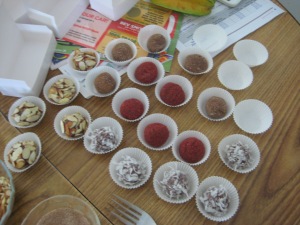
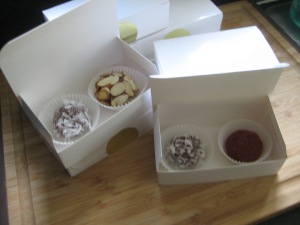
Step 8: Gently roll the Brigadeiro into a coating and then place them into mini cupcake liners.
02 Jun 2014
by suzaku24
in Asia, Eggs, Lunch, Pork, recipes, Rice, Vegetables
Tags: food, fried rice, kimchi, kimchi fried rice, Korean, korean-chinese, recipe
While studying and writing papers I was hankering for something easy and inexpensive to make. I had forgotten about the container of kimchi in the back of the refrigerator and stumbled across it just the other day. So I got to thinking that I should make something with the kimchi. Well I would have had it in a bowl of noodles, but I ran out of noodles a while ago. Instead there was a container of leftover rice and I figured why not combine the two. I was inspired to make this dish from watching Maangchi’s youtube video on Kimchi Fried Rice and just had to make it. But with a few changes.
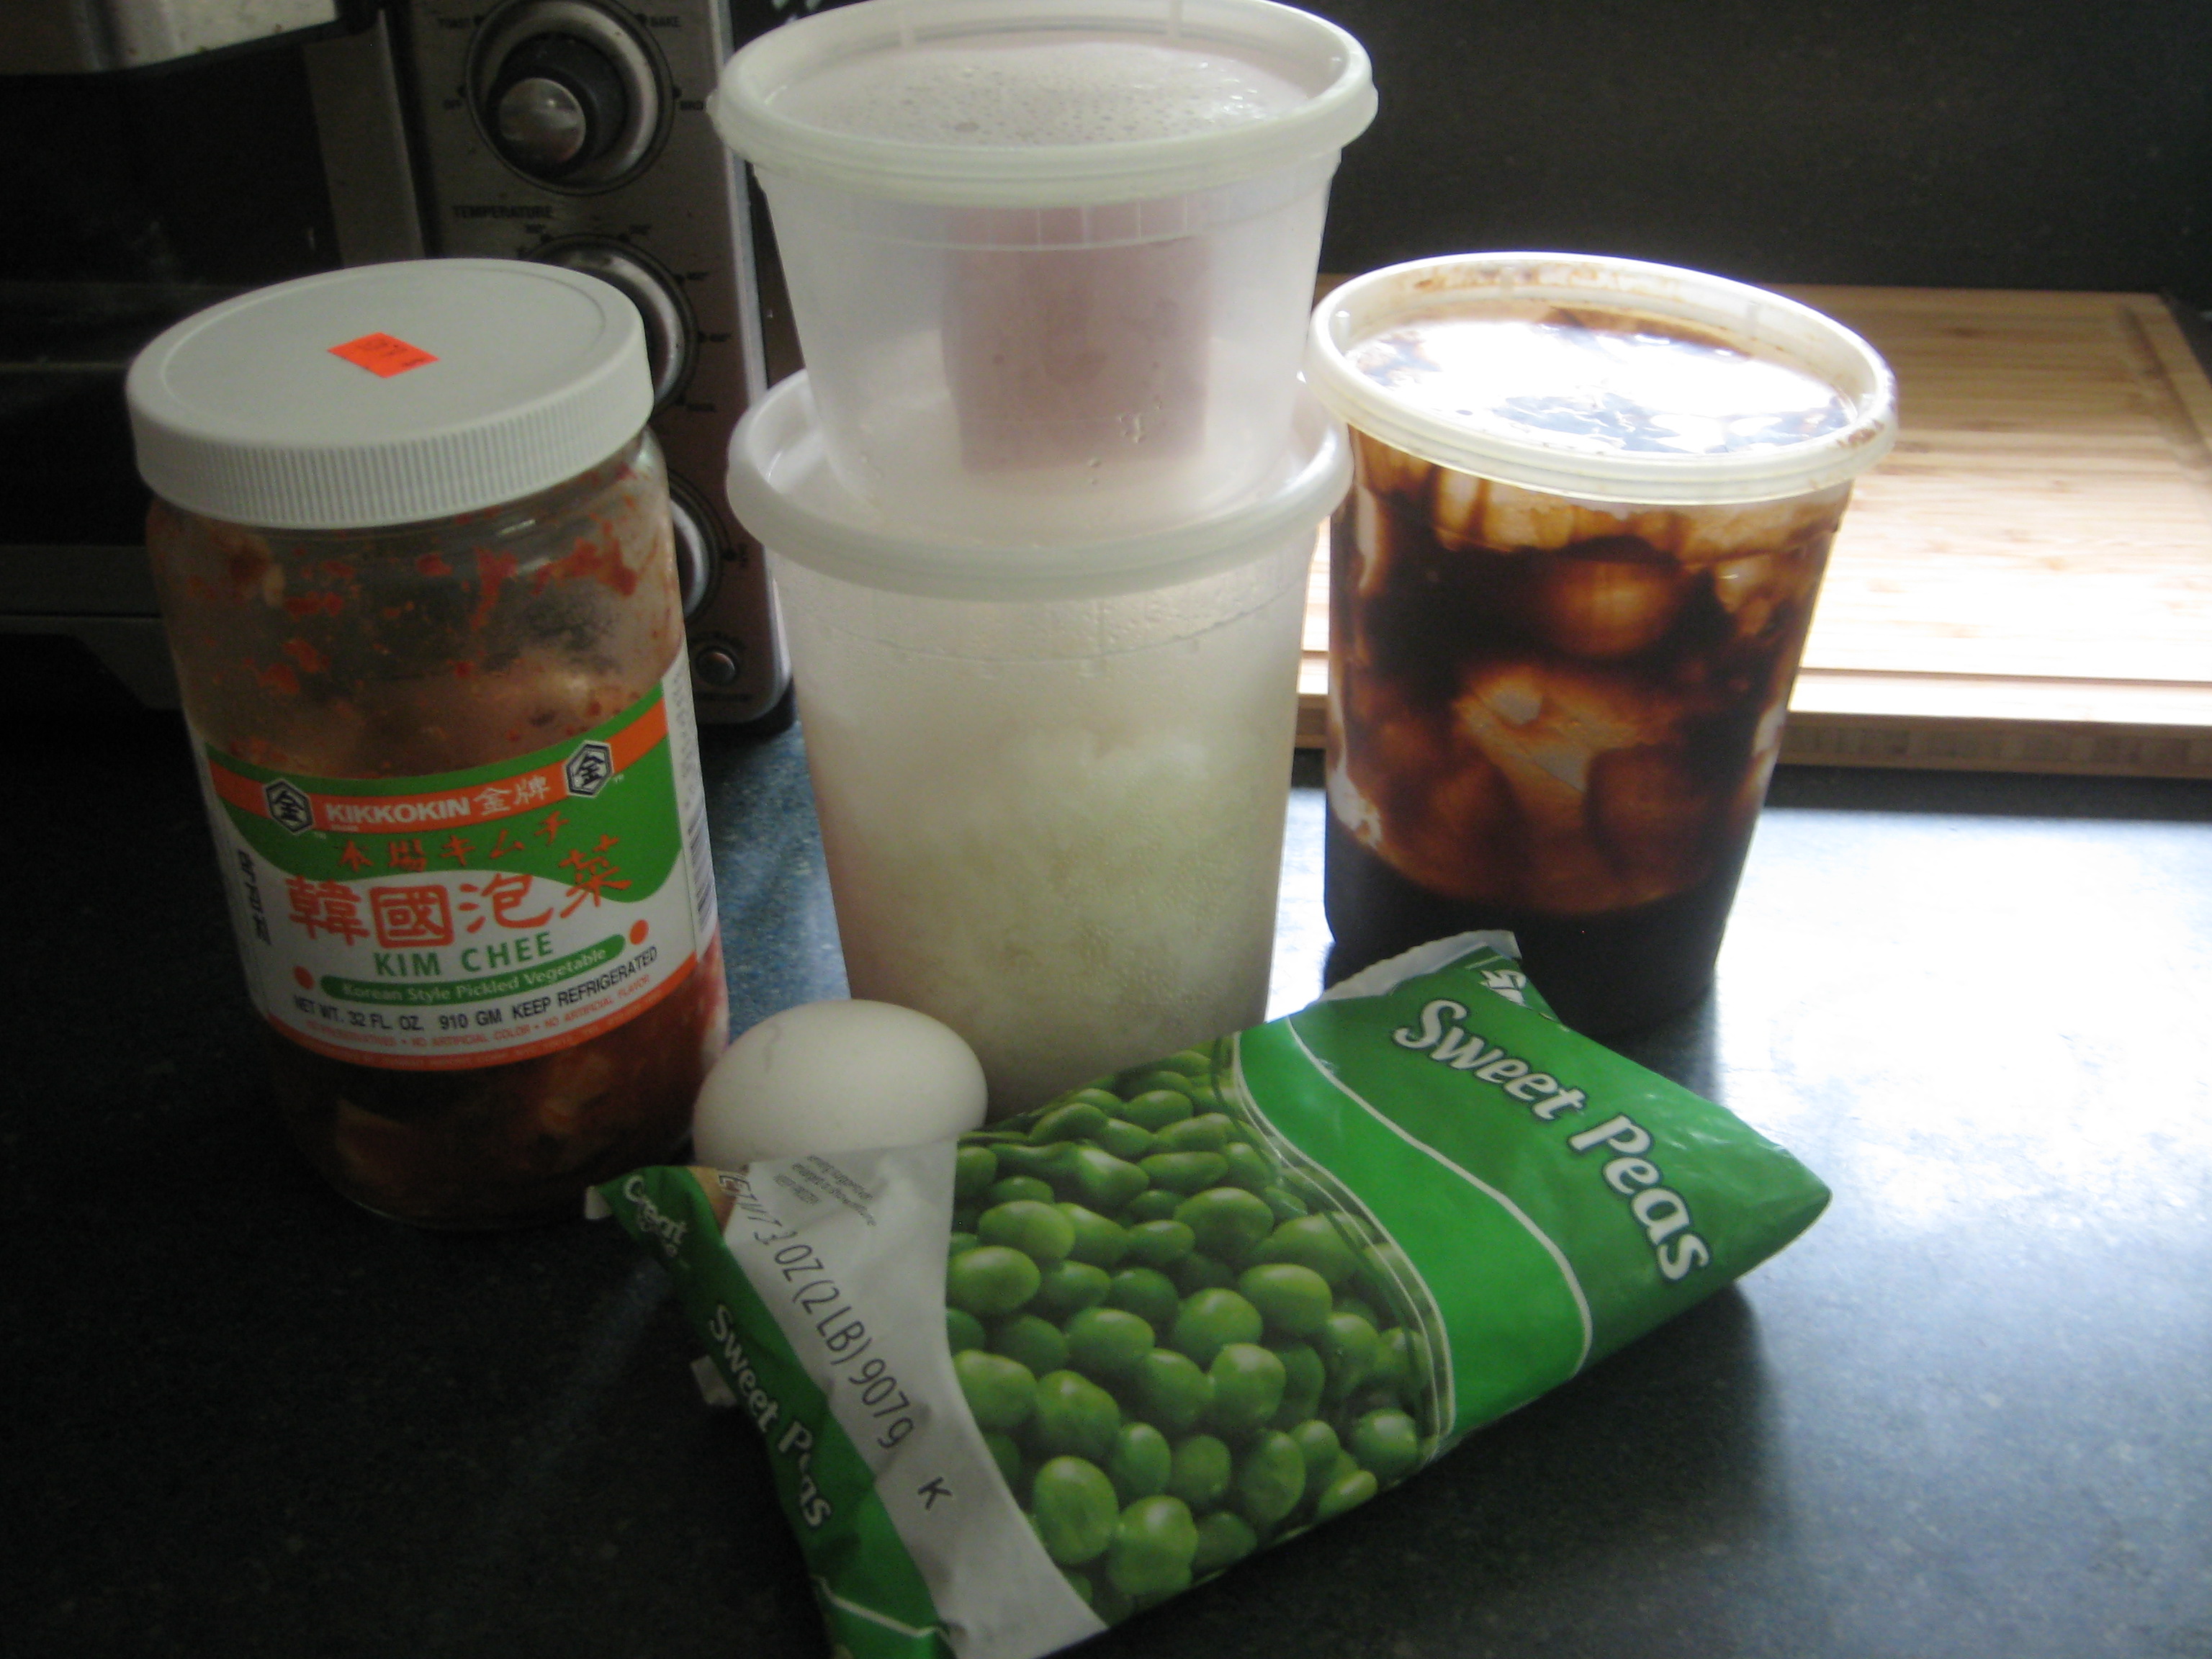
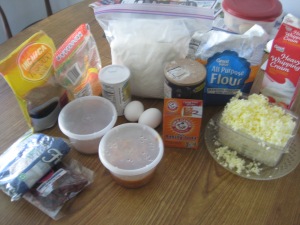
Here are the ingredient needed for this recipe:

- 1 1/2 cups cooked rice
- 1/3 cup frozen sweet peas
- 1/4 cup Spam
- 1/3 cup kimchi
- 1 egg
- 1 tsp. sesame oil
- 1 Tbsp. plum sauce
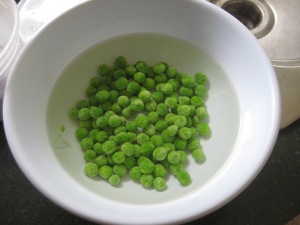
Step 1: Rinse the frozen sweet peas to remove the ice; set aside.
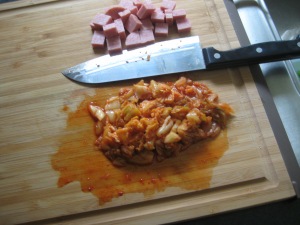
Step 2: Cut the Spam and kimchi into small pieces; set aside.
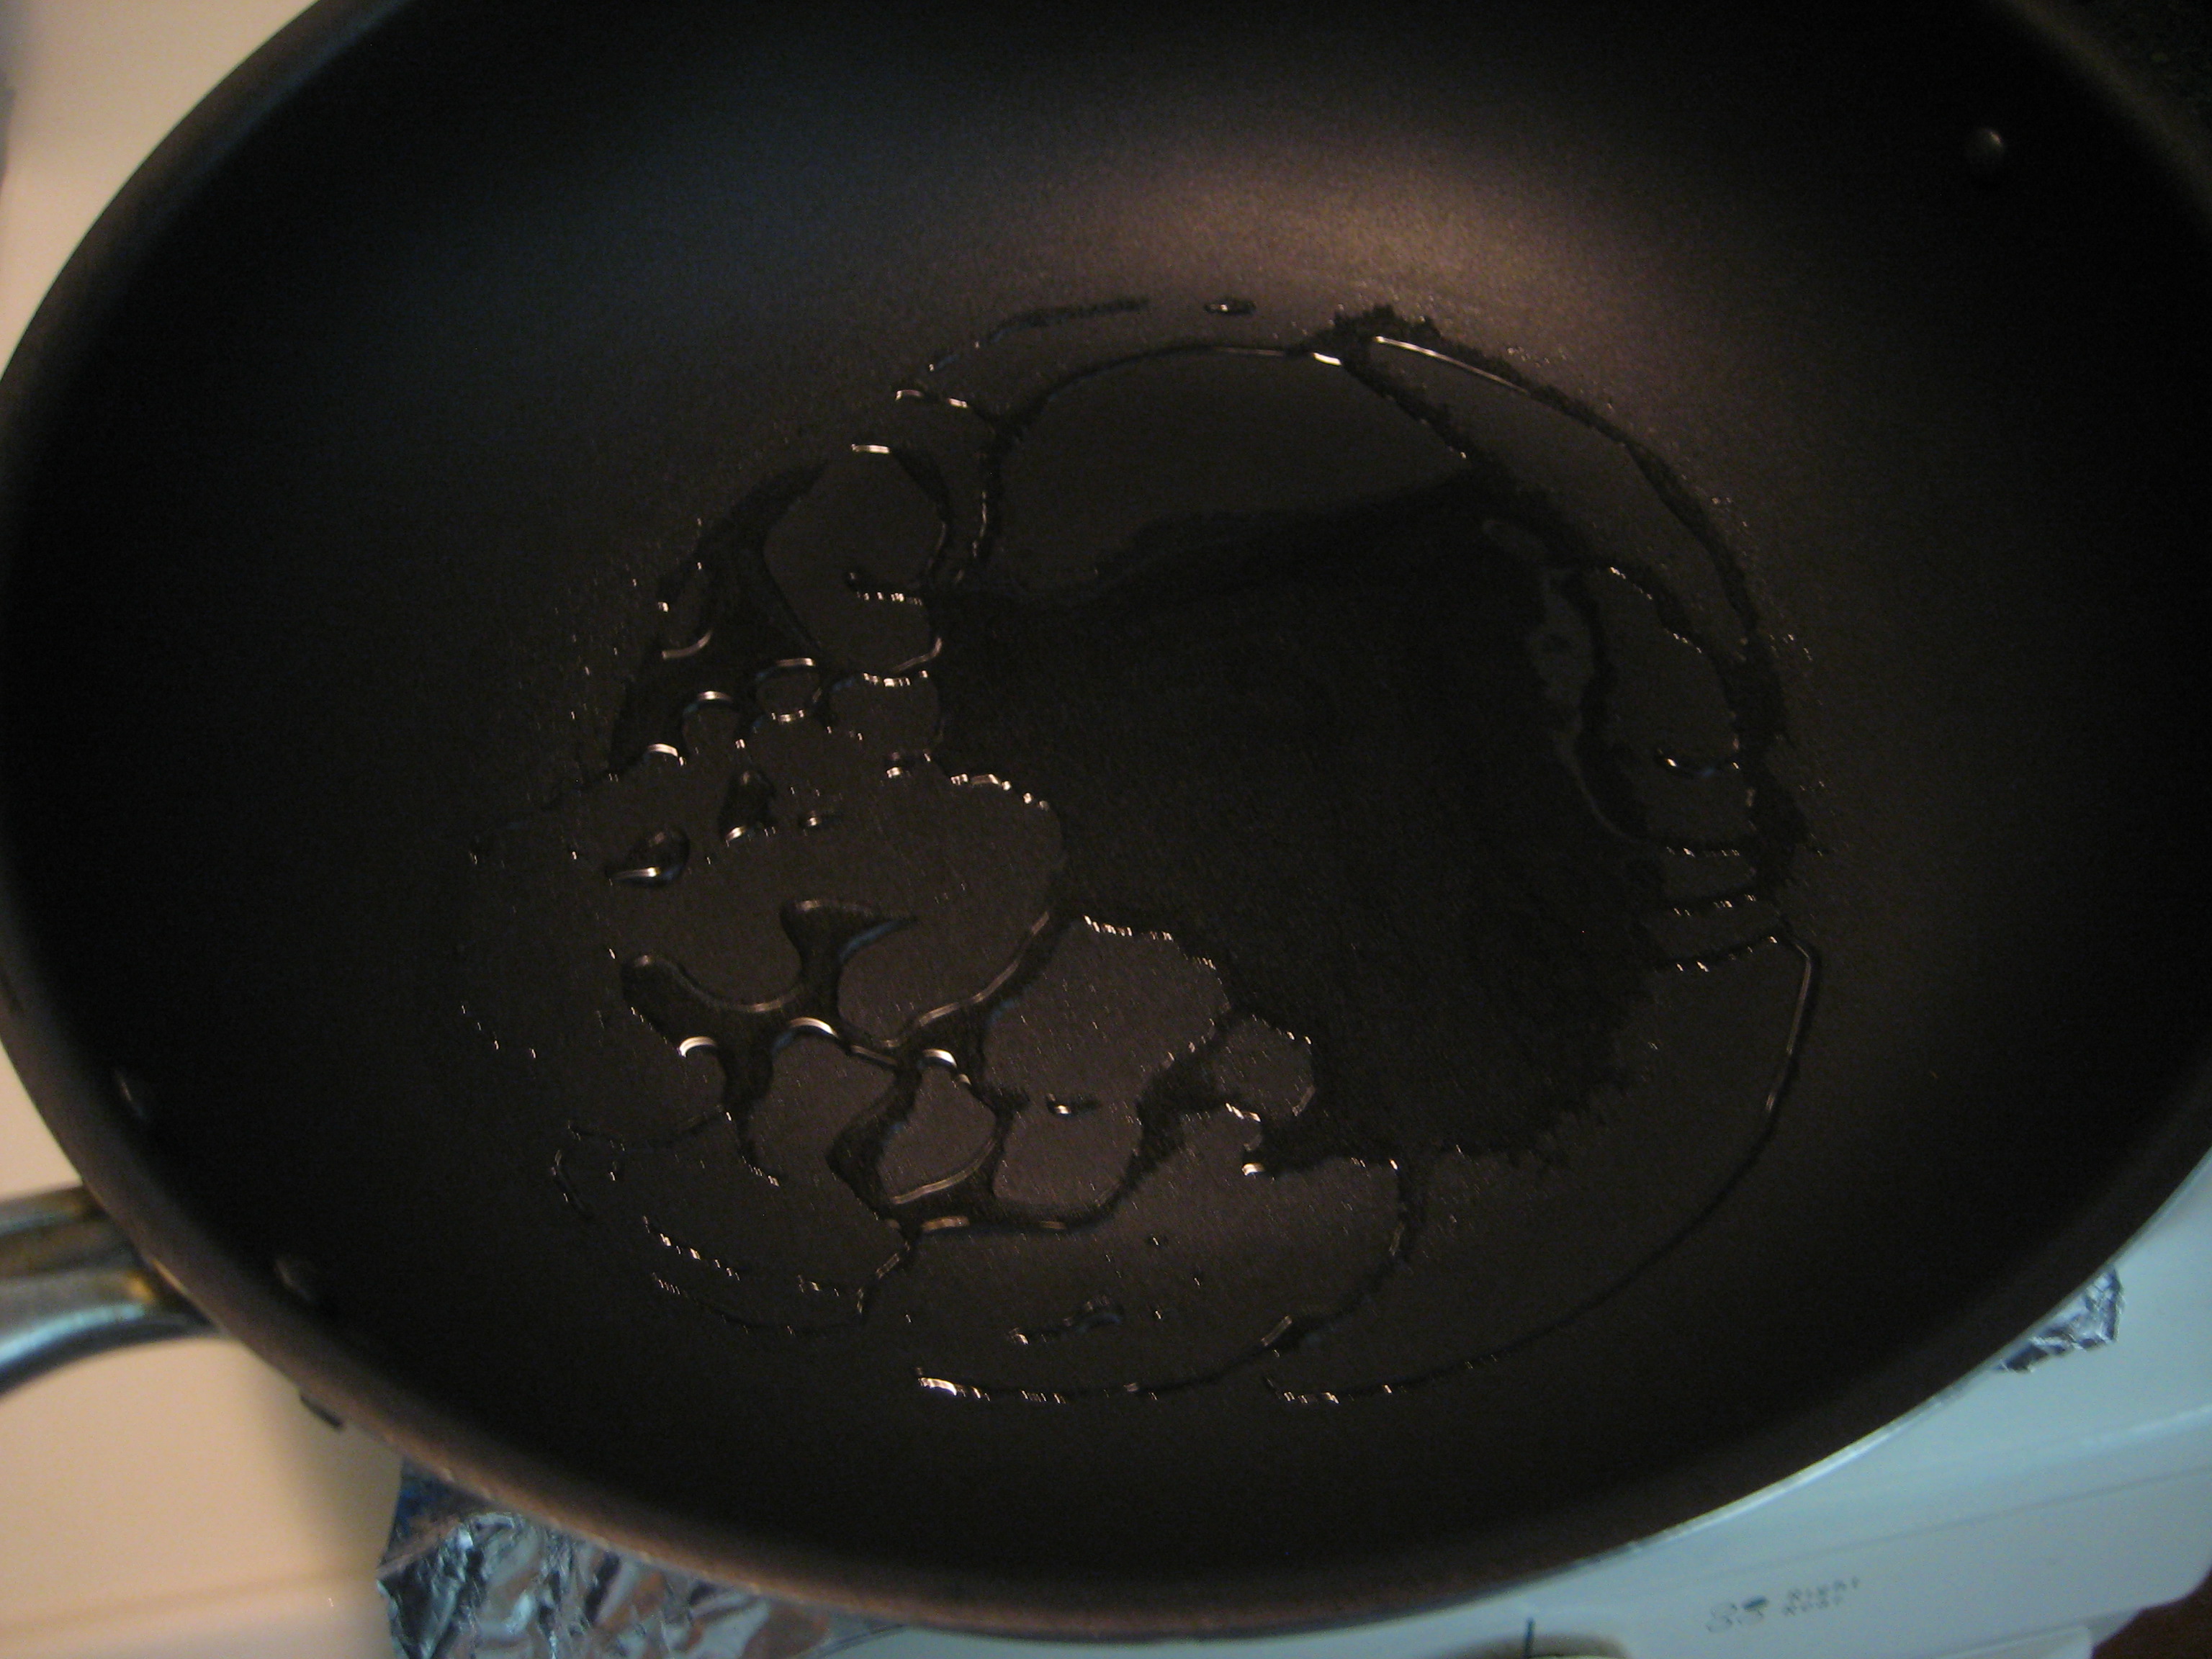
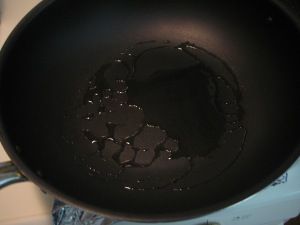
Step 3: In a large pan, add 1 Tbsp. vegetable oil over high heat.
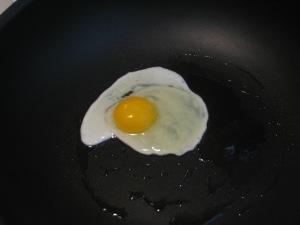
Step 4: Add the egg and fry it to however you prefer it. (I like a slightly runny yolk, this way when I cut into the egg the yolk will give the dish a creamy texture.)
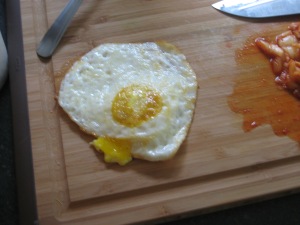
Step 5: Remove the fried egg from the pan and onto the cutting board. (I accidentally broke the yolk, such a sad moment.)
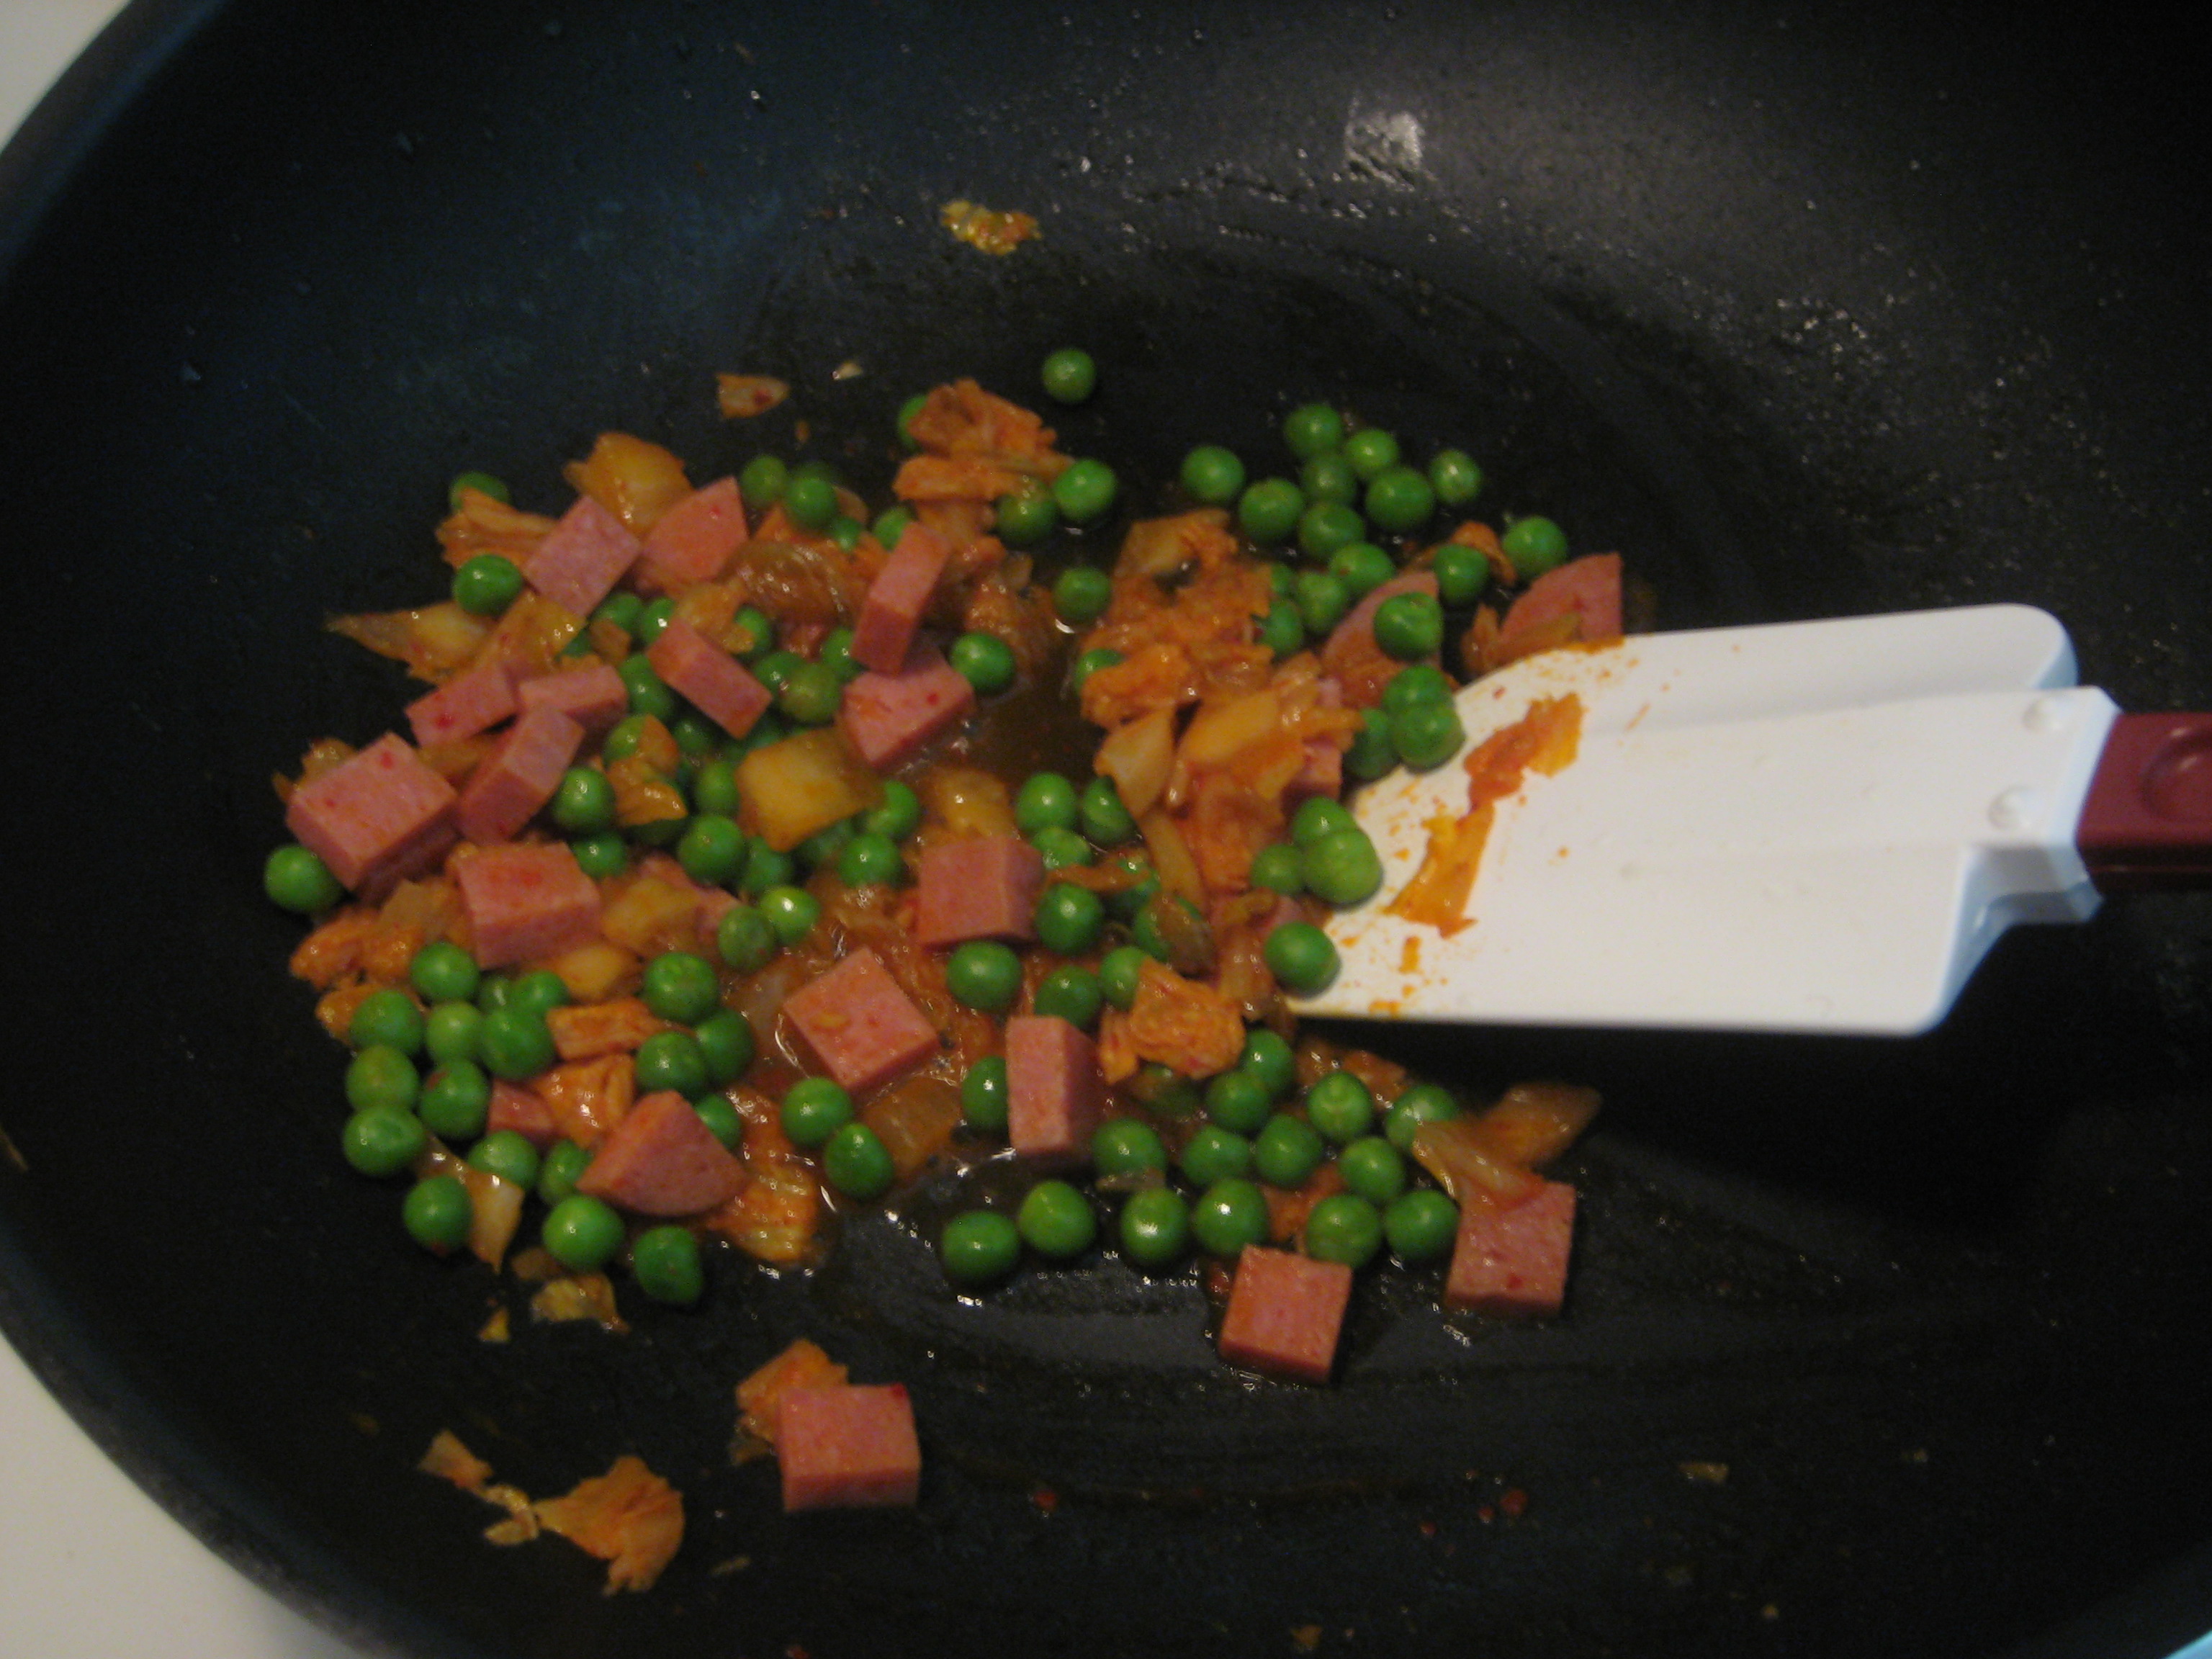
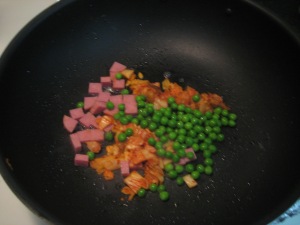
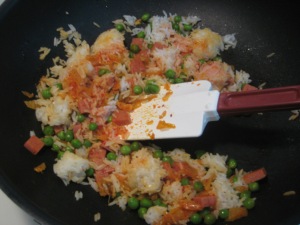
Step 6: In the same pan, add in the defrosted sweet peas, Spam, and kimchi and cook until heated through.
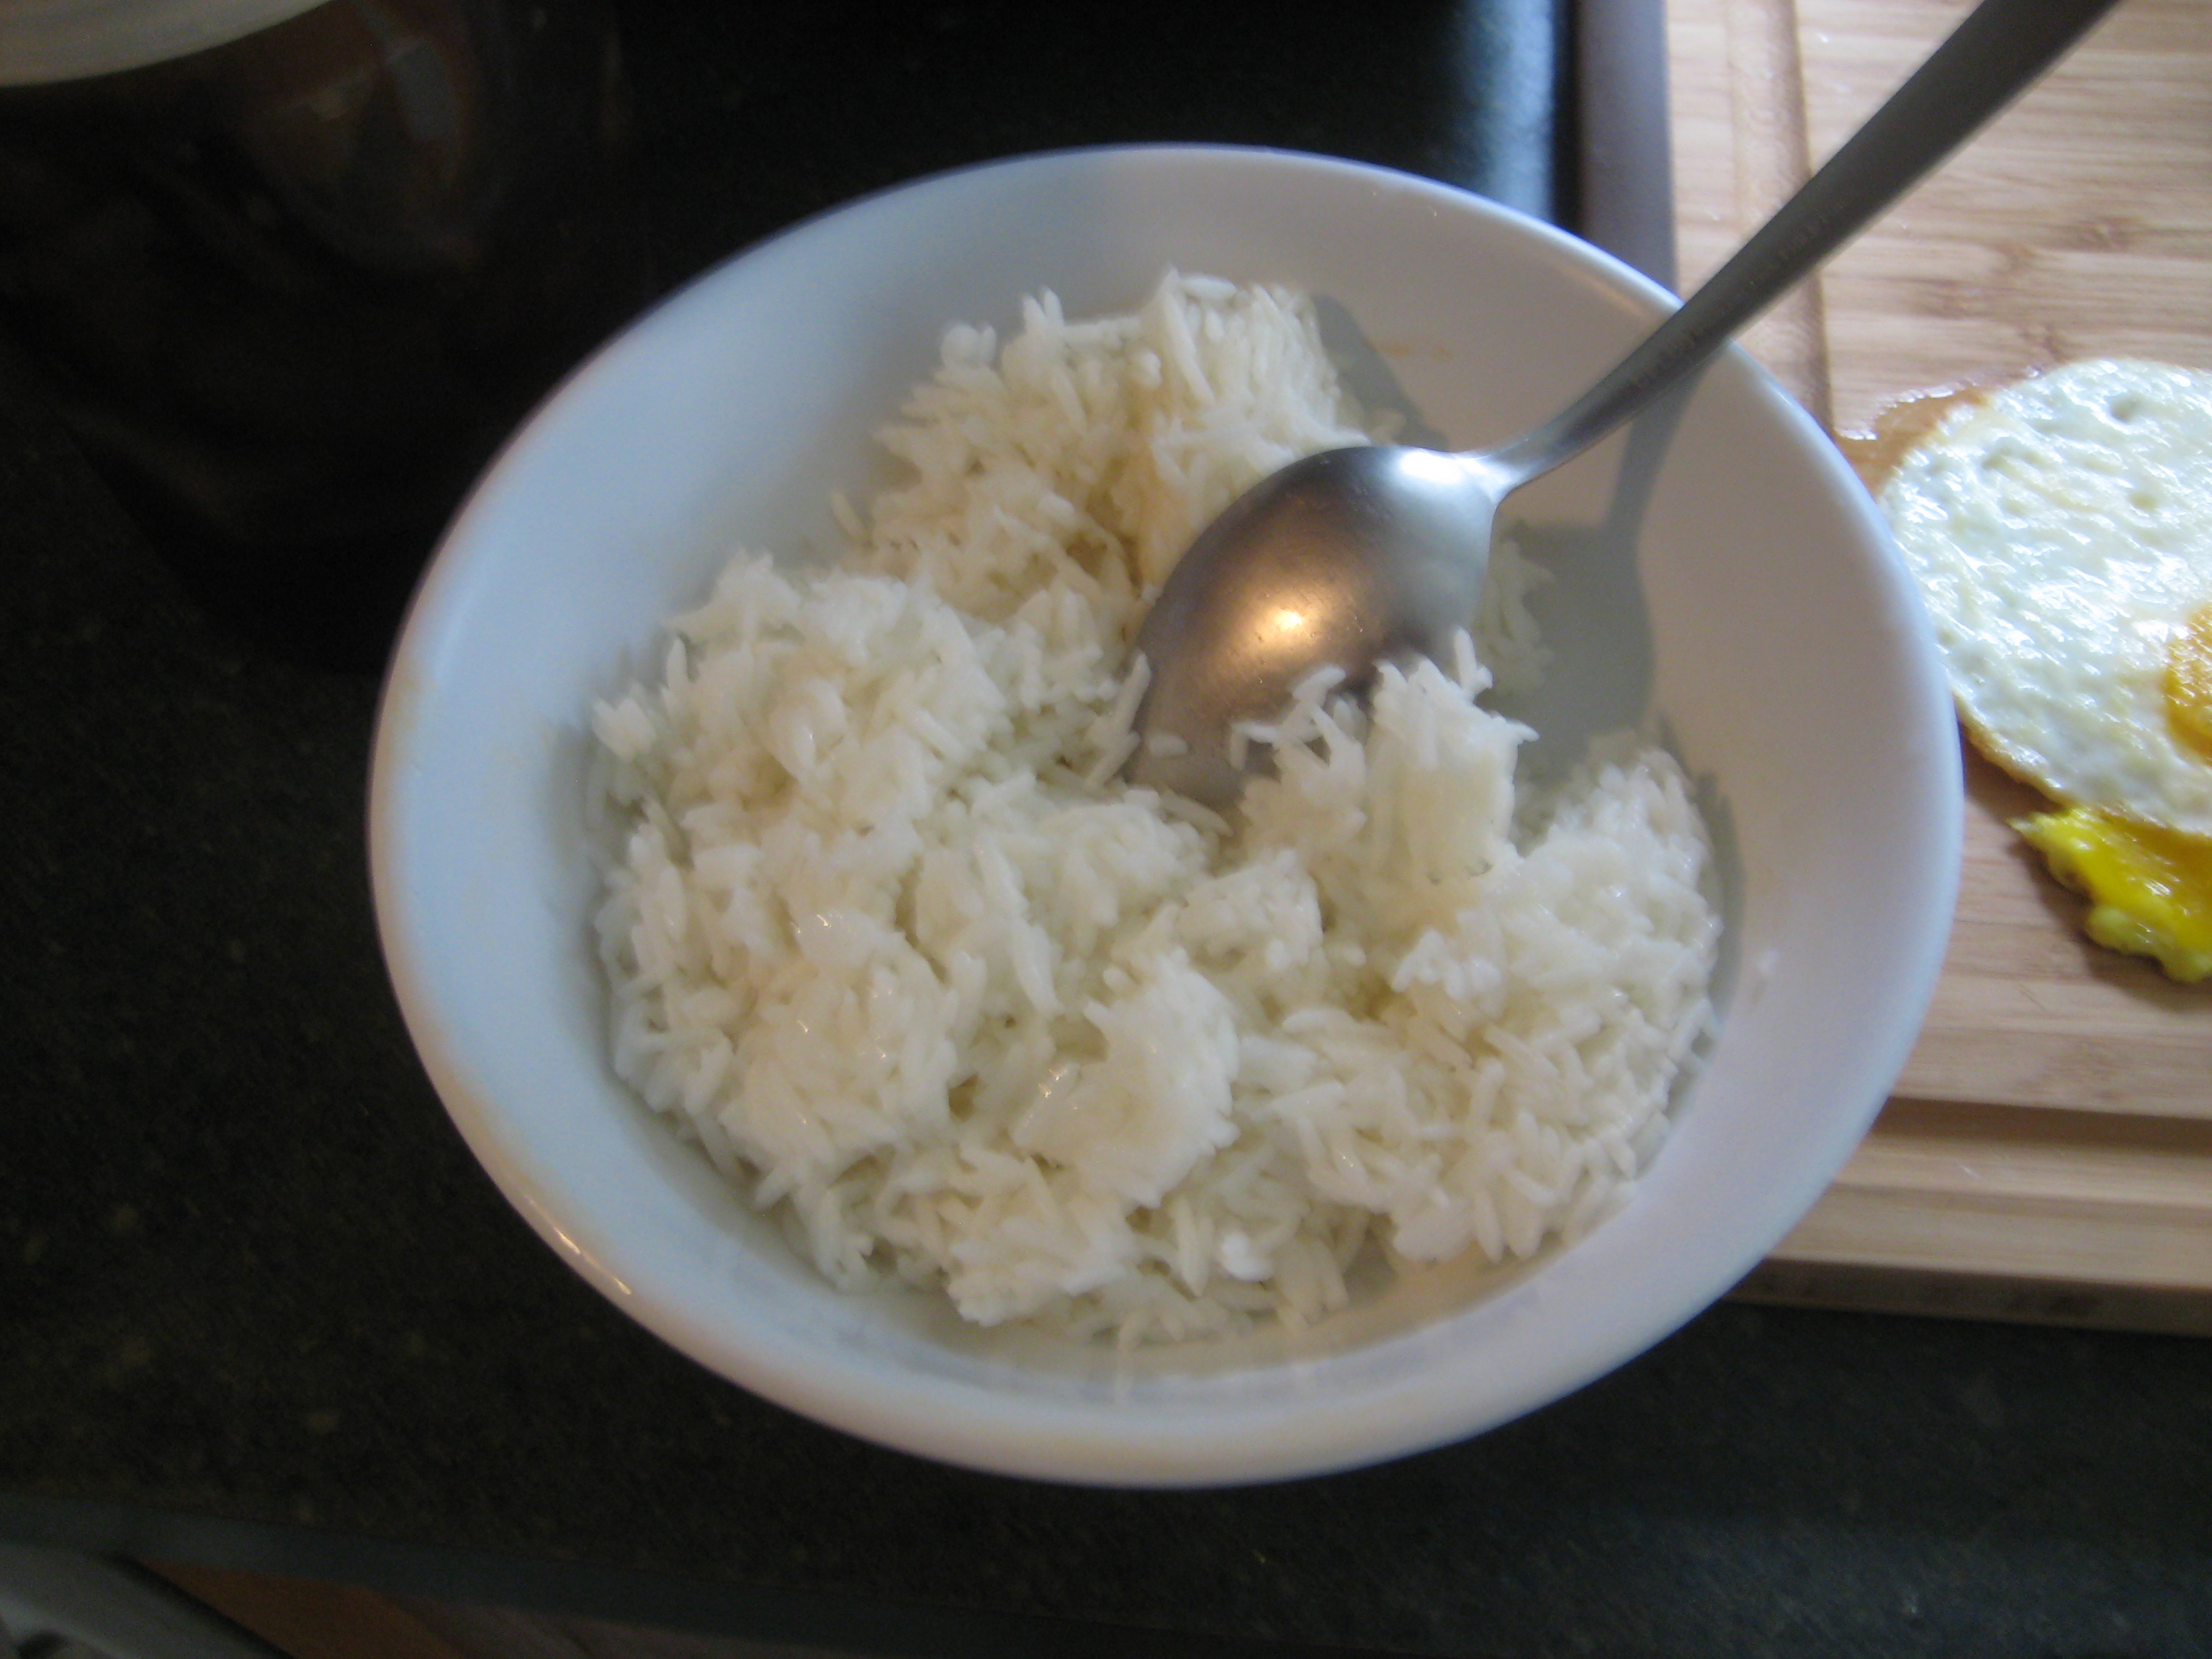
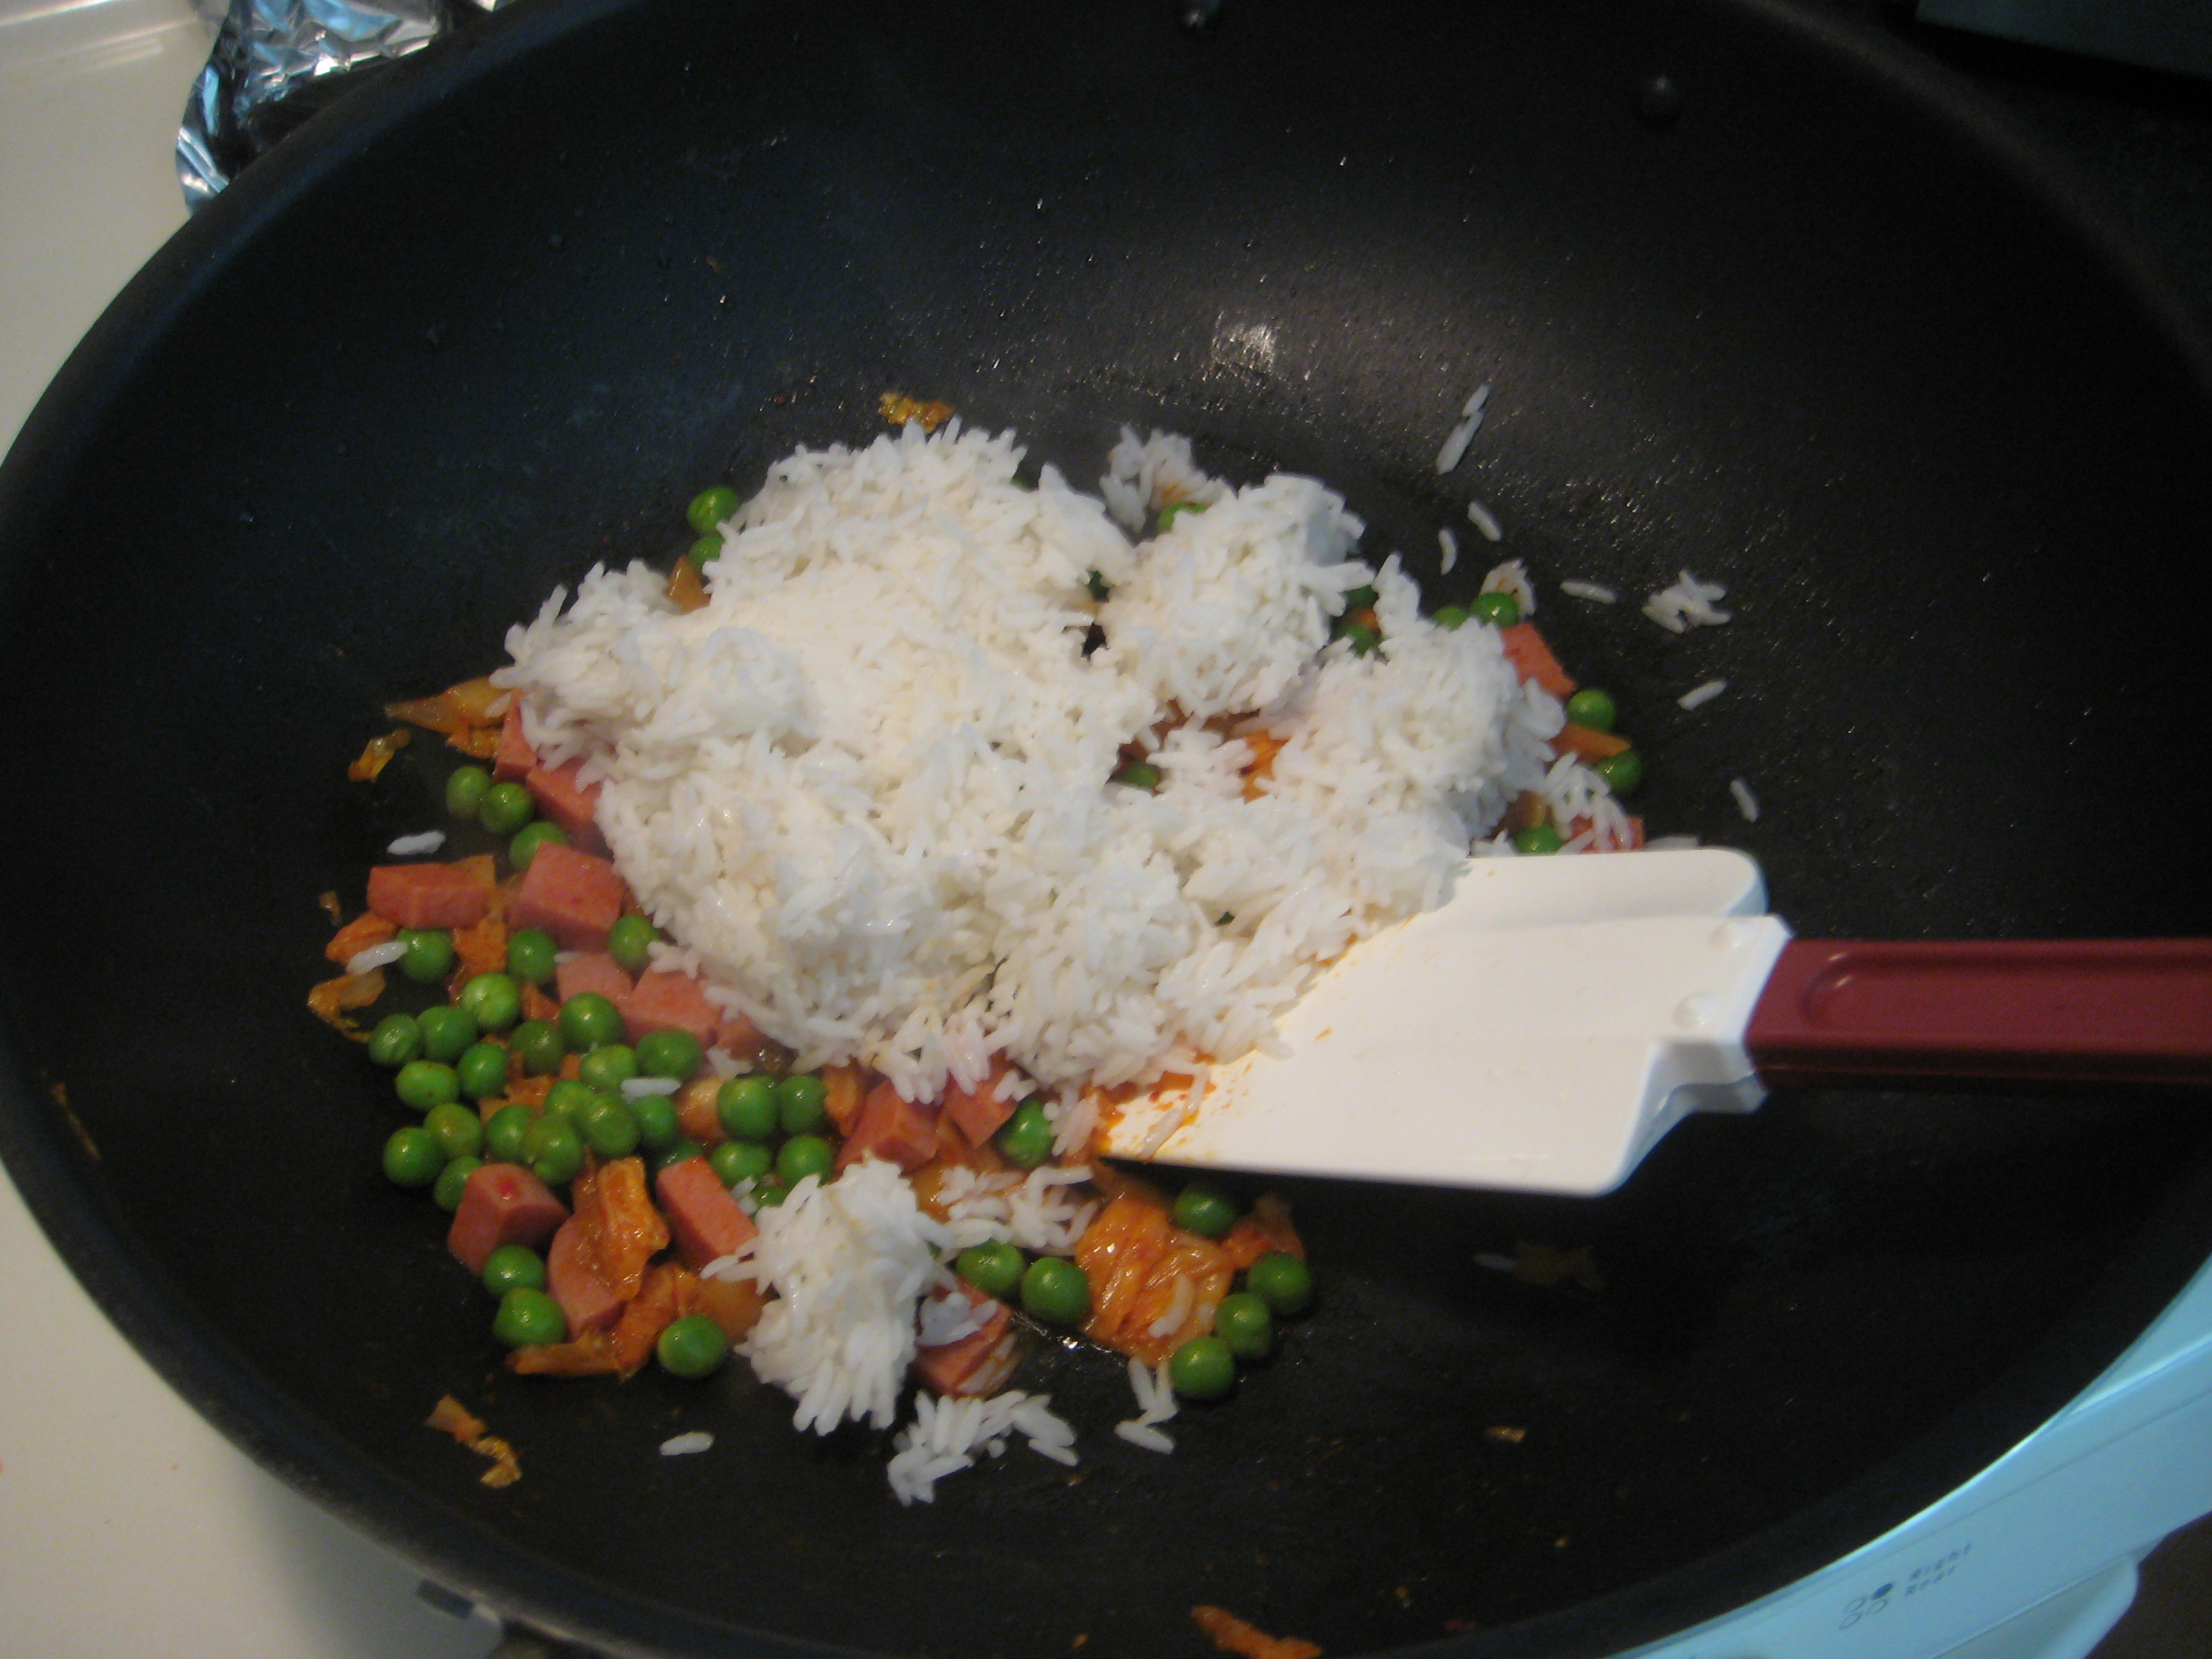
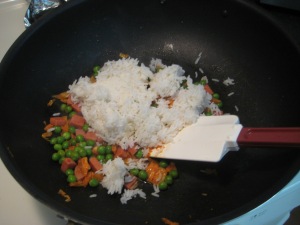
Step 7: Add 1/4 cup of water and the rice.


Step 8: Break the rice up with a spatula and again cook until heated through.
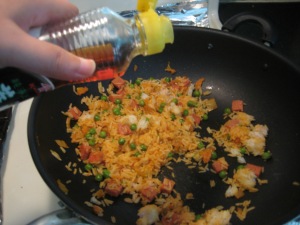
Step 9: Add in 3-4 Tbsp. kimchi juice and stir to combine.
Step 10: Add in the sesame oil and toss to combine.
Step 11: Turn off the heat and add in the plum sauce and stir until well mixed.
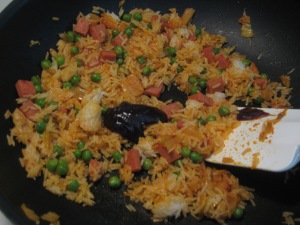

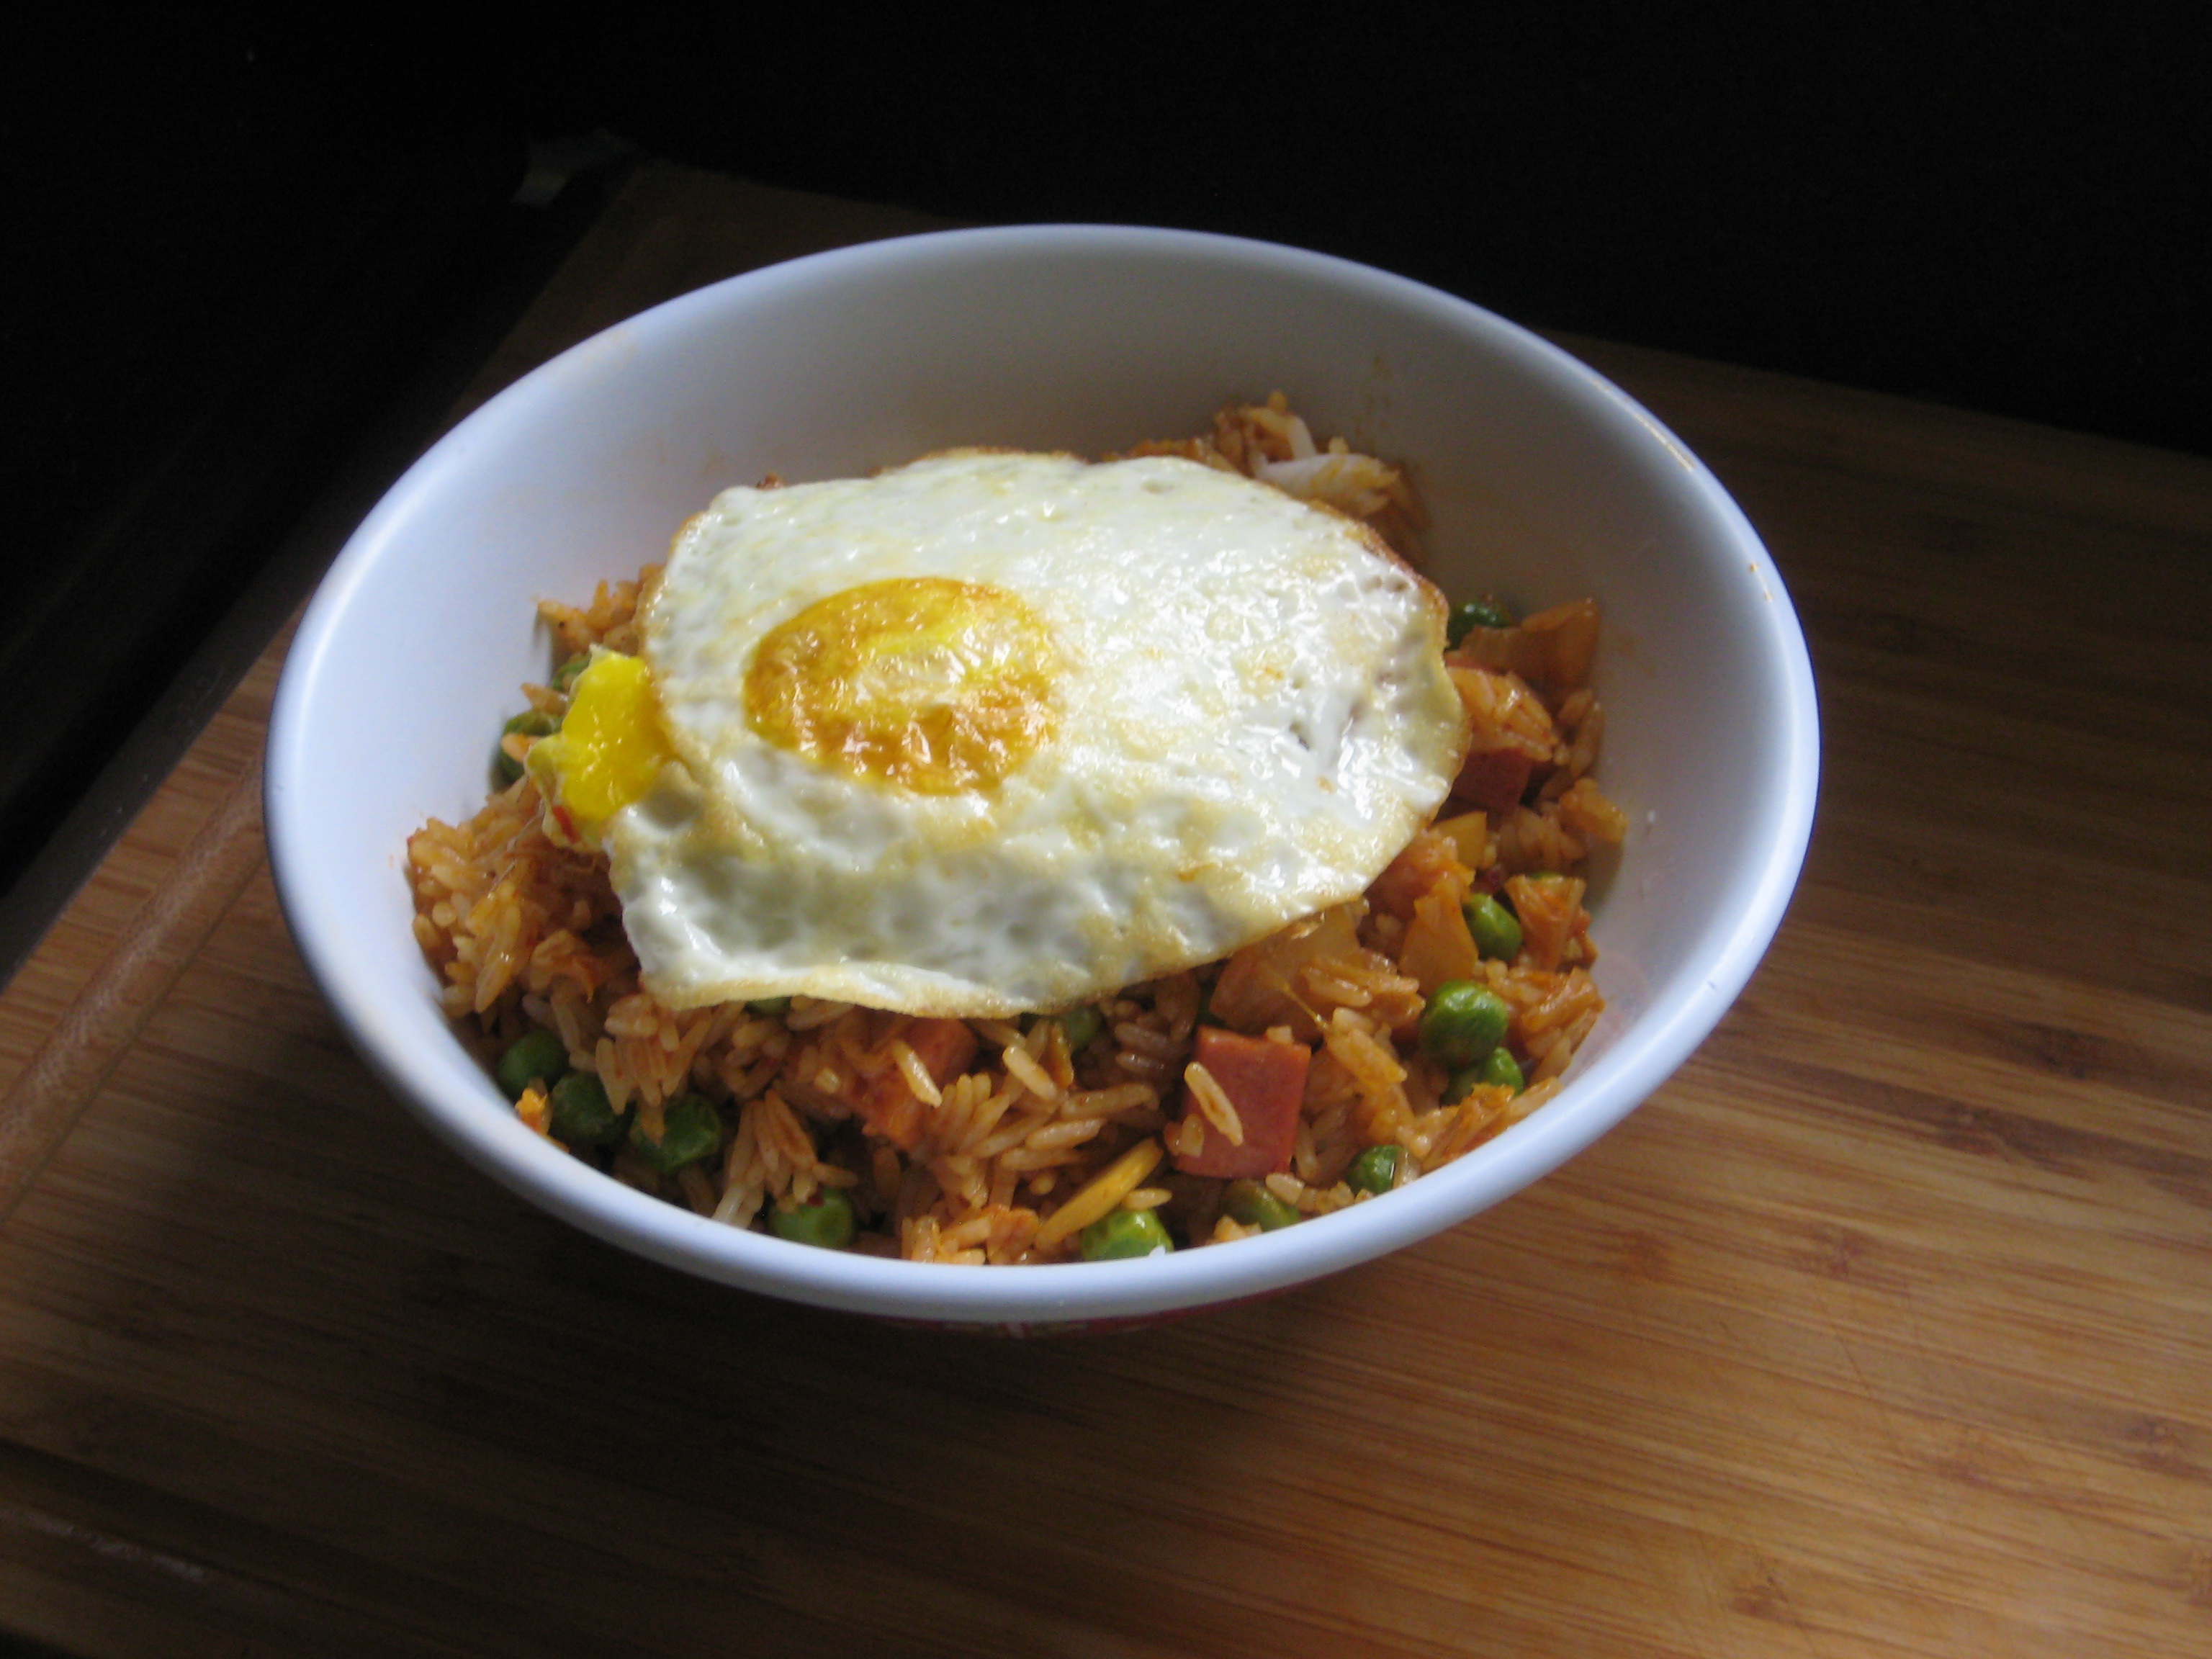
Step 12: Scoop into a large bowl and top it with the fried egg and serve. (I had to make this again the next day, but I added Emoki mushrooms.)

10 Dec 2013
by suzaku24
in Afternoon Tea, Breads, Cakes, and Pastries, Breakfast, Butter, Eggs, Fruits, Milk, Nuts, recipes
Tags: food, pumpkin scones, recipe, scones, thankgiving leftovers
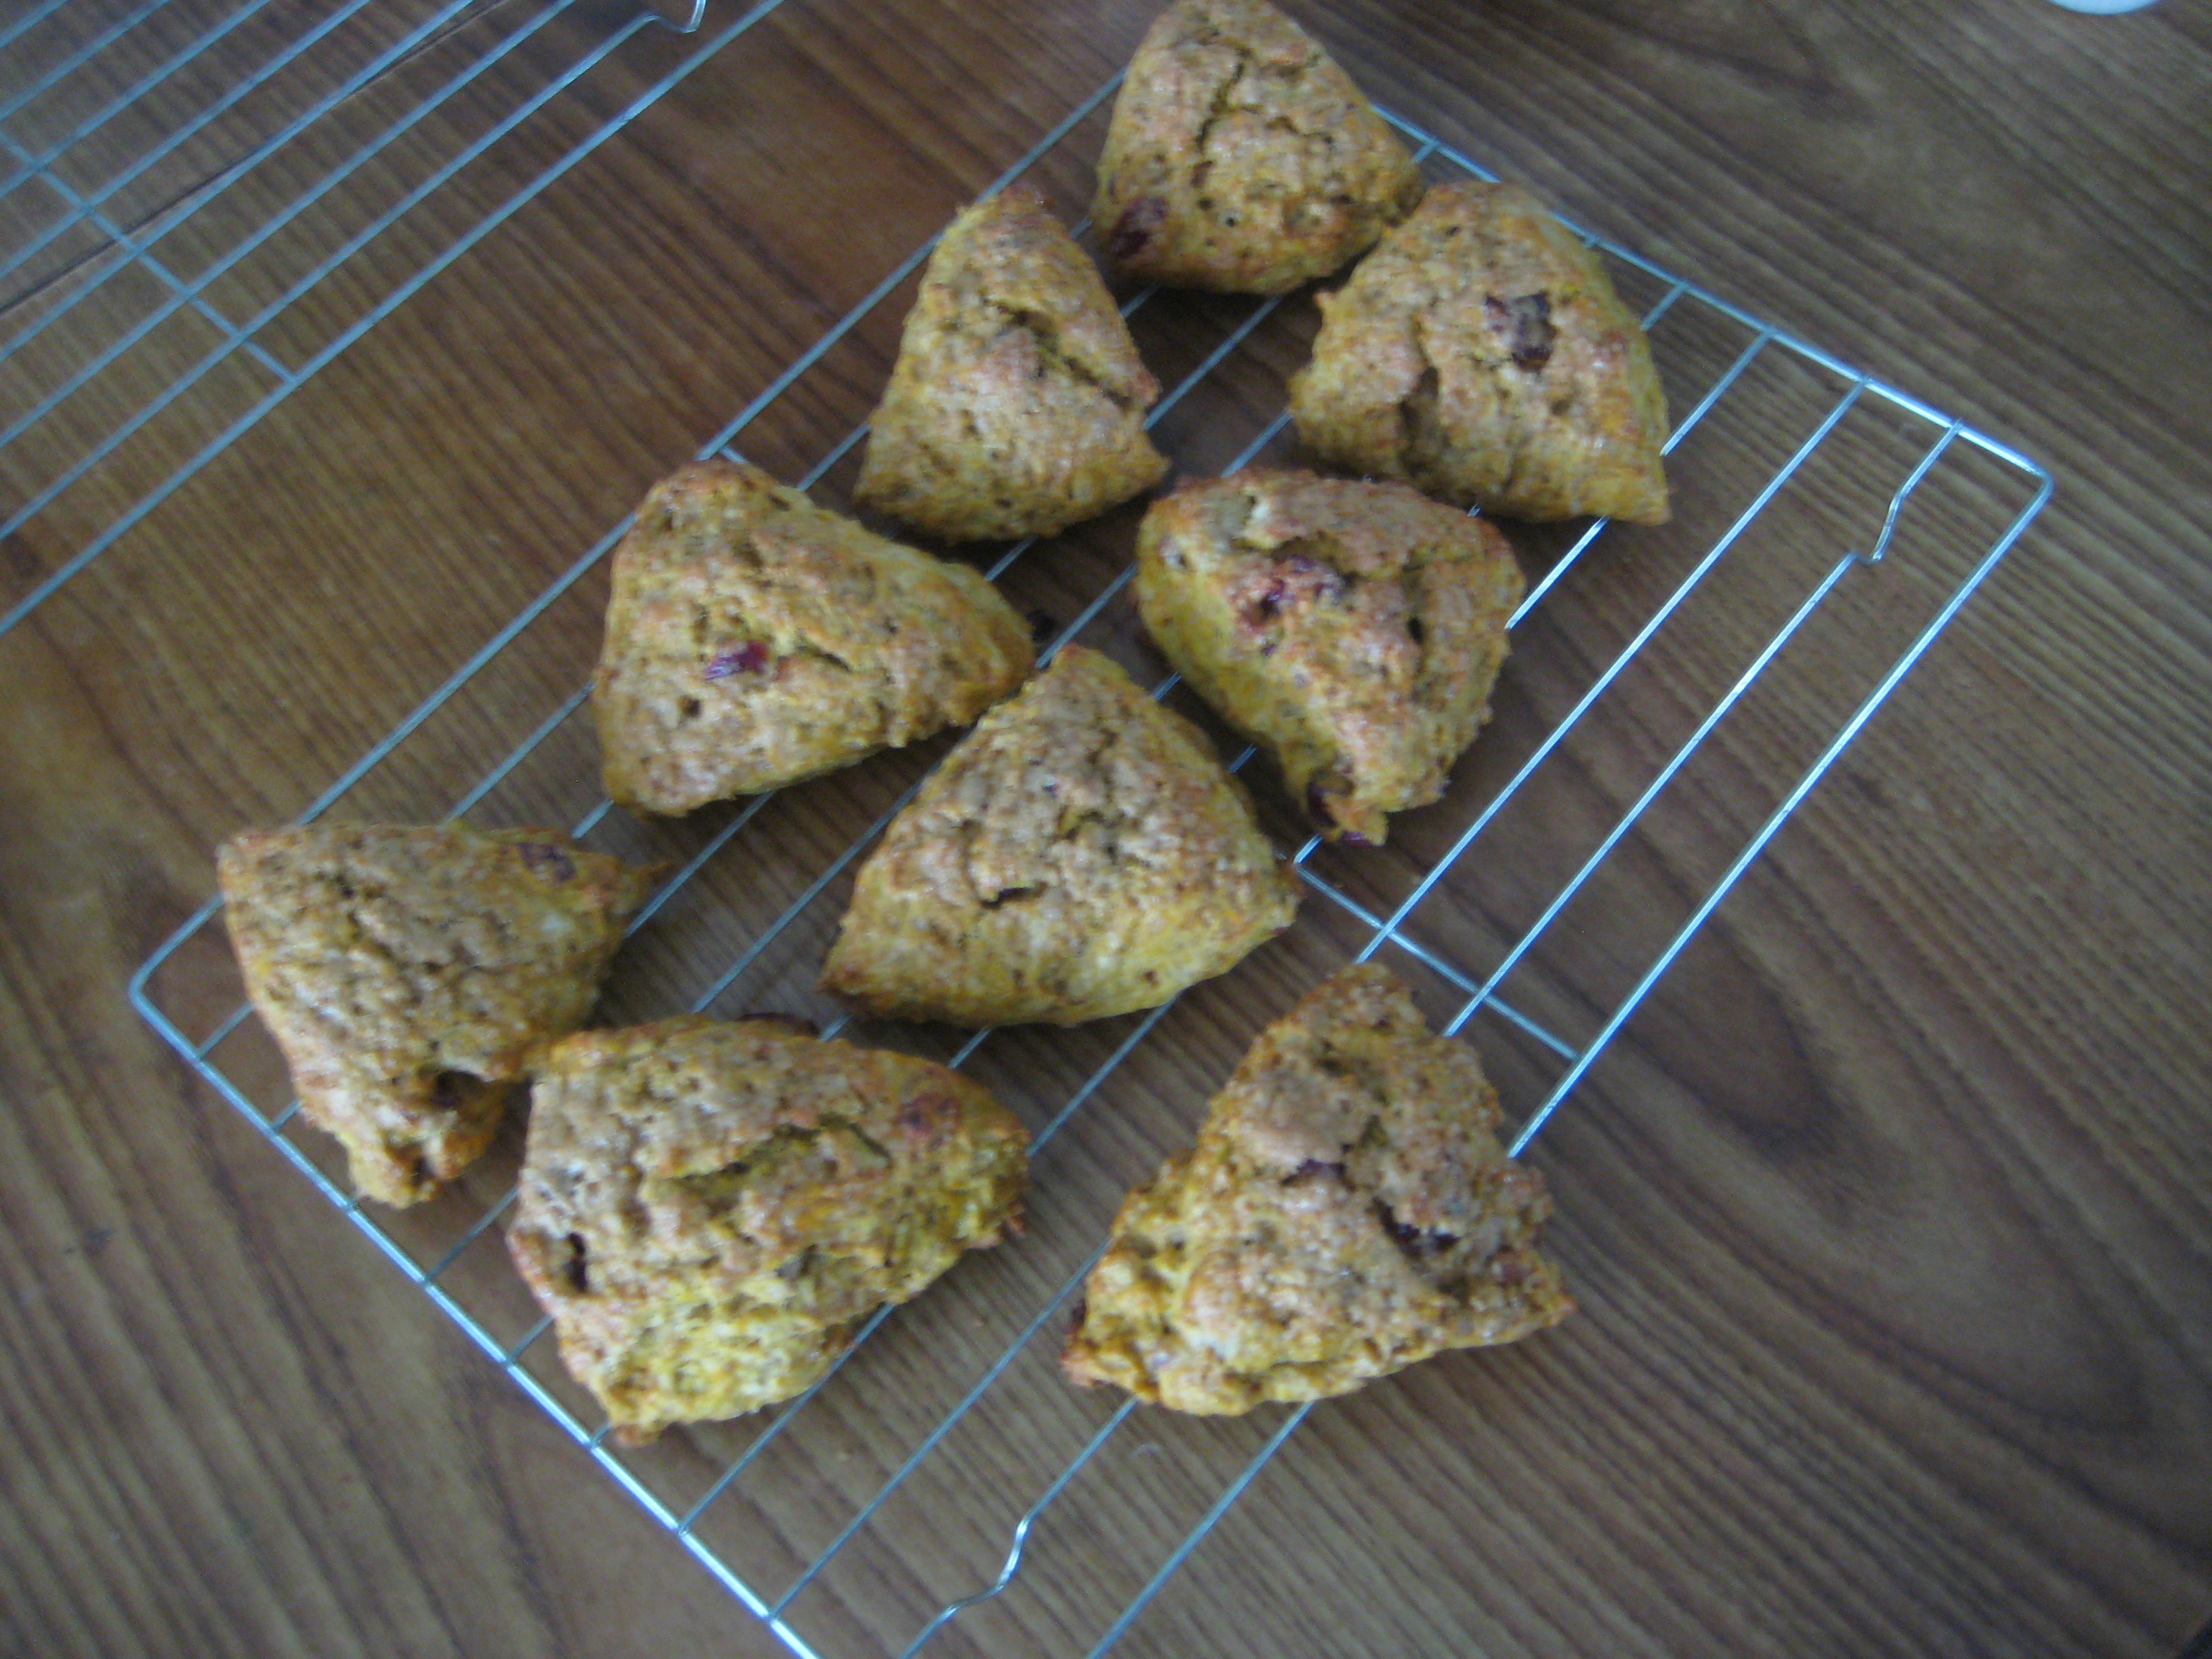
Well Thanksgiving has passed and there are so many leftover ingredients that I have to use it some way or else it’ll end up being thrown away. So I thought maybe something for breakfast would work. A light treat that is simple to make and light on the wallet. Pumpkin scones could work since all the ingredients are from the leftover ingredients for my many desserts.
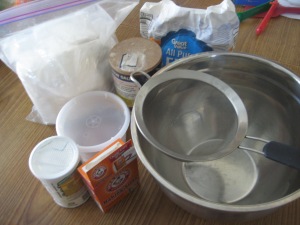
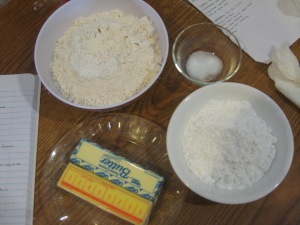
Here are the ingredients needed for this recipe:
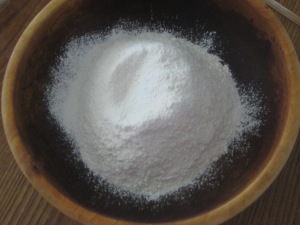
- 2 cups cake flour
- 2 1/2 cups all-purpose flour
- 1/2 cup brown sugar, packed
- 1 1/2 Tbsp. baking powder
- 1/2 tsp. baking soda
- 1/2 tsp. salt
- 1 Tbsp. pumpkin spice
- 1 cup butter, grated and chilled
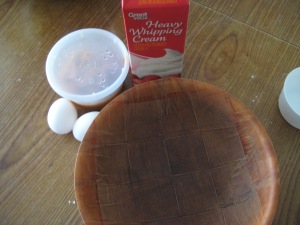
- 2 large eggs, beaten
- 1 cup pumpkin puree, chilled
- 2/3 cup heavy cream, chilled
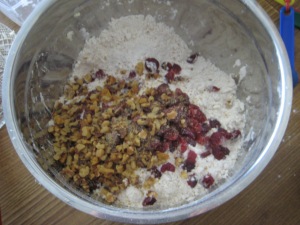
- (Optional: 1 cup dried cranberries, chopped walnuts, chopped pecans, and etc.) (Side note: if adding dried fruit add 1-2 tsp. of milk to the batter)
- 1/4 cup raw sugar, garnish
Egg Wash
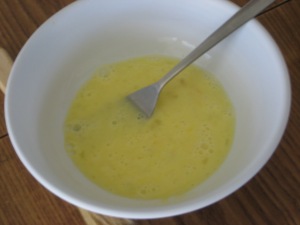
- 1 egg, beaten
- 2 Tbsp. milk
Step 1: Preheat oven to 400°F and line a baking sheet with parchment paper; set aside.
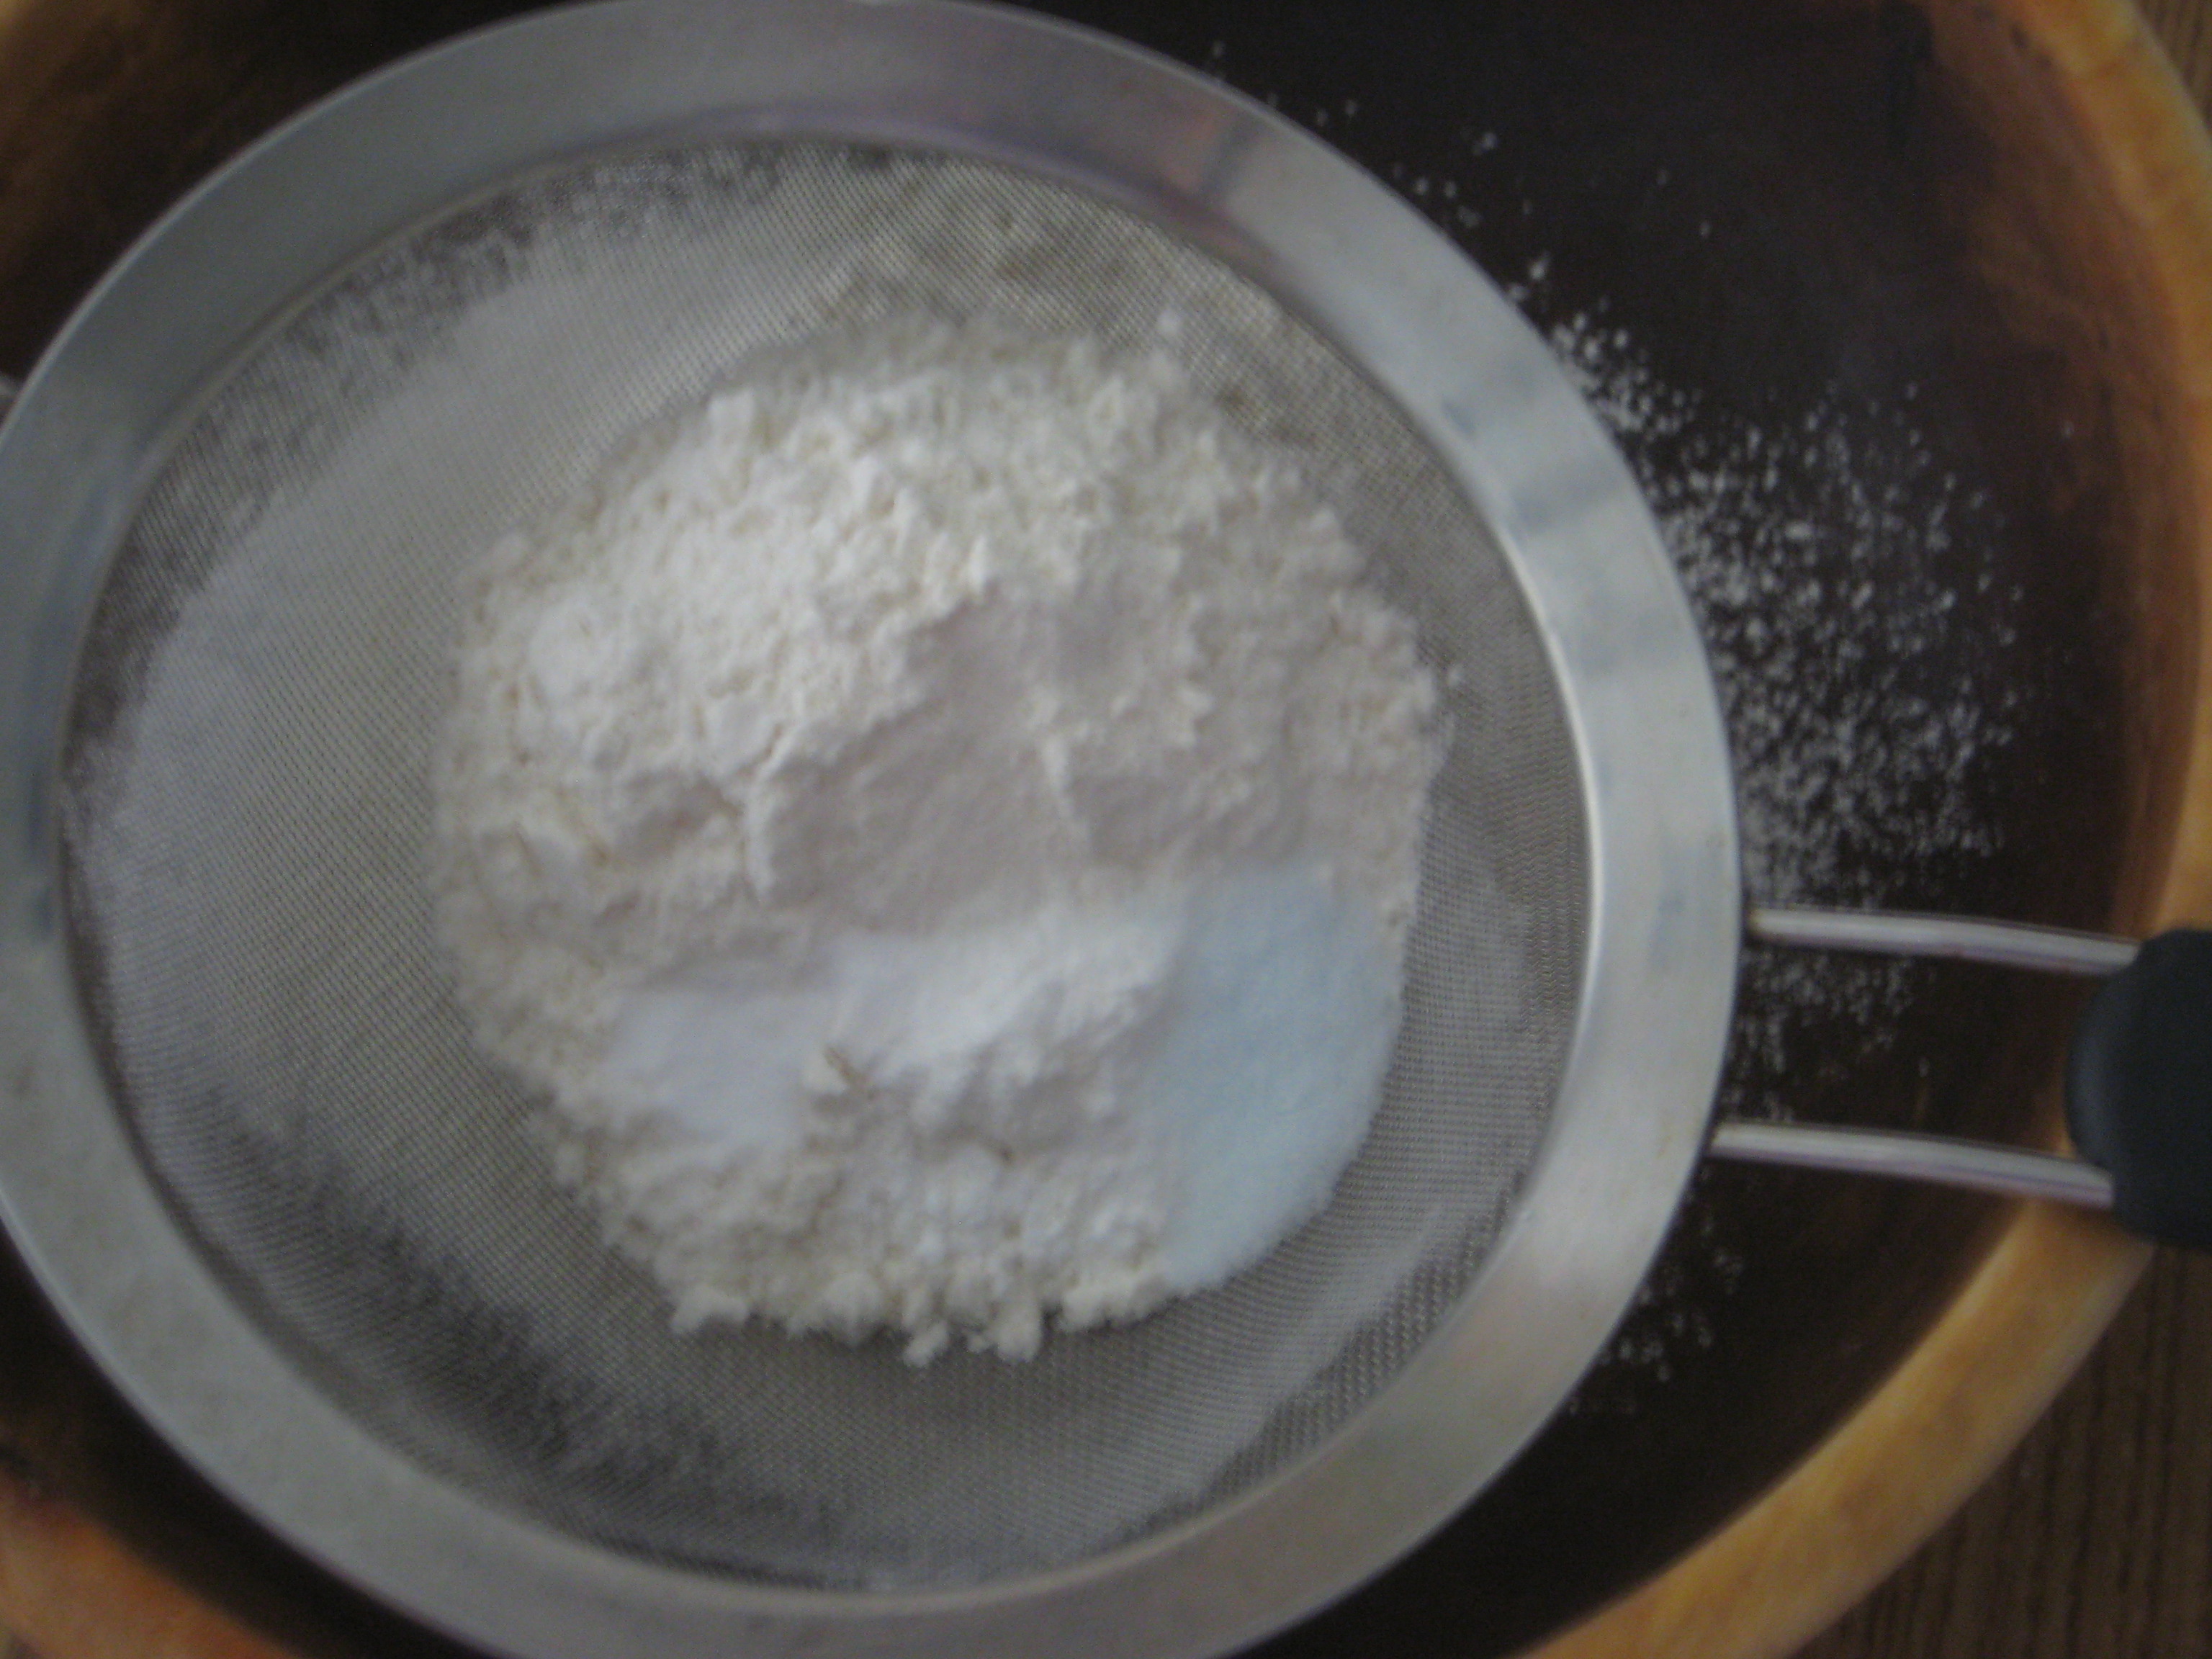
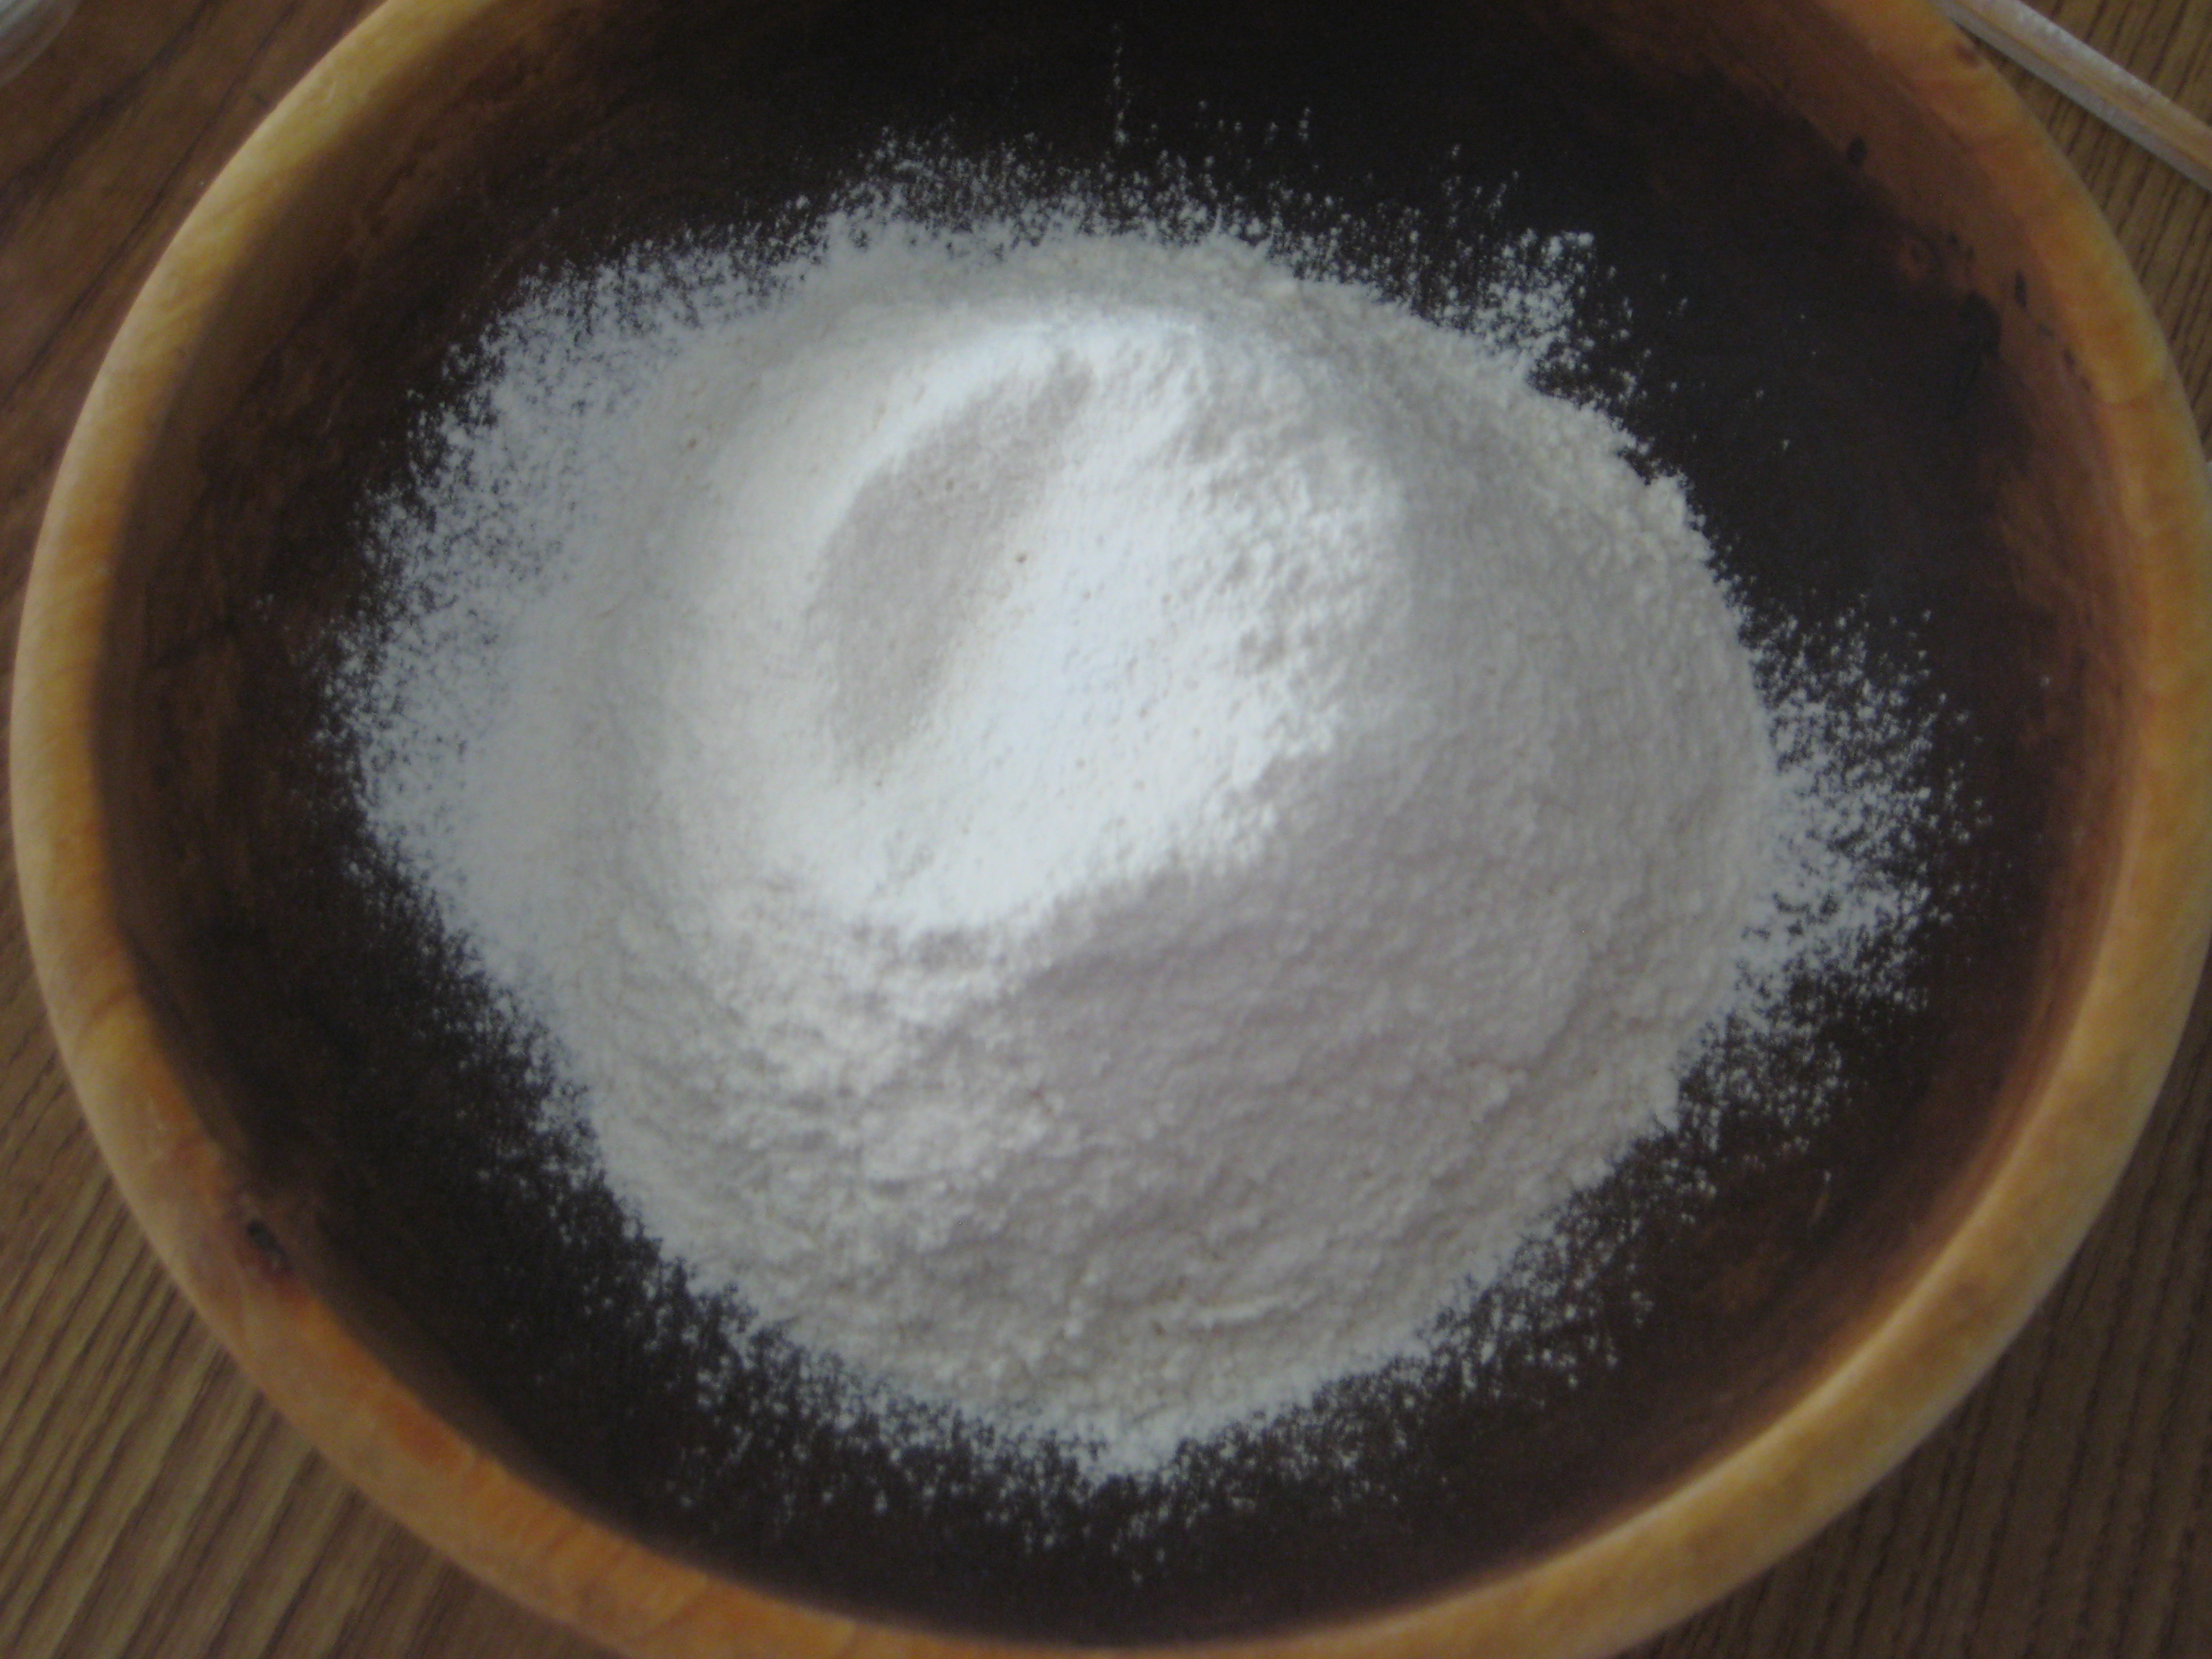
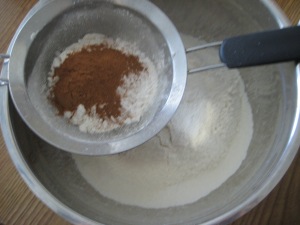
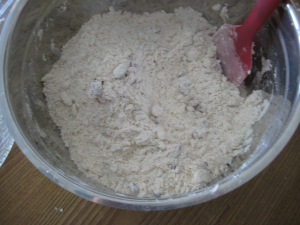
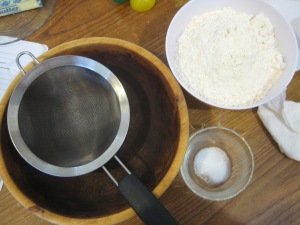
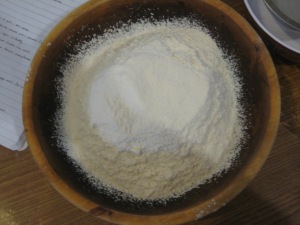
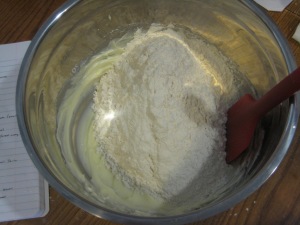
Step 2: In a large bowl, sift together the cake flour, all-purpose flour, baking powder, baking soda, salt, and pumpkin spice.
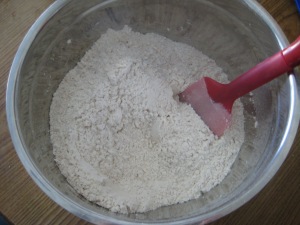
Step 3: Add in the brown sugar and stir together.

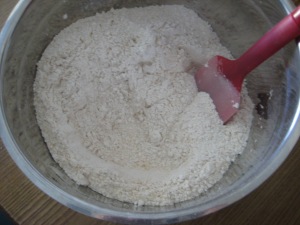
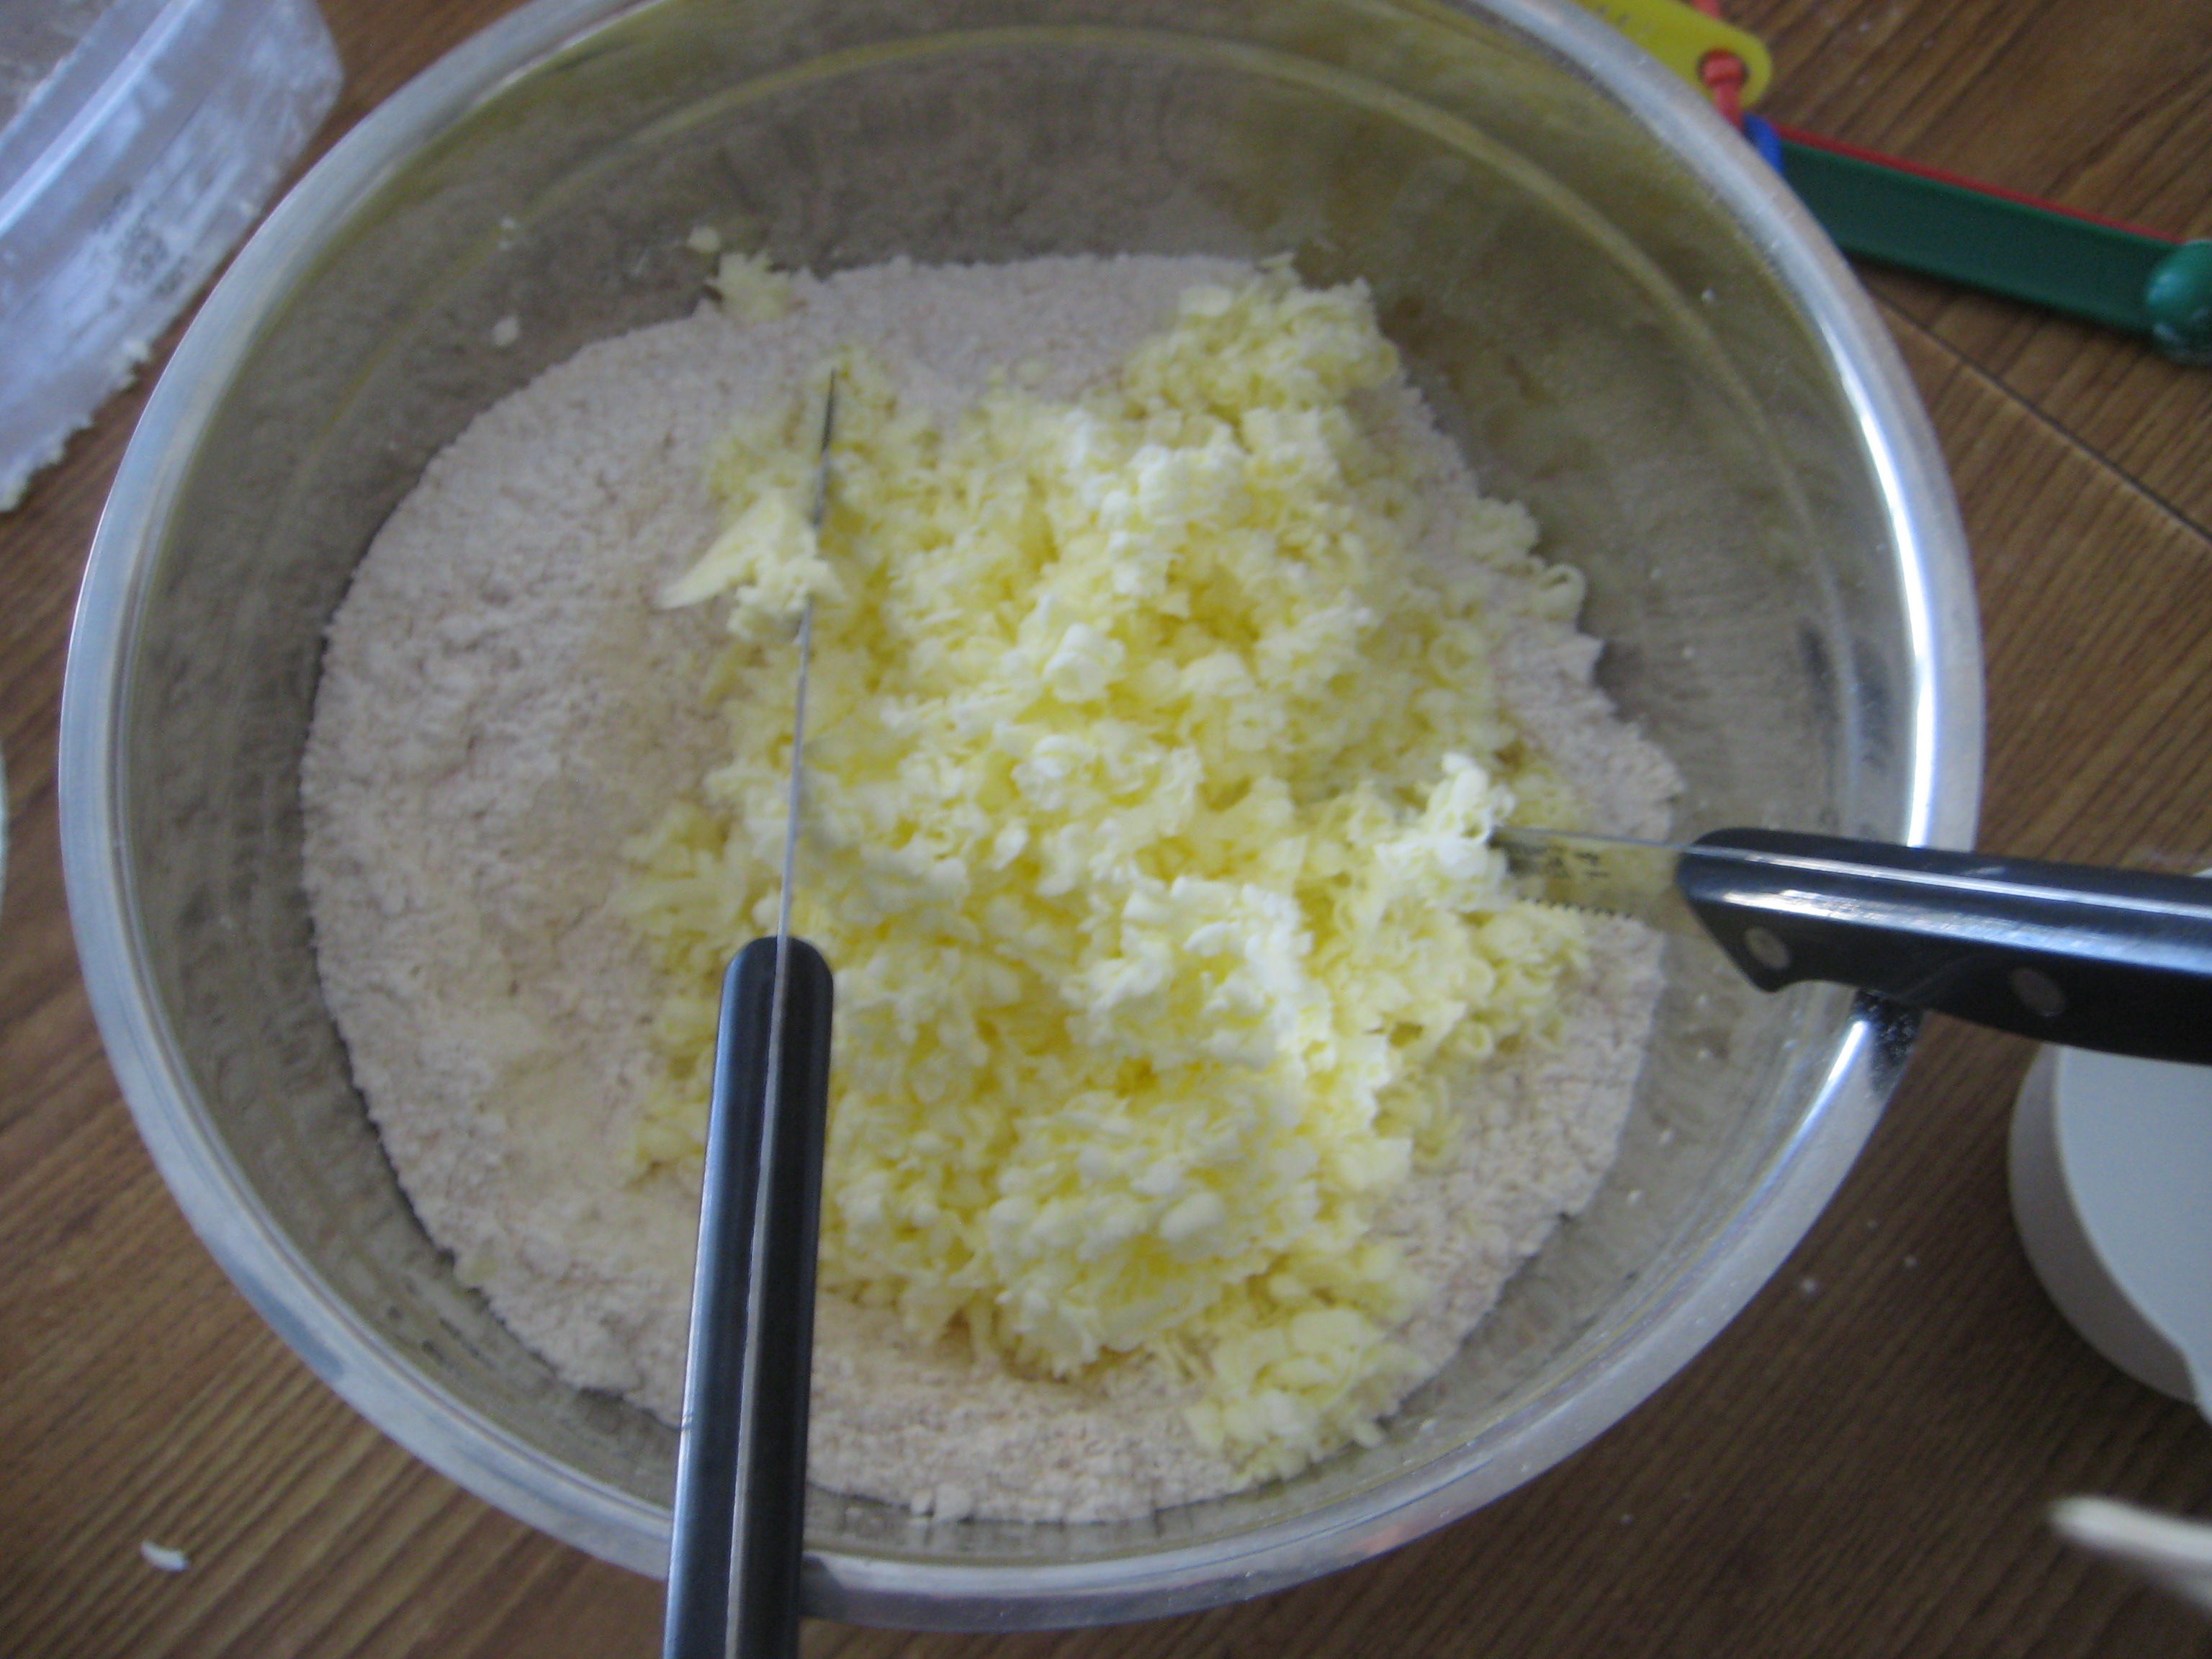
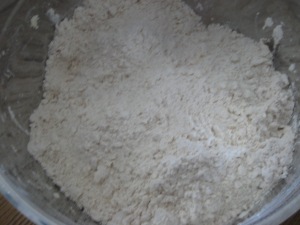
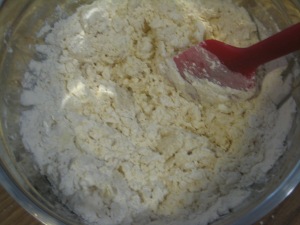
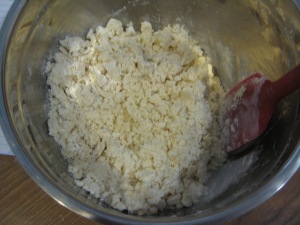
Step 4: Cut in the chilled butter until the mixture resembles course meal, about pea-sized.
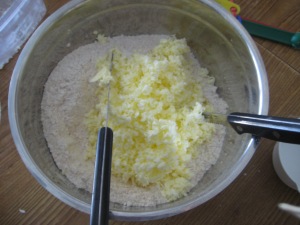
Step 5: (Optional: stir in the dried fruits and nuts)
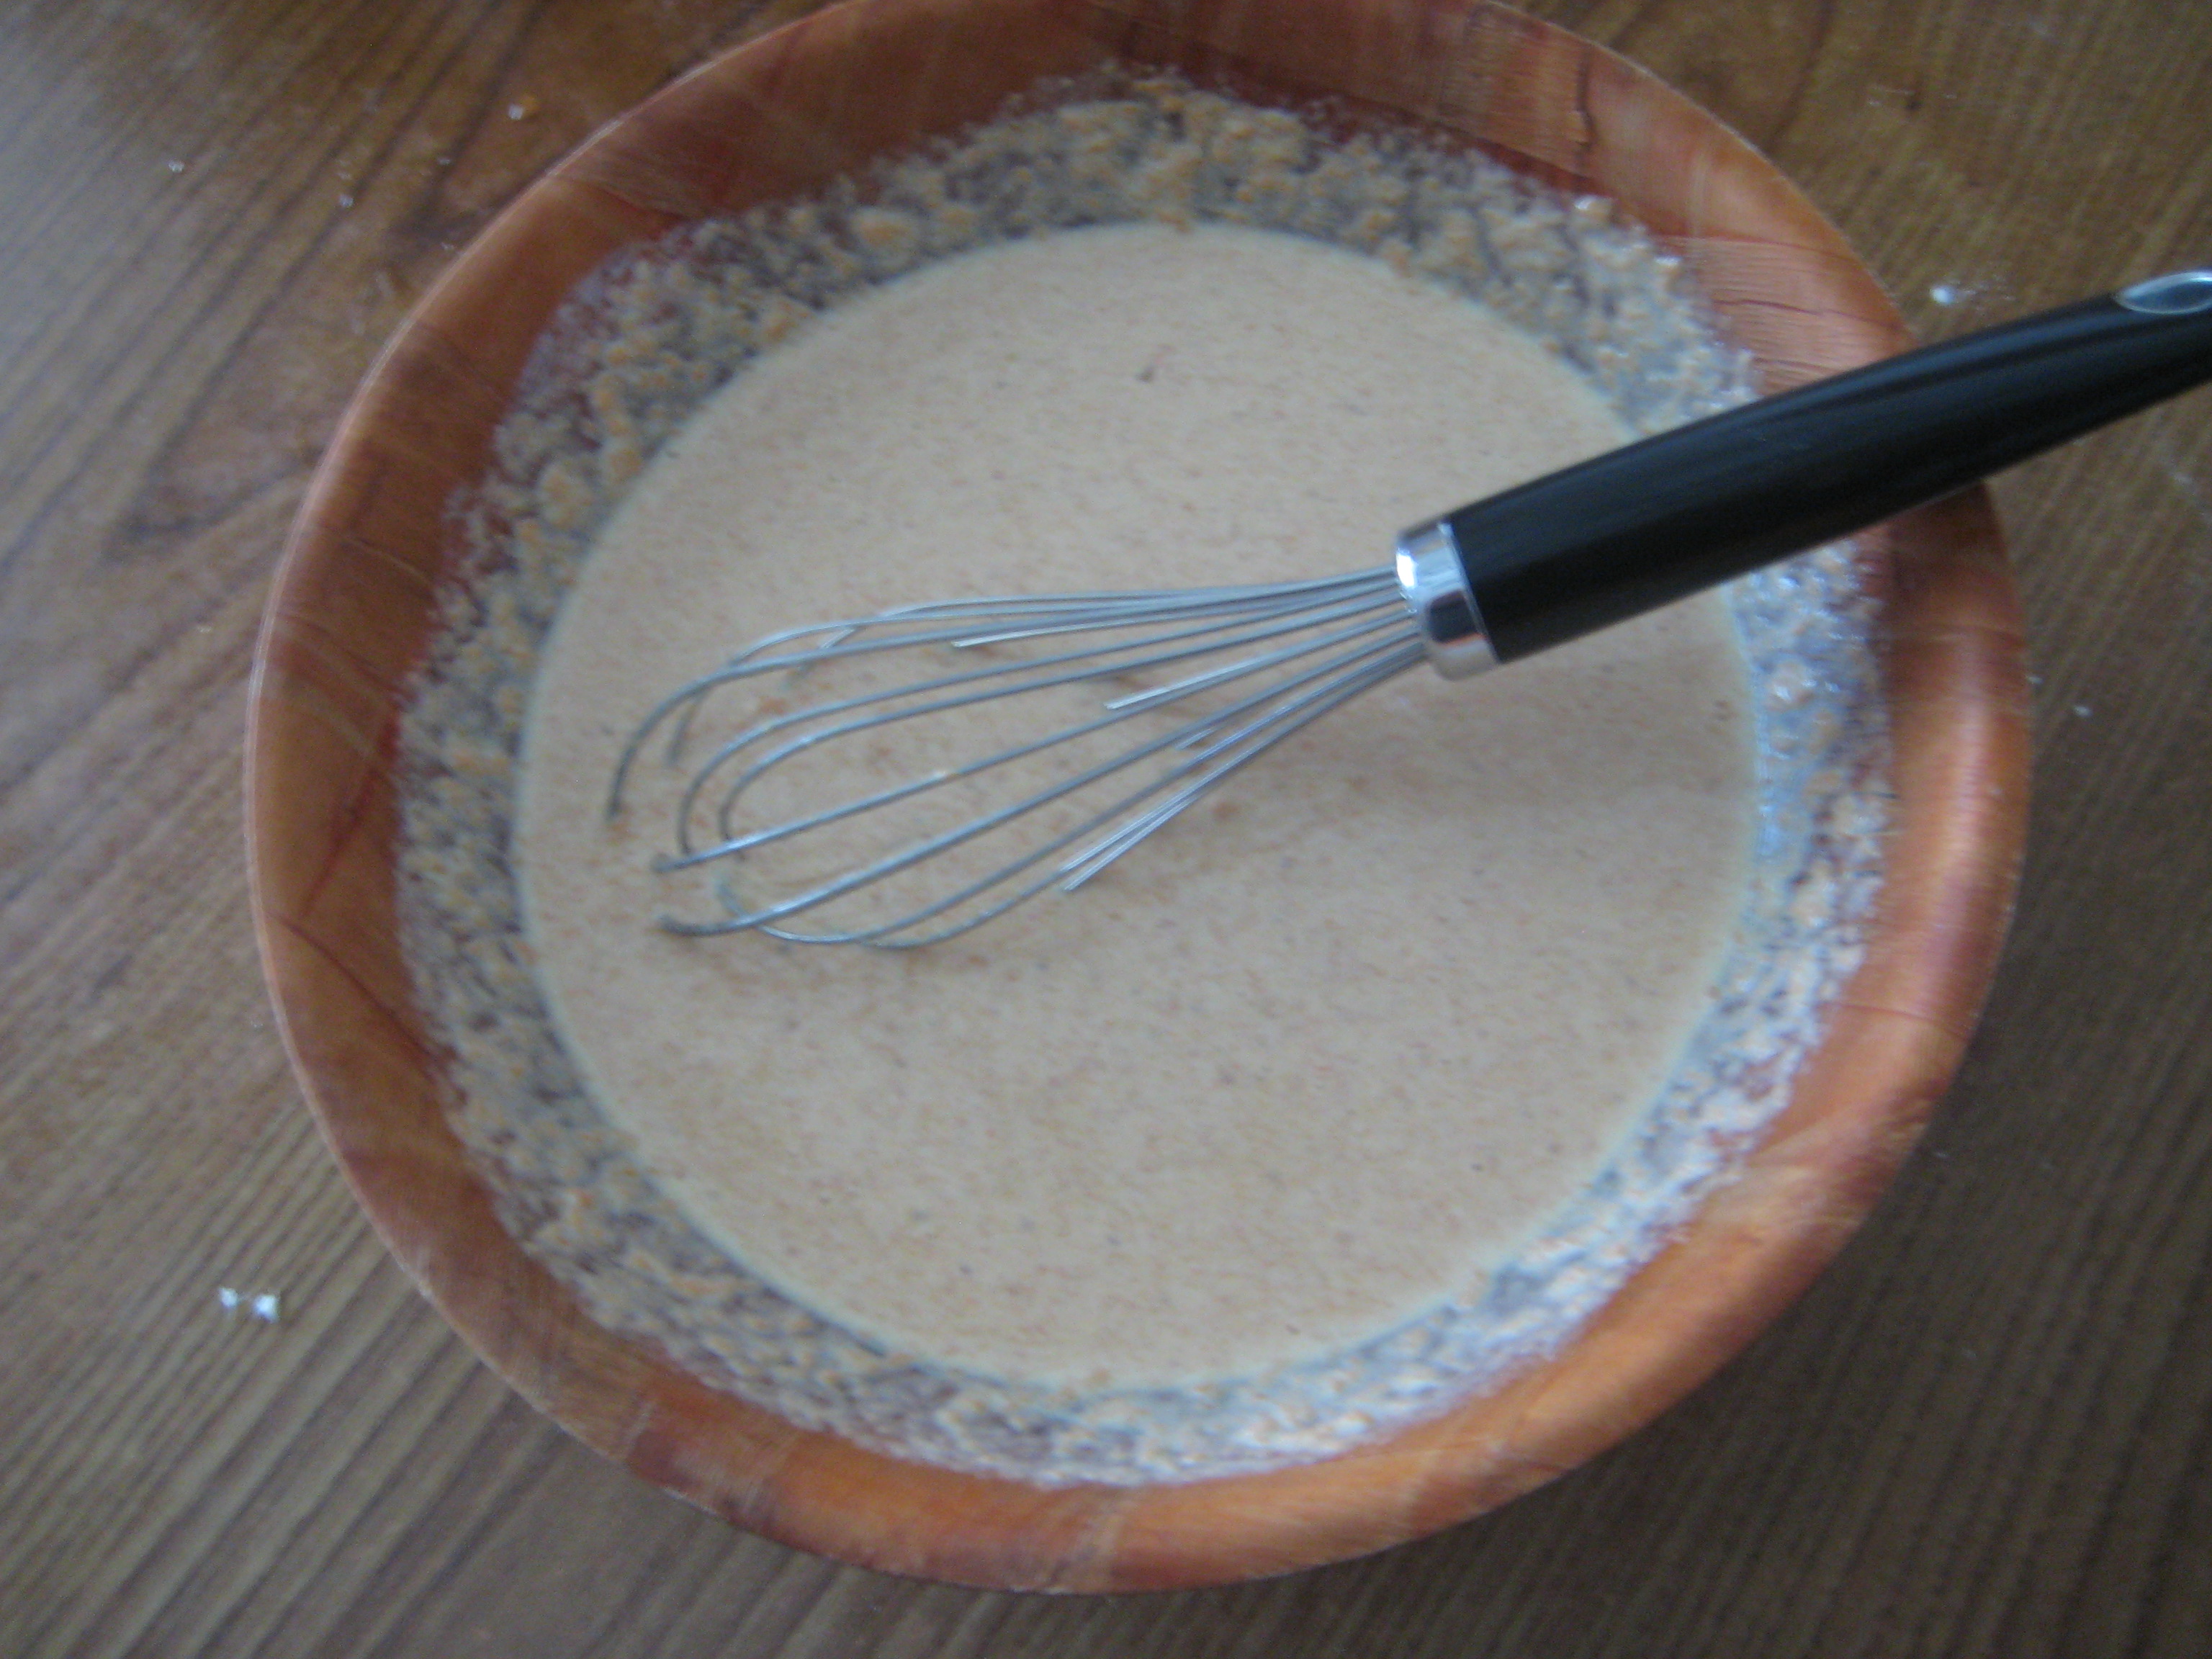
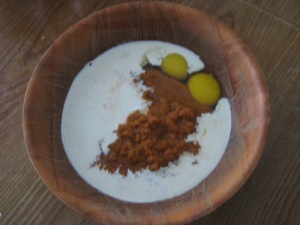
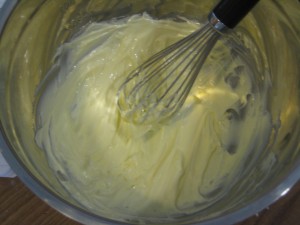
Step 6: In a small bowl, combine the eggs, pumpkin puree, and cream.
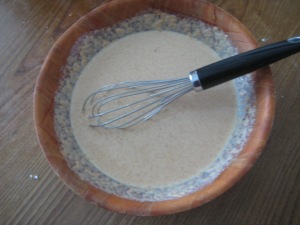
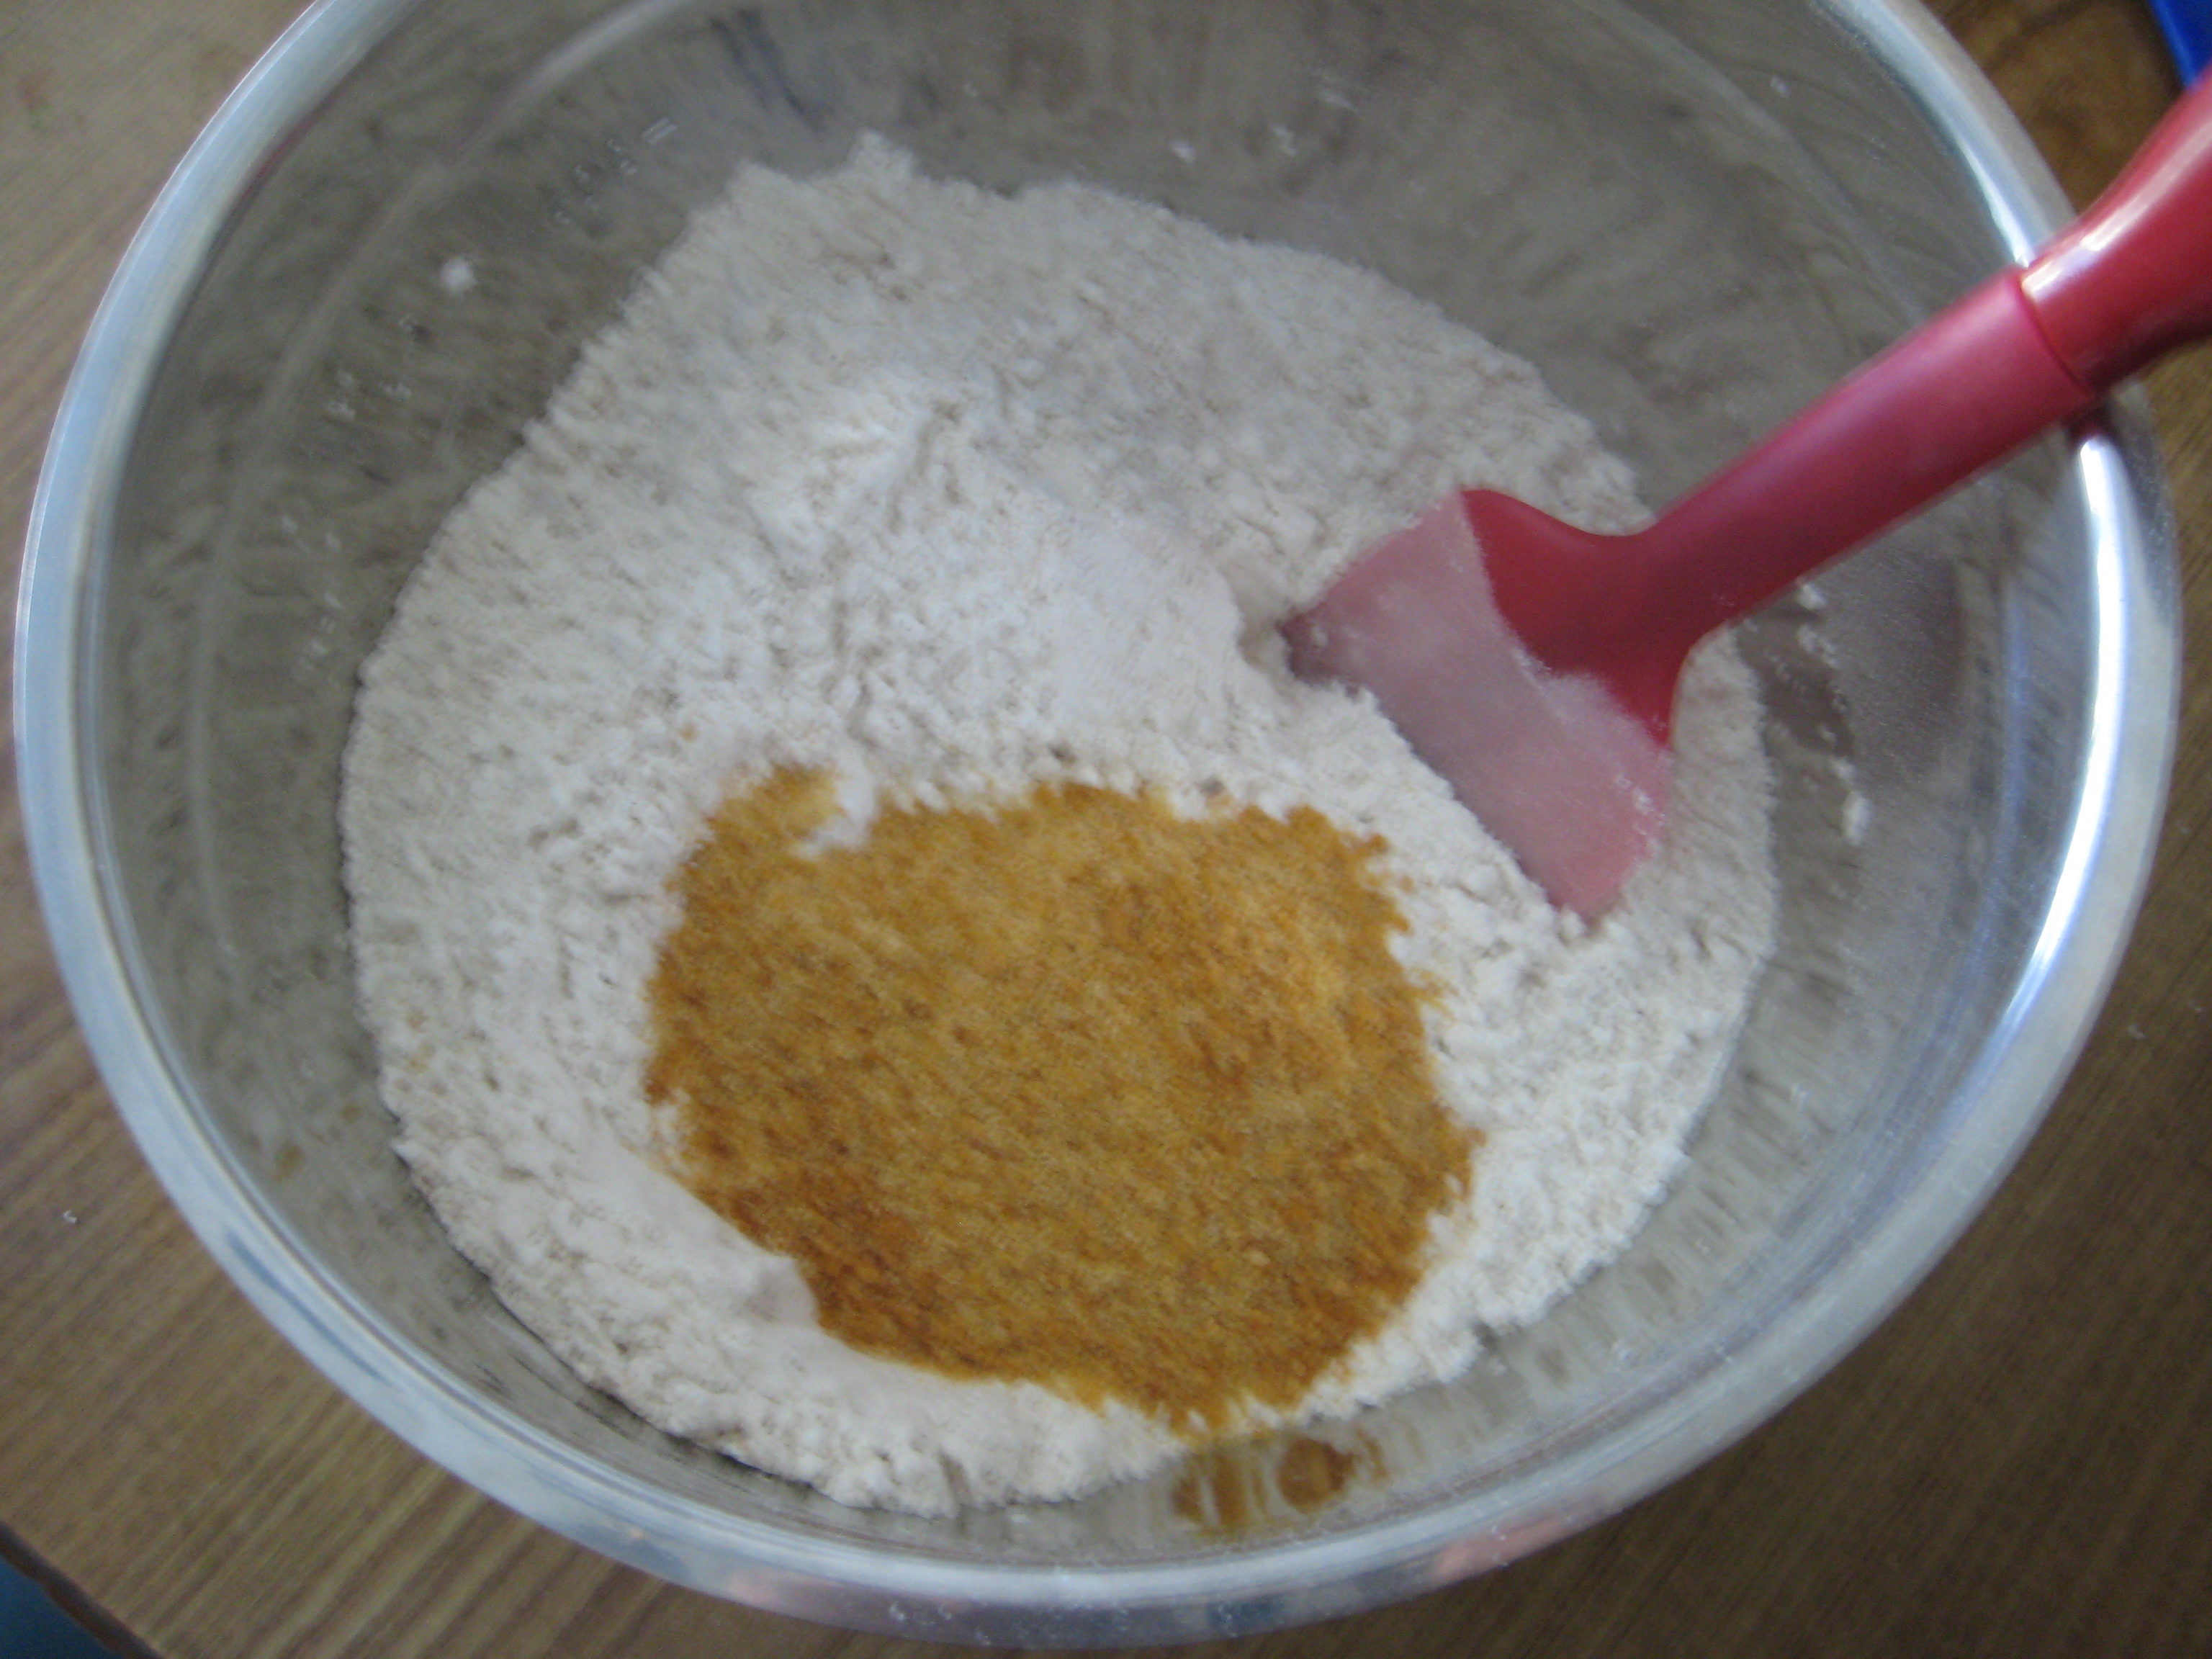
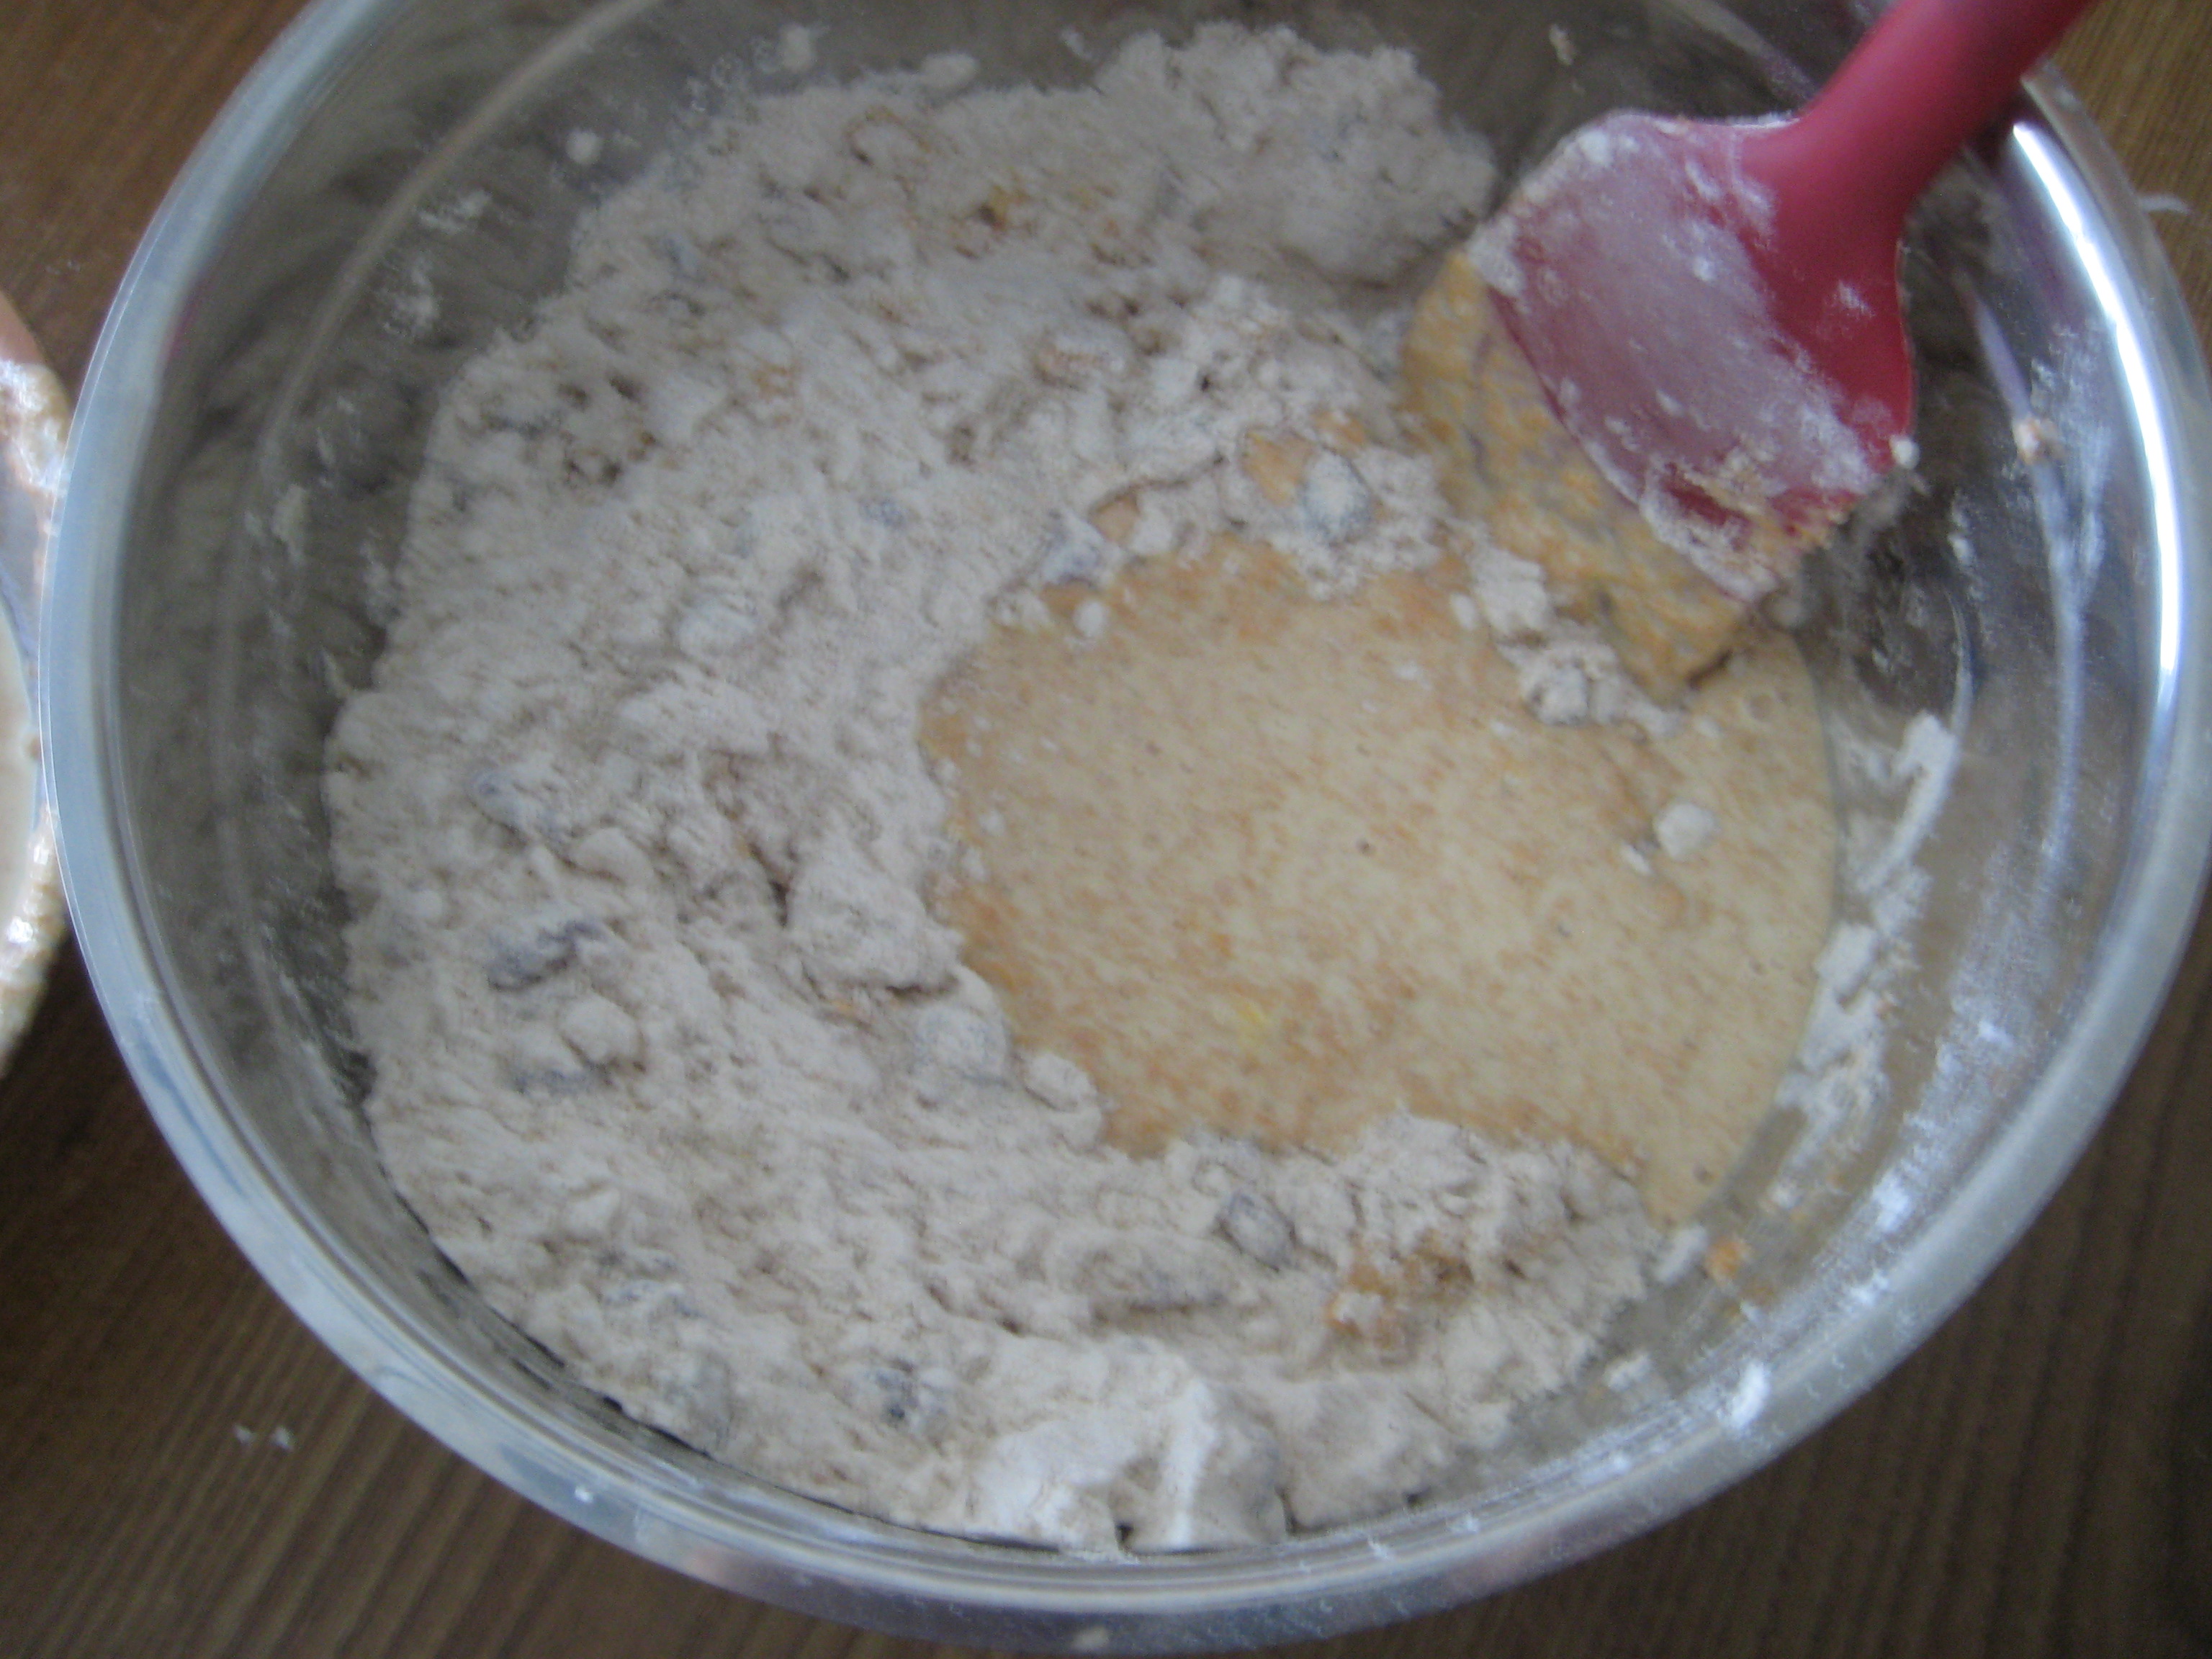
Step 7: While stir the butter mixture, slowly pour in the wet ingredients and stir until just combined. (Bits of butter should be visible and almost all the flour is incorporated.)

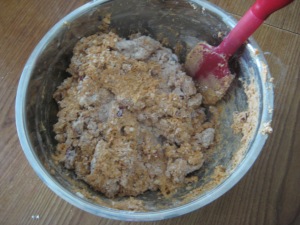
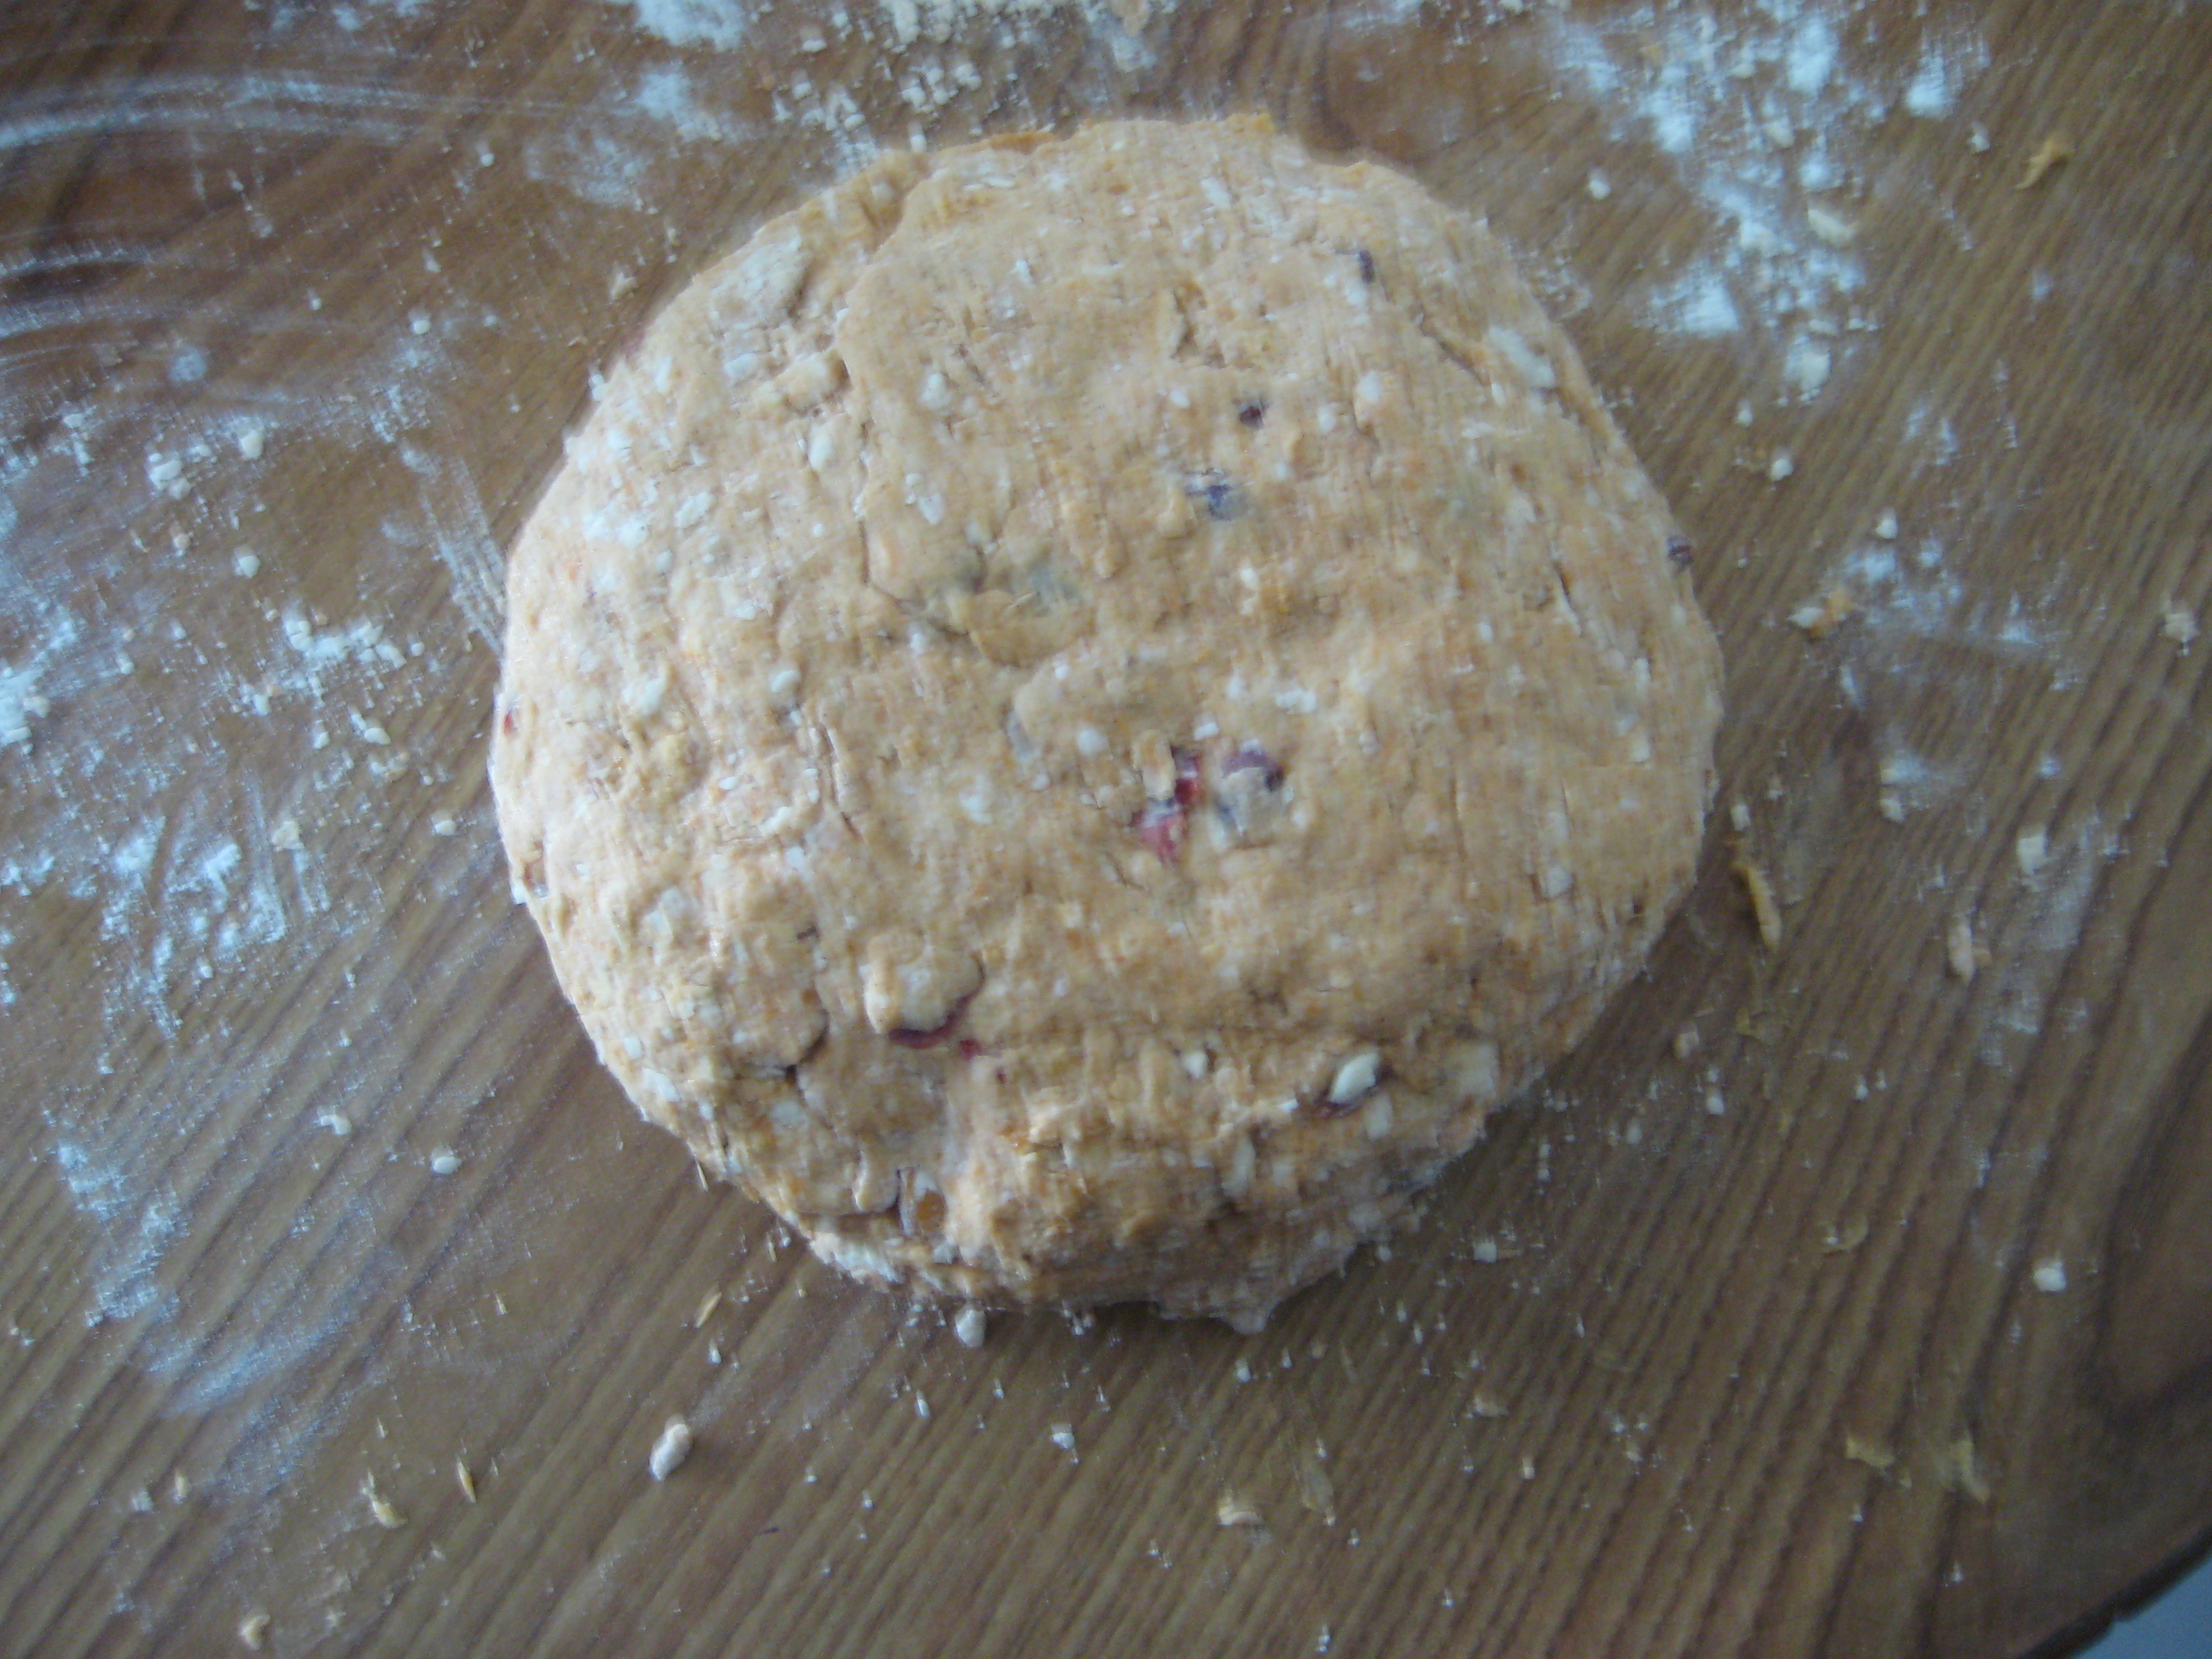
Step 8: Turn the dough onto a lightly floured surface.
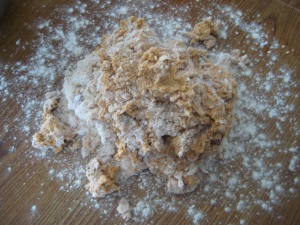
Step 9: Work quickly while gently kneading the dough, by folding and pressing the dough until fairly smooth. (the dough will be sticky so don’t over knead)

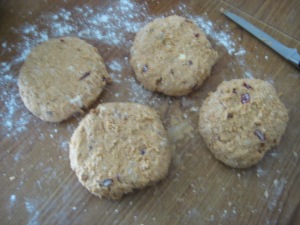
Step 10: Divide the dough into 4 equal parts and shape the dough pieces into balls.
Step 11: Shape dough balls into 4-inch rounds about 3/4-inch to 1-inch thickness.
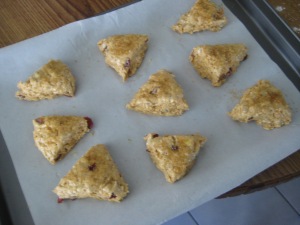
Step 12: Cut each round into 6 wedges and place onto the prepared baking sheet.
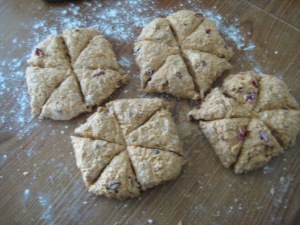
Step 13: Brush each pieces with the egg wash and sprinkle on the raw sugar.
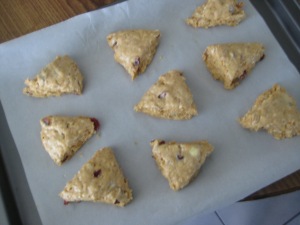
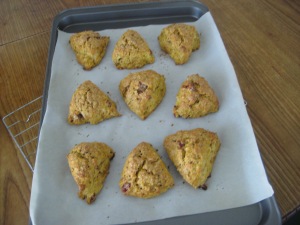
Step 14: Bake for 15-20 minutes, or until lightly golden and the cut sides look flaky and dry. (Should feel light and sounds almost hollow when tapped on the bottom.)
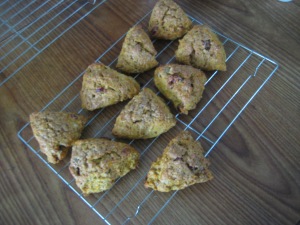
Step 15: Cool completely on a wire rack.
28 Nov 2013
by suzaku24
in Breads, Cakes, and Pastries, Butter, Dessert, Nuts, recipes, Thanksgiving
Tags: apple rolls, caramel apple, food, recipe, upside-down apple cake, upside-down cake, upside-down caramel apple rolls
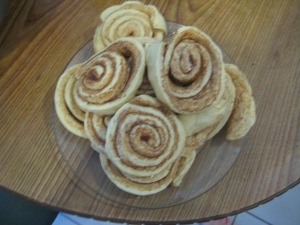
So I have an indecent amount of apples in the back of the refrigerator and I have to use them before they get rotten and also to make room in the refrigerator. So with my dislike of apple pie I didn’t want to make another apple pie this year. Instead I wanted to go with something that I find a bit more comforting. Similar to monkey bread, but instead of using biscuit dough I’ve opted for cinnamon roll dough. It already sounds delectable.
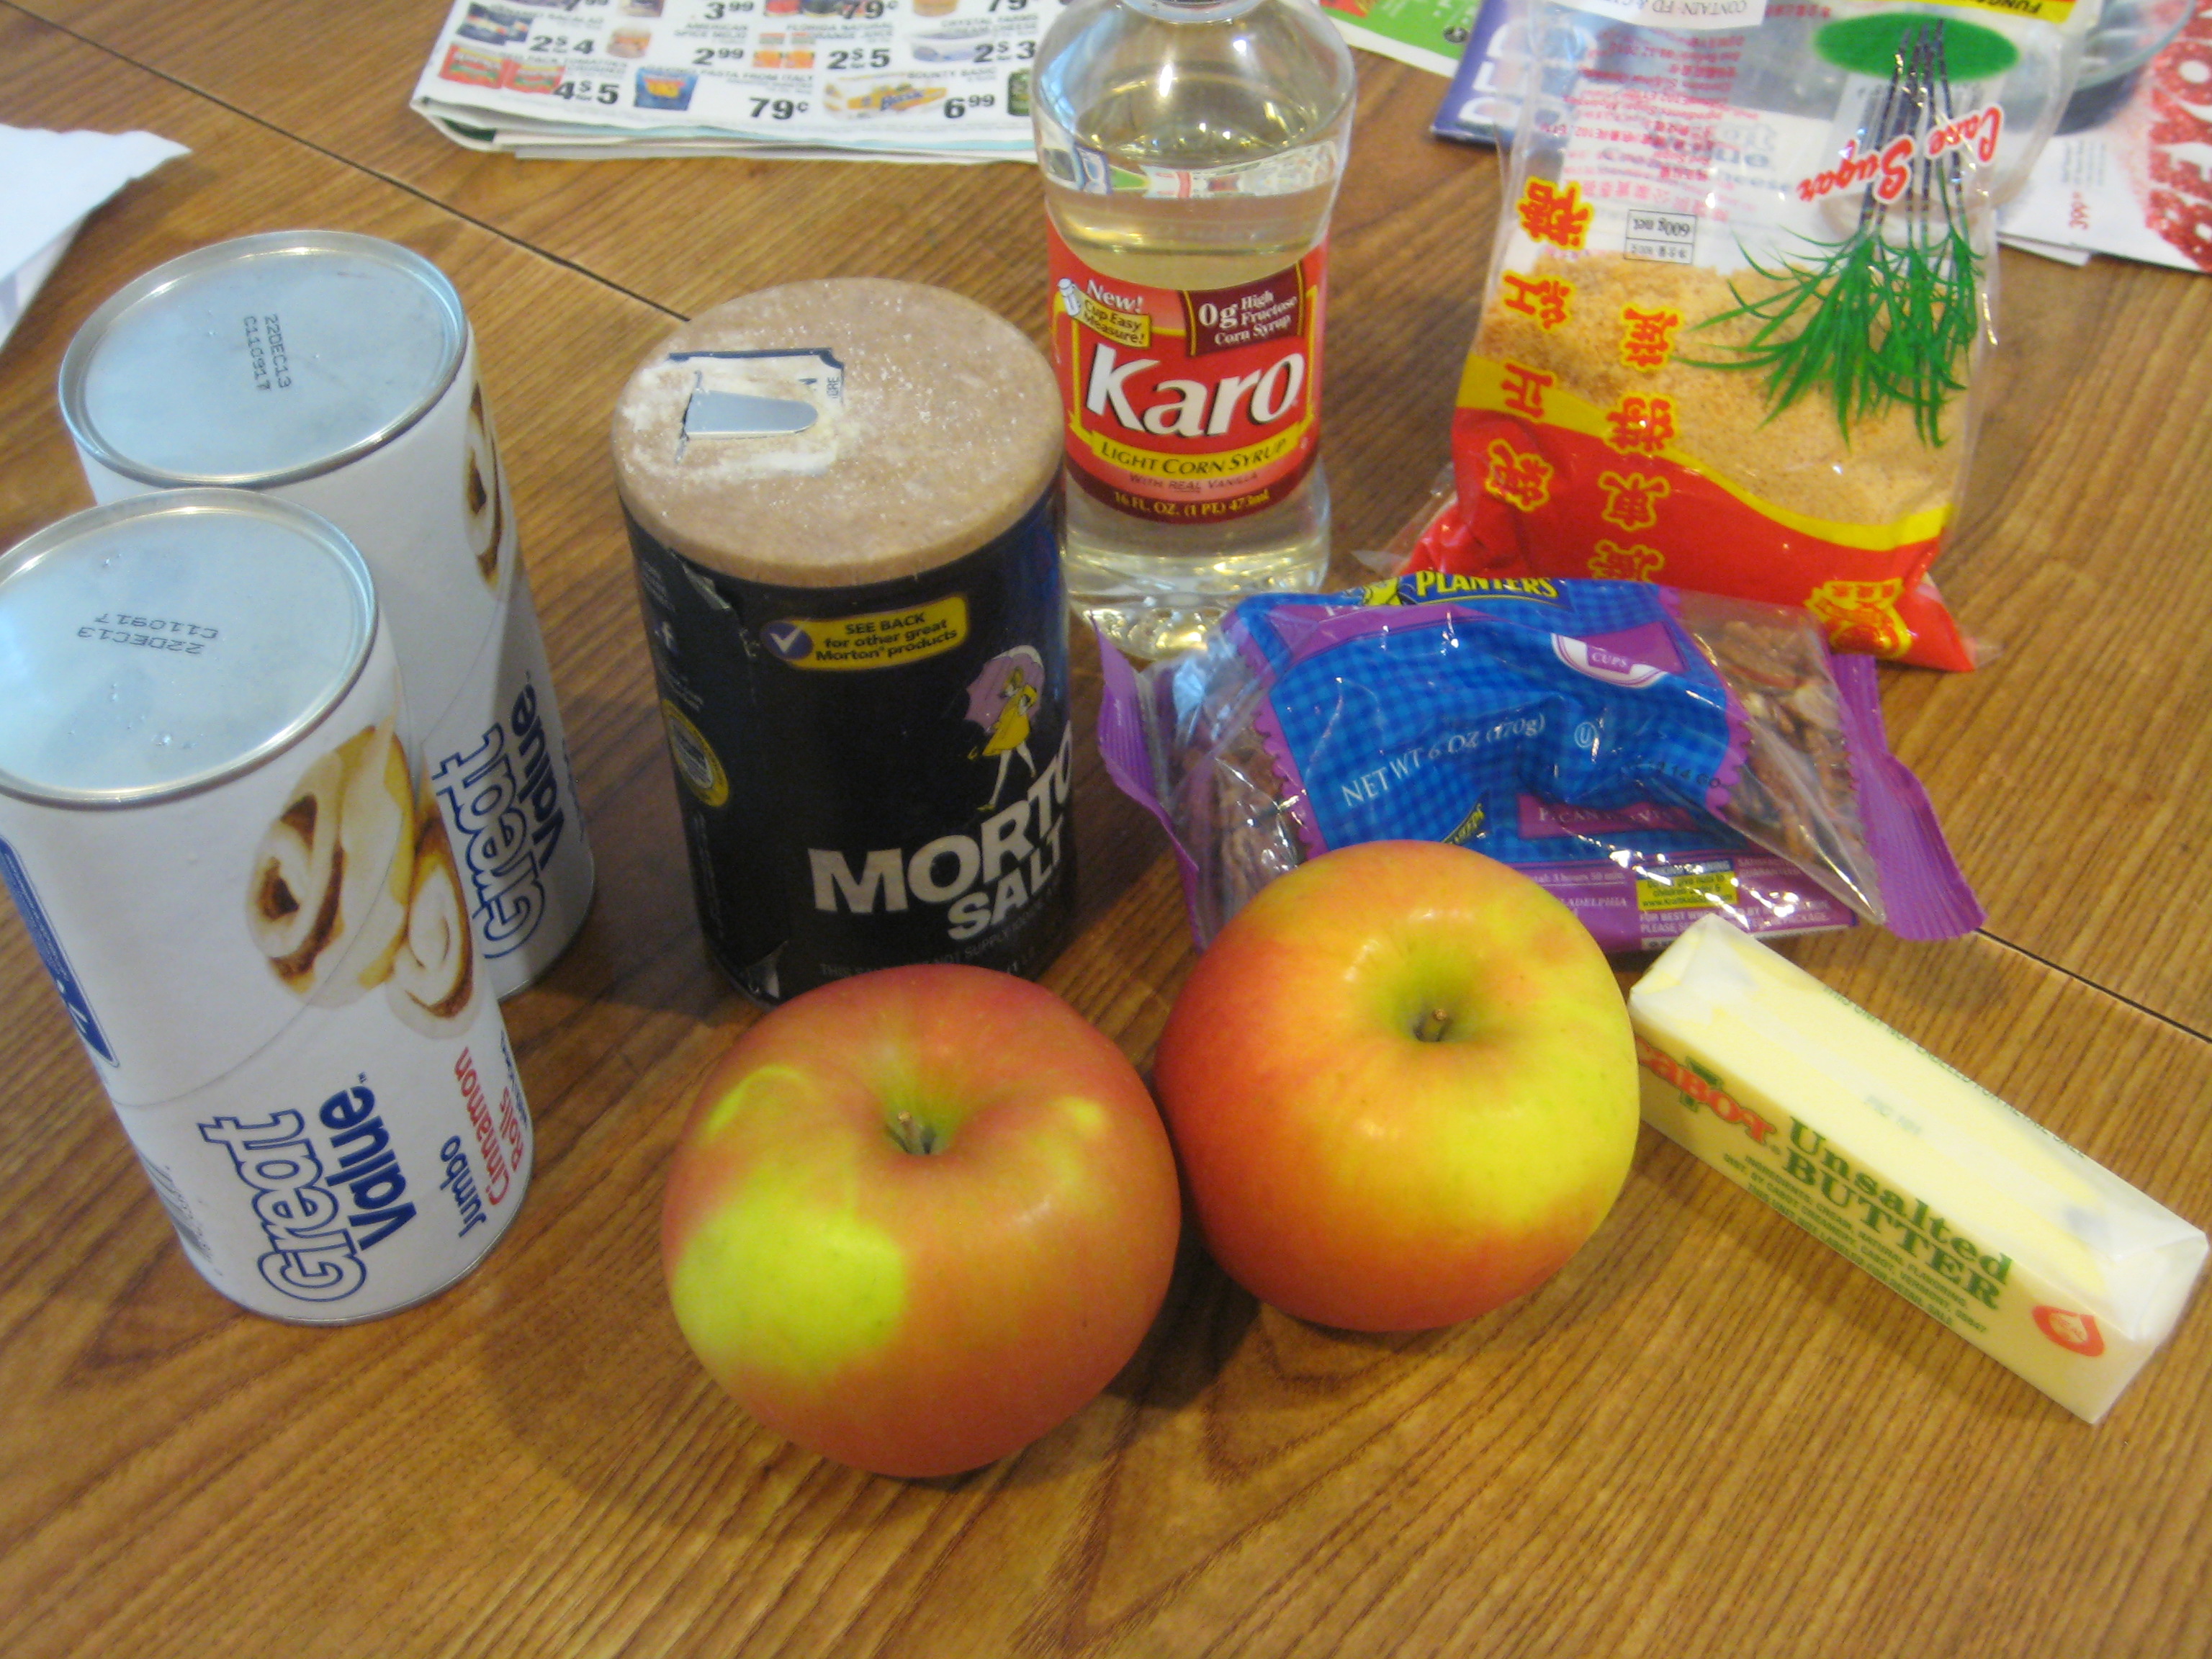
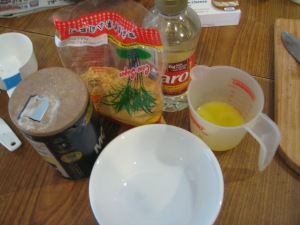
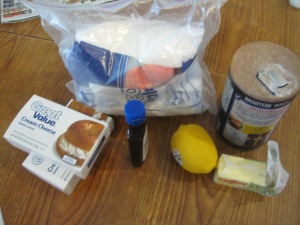
Here are the ingredients needed for this recipe:

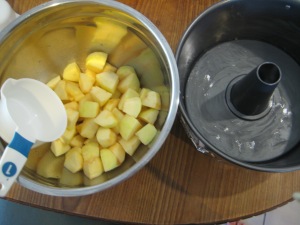
- 3 cups apple (peeled, cored, and chopped)
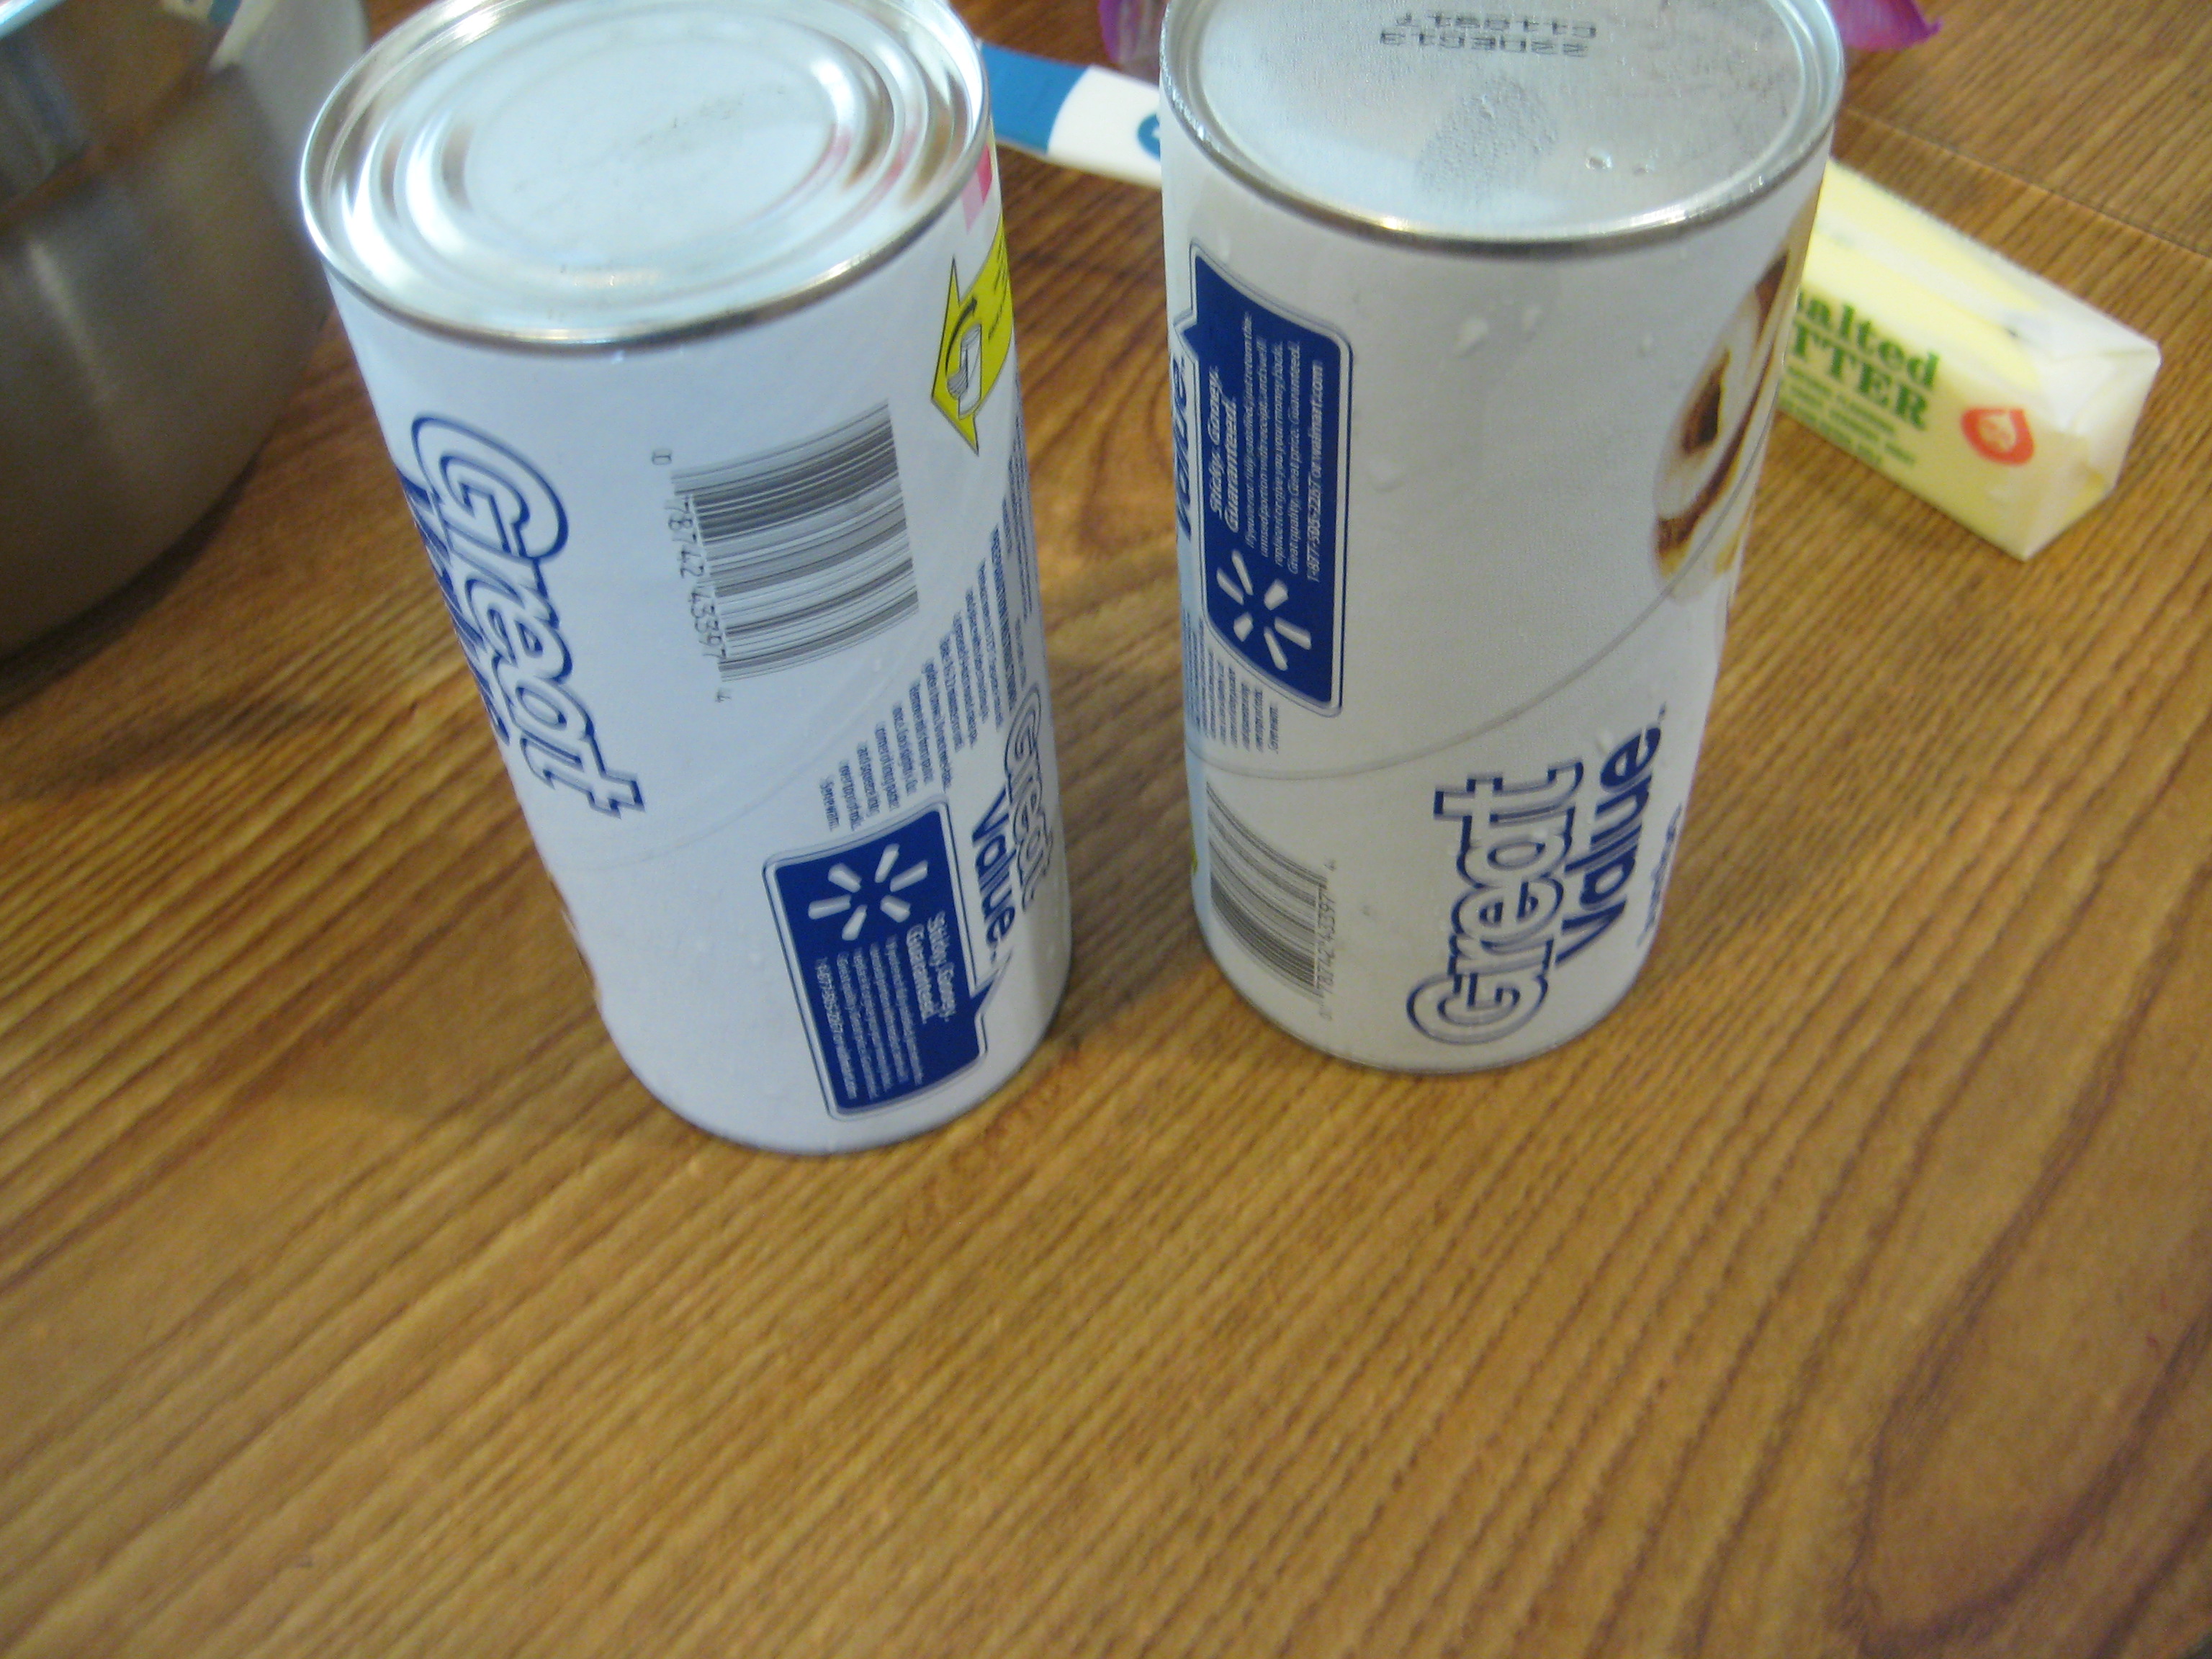
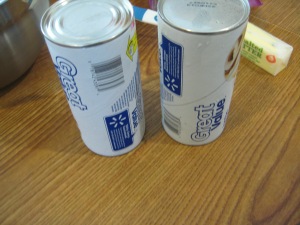
- 2 cans Jumbo cinnamon rolls with icing
- Optional: 1 cup pecan pieces
- 4 Tbsp. unsalted butter, melted
- 2/3 cup brown sugar
- 4 Tbsp. corn syrup
- 1/2 tsp. salt
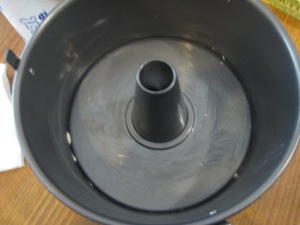
Step 1: Preheat oven to 350°F and grease a bunt pan.
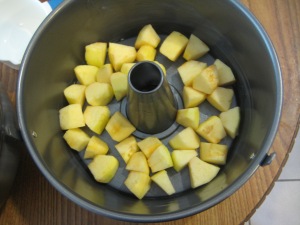
Step 2: Spread 2 cups of the prepared apples into the bunt pan; set aside.
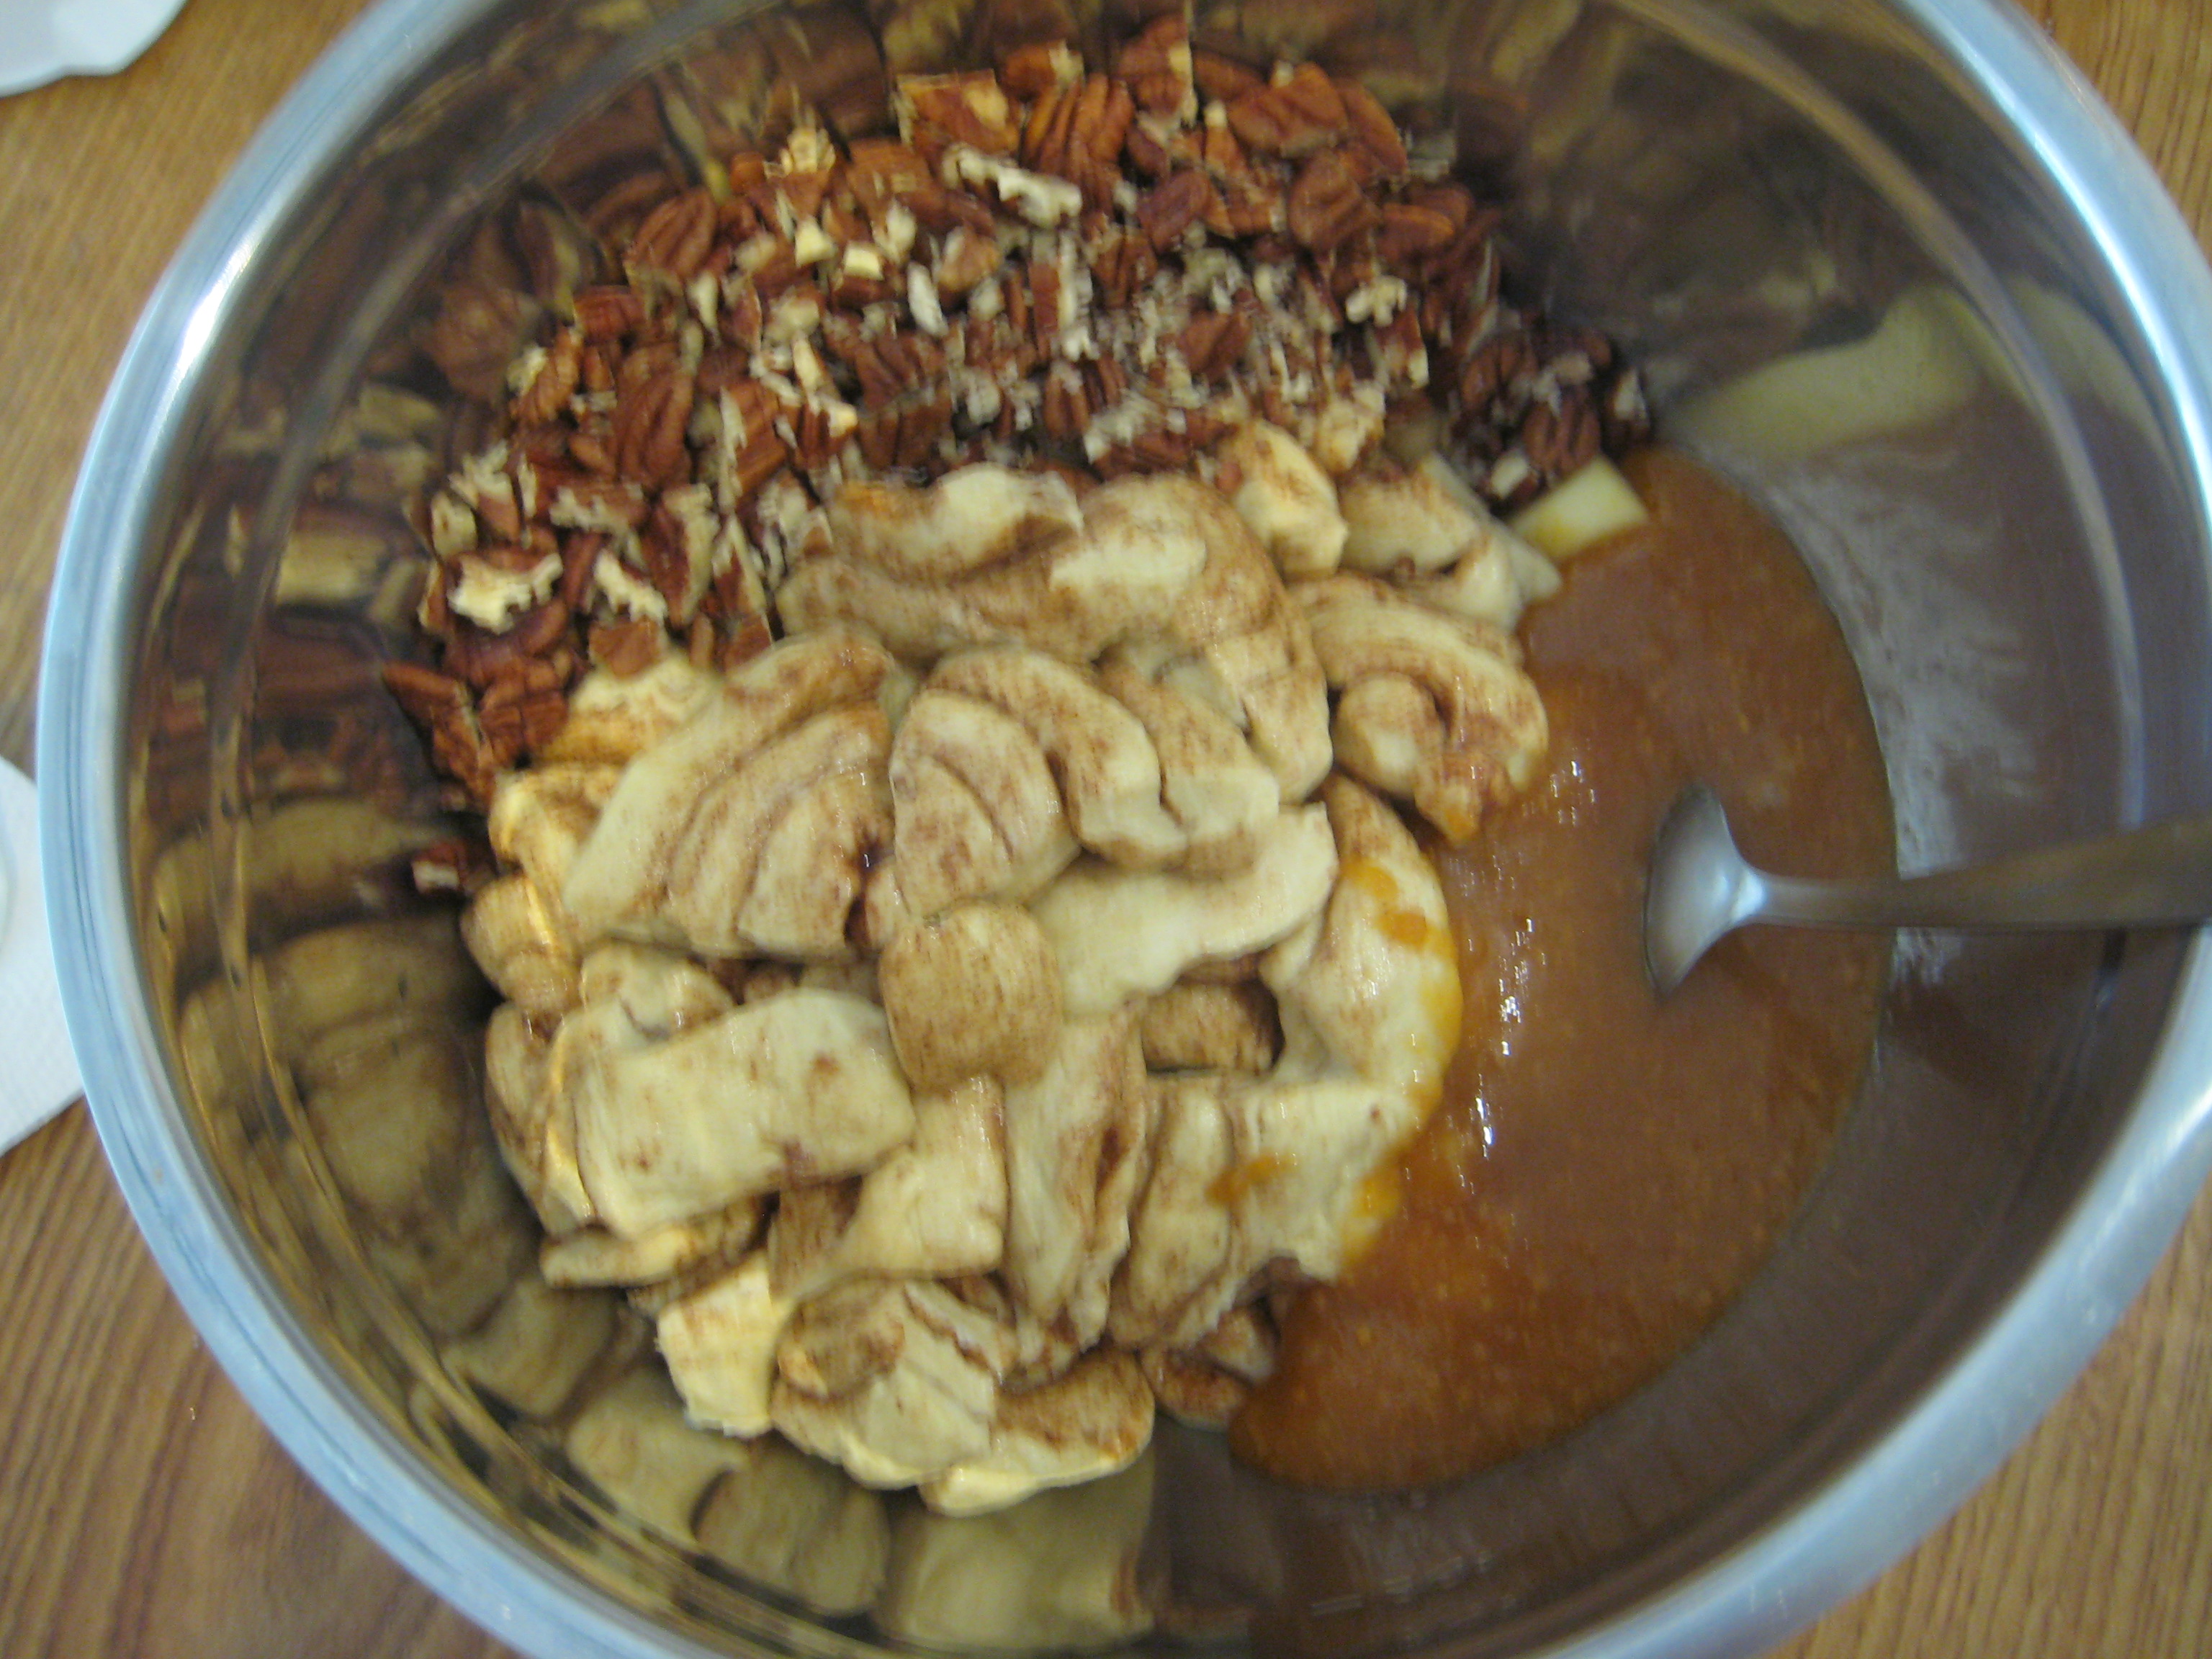
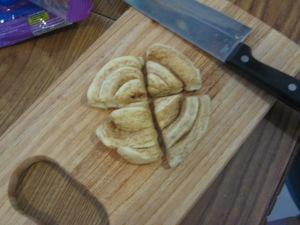
Step 3: Separate the dough and cut each piece into quarters.
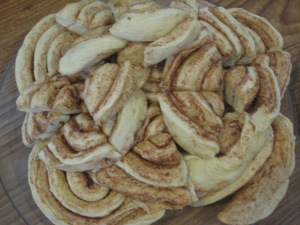
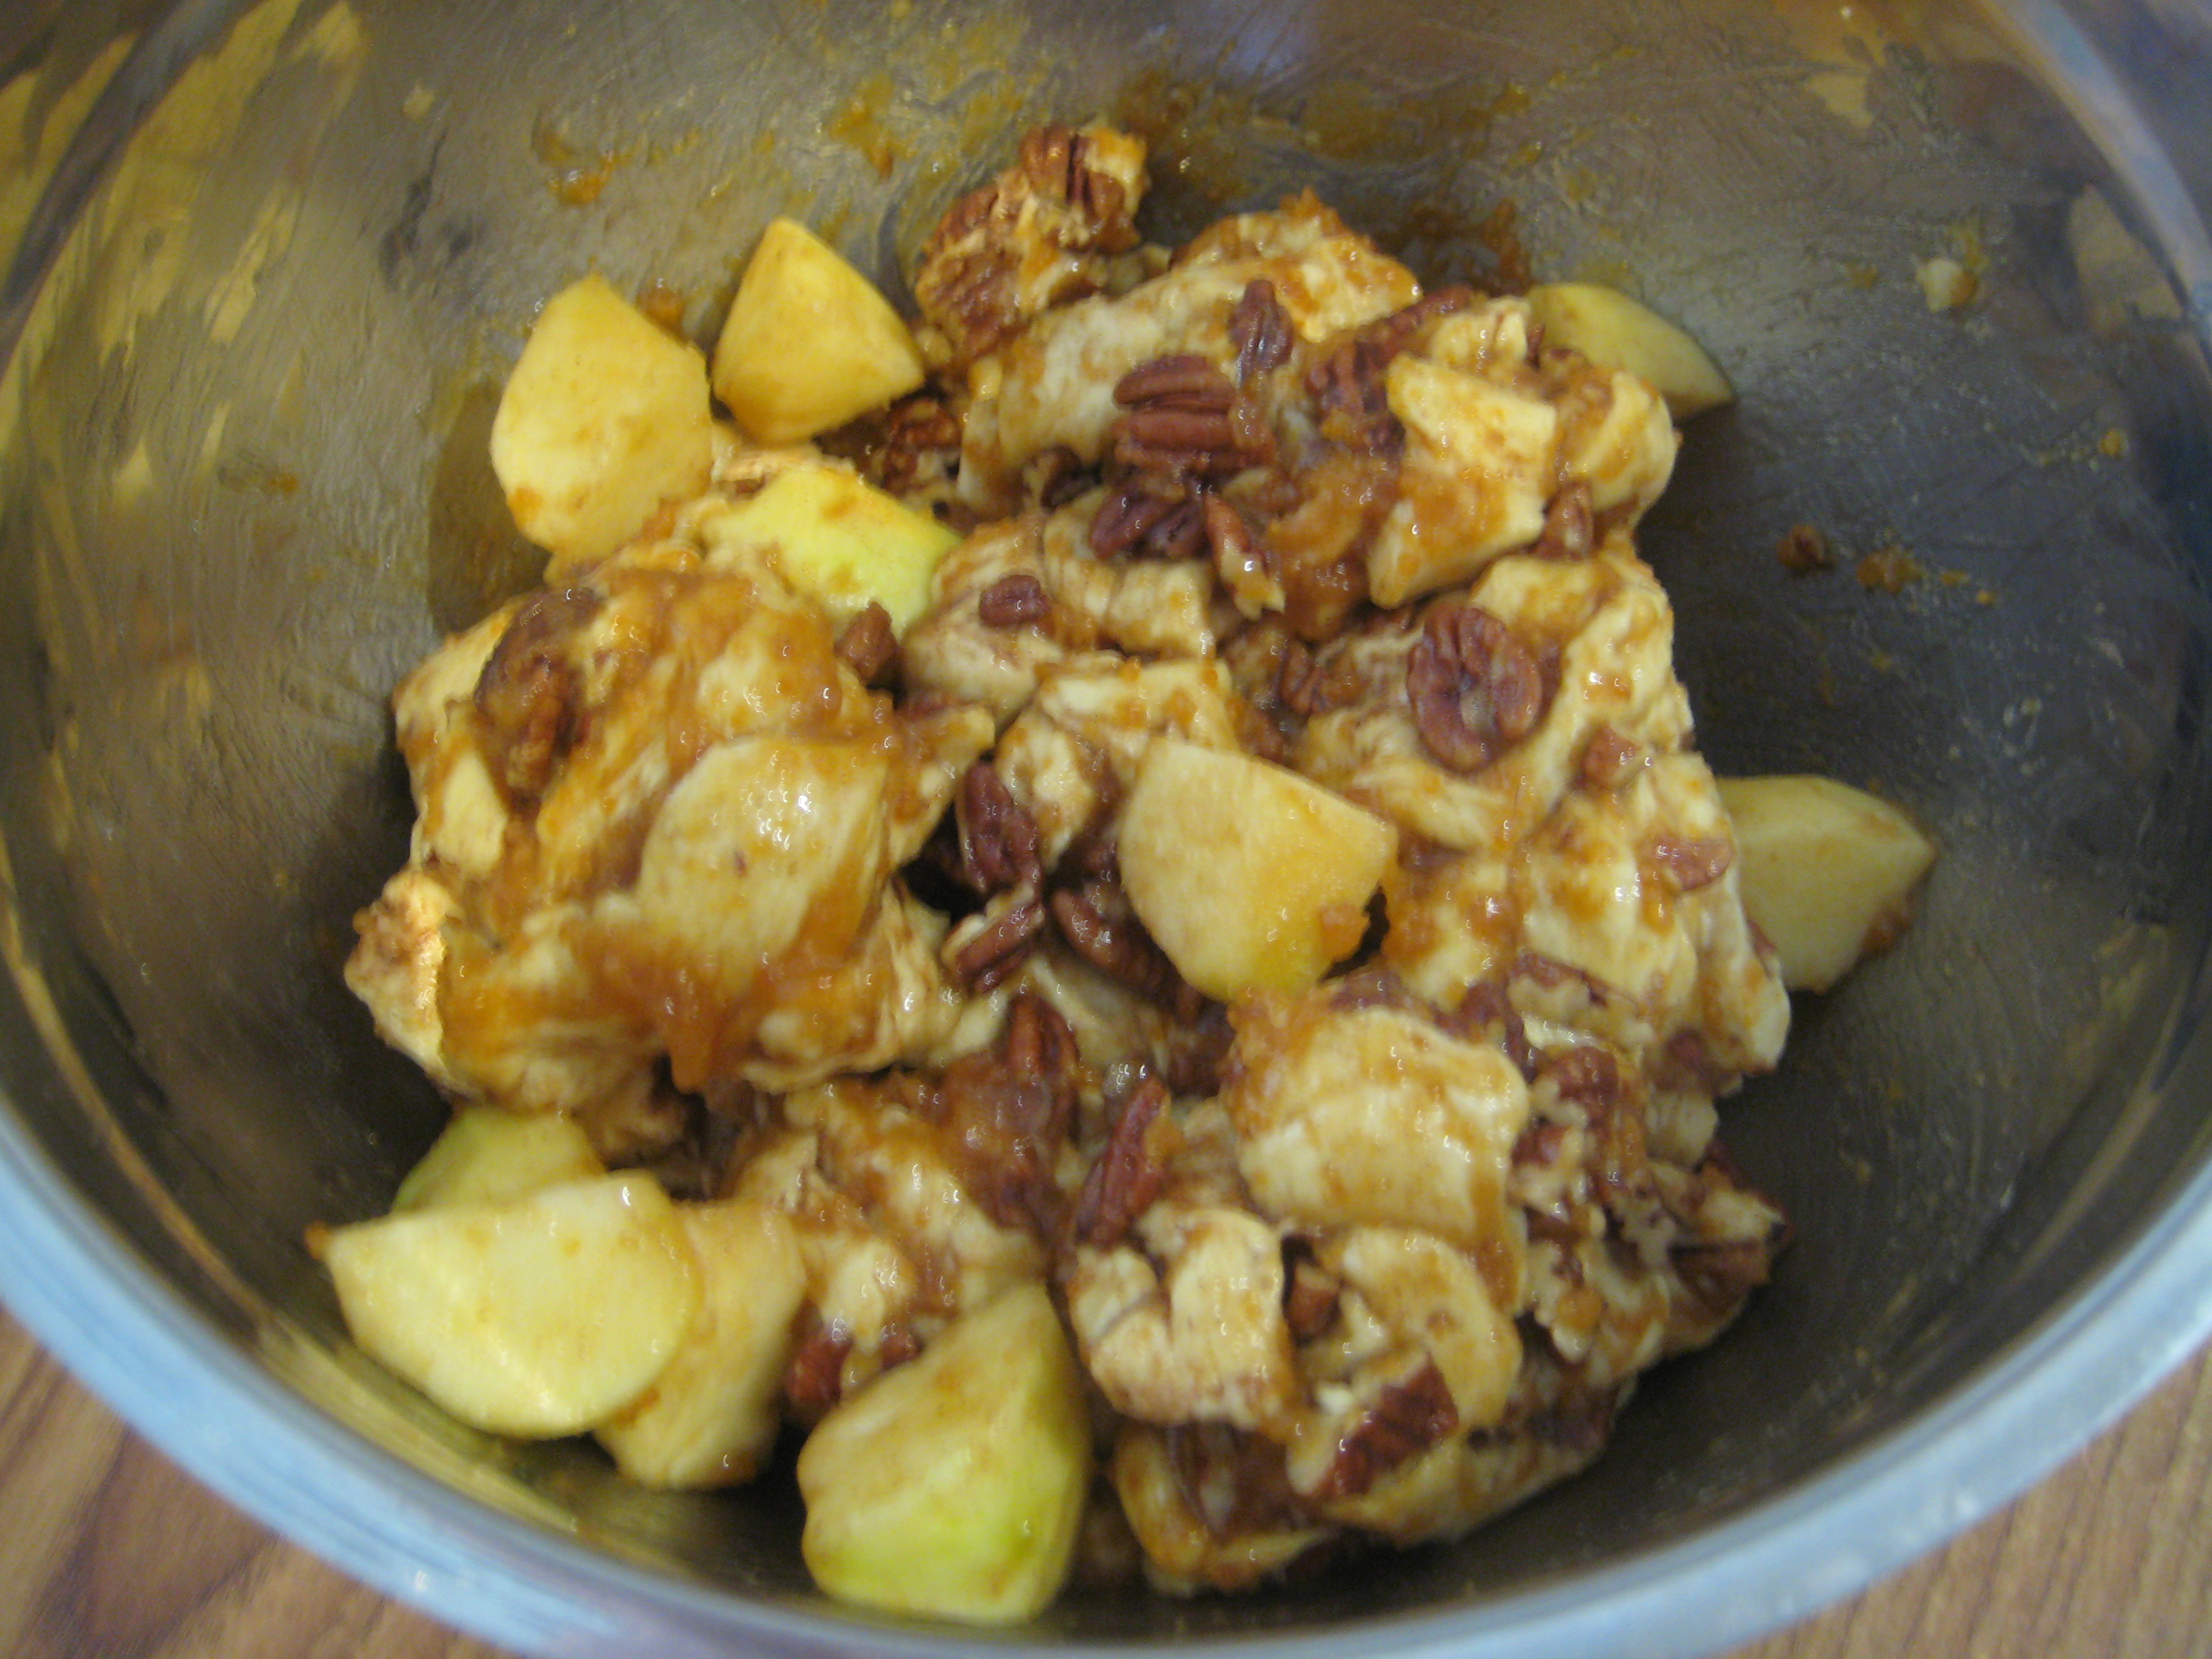
Step 4: In a large bowl, add in the cut pieces of dough, remaining apples, and pecan pieces; set aside.
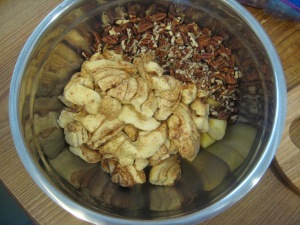
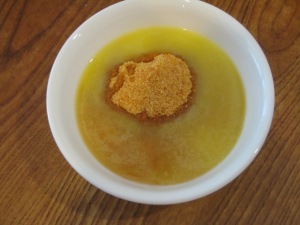
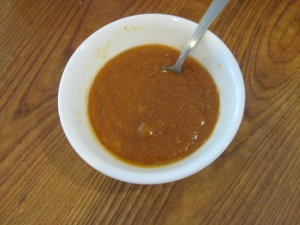
Step 5: In a small bowl, combine the melted butter, brown sugar, corn syrup, and salt until well blended.
Step 6: Add the sugar mixture into the dough mixture.
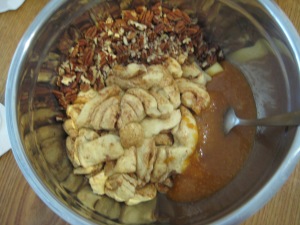
Step 7: Gently toss with hands to combine.

Step 8: Carefully place the dough mixture into the bunt pan.
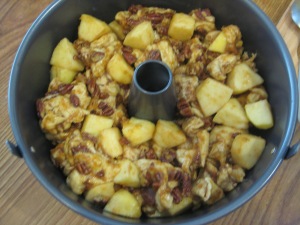
Step 9: Bake for 40-45 minutes or until deep golden brown. (I would have baked it longer but the pan dripped and the kitchen smelt of burnt sugar)
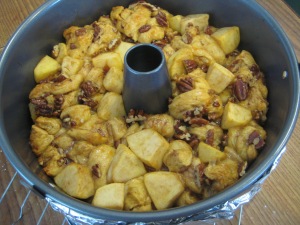
Step 10: Cool in bunt pan for 10 minutes.
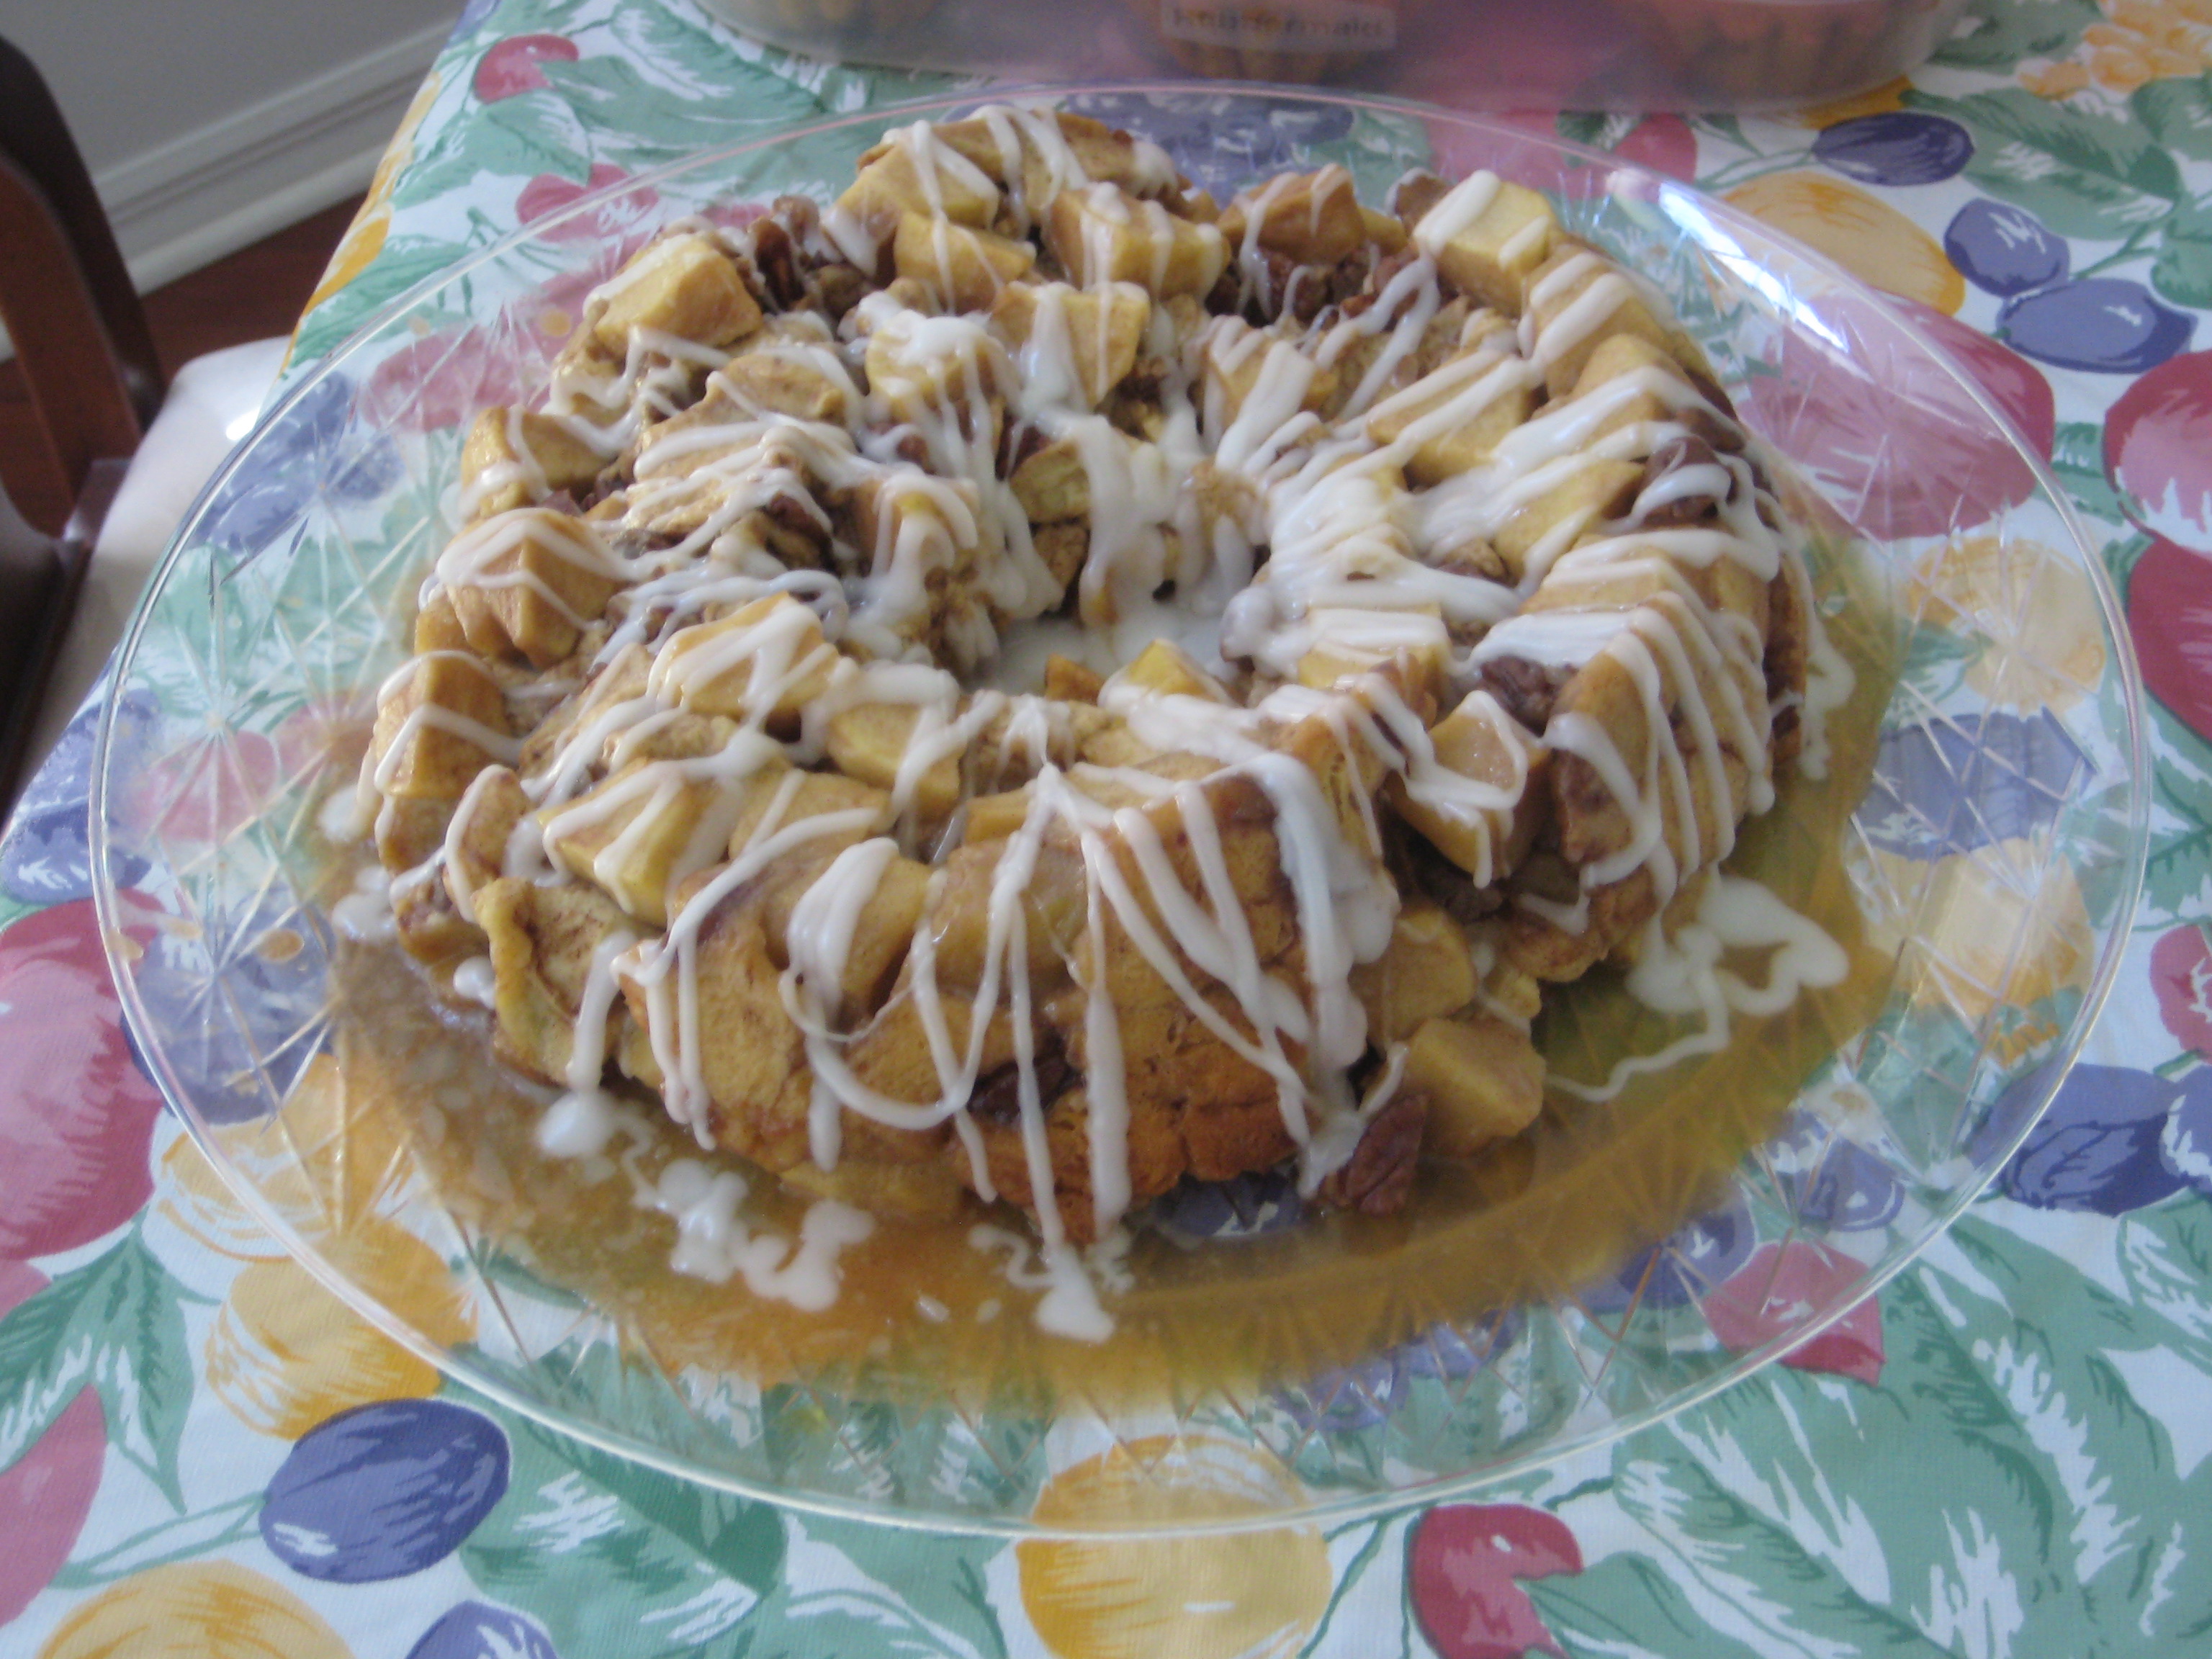
Step 11: Invert onto a serving plate.
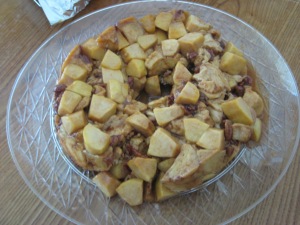
Step 12: Remove the lid from the icing and microwave the icing for 10-15 seconds or until it reaches drizzling consistency.
Step 13: Drizzle the icing over the warm cake and serve warm.

27 Nov 2013
by suzaku24
in Breads, Cakes, and Pastries, Butter, Cheese, Fruits, recipes
Tags: food, ginger bread latte cupcakes, gingerbread cupcakes, Lemon Cream Frosting, lemon frosting, recipe
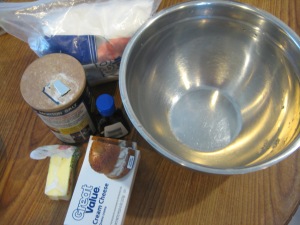
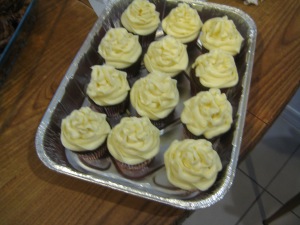
So I had recently posted about Gingerbread Latte Cupcakes and I wanted to make some type of frosting that would pair nicely with it. Something that was light and refreshing. Especially since this is for Thanksgiving one of the very heavy hitting holidays.
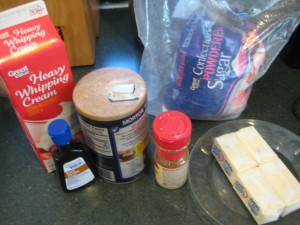
Here are the ingredients needed for this recipe:
- 1/4 cup unsalted butter, room temperature
- 16 oz. cream cheese, room temperature
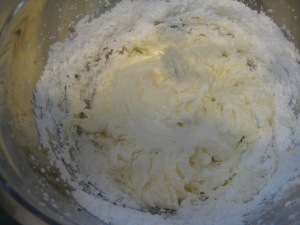
- 2 cups confectioner’s sugar
- 1 tsp. vanilla extract
- 1/4 tsp. salt
- 2 tsp. lemon zest
- 4 tsp. lemon juice
- 1 Tbsp. thinly sliced candied ginger (optional)
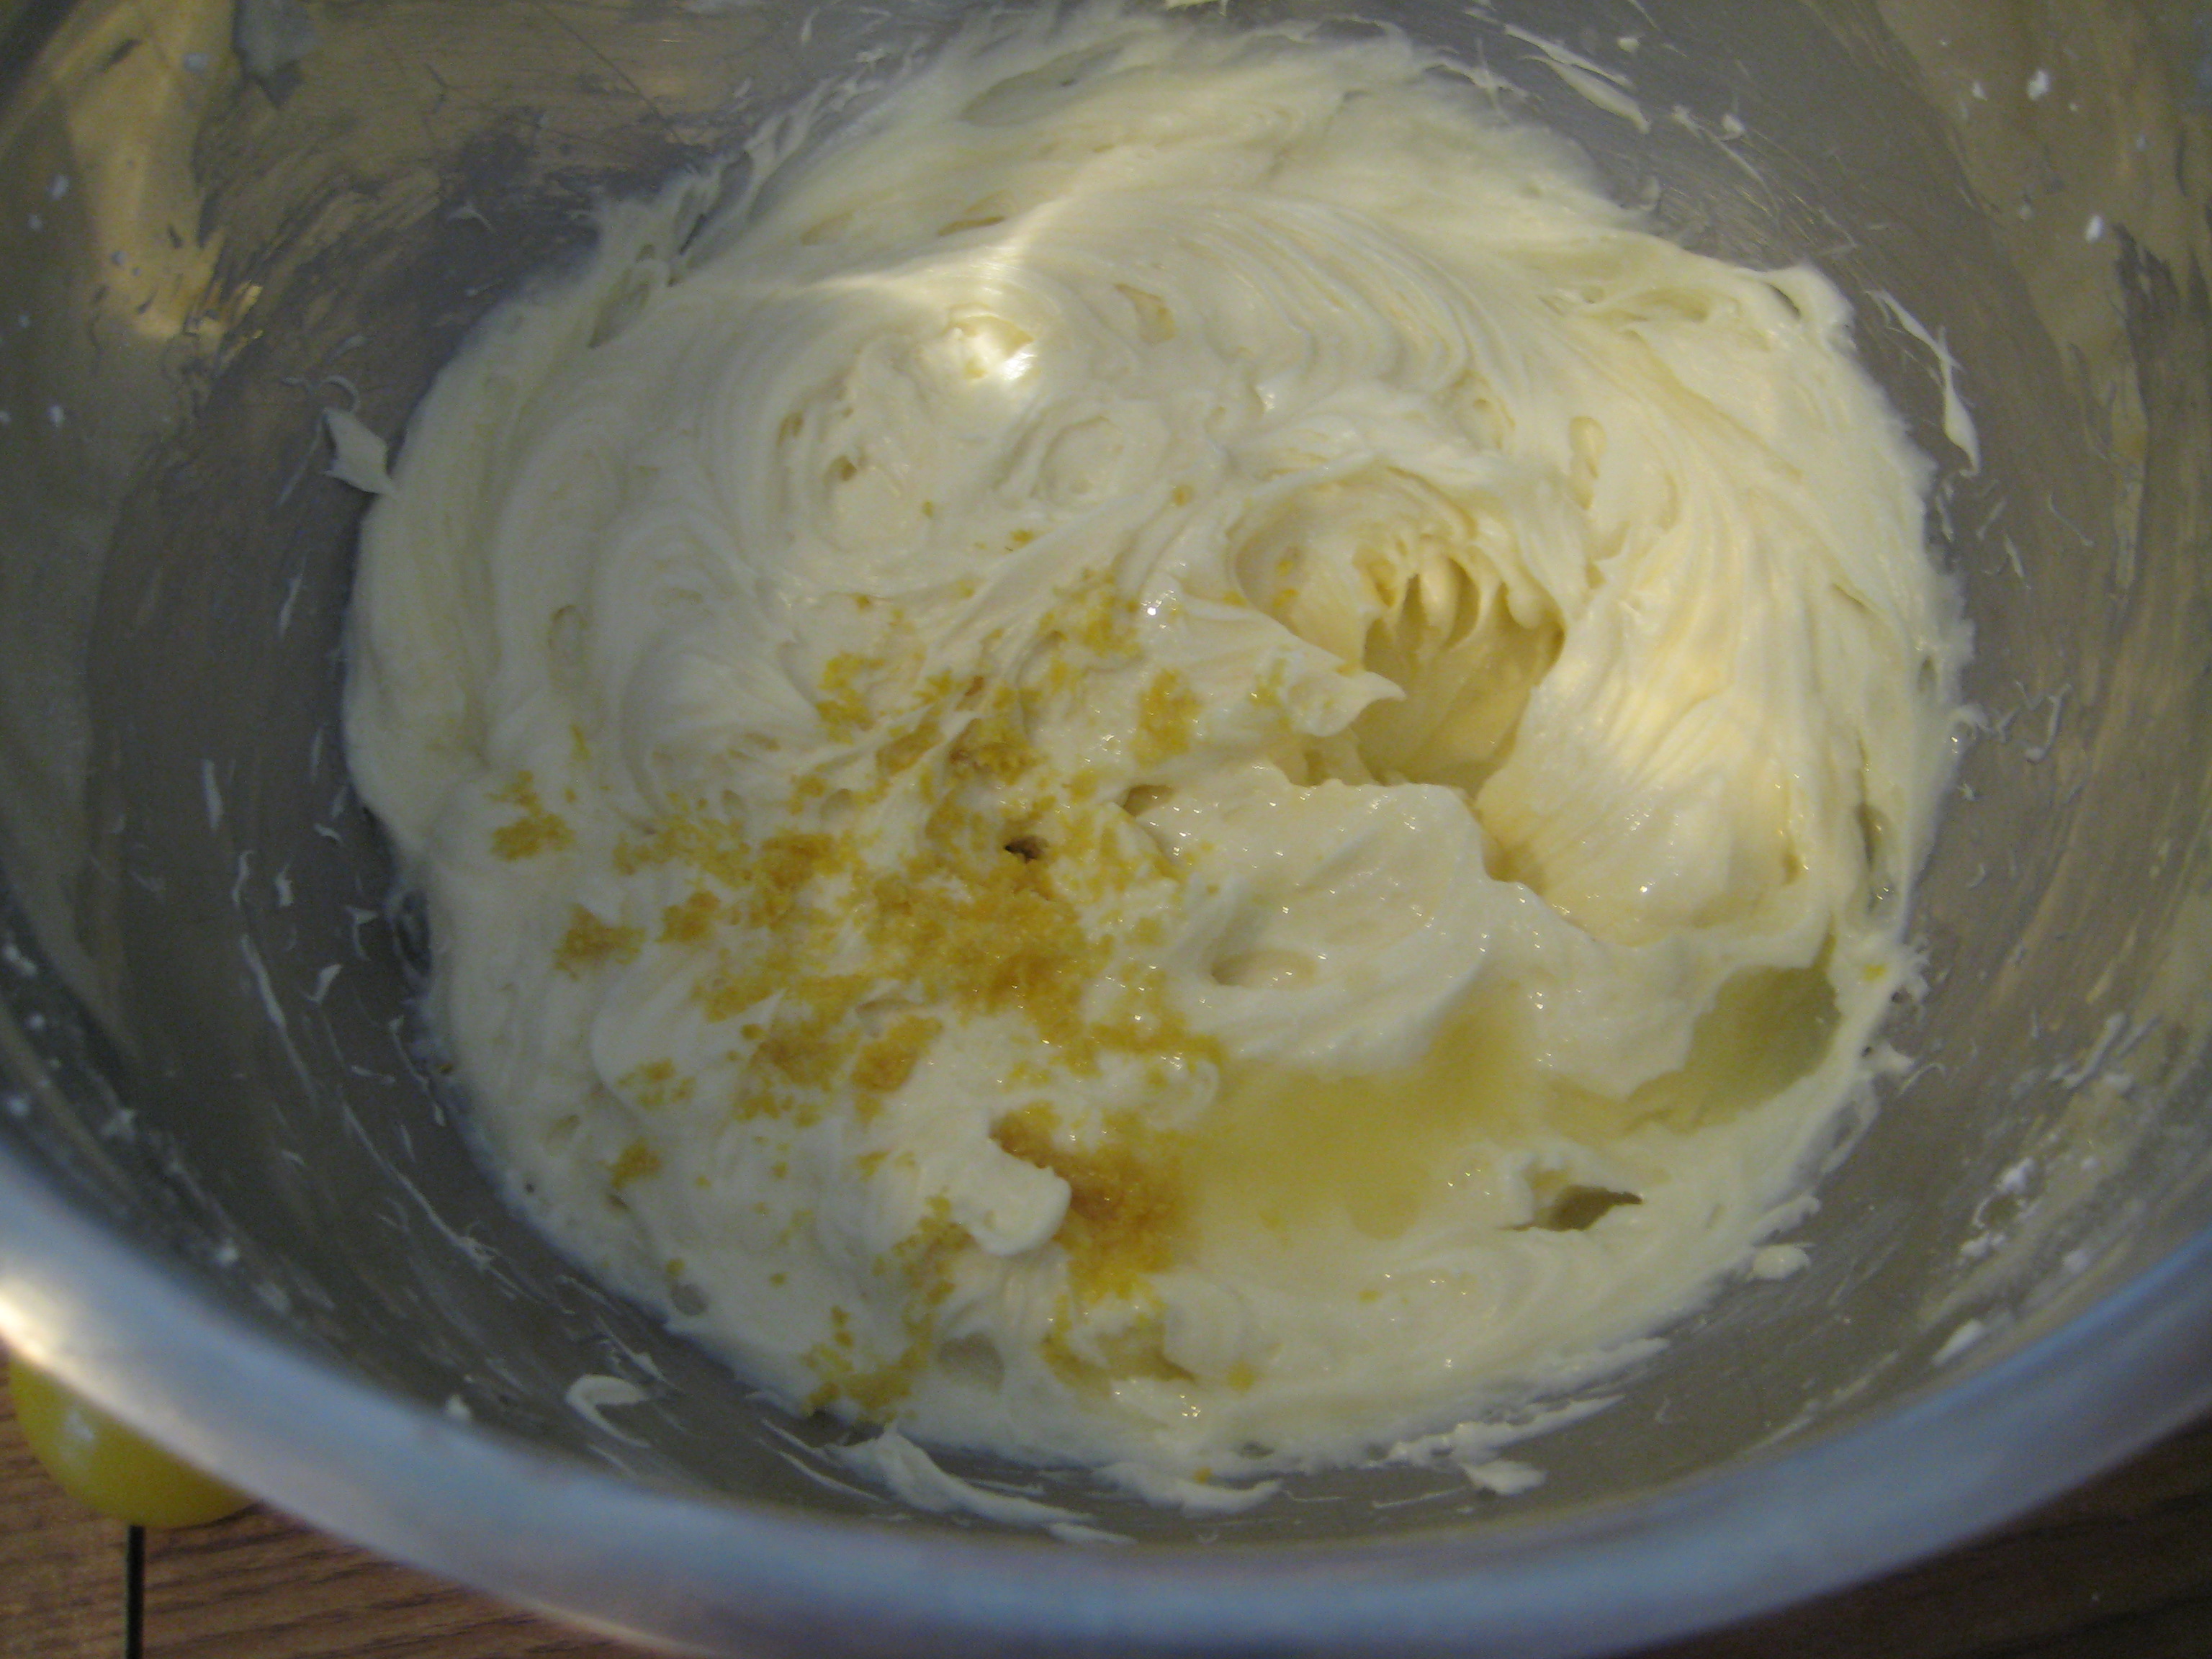
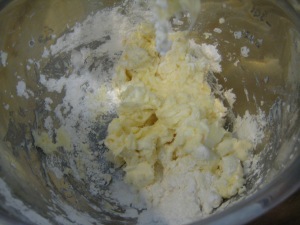
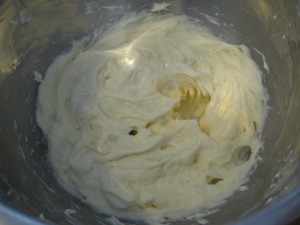
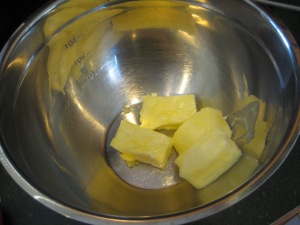
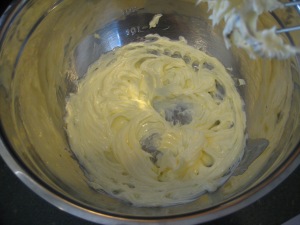
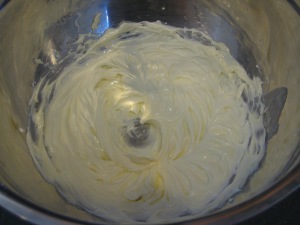
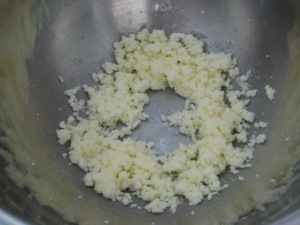
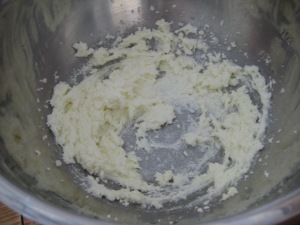
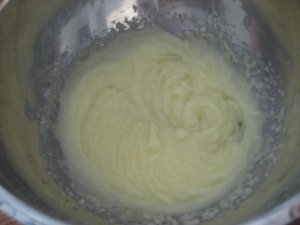
Step 1: In a large bowl, cream together the cream cheese, butter, sugar, vanilla extract, and salt until smooth and fluffy.

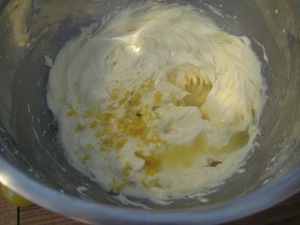
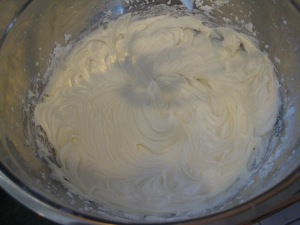
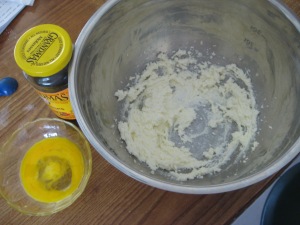
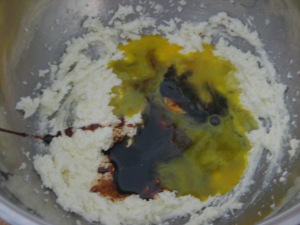
Step 2: Add in the lemon juice and lemon zest, beat to combine.
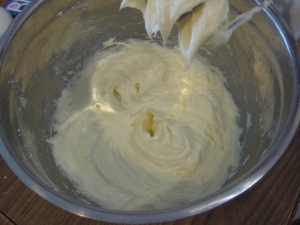
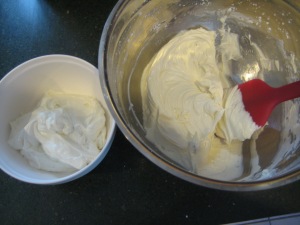
Step 3: Chill the frosting for 30 minutes before use.

27 Nov 2013
by suzaku24
in Breads, Cakes, and Pastries, Butter, Milk, recipes, Thanksgiving
Tags: cinnamon frosting, cinnamon swirl frosting, food, frosting, recipe, snickerdoodle cookies, snickerdoodle cupcakes, snickerdoodle frosting
To pair with the last blog post of Snickerdoodle Cupcakes I will be making a cinnamon swirl frosting. I can already hear the cavities a calling.
Here are the ingredients needed for this recipe:
- 1 cup unsalted butter, room temperature
- 3-4 cups confectioners’ sugar
- 1/4 cup heavy cream
- 2 tsp. vanilla extract
- 1/8 tsp. salt
- 1 Tbsp. ground cinnamon
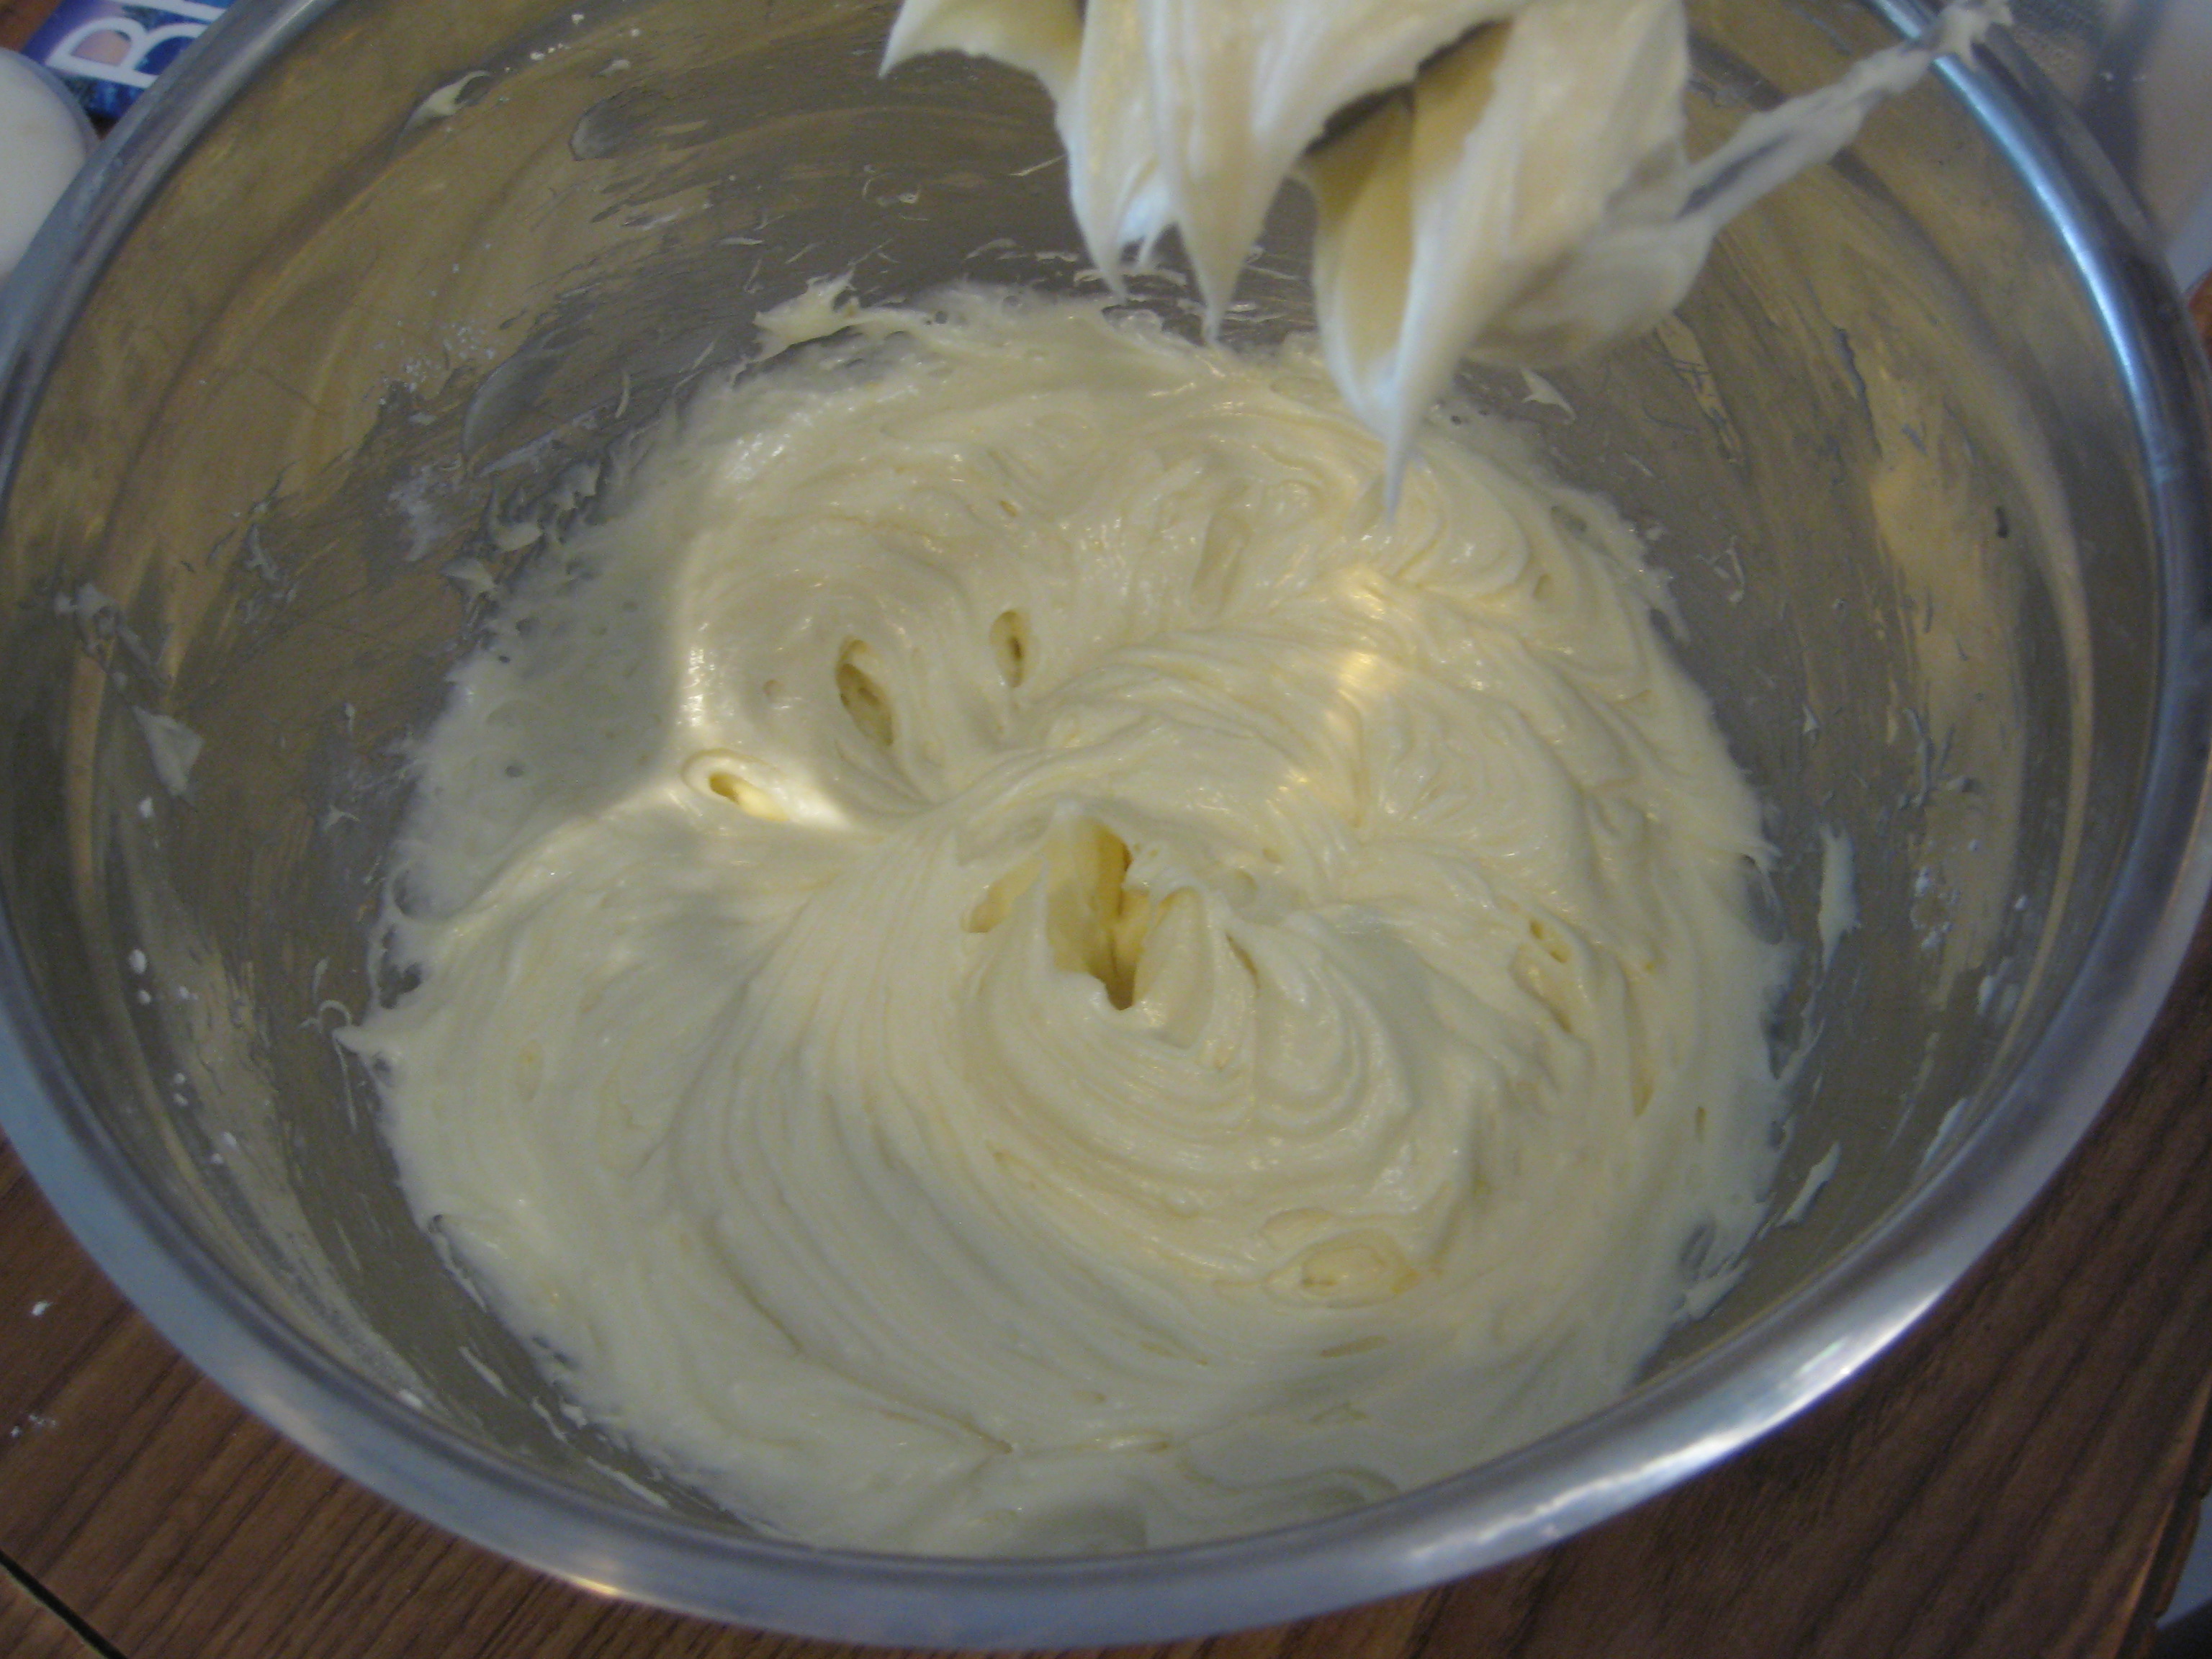
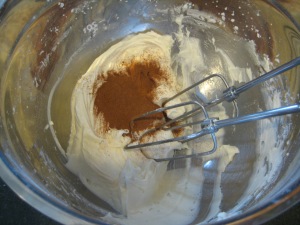
Step 1: In a large bowl, cream the softened butter until smooth and creamy.
Step 2: While mixing add in the sugar, heavy cream, salt, and vanilla extract.
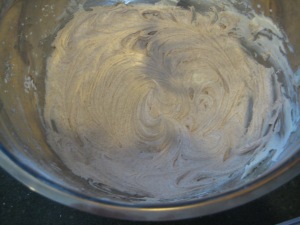
Step 3: Increase speed to high and mix for 3 minutes.
Step 4: (Optional: Add more sugar if frosting is too thing or heavy cream if the frosting is too thick)
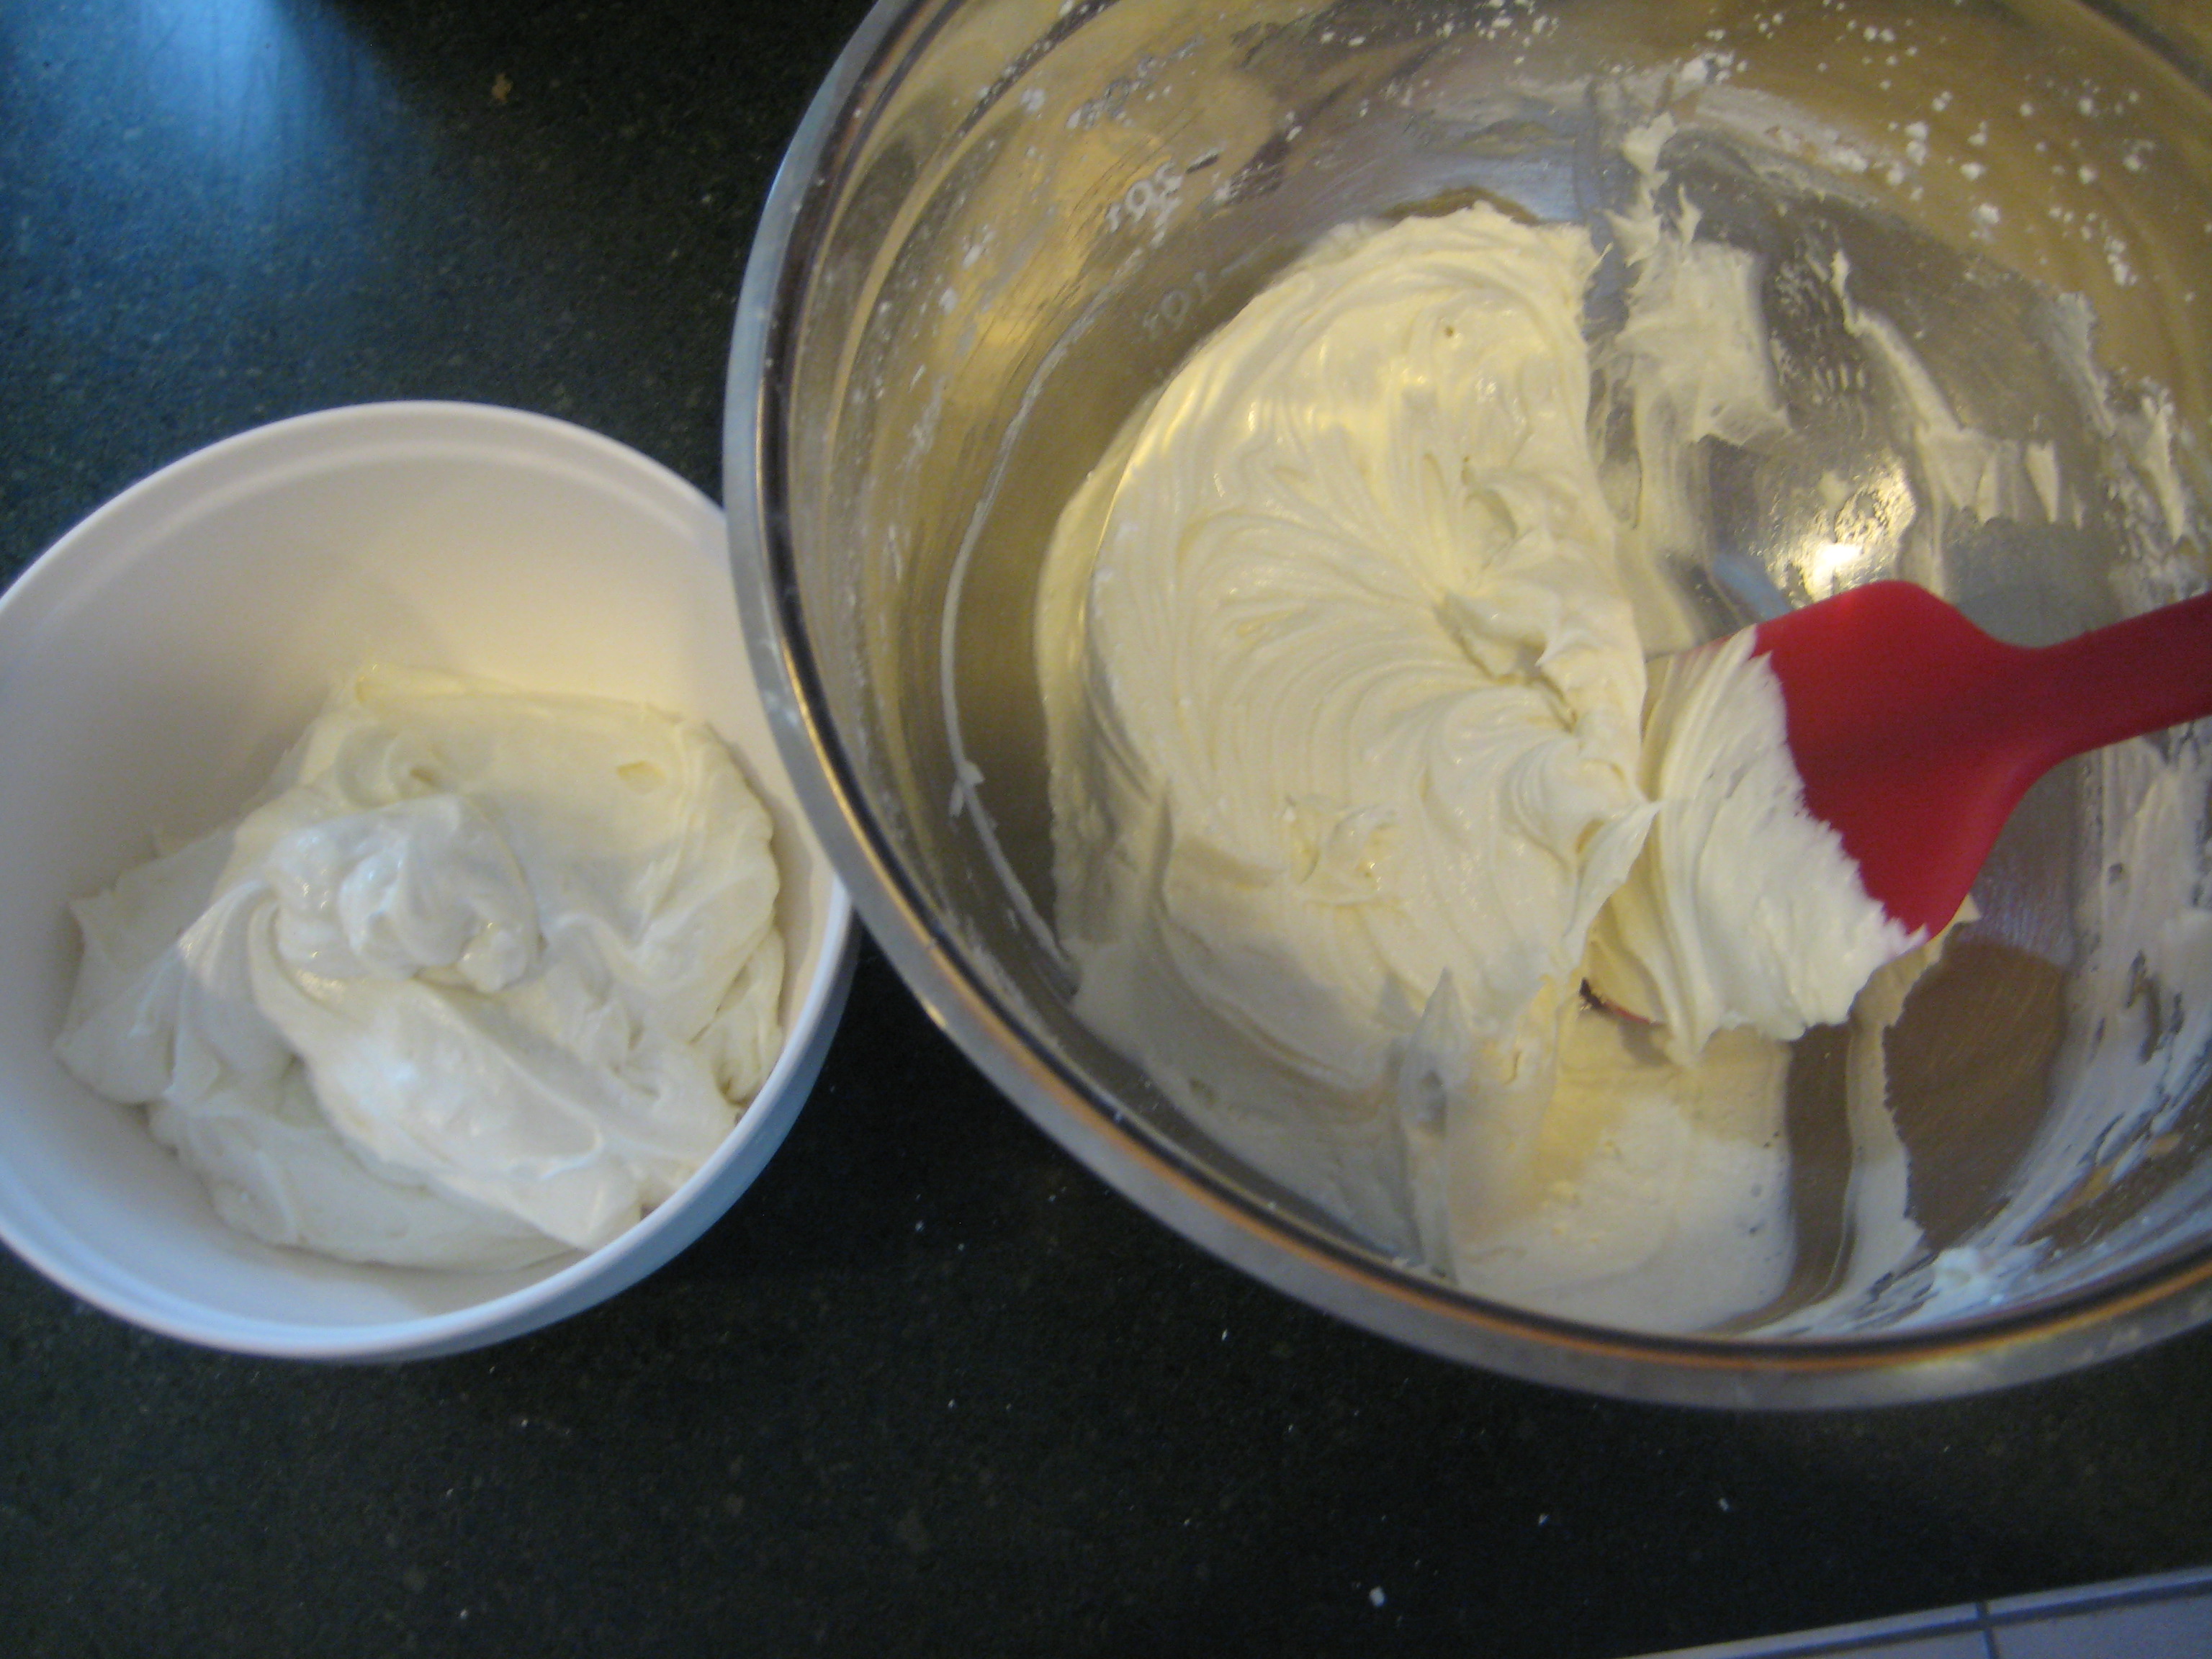
Step 5: Transfer 1/2 of the frosting to a small bowl; set aside.
Step 6: Add the ground cinnamon to the large bowl mixture and beat to combine for 30 seconds.
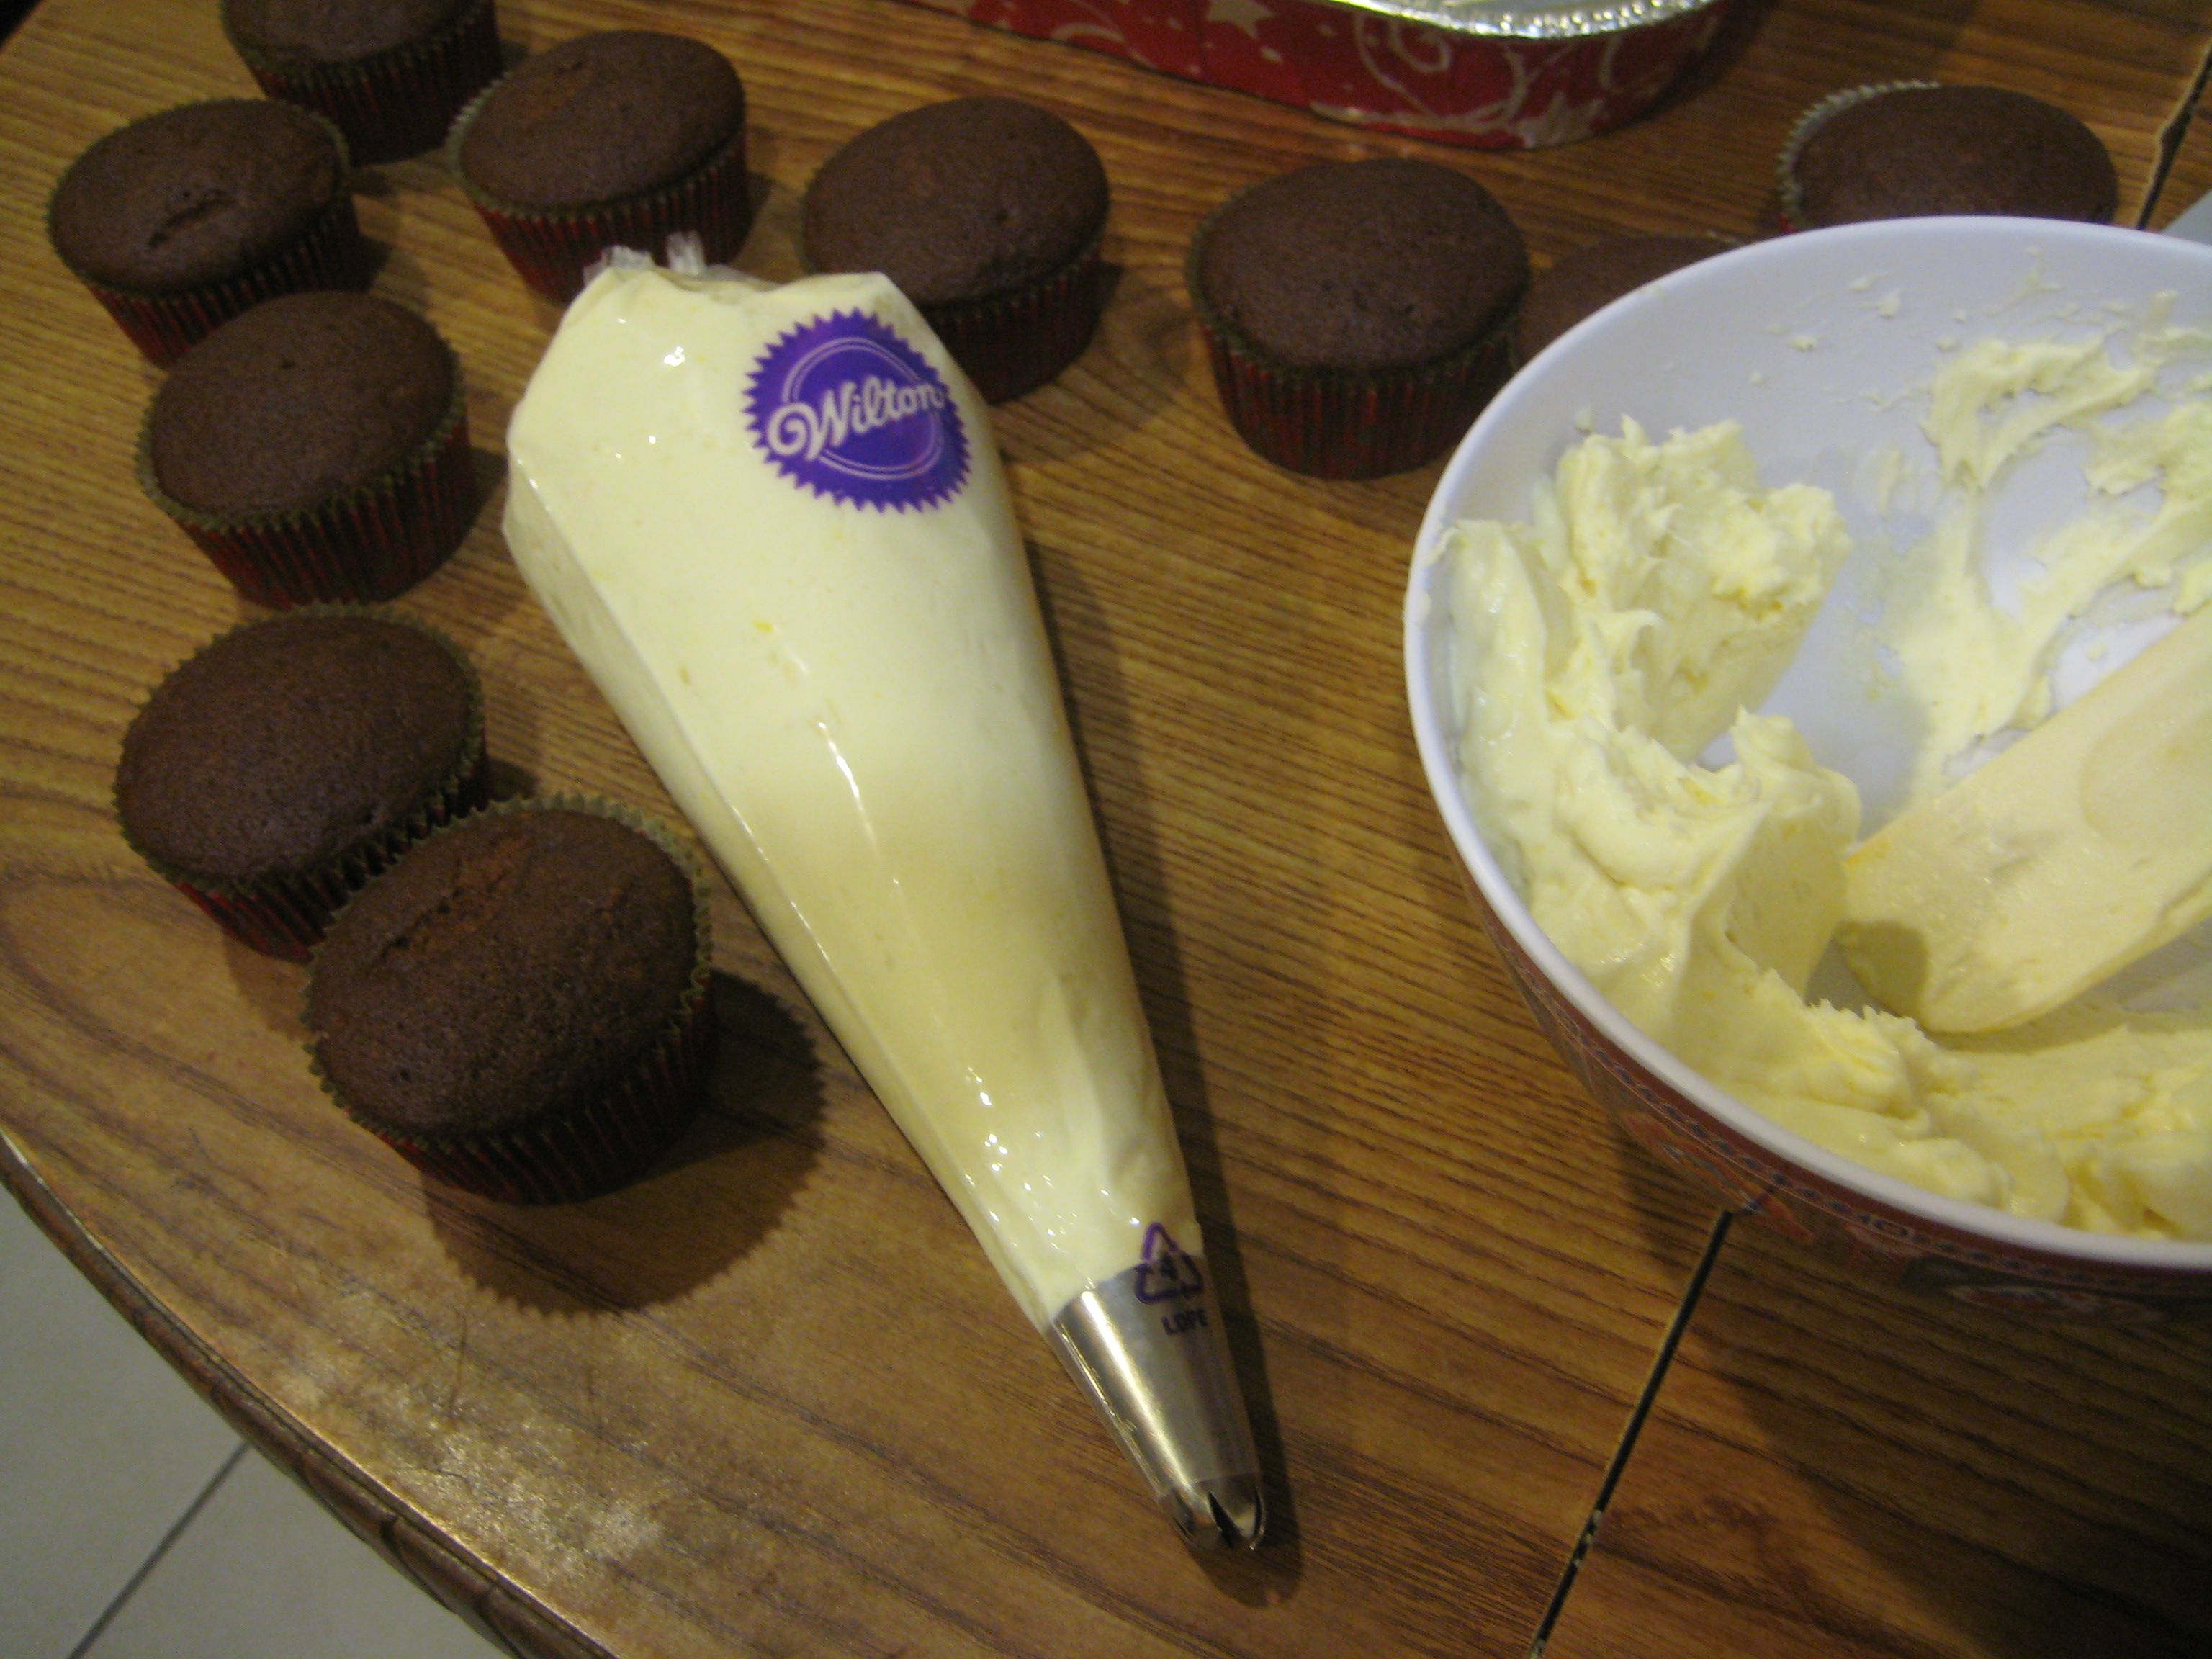
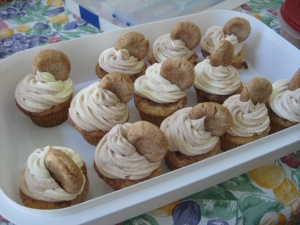
Step 7: Spoon the cinnamon frosting into one side of a piping bag and fill the other half with the vanilla frosting.
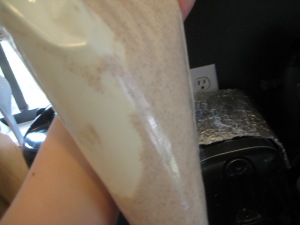
Step 8: Pipe on to cupcakes as desired.
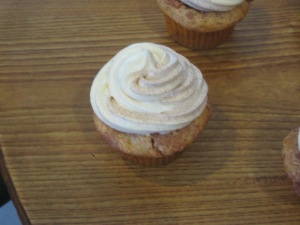
Step 9: Garnish with a mini snickerdoodle cookie.
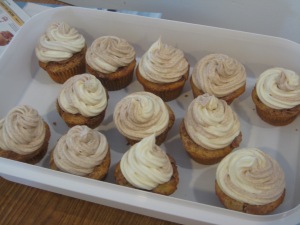
27 Nov 2013
by suzaku24
in Breads, Cakes, and Pastries, Dessert, Eggs, Milk, recipes, Thanksgiving
Tags: food, pumpkin pie, pumpkin pie bars, recipe
Here we go again the yearly event of pumpkin pie making. This year I didn’t want to just make a pumpkin pie. Although I have made variations to the classic pumpkin pie over the years I wanted to try a different approach. So instead of making the classic pie I will be making it into bars. Since I had a horrible experience last year I figured individual pieces are the best way to go about my nightmare event. See what had happened apparently nobody knows how to cut a pie. As in someone decided it was a grand idea to hack off random chunks and that scared me.
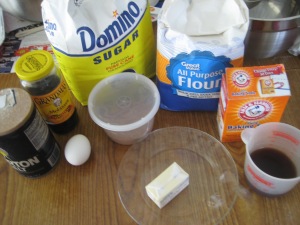
Here are the ingredients needed for this recipe:
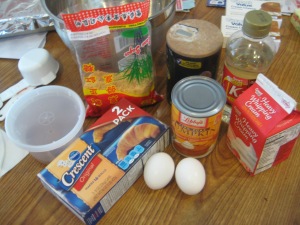
- 1 can of Pillsbury Crescent Rolls
- 2 eggs
- 15 oz. pumpkin puree
- 1 cup heavy whipping cream
- 1/2 cup brown sugar
- 1/4 cup corn syrup
- 1 Tbsp. pumpkin spice
- 1/2 tsp. salt
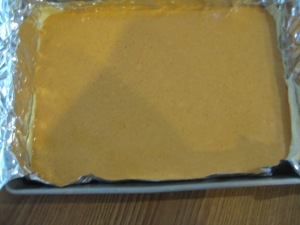
Step 1: Preheat the oven to 350°F and line an 11×7-inches baking pan with parchment paper and leave 2-inches hanging out the sides.

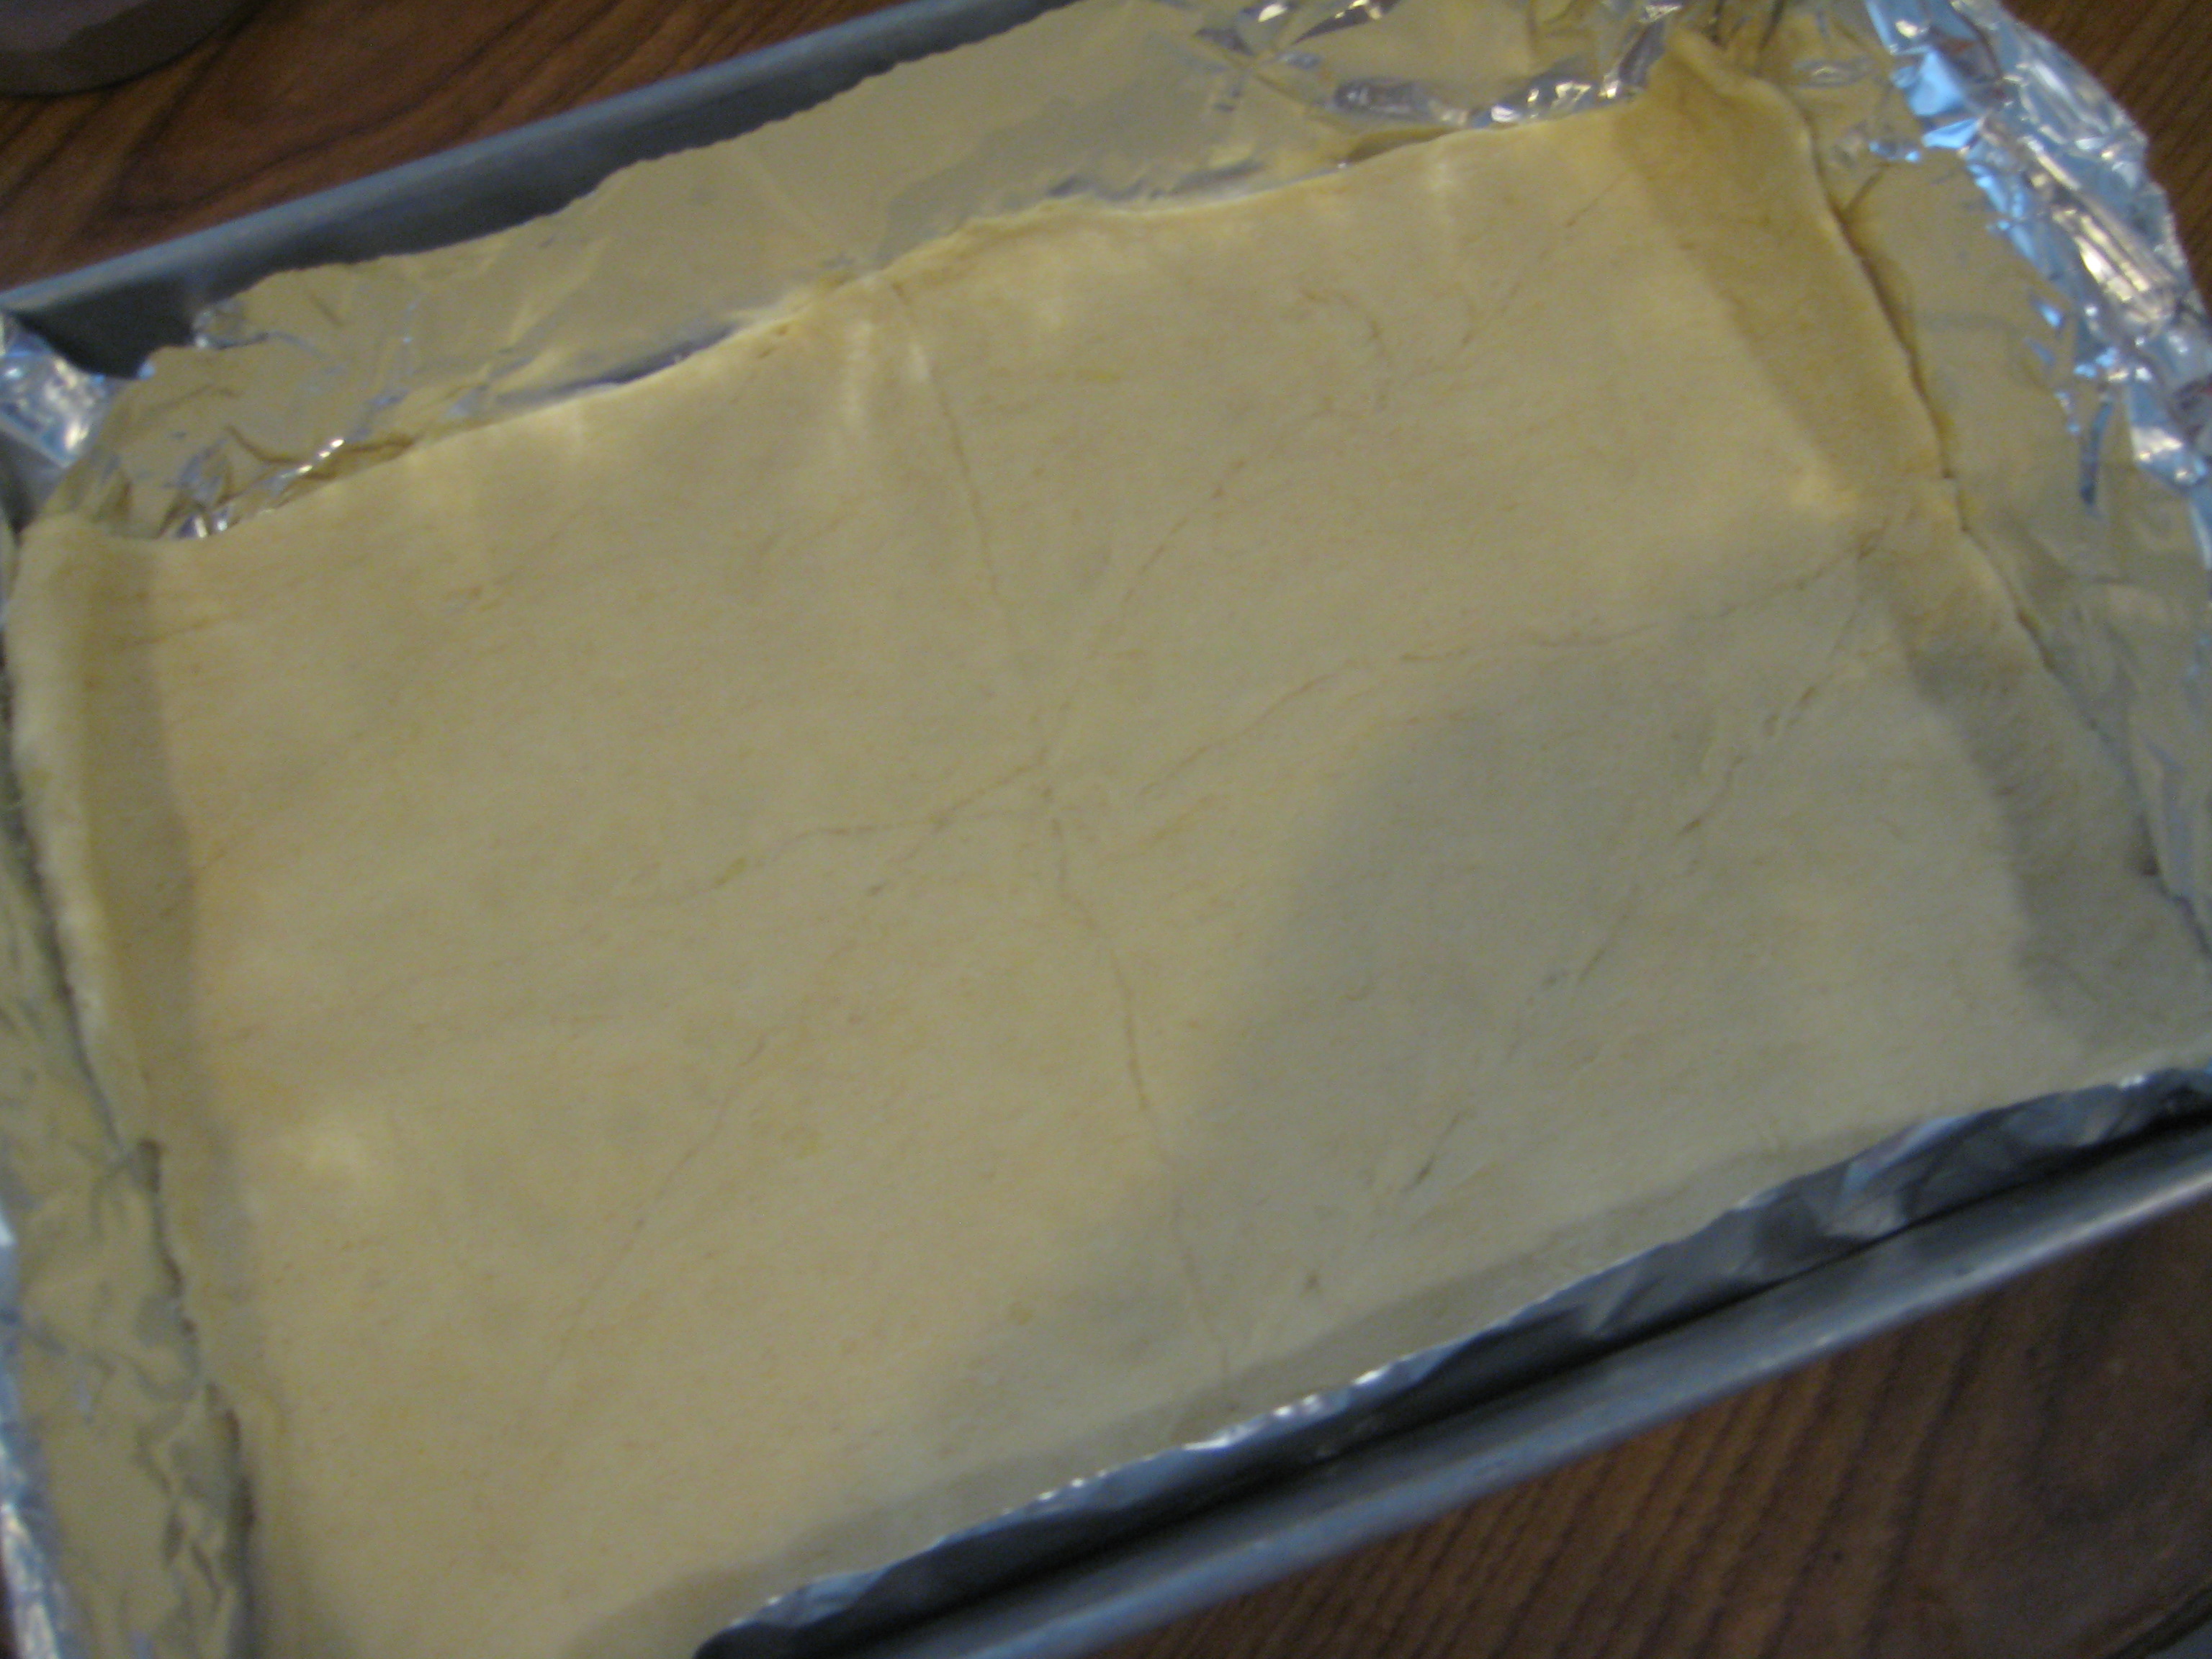
Step 2: Unroll the dough and place into the bottom of the lined baking pan.
Step 3: Press the dough, with your fingers, to the cover to the sides and bottom of the pan; set aside.

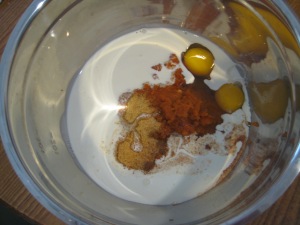
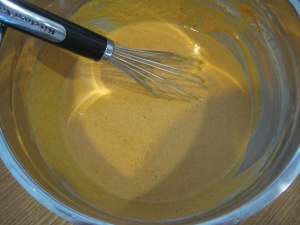
Step 4: In a large bowl, mix all the ingredients until smooth and well combined.
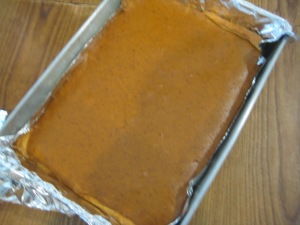
Step 5: Pour mixture into the prepared pan. (Option: you can swirl in some melted chocolate at the point)
Step 6: Bake for 45-50 minutes or until a knife comes out clean.
Step 7: Completely cool in the pan on a wire rack.
Step 8: Use the excess parchment that was hanging over the edges to lift the pumpkin pie out of the pan.
Step 9: Cut the bars however you desire.
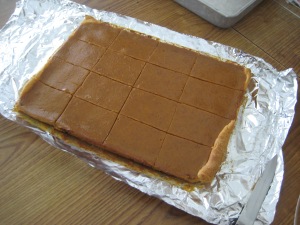
Step 10: Garnish with whipped cream and a dusting of pumpkin spice.
26 Nov 2013
by suzaku24
in Breads, Cakes, and Pastries, Butter, Dessert, Eggs, recipes, Thanksgiving
Tags: cupcakes, food, gingerbread, gingerbread cupcakes, gingerbread latte cupcakes, latte cupcakes, recipe
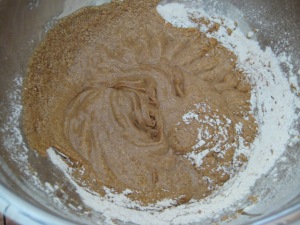
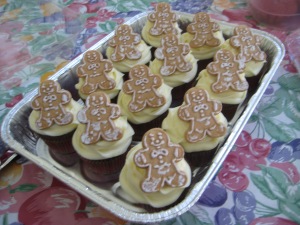
Well I do love some gingerbread on some very random days. But no more so than during the holidays. I keep seeing an endless array of gingerbread goods and I start craving for something gingerbready. Because of all the advertising and all that jazz I bought a bag of gingerbread men and now I have no idea what to do with them. I have this horrible habit of losing interest in snack foods in a short frame of time. So I think I can use them as a garnish for these gingerbread cupcakes. Although since I will be serving them for Thanksgiving this year there needs to be a kick to them. Because every year I start prepping, with my father, the meal at 10pm and continue that until 5am. Only having a chance to sleep until 11am and guests start coming in at 1pm. So I need a little pick-me-up. COFFEE!!
Here are the ingredients needed for this recipe:
- 1 1/4 cups all-purpose flour
- 2 tsp. pumpkin spice
- 1/4 tsp. salt
- 1/4 cup butter, room temperature
- 1/2 cup sugar
- 1/2 cup molasses
- 1 large egg, lightly beaten
- 1/2 cup strong coffee, very hot
- 1 tsp. baking soda
Step 1: In a large bowl, sift together the flour, pumpkin spice, and salt; set aside.

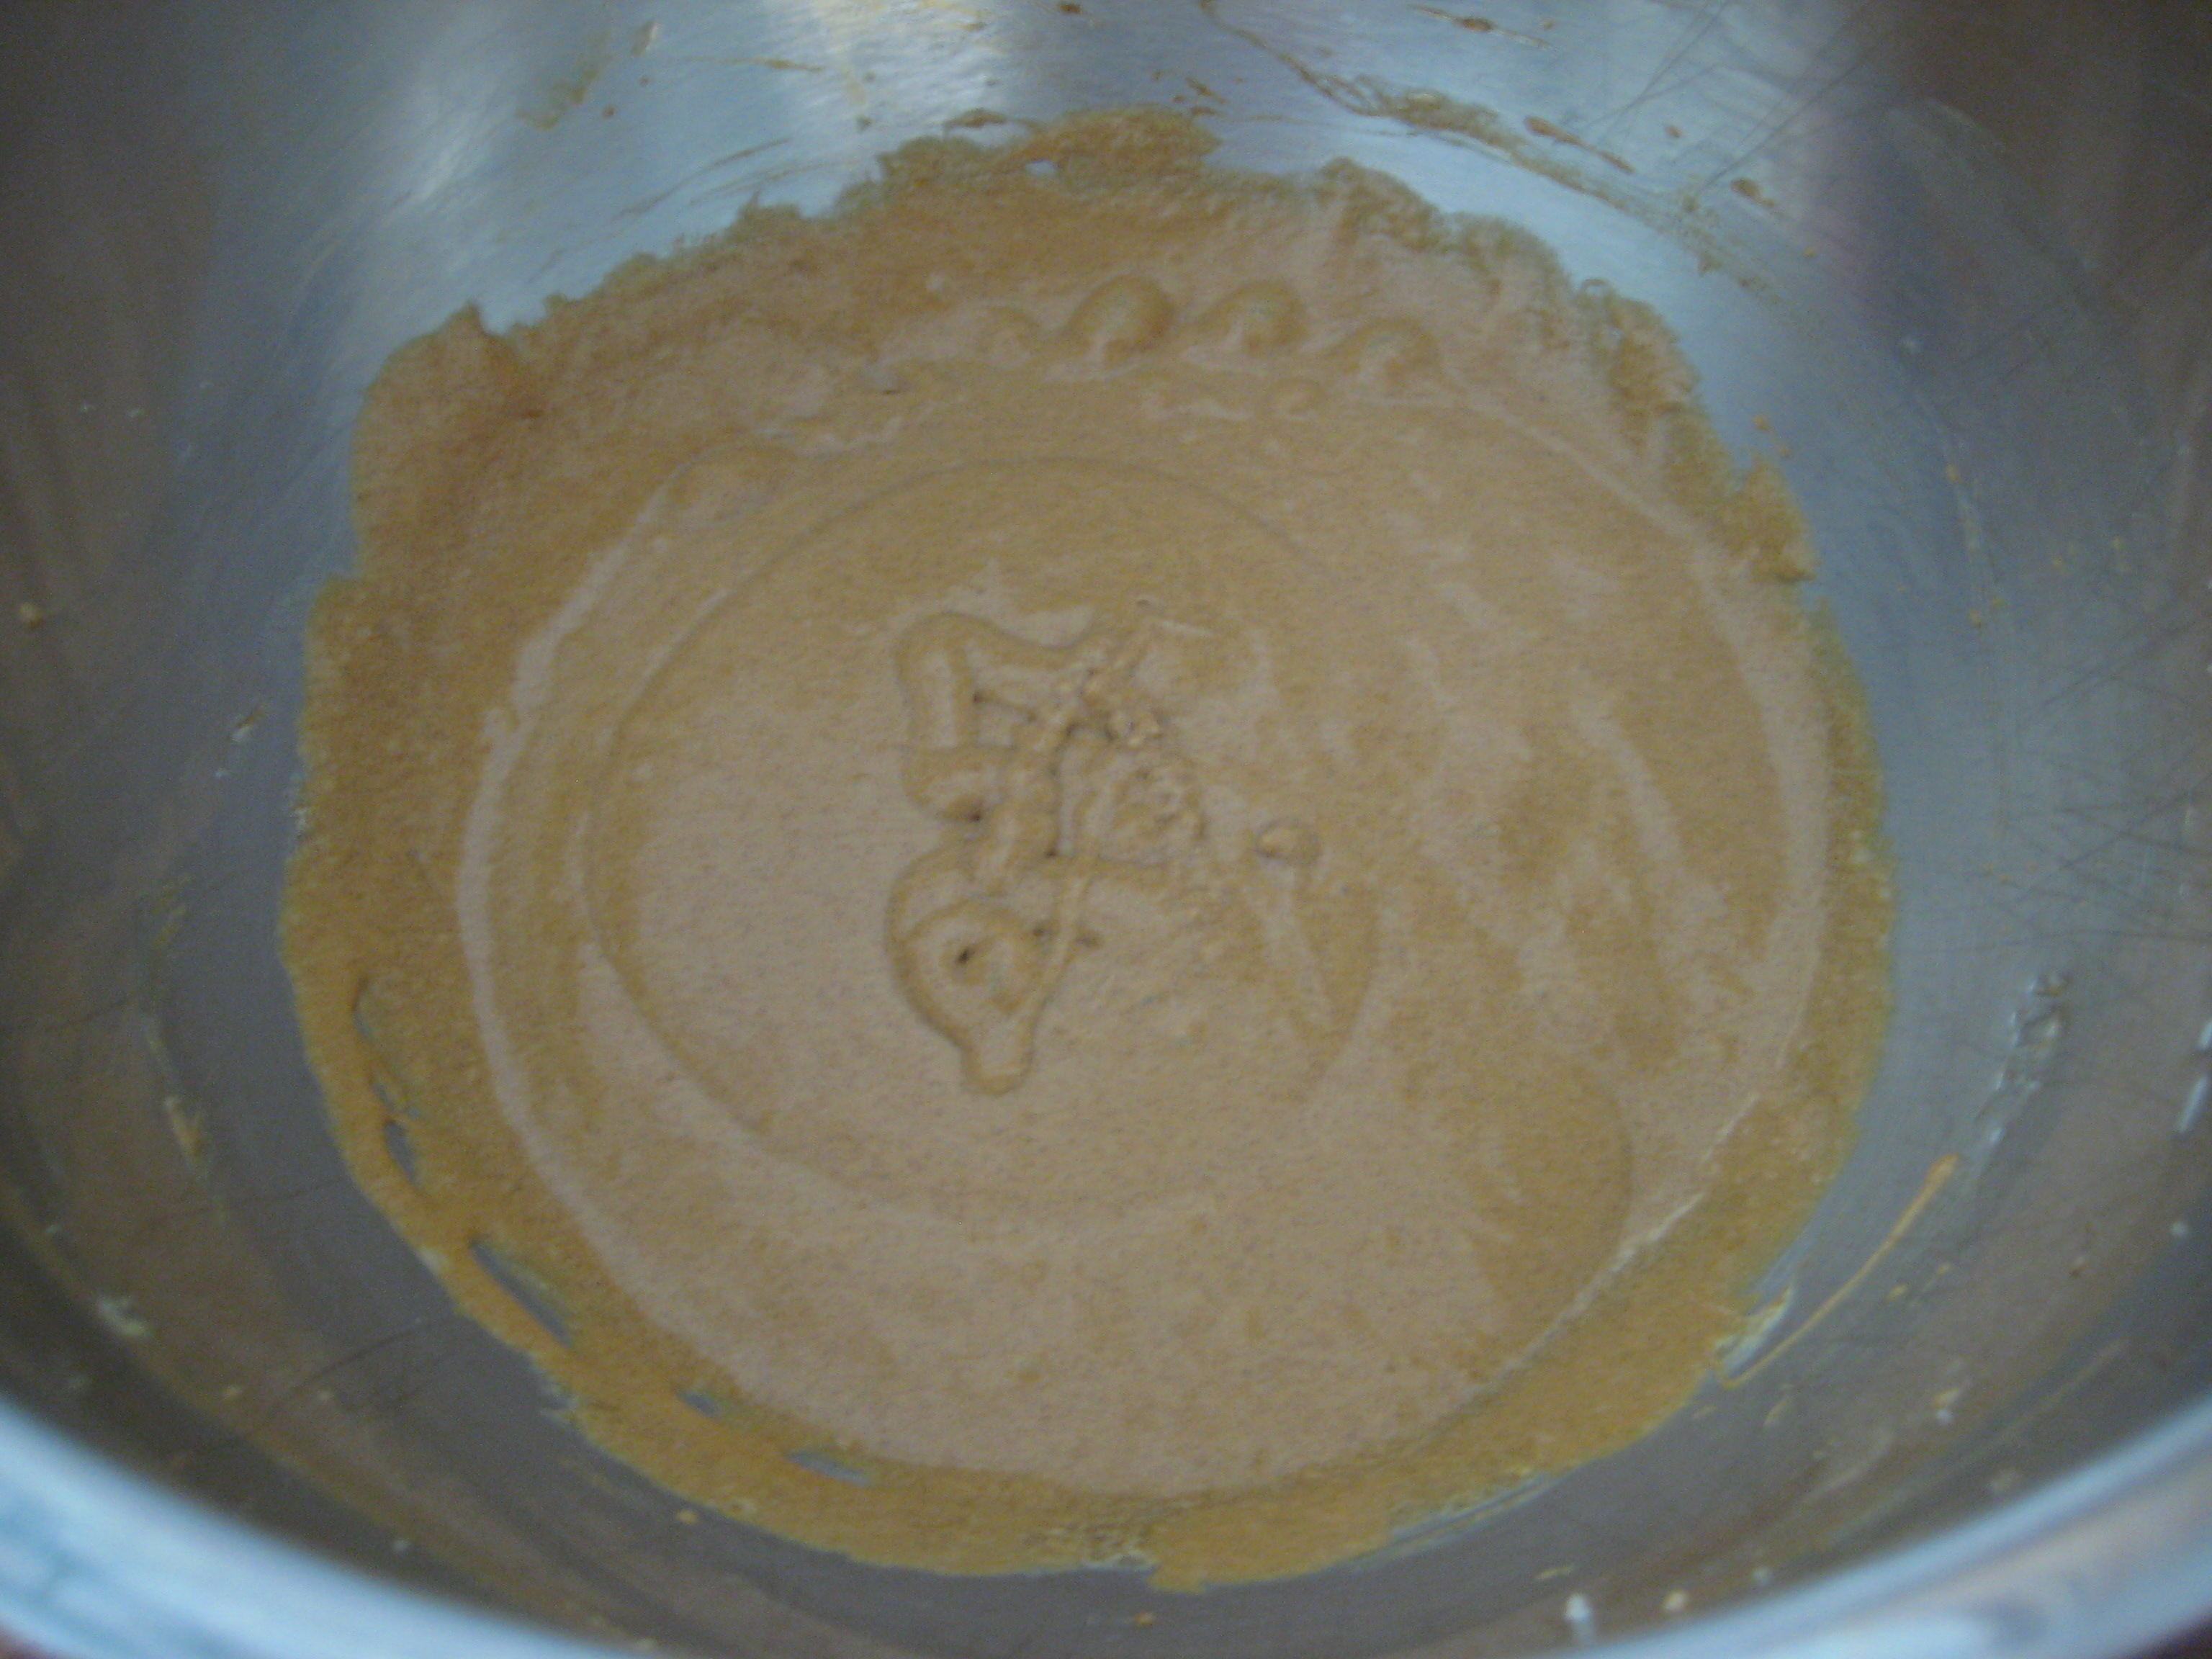
Step 2: In a large bowl, cream together the butter and sugar until light and fluffy.
Step 3: Add the molasses and egg, beat until smooth; set aside.

Step 4: In a small bowl, combine the coffee and baking soda, stir until the baking soda is dissolved.

Step 5: Add the coffee mixture into the molasses mixture. (It will look curdled)

Step 6: Combine the coffee mixture into the dry ingredients and mix until well combined.

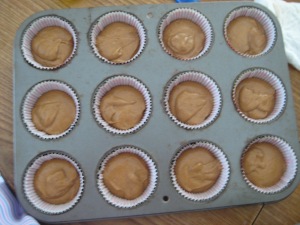
Step 7: Line a muffin pan and fill 3/4 full.
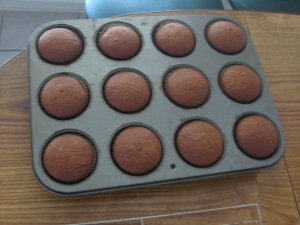
Step 8: Bake at 350°F for 20 minutes, or until a toothpick inserted into the center comes out clean.
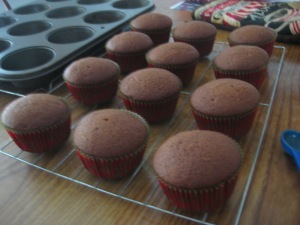
Step 9: Cool completely on a wire rack before frosting.
26 Nov 2013
by suzaku24
in Breads, Cakes, and Pastries, Butter, Dessert, Eggs, Milk, recipes, Thanksgiving, Yogurt
Tags: cinnamon sugar cupcakes, food, recipe, snickerdoodle, snickerdoodle cookies, snickerdoodle cupcakes
Having made 50 mini snickerdoodle cookies I knew I had to use them for something. So I will be using my batch of snickerdoodle cookies as decoration for snickerdoodle cupcakes.
Here are the ingredients needed for this recipe:
- 1 2/3 cups all-purpose flour
- 1/2 tsp. baking powder
- 1/4 tsp. baking soda
- 1/2 tsp. salt
- 1 1/2 cups sugar, divided
- 1/2 cup unsalted butter, melted
- 1 large egg
- 1/4 cup yogurt (plain or vanilla)
- 3/4 cup milk
- 1 Tbsp. vanilla extract
- 2 tsp. ground cinnamon
Step 1: Preheat the oven to 350°F and line a muffin pan; set aside.
Step 2: In a medium bowl, sift together the flour, baking powder, baking soda, and salt; set aside.

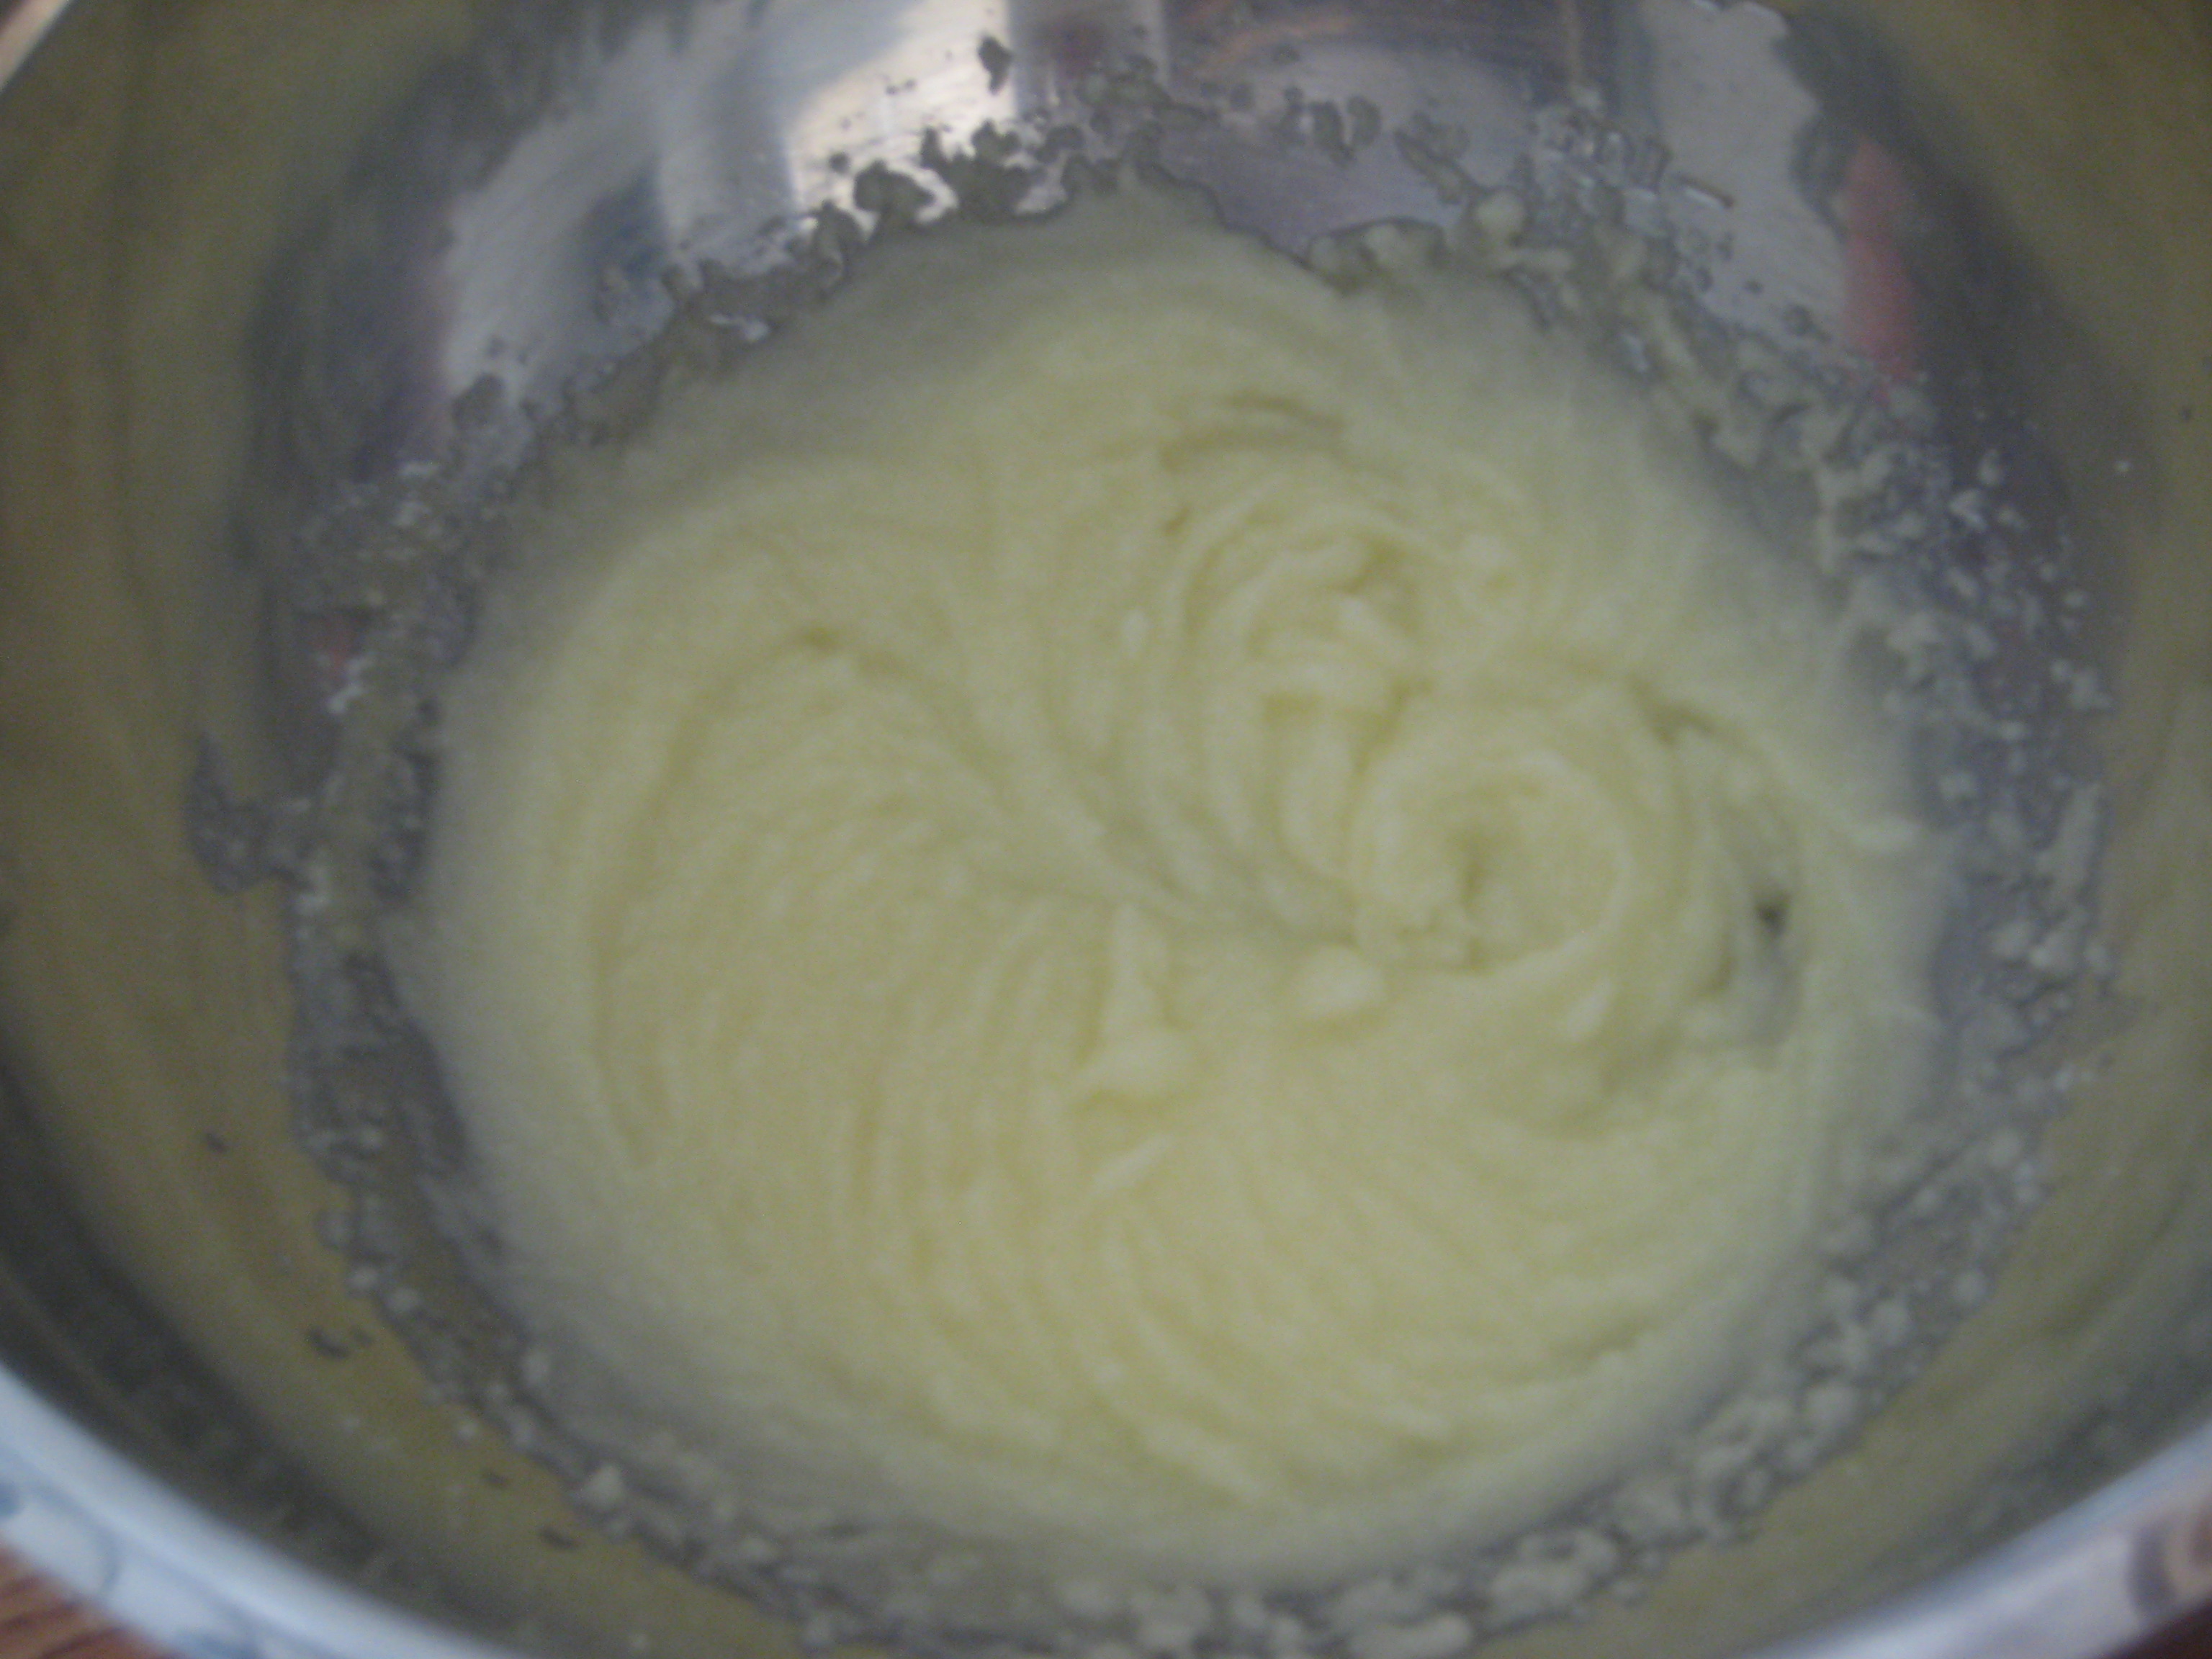
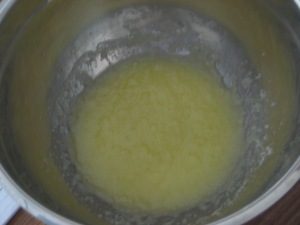
Step 3: In a large bowl, whisk together the butter and 1 cup of sugar until smooth.

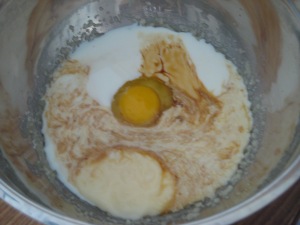
Step 4: Stir in the egg, yogurt, milk, and vanilla extract until well combined.
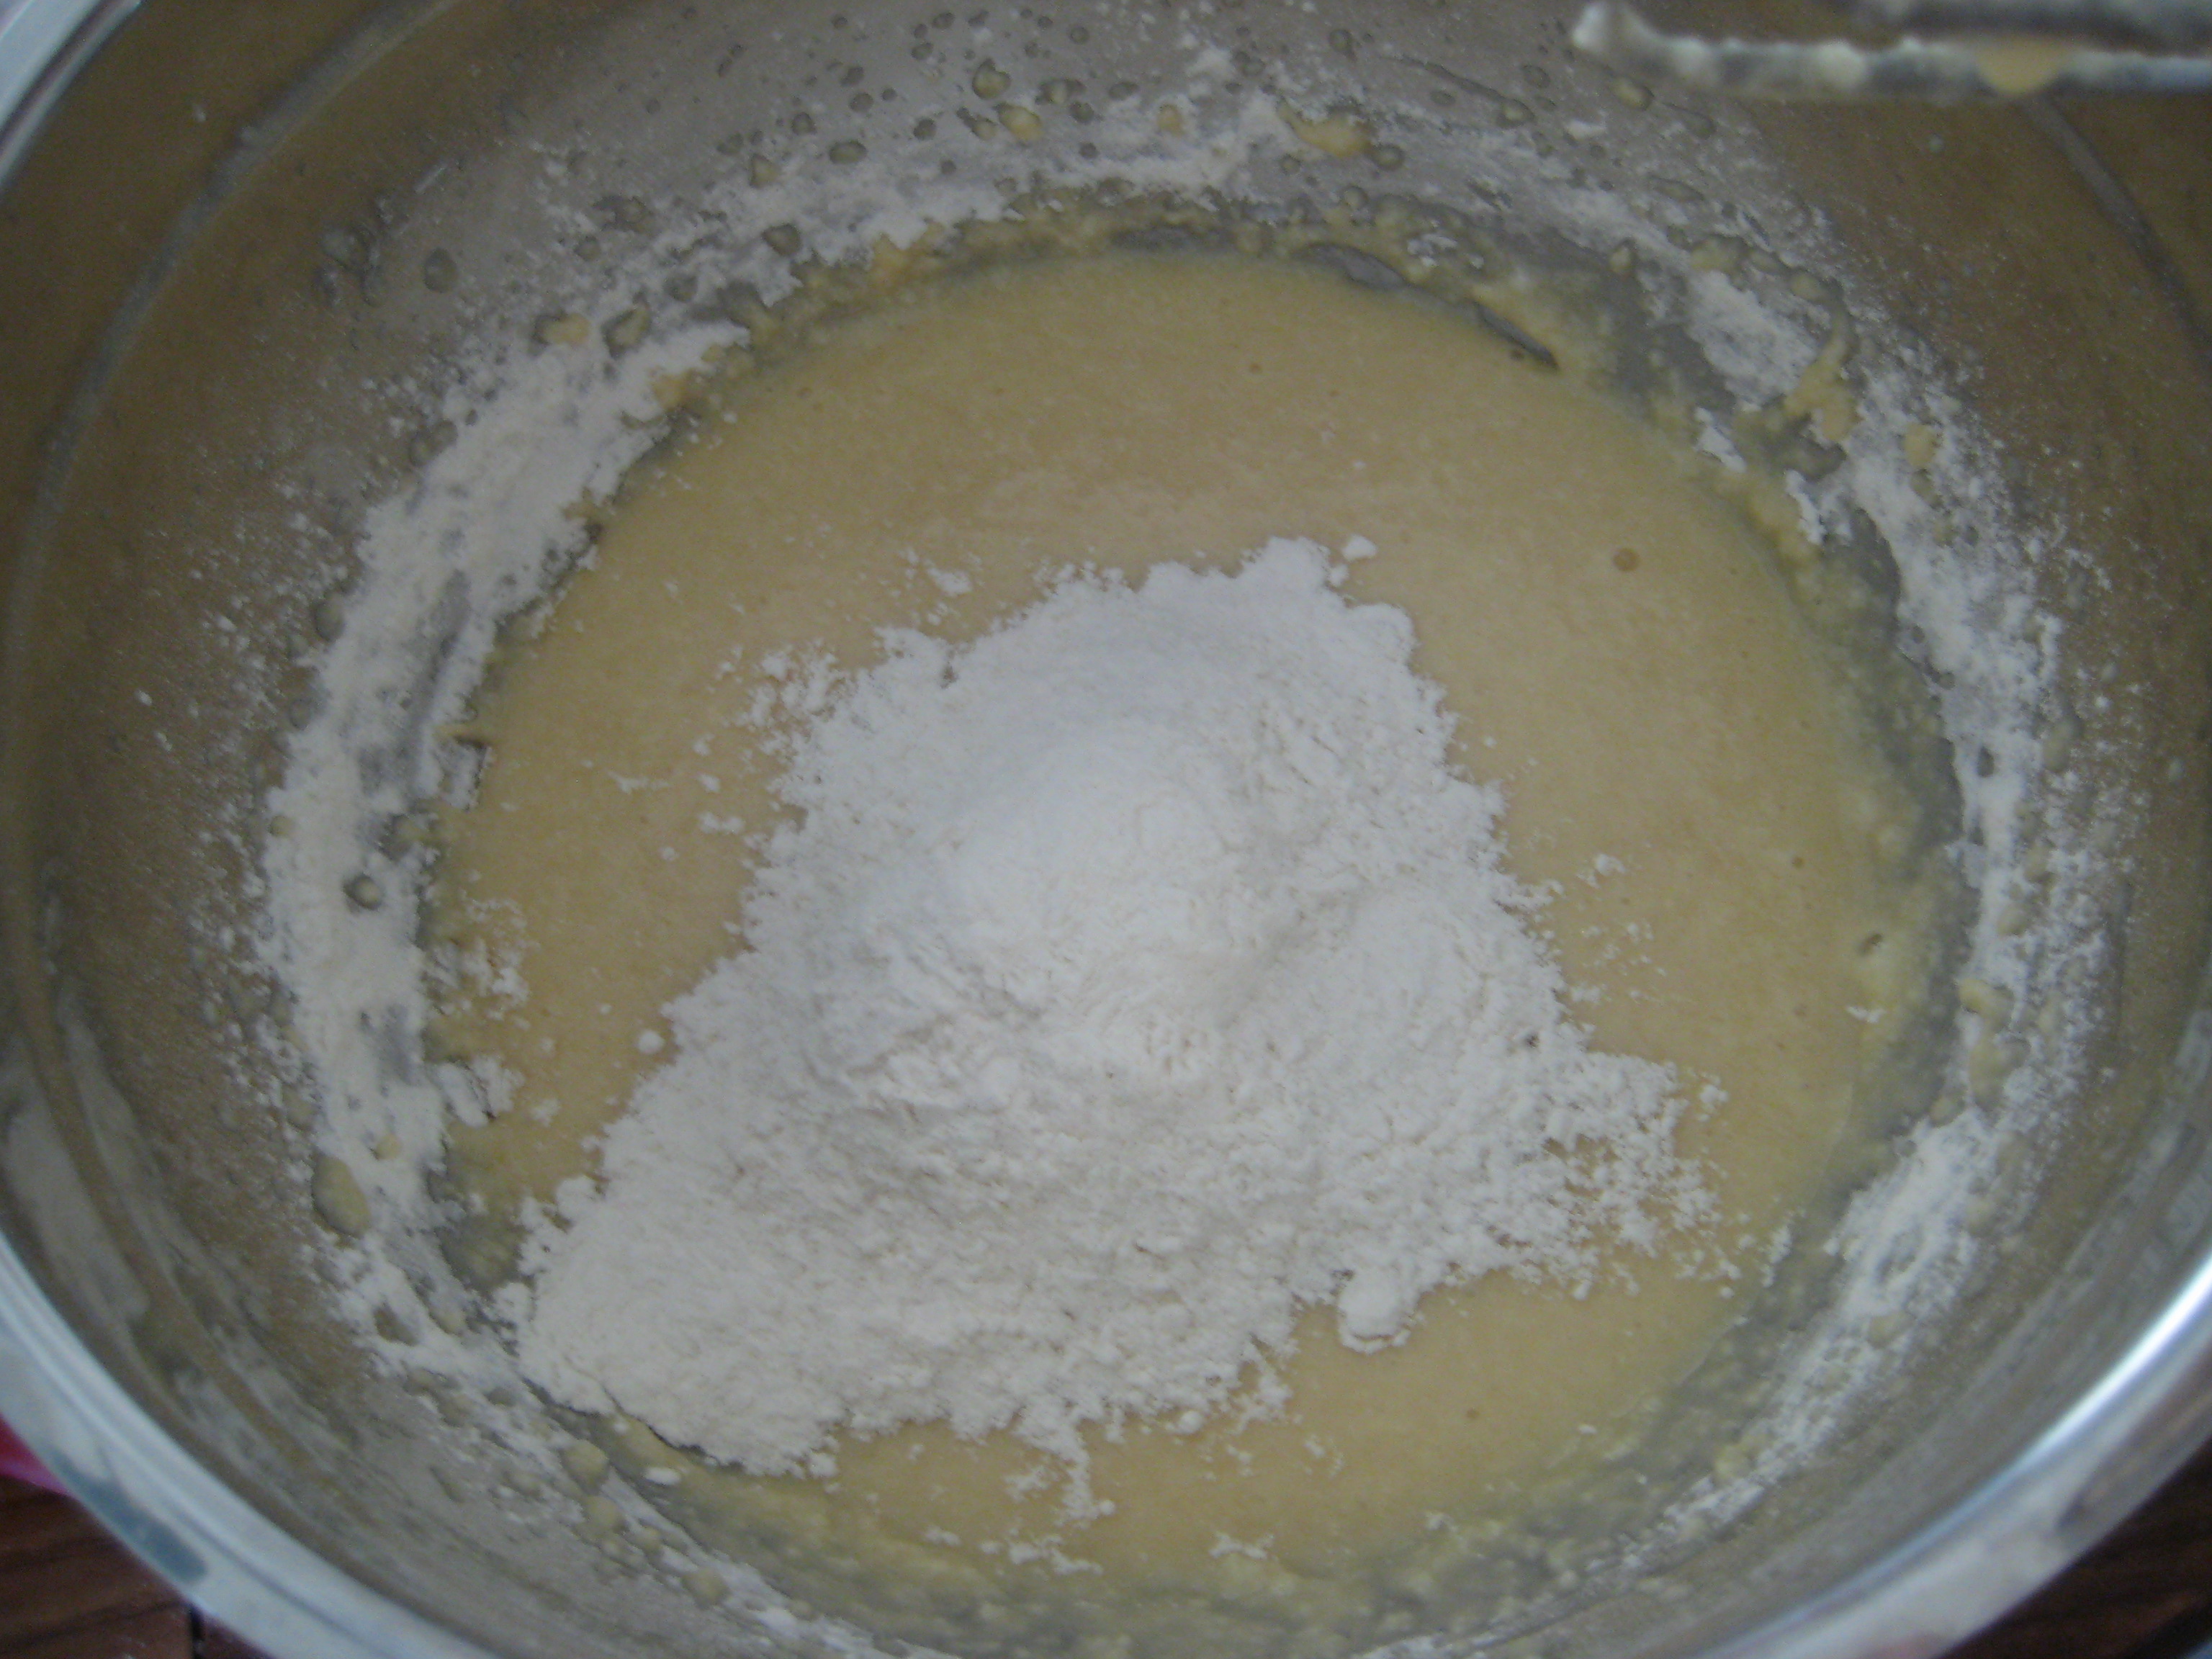
Step 5: Slowly add in the dry ingredients in 3 batches. (Batter will be thick)

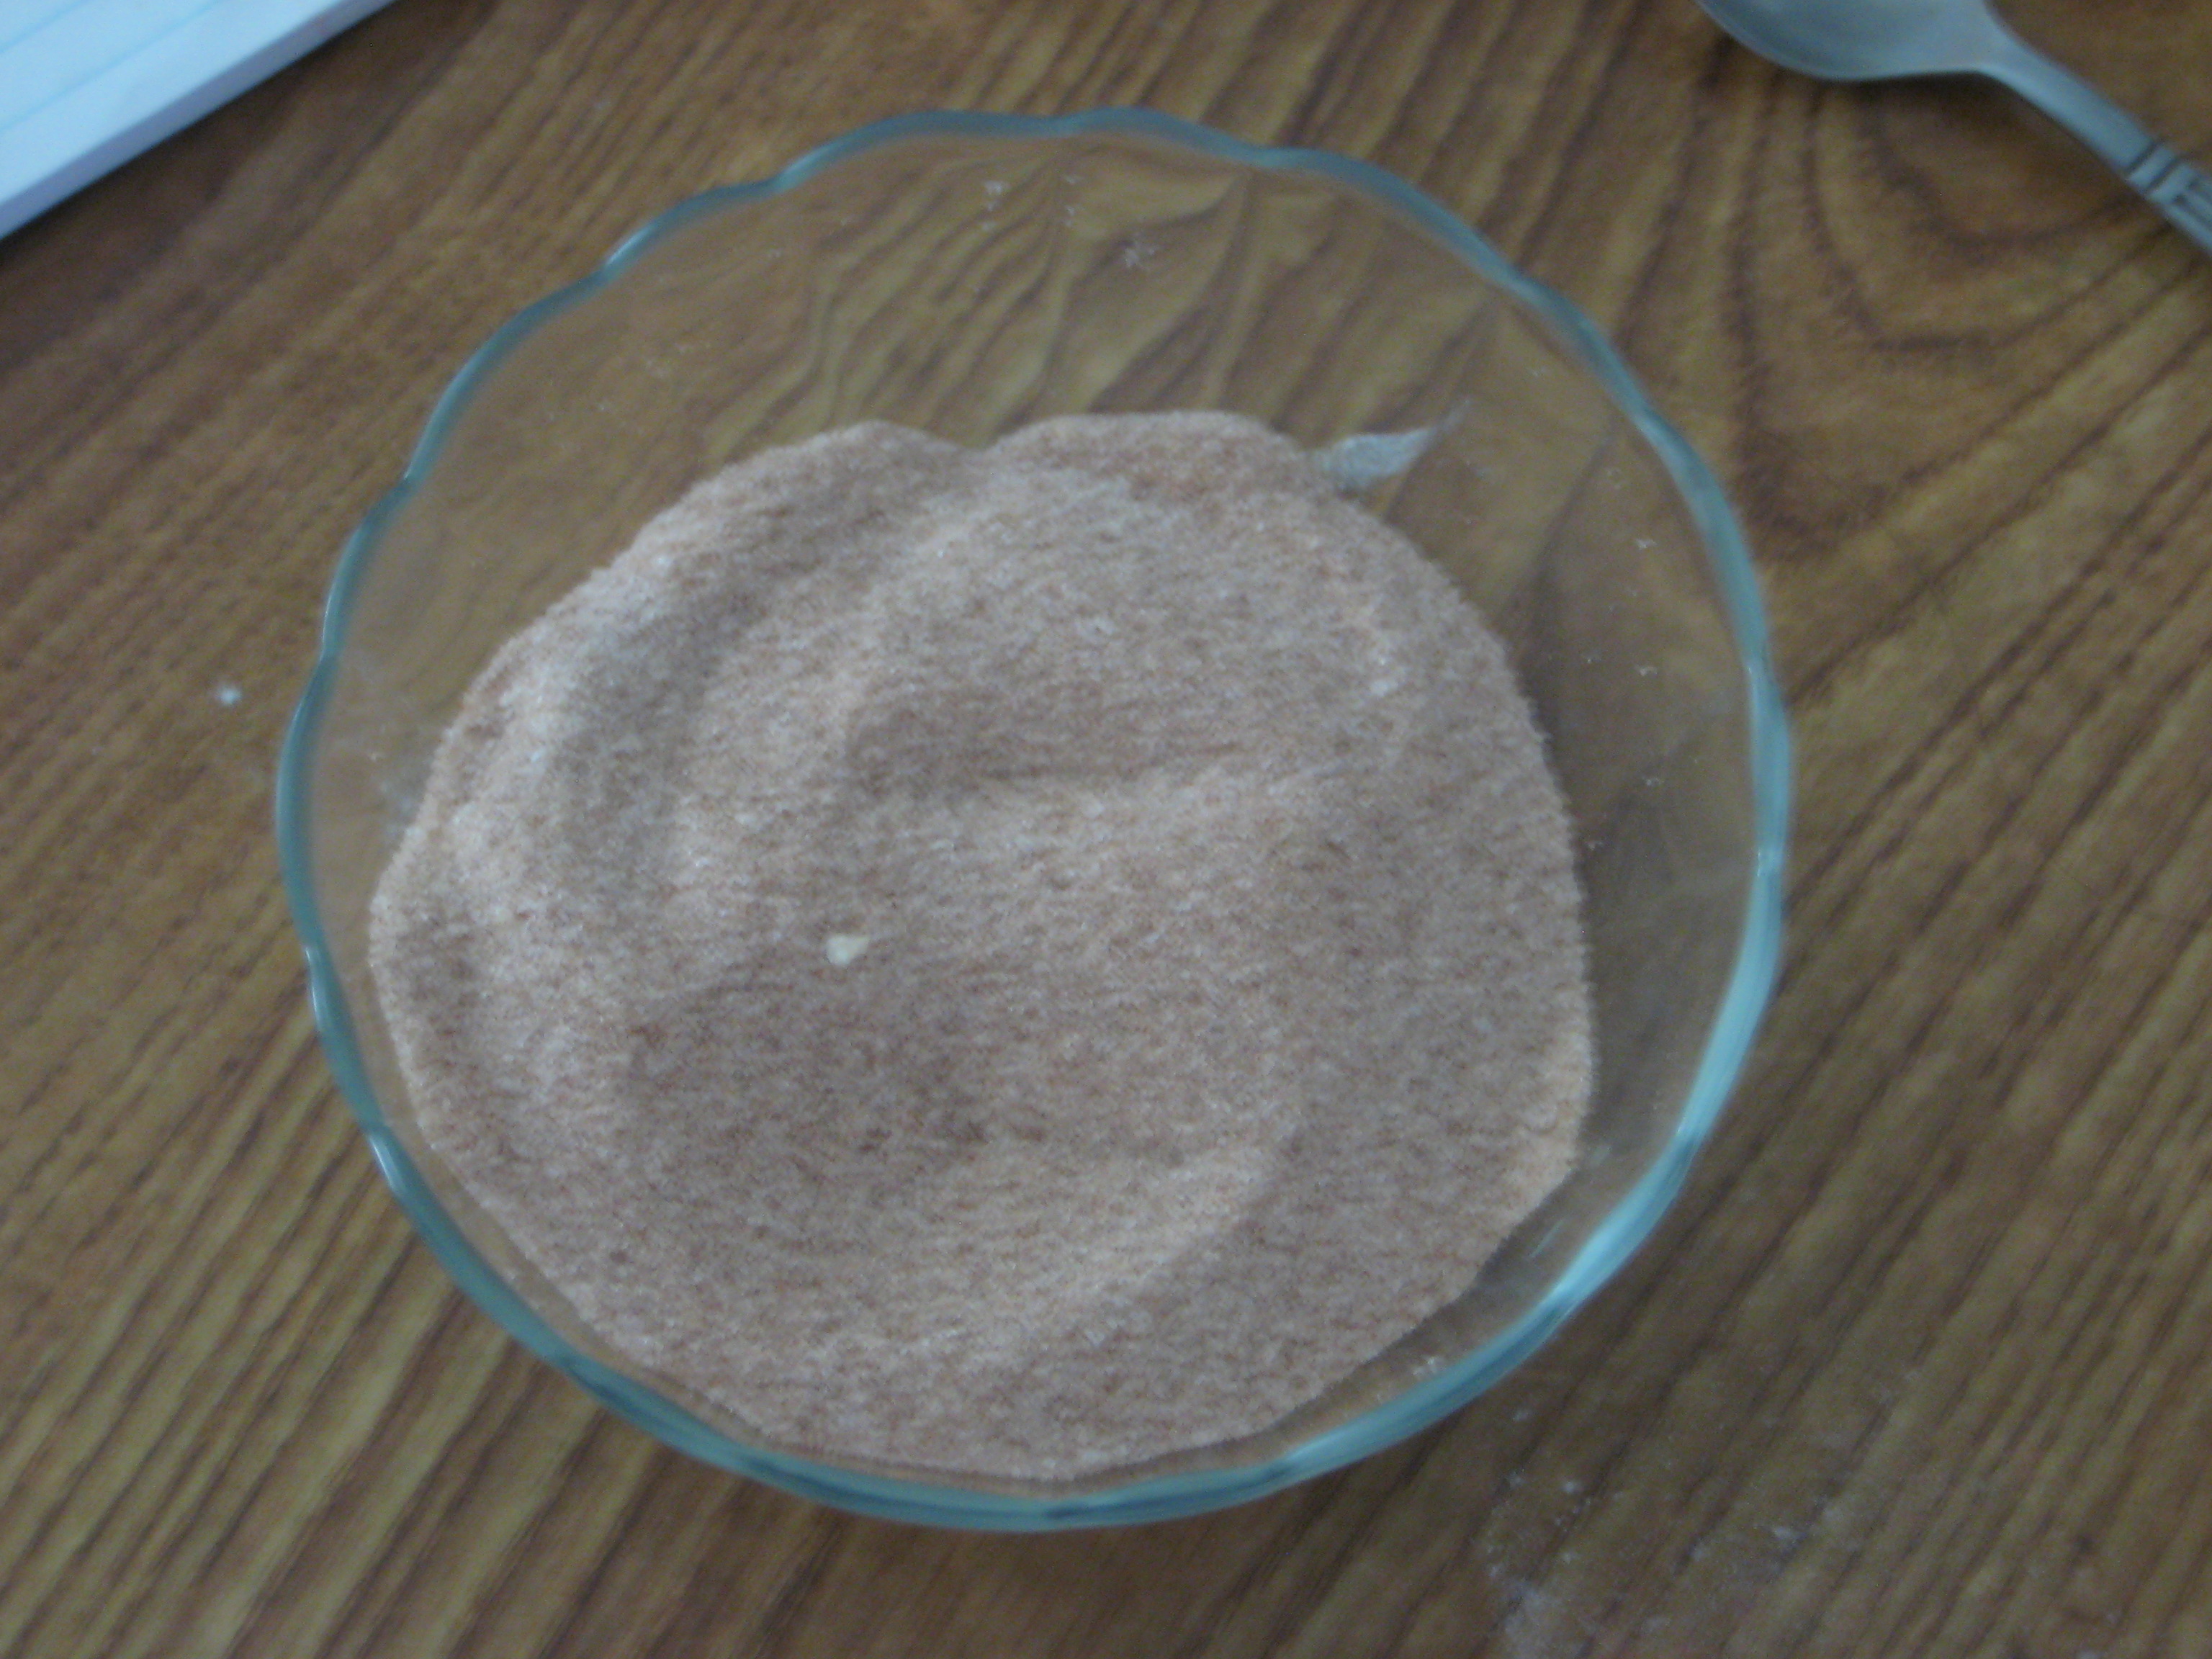
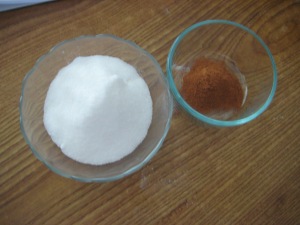
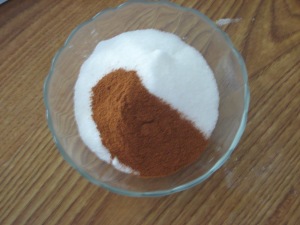
Step 6: In a small bowl, combine the remaining sugar and ground cinnamon; set aside.

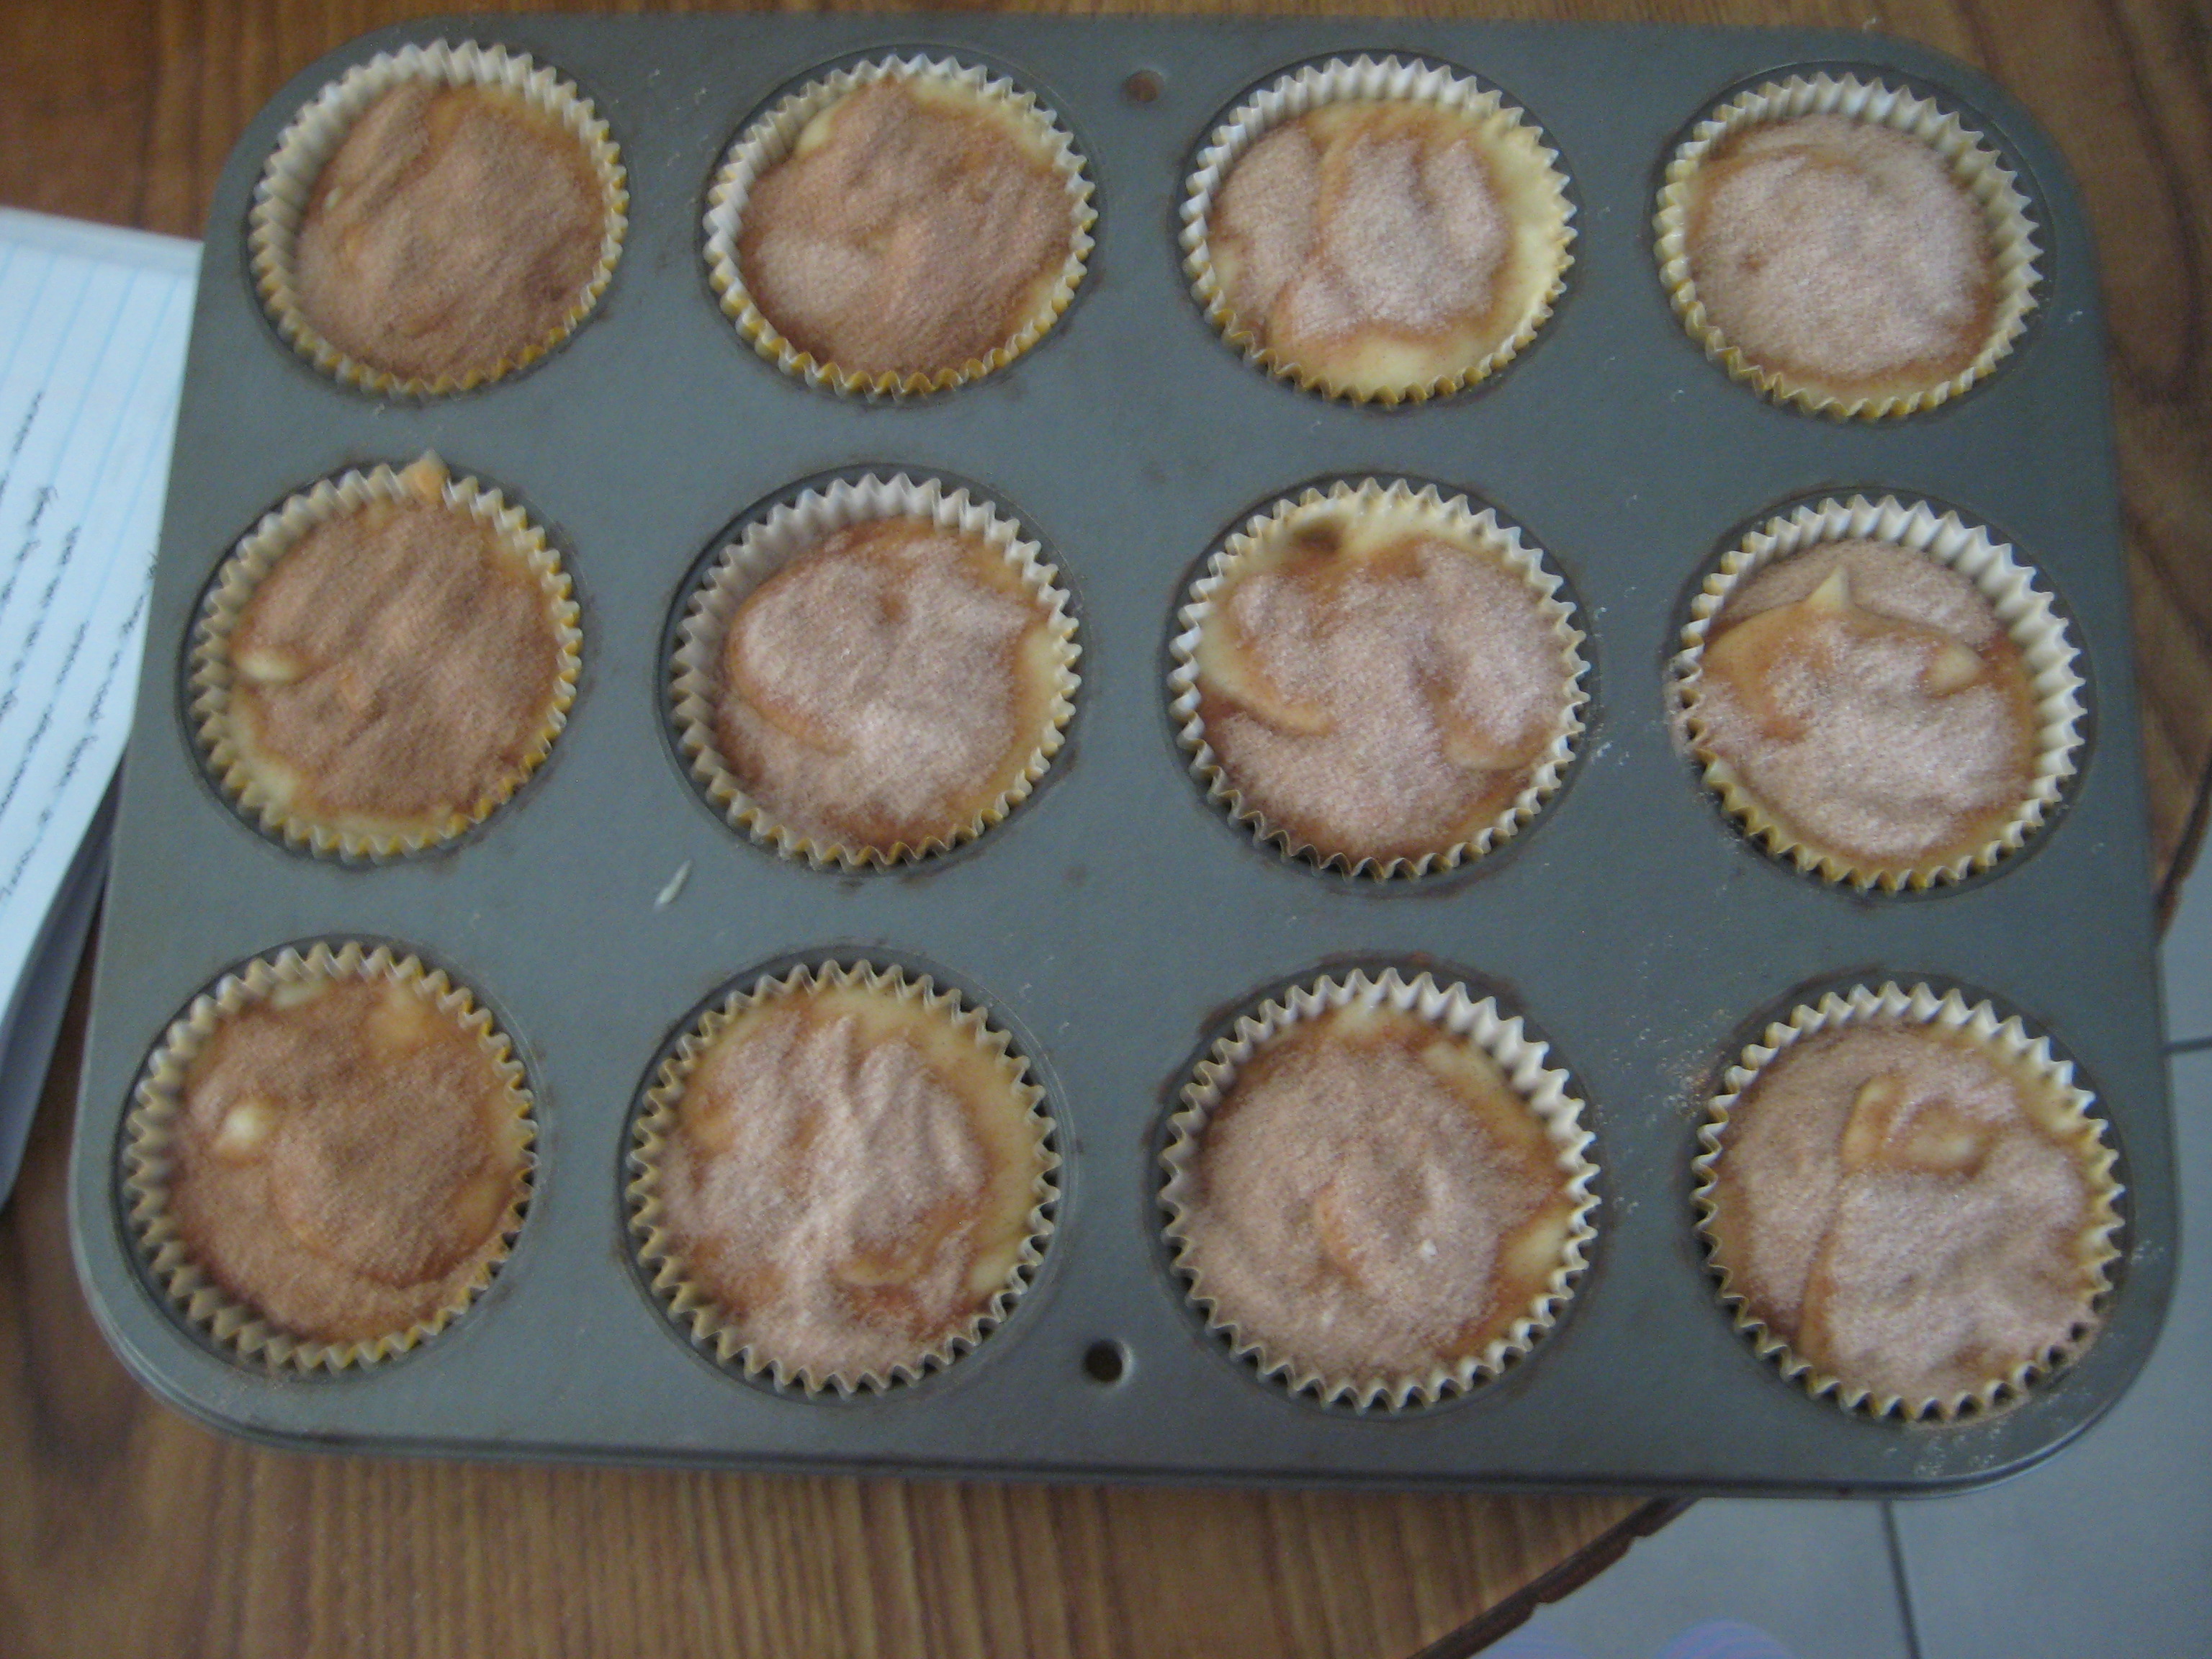
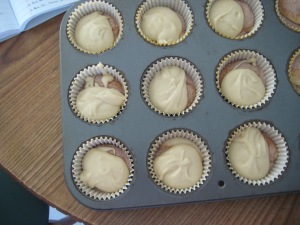
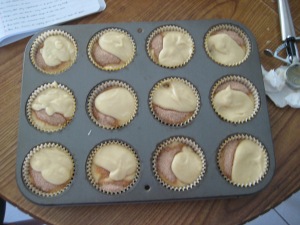
Step 7: Spoon 2 Tbsp. of batter into each cupcake liner.
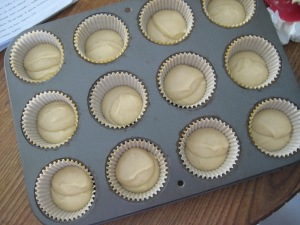
Step 8: Top with 1 tsp. of the cinnamon-sugar mix.
Step 9: Top with a heaping Tbsp. of batter, and continue this pattern until cups are 3/4 full. (I added a bit more than 3/4 full and you will see what happens when you basically fill the cups.)
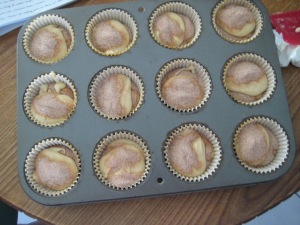
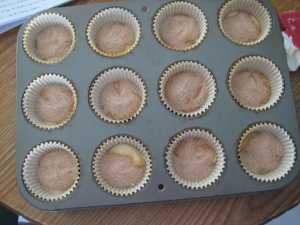
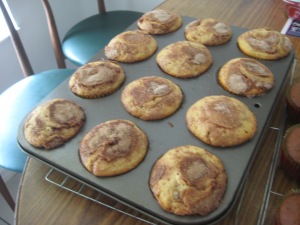
Step 10: Top each cupcake with 1 tsp. more of the cinnamon-sugar.

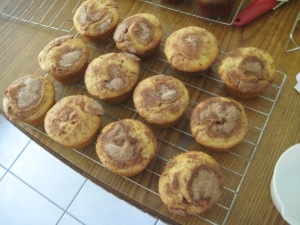
Step 11: Bake for 25-30 minutes, or until a toothpick comes out clean from the center. (They came out slightly over the edges of the cupcake liners so I had to run a clean knife around the underside of the overlapping sections to help remove the cupcakes from the pan.)
Step 12: Cool completely on wire racks before frosting.
25 Nov 2013
by suzaku24
in Breads, Cakes, and Pastries, Butter, Chocolates and Candies, Dessert, Eggs, recipes, Thanksgiving
Tags: butter cookies, dessert, food, recipe, shortbread, shortbread cookies
Some time ago I had made Scottish Shortbread Cookies and they took a bit of time to make. I know that I will not have the time to make this for the coming holidays so instead I am going to make an easier version that is great for gift giving and as well as the holiday parties.
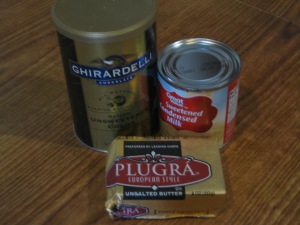
Here are the ingredients needed for this recipe:
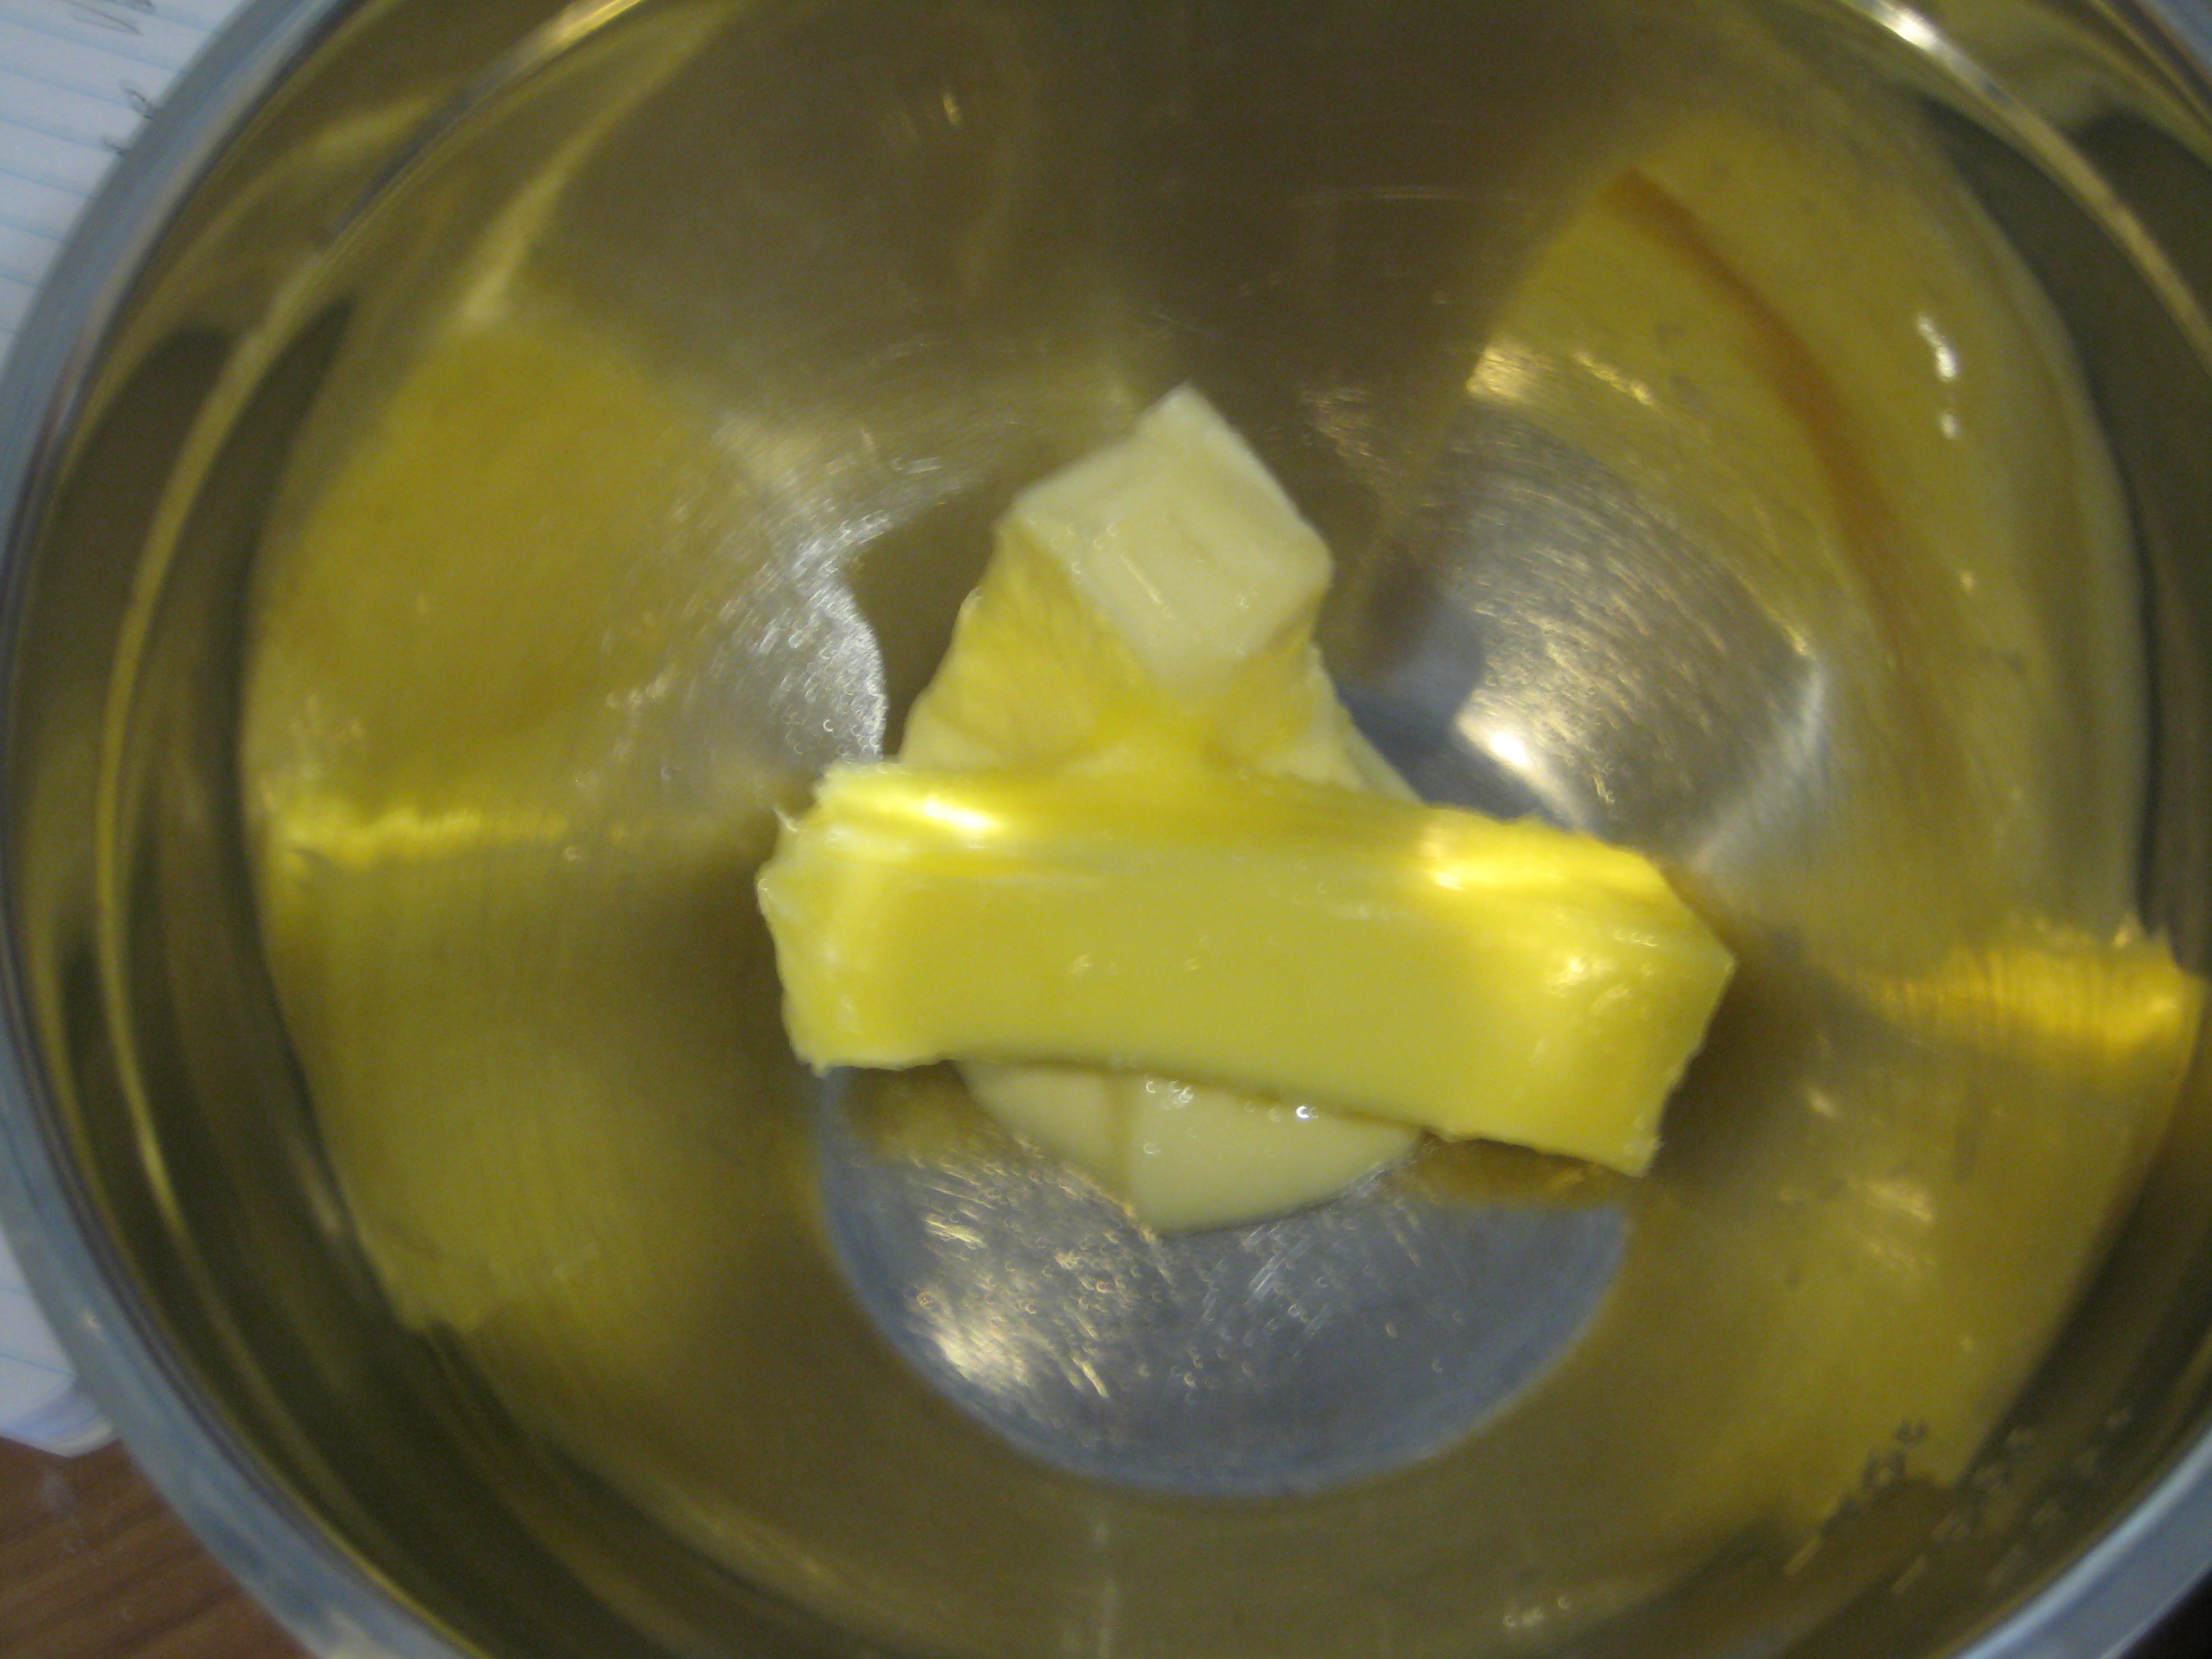
- 1 cup unsalted butter, room temperature
- 1 cup confectioners’ sugar
- 1 3/4 cups all-purpose flour
- 1 tsp. salt
- melted chocolate
Step 1: In a medium bowl, sift together the flour and salt; set aside.
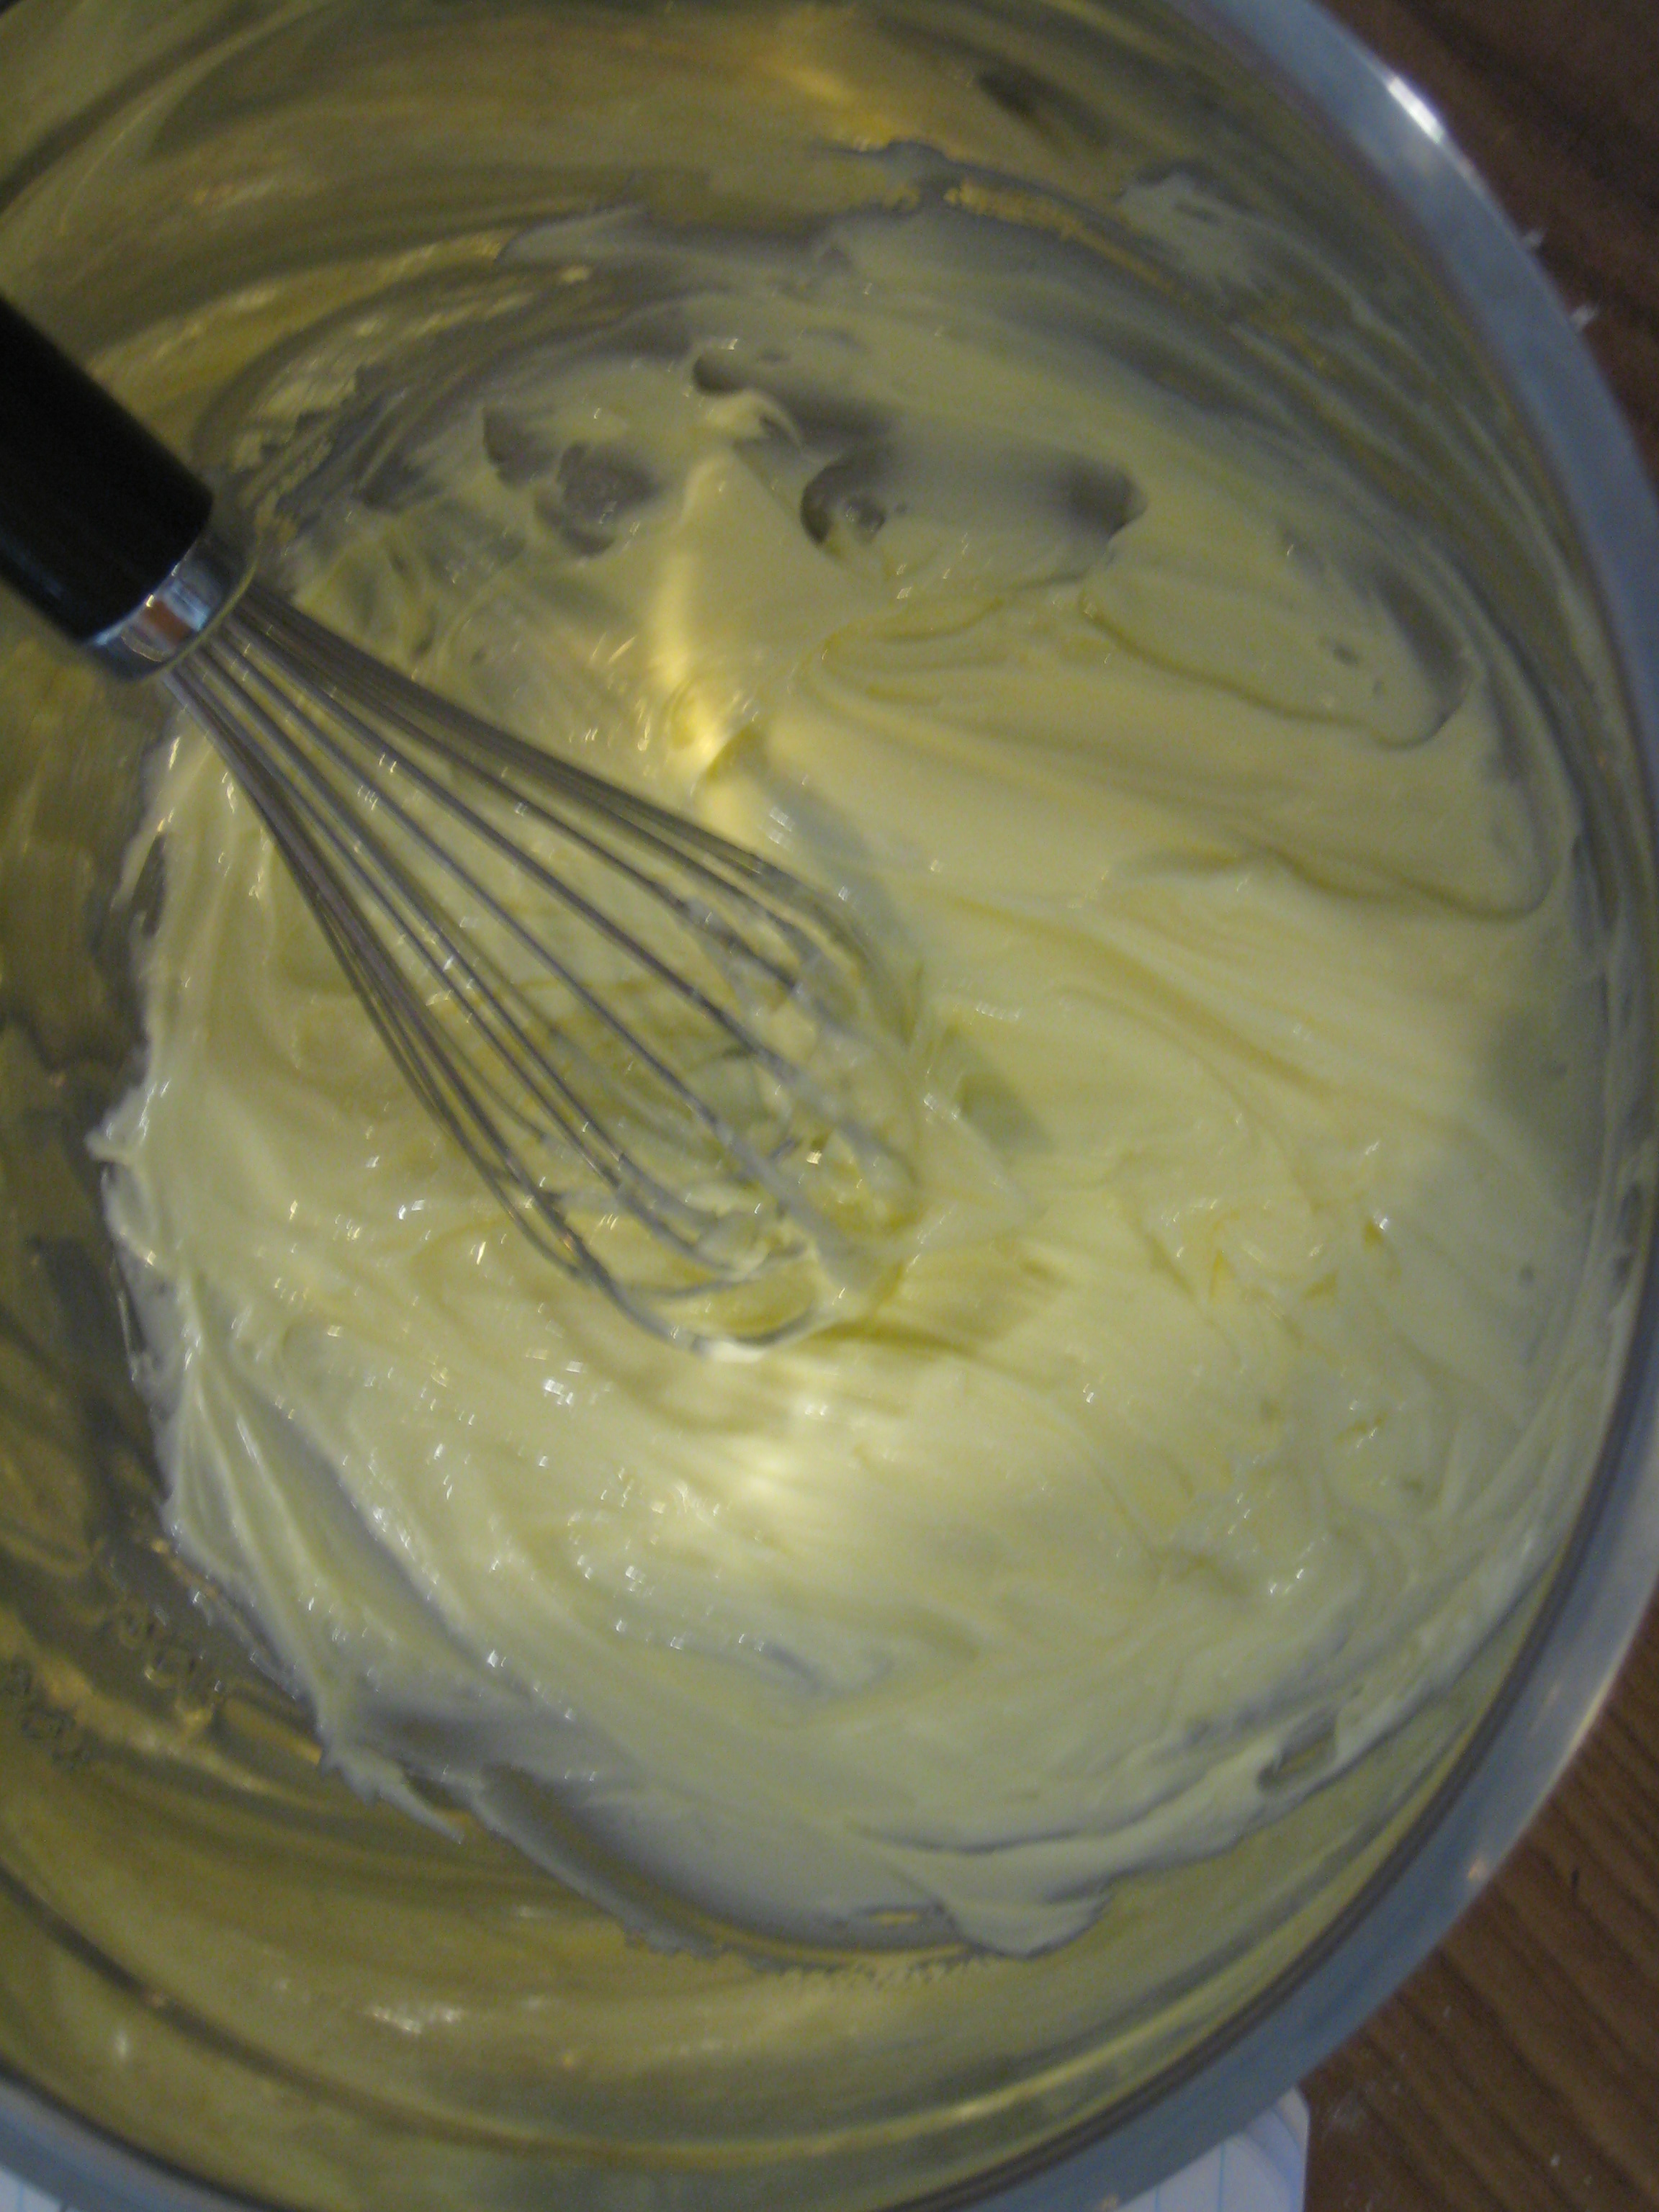
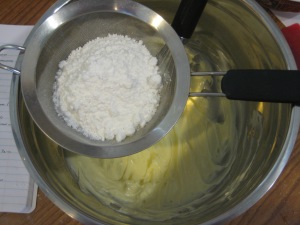
Step 2: In a large bowl, add the butter and whisk until smooth.

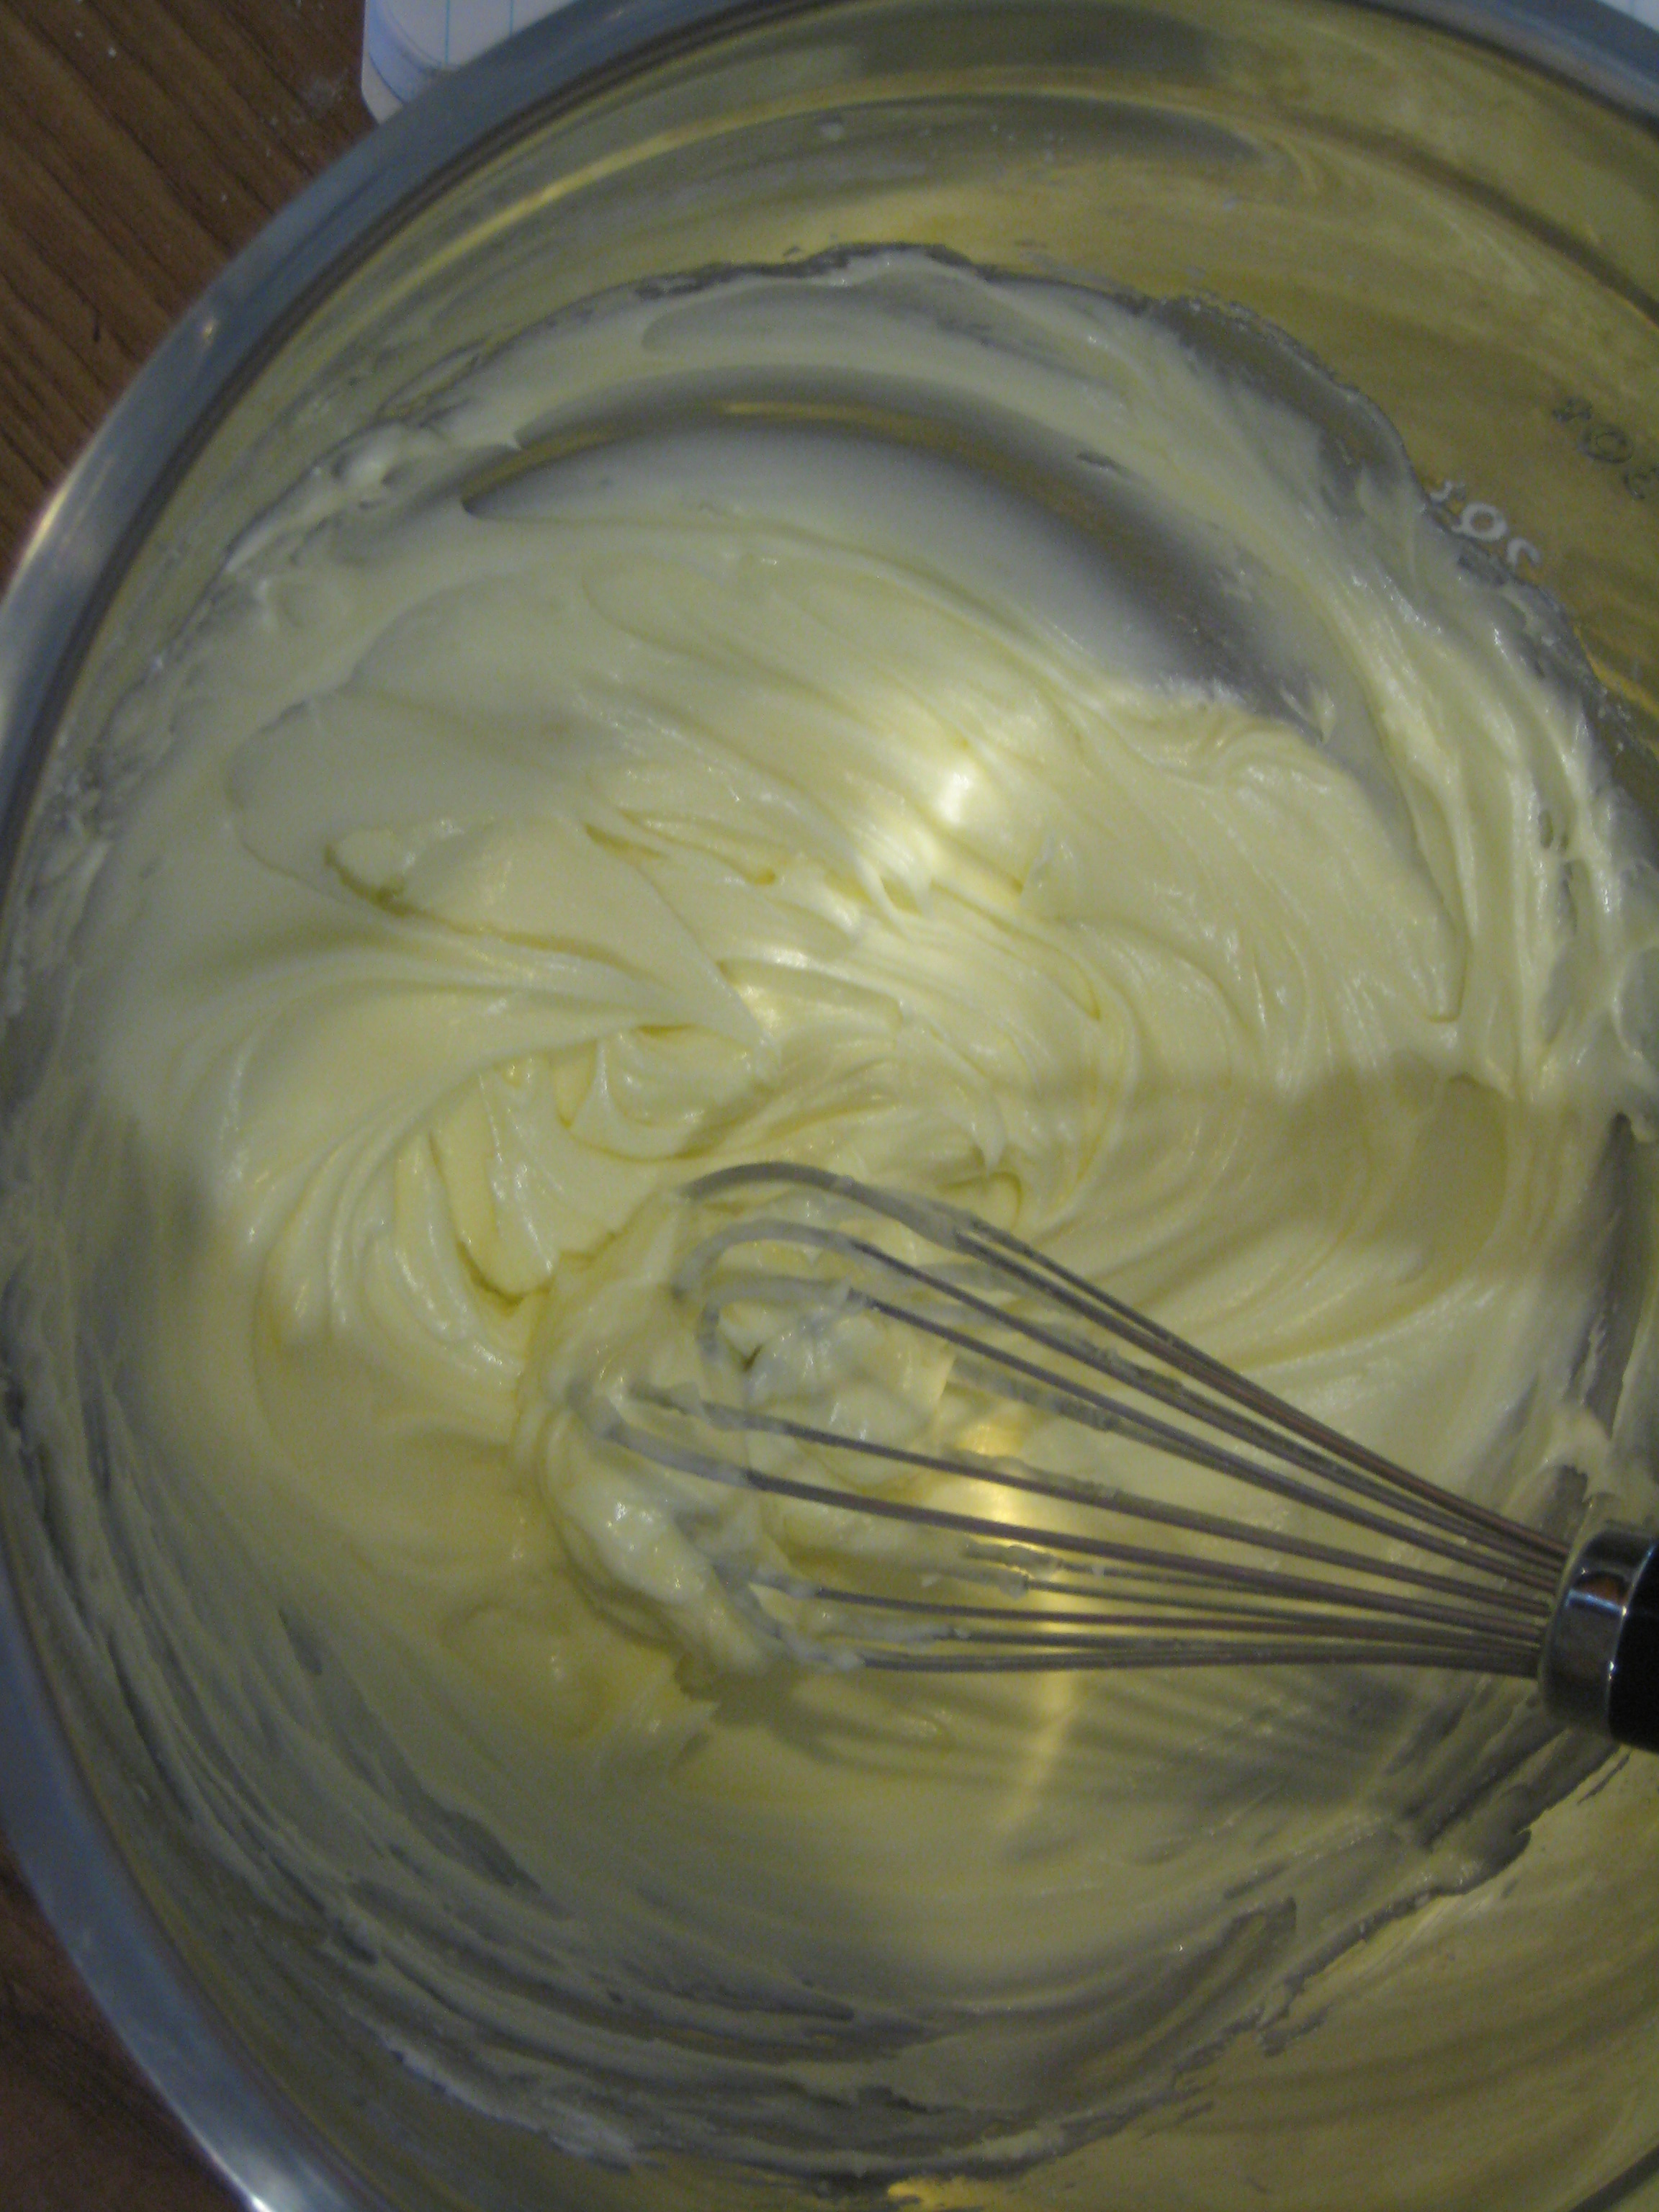
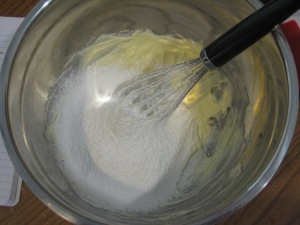
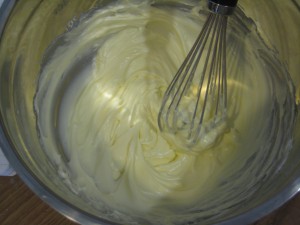
Step 3: Sift in the confectioners’ sugar and whisk until light and fluffy.
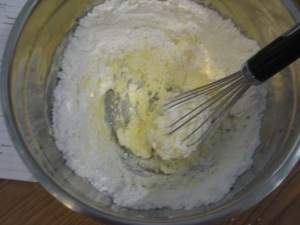
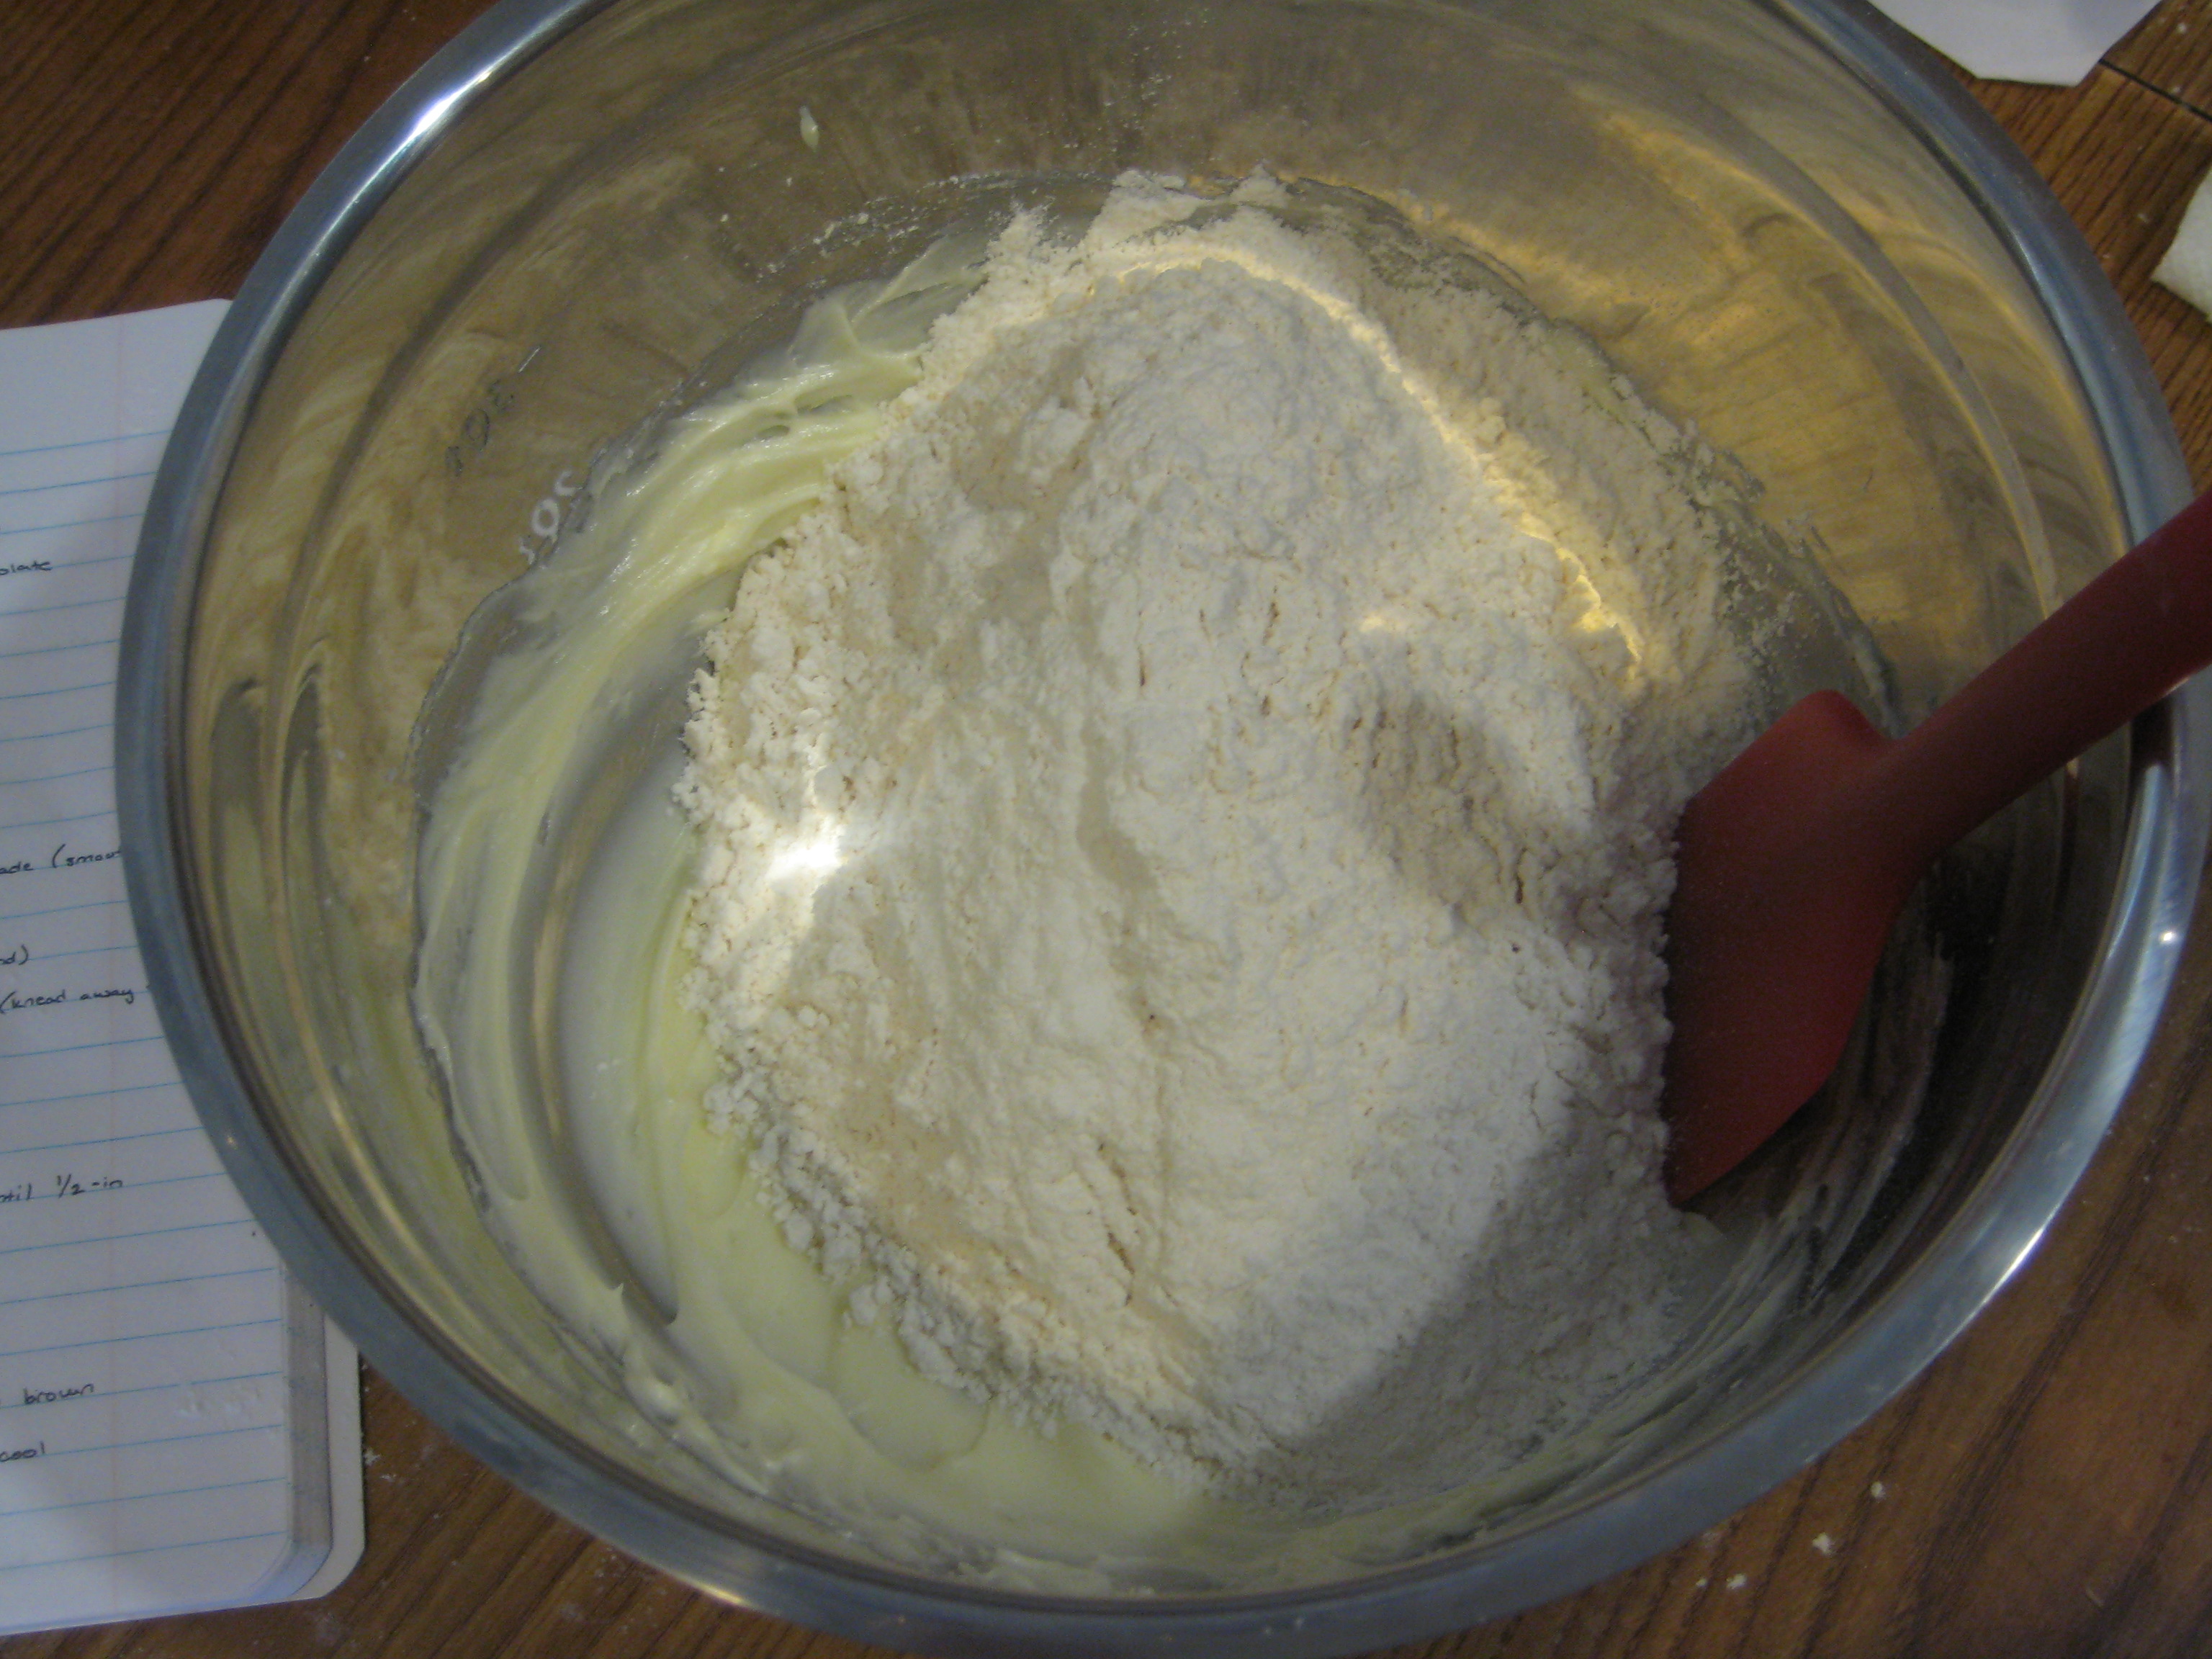
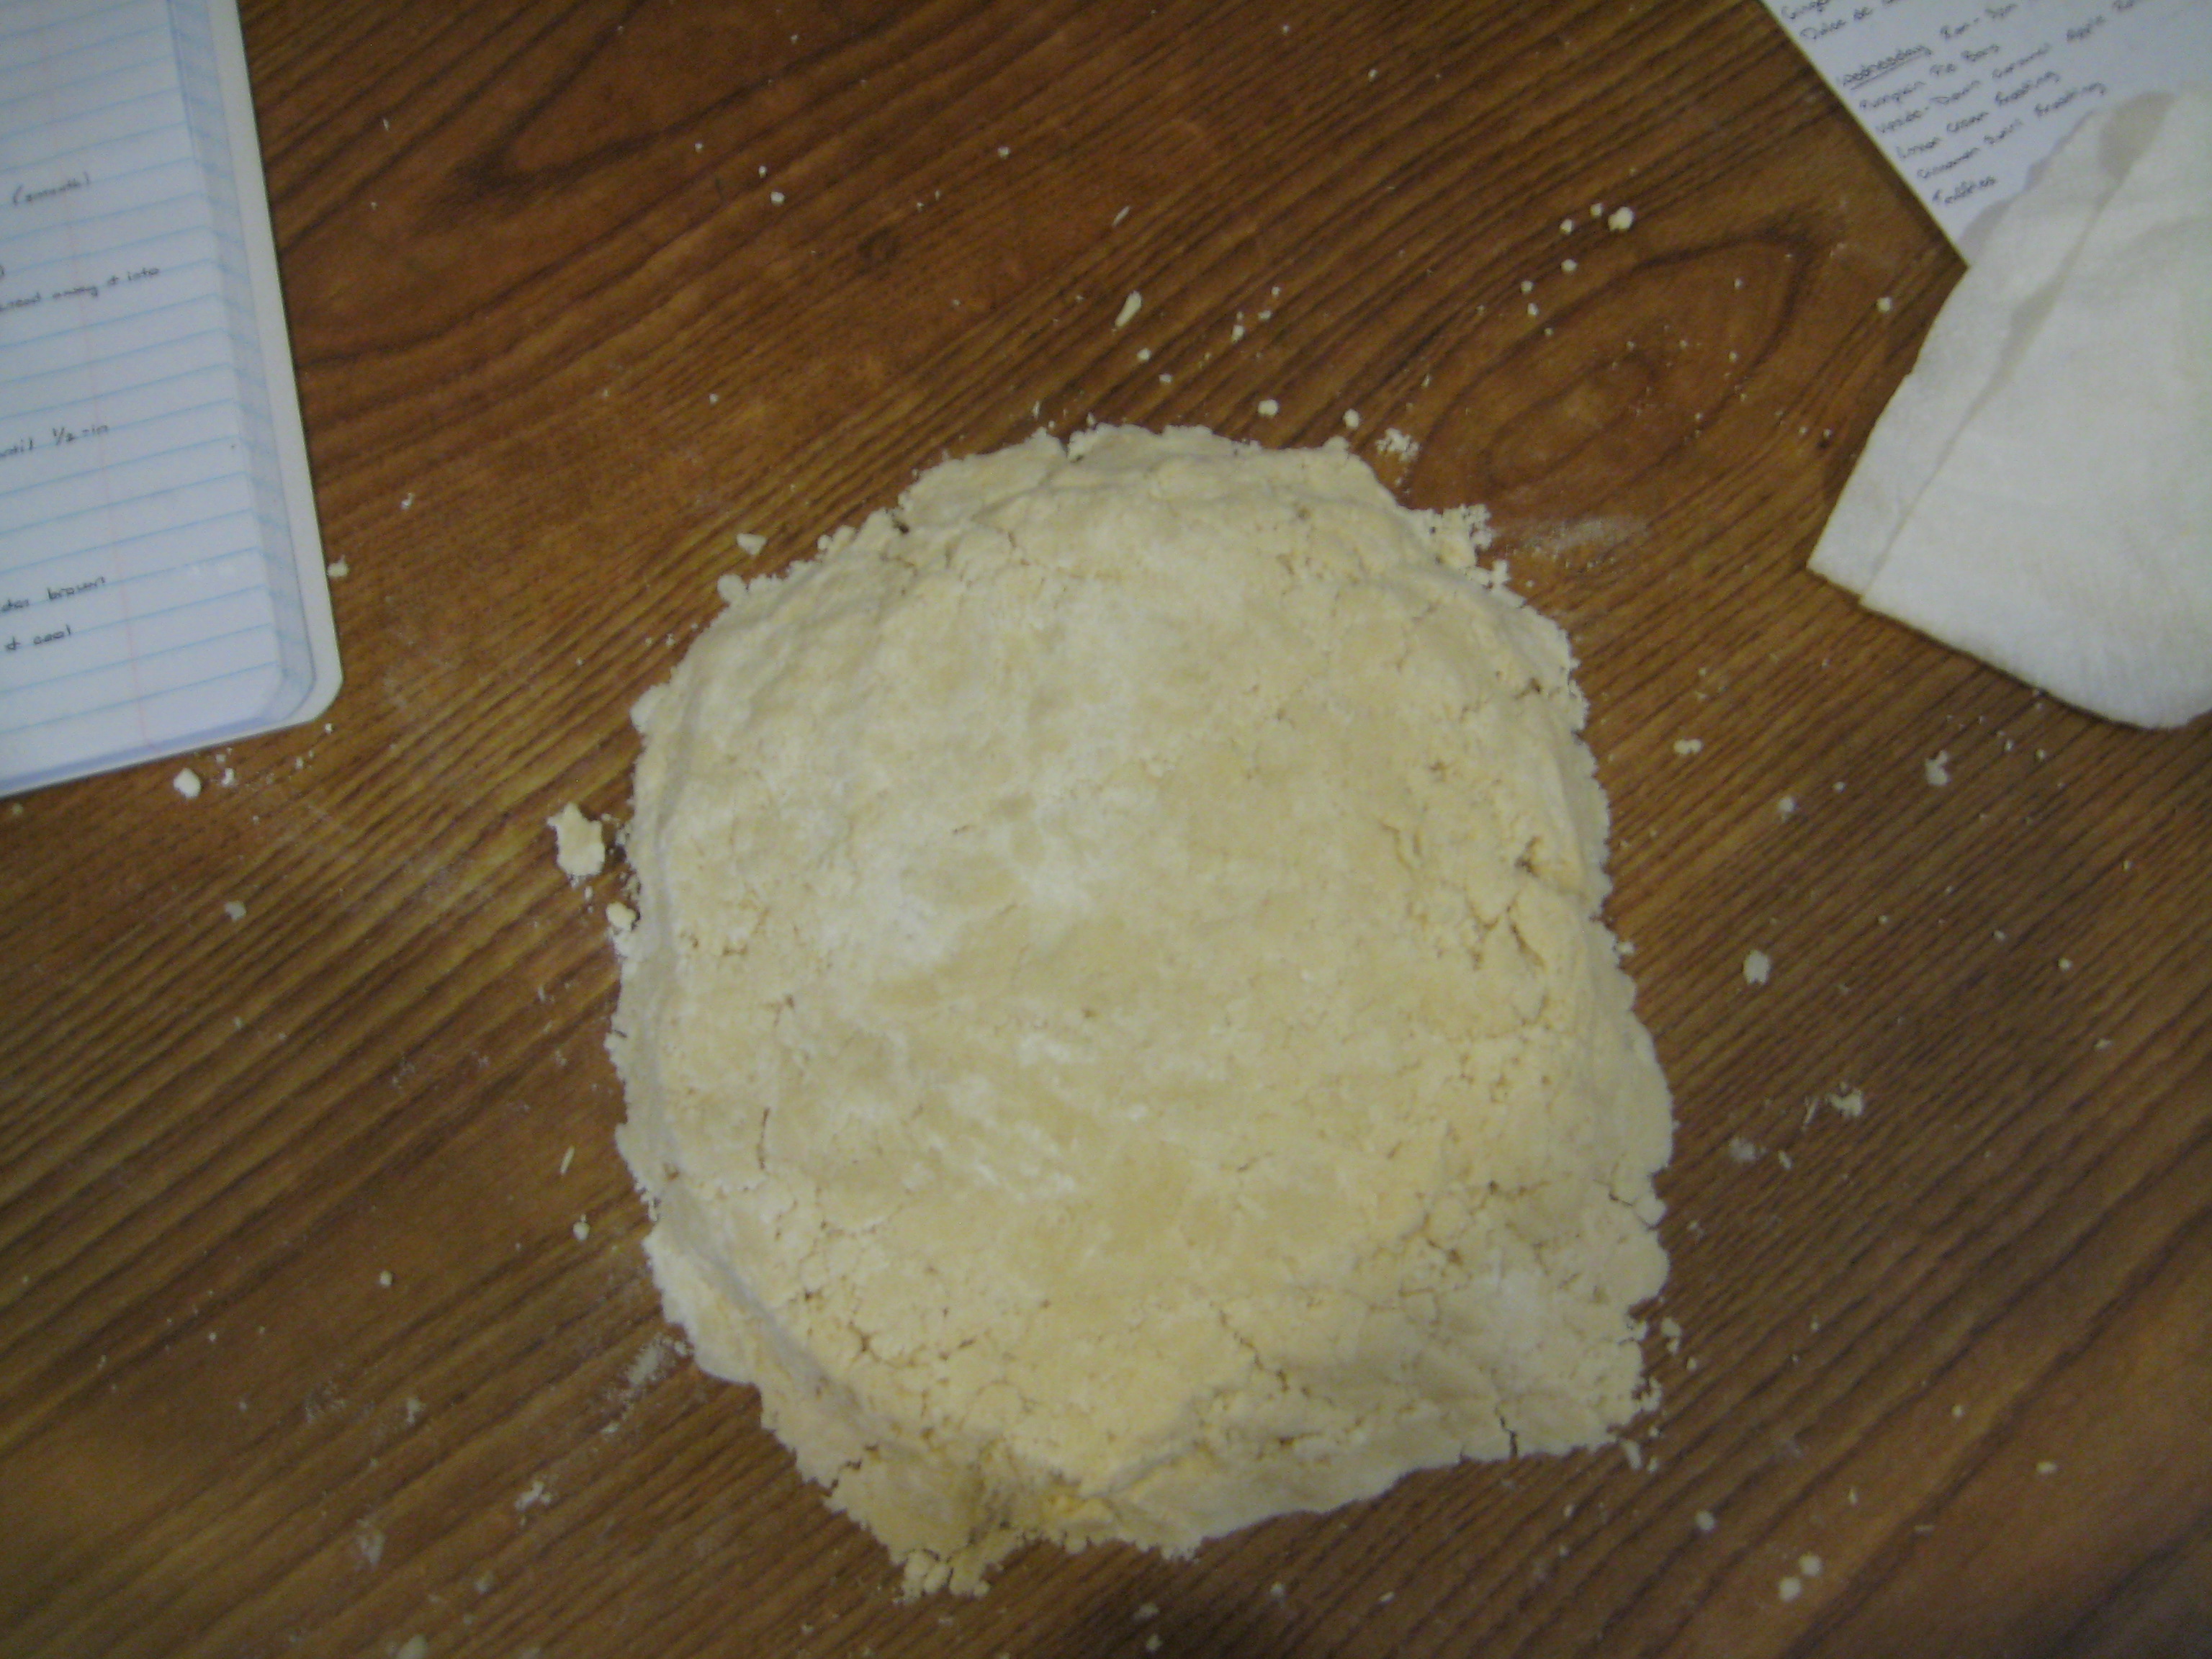
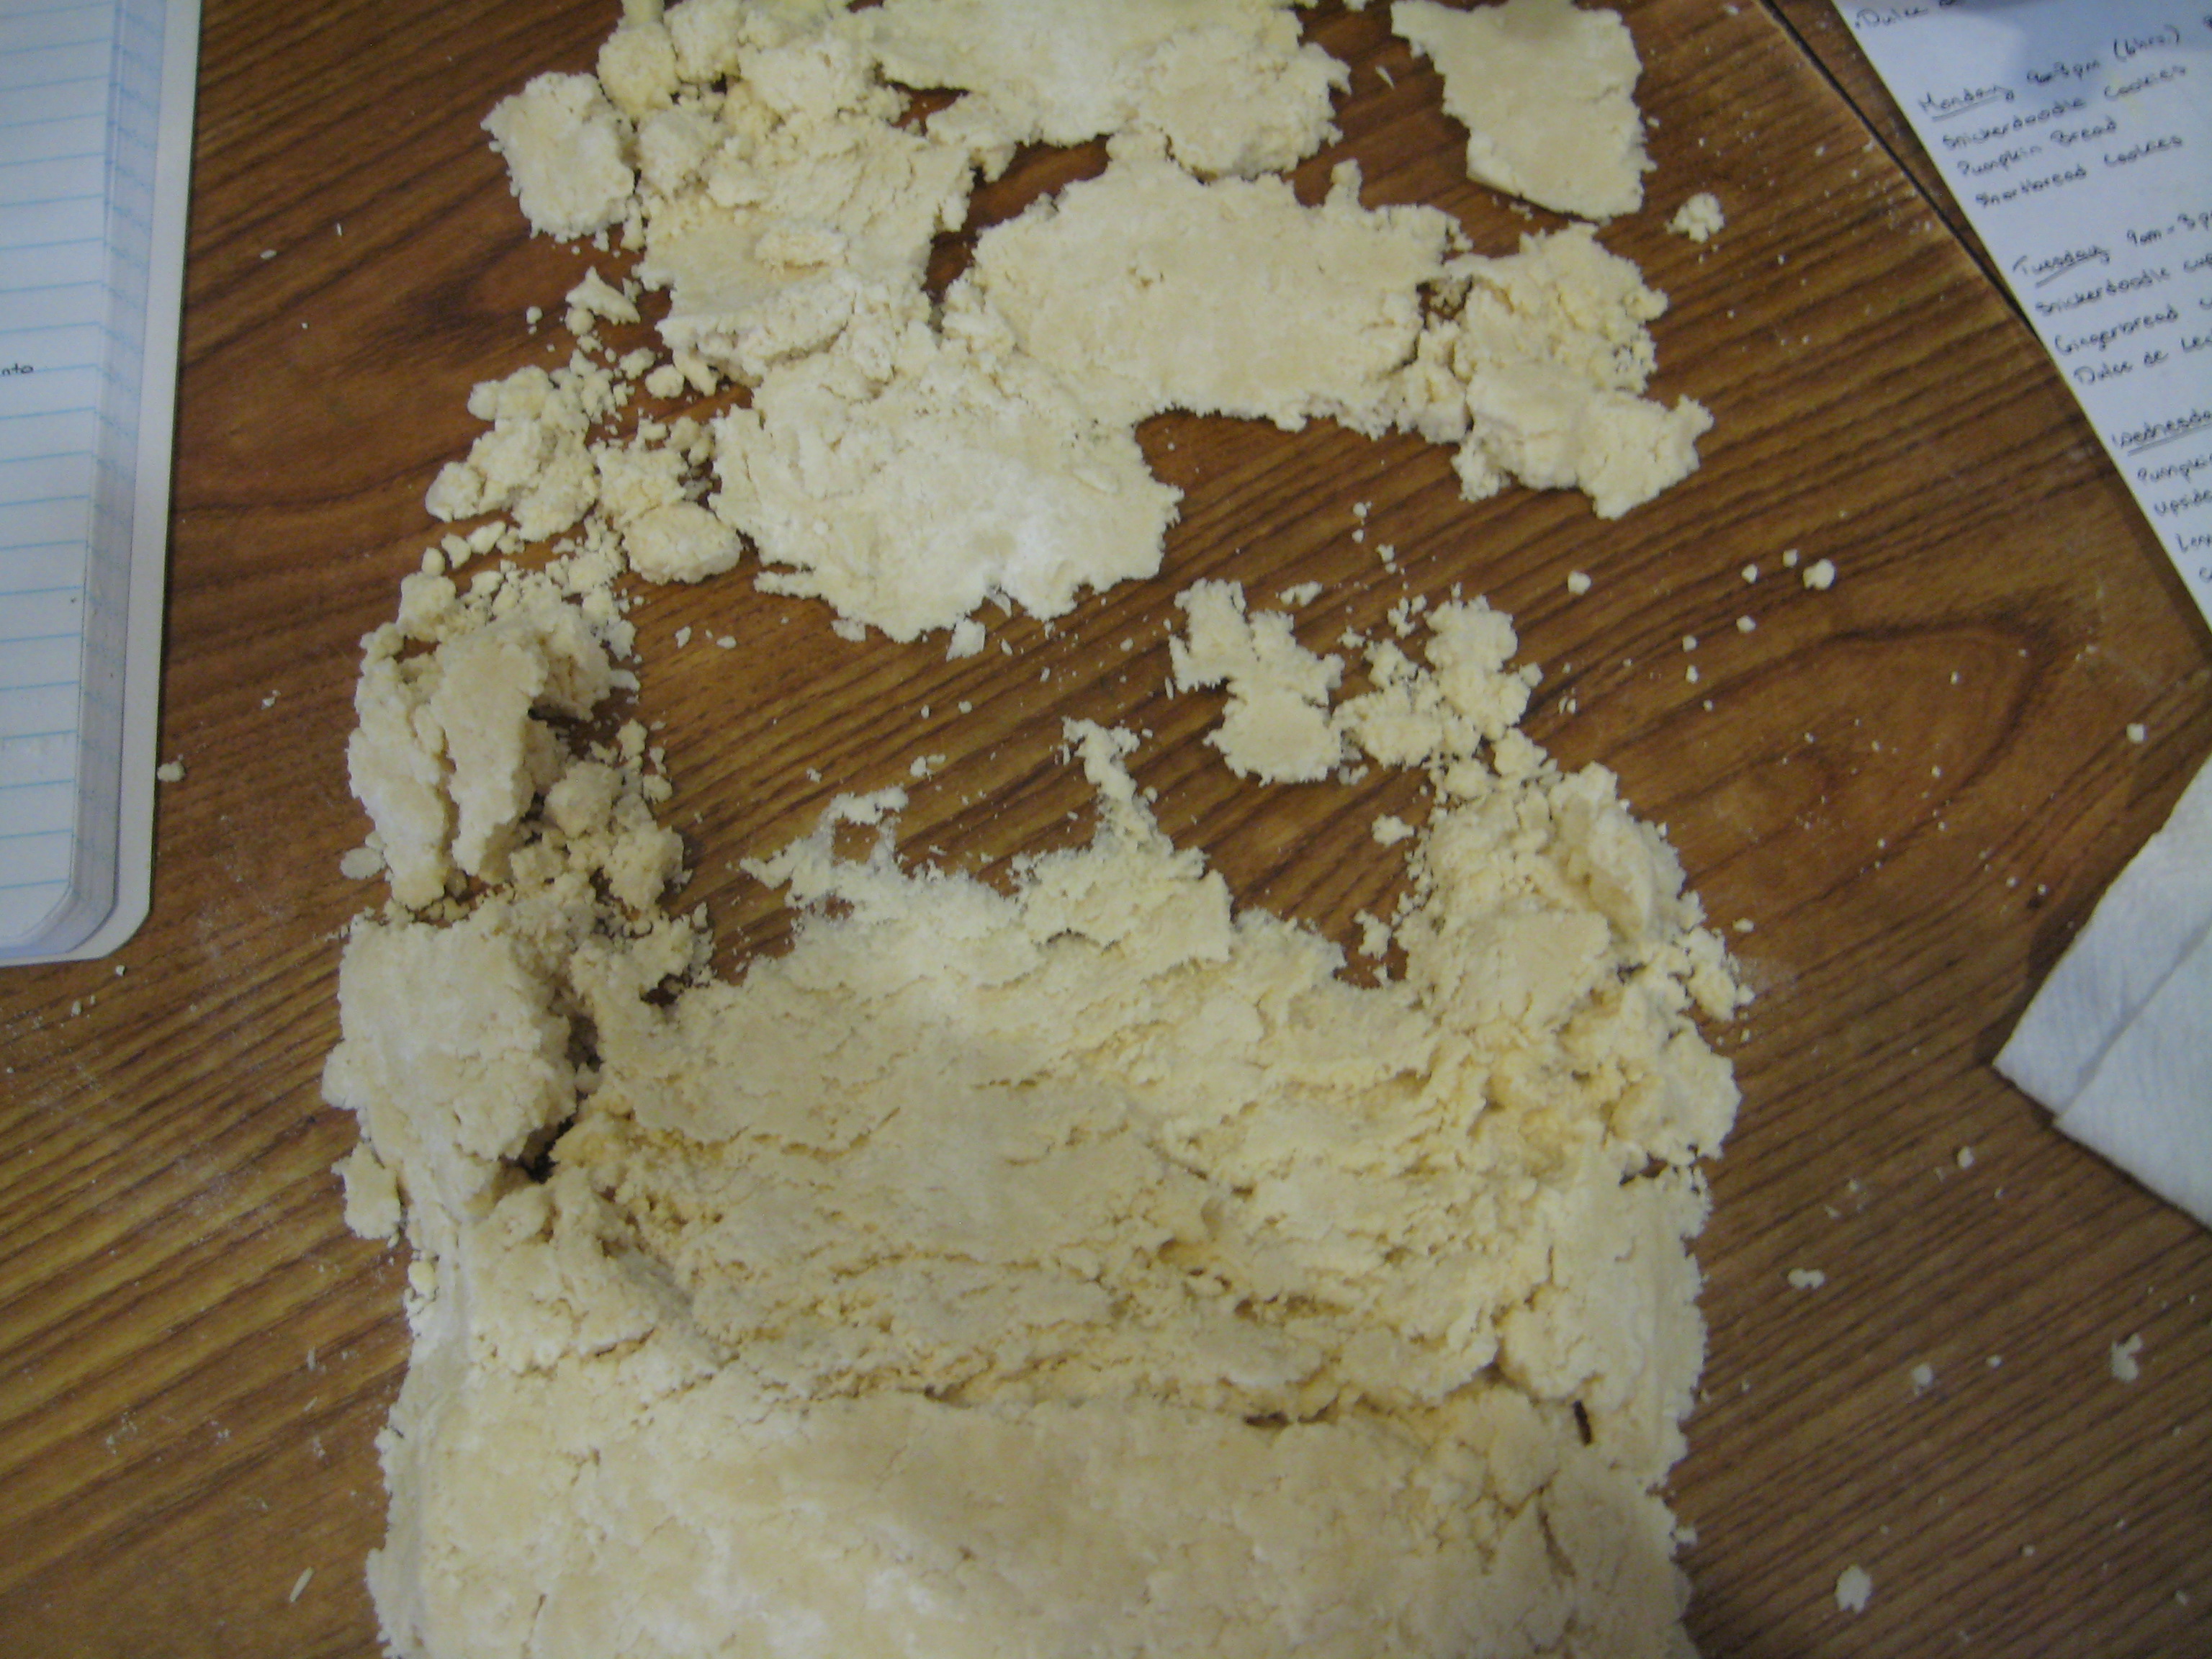
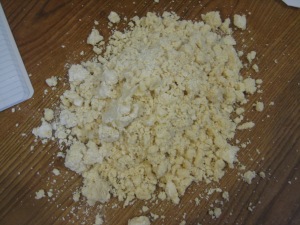
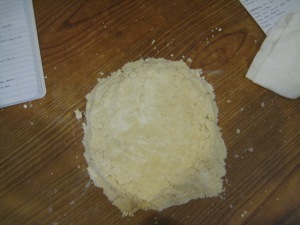
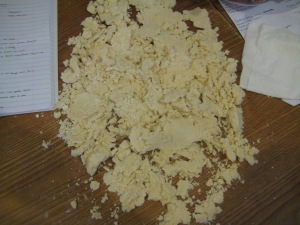
Step 4: Add in the flour and fold to combine. (Side Note: should look like sand)
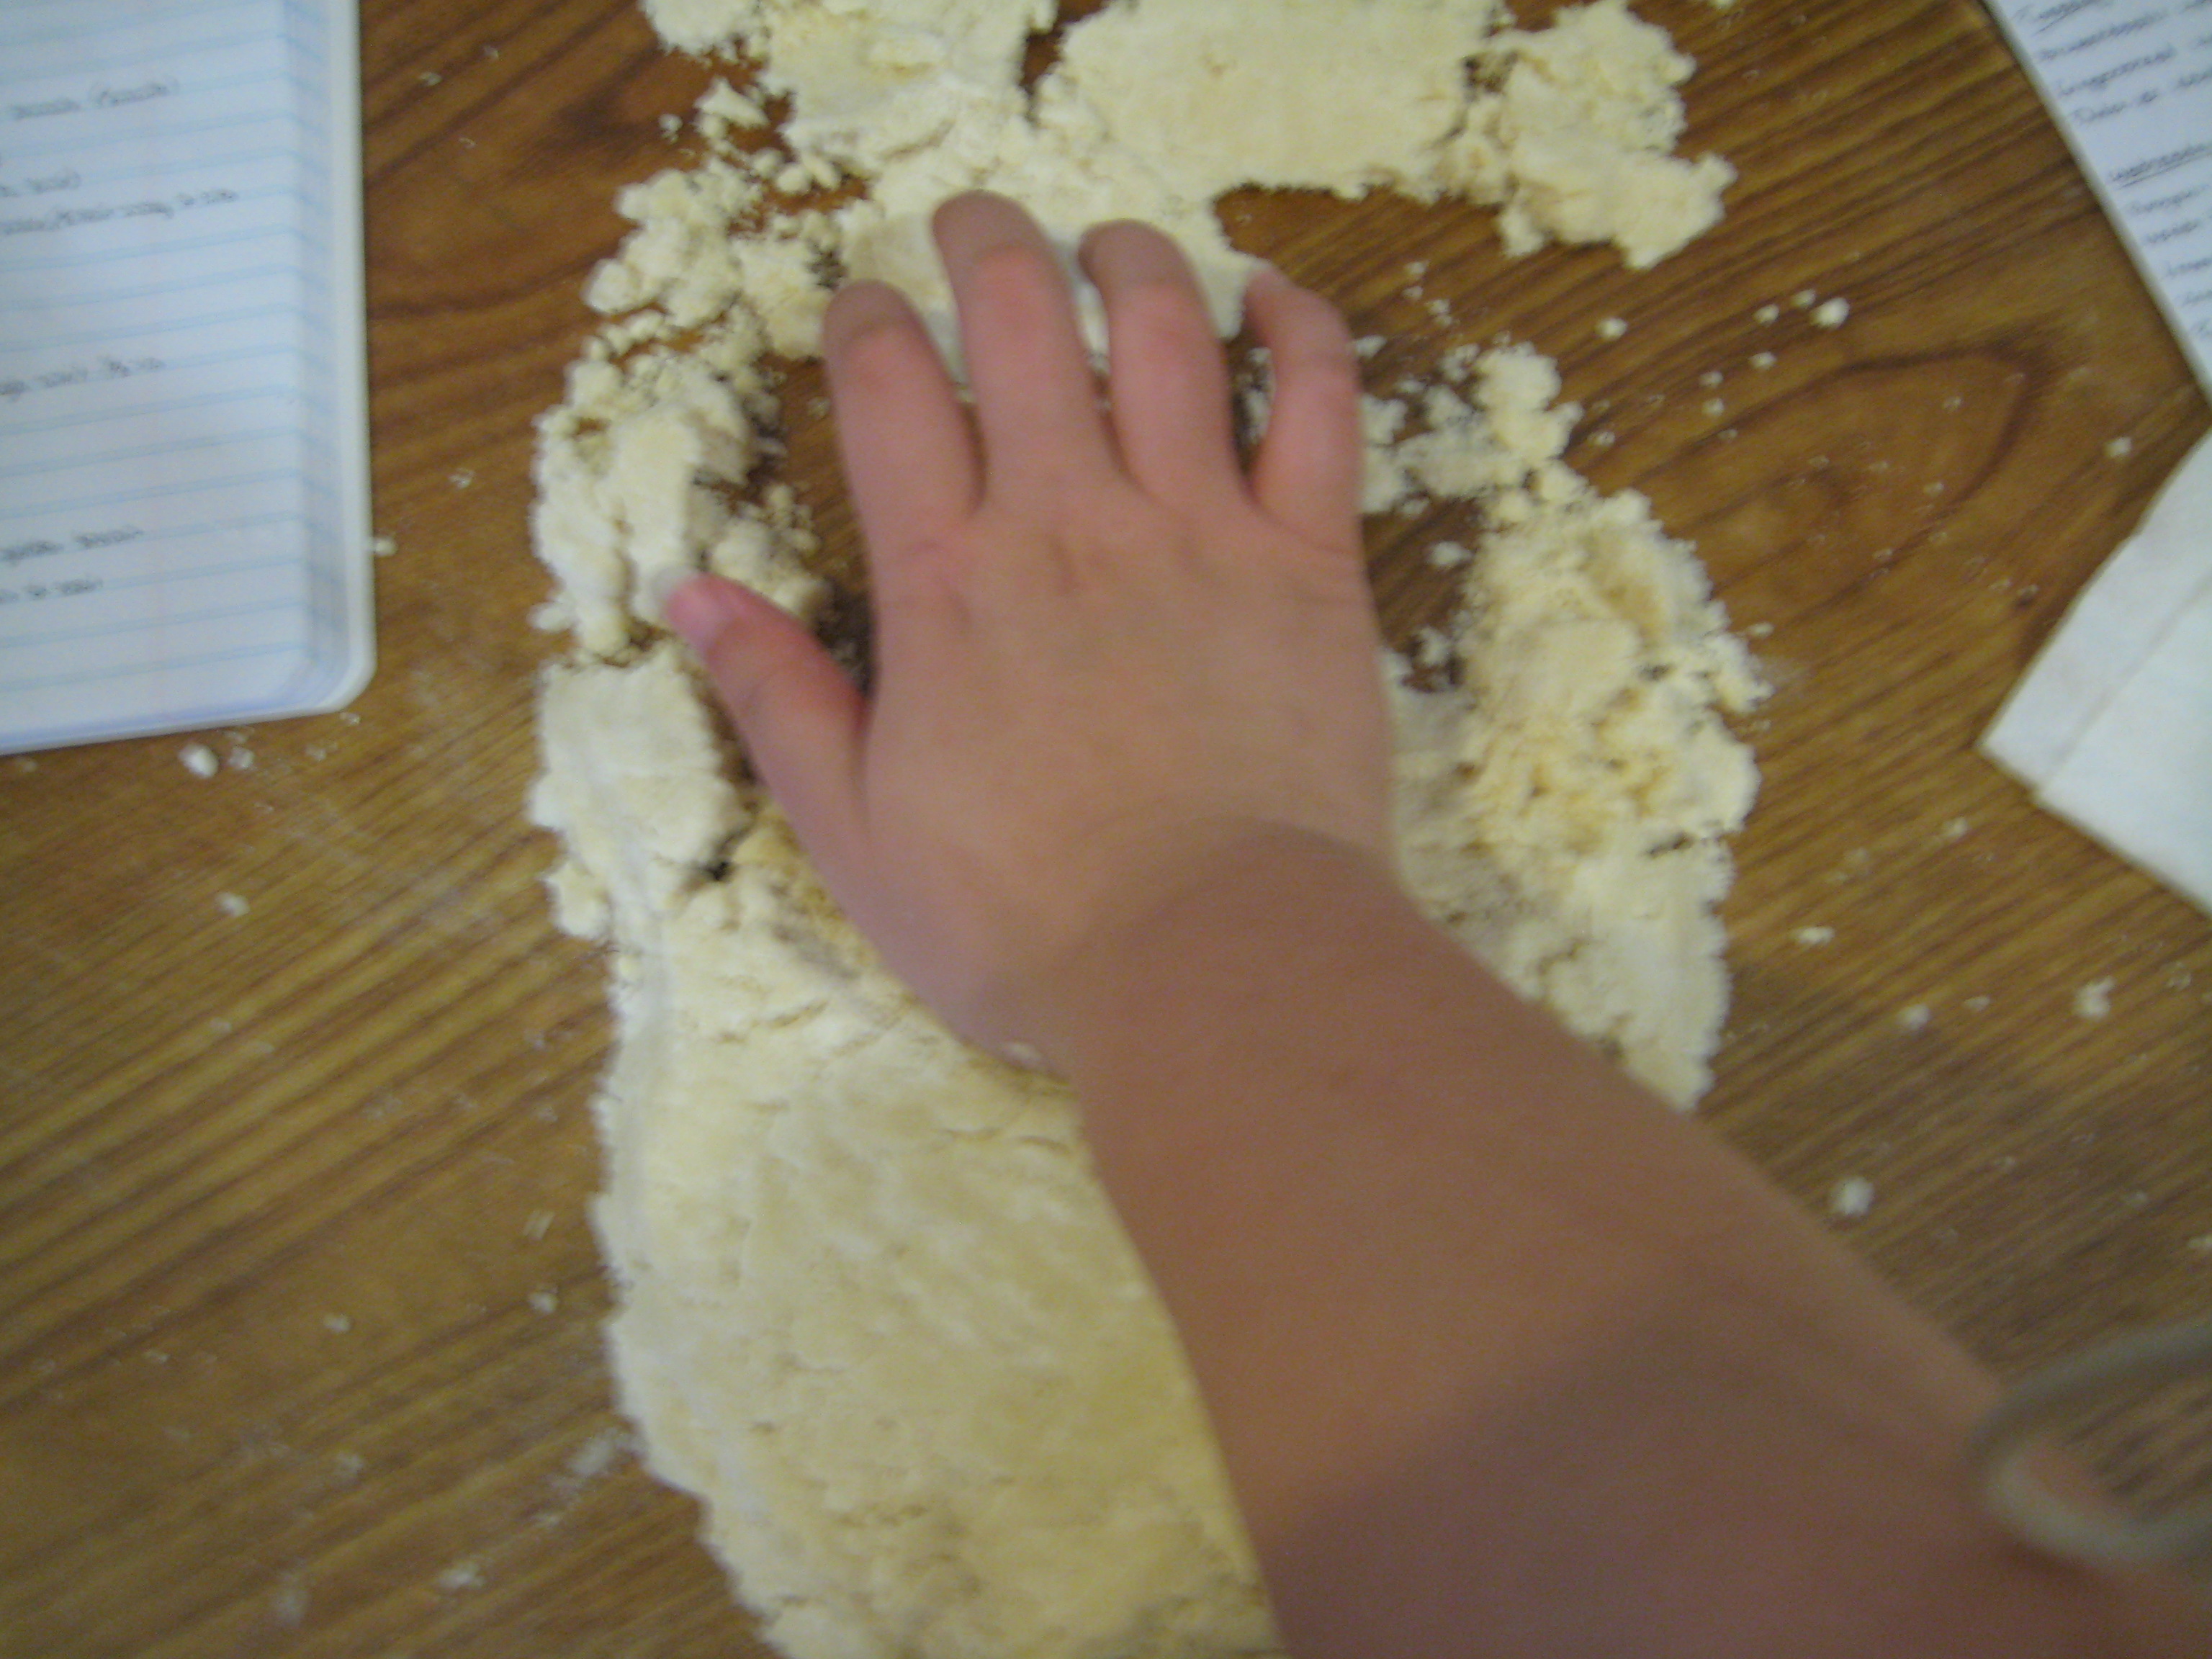
Step 5: Transfer dough onto a clean surface and knead once (Important Note: knead away and into pieces by pressing down and away.)


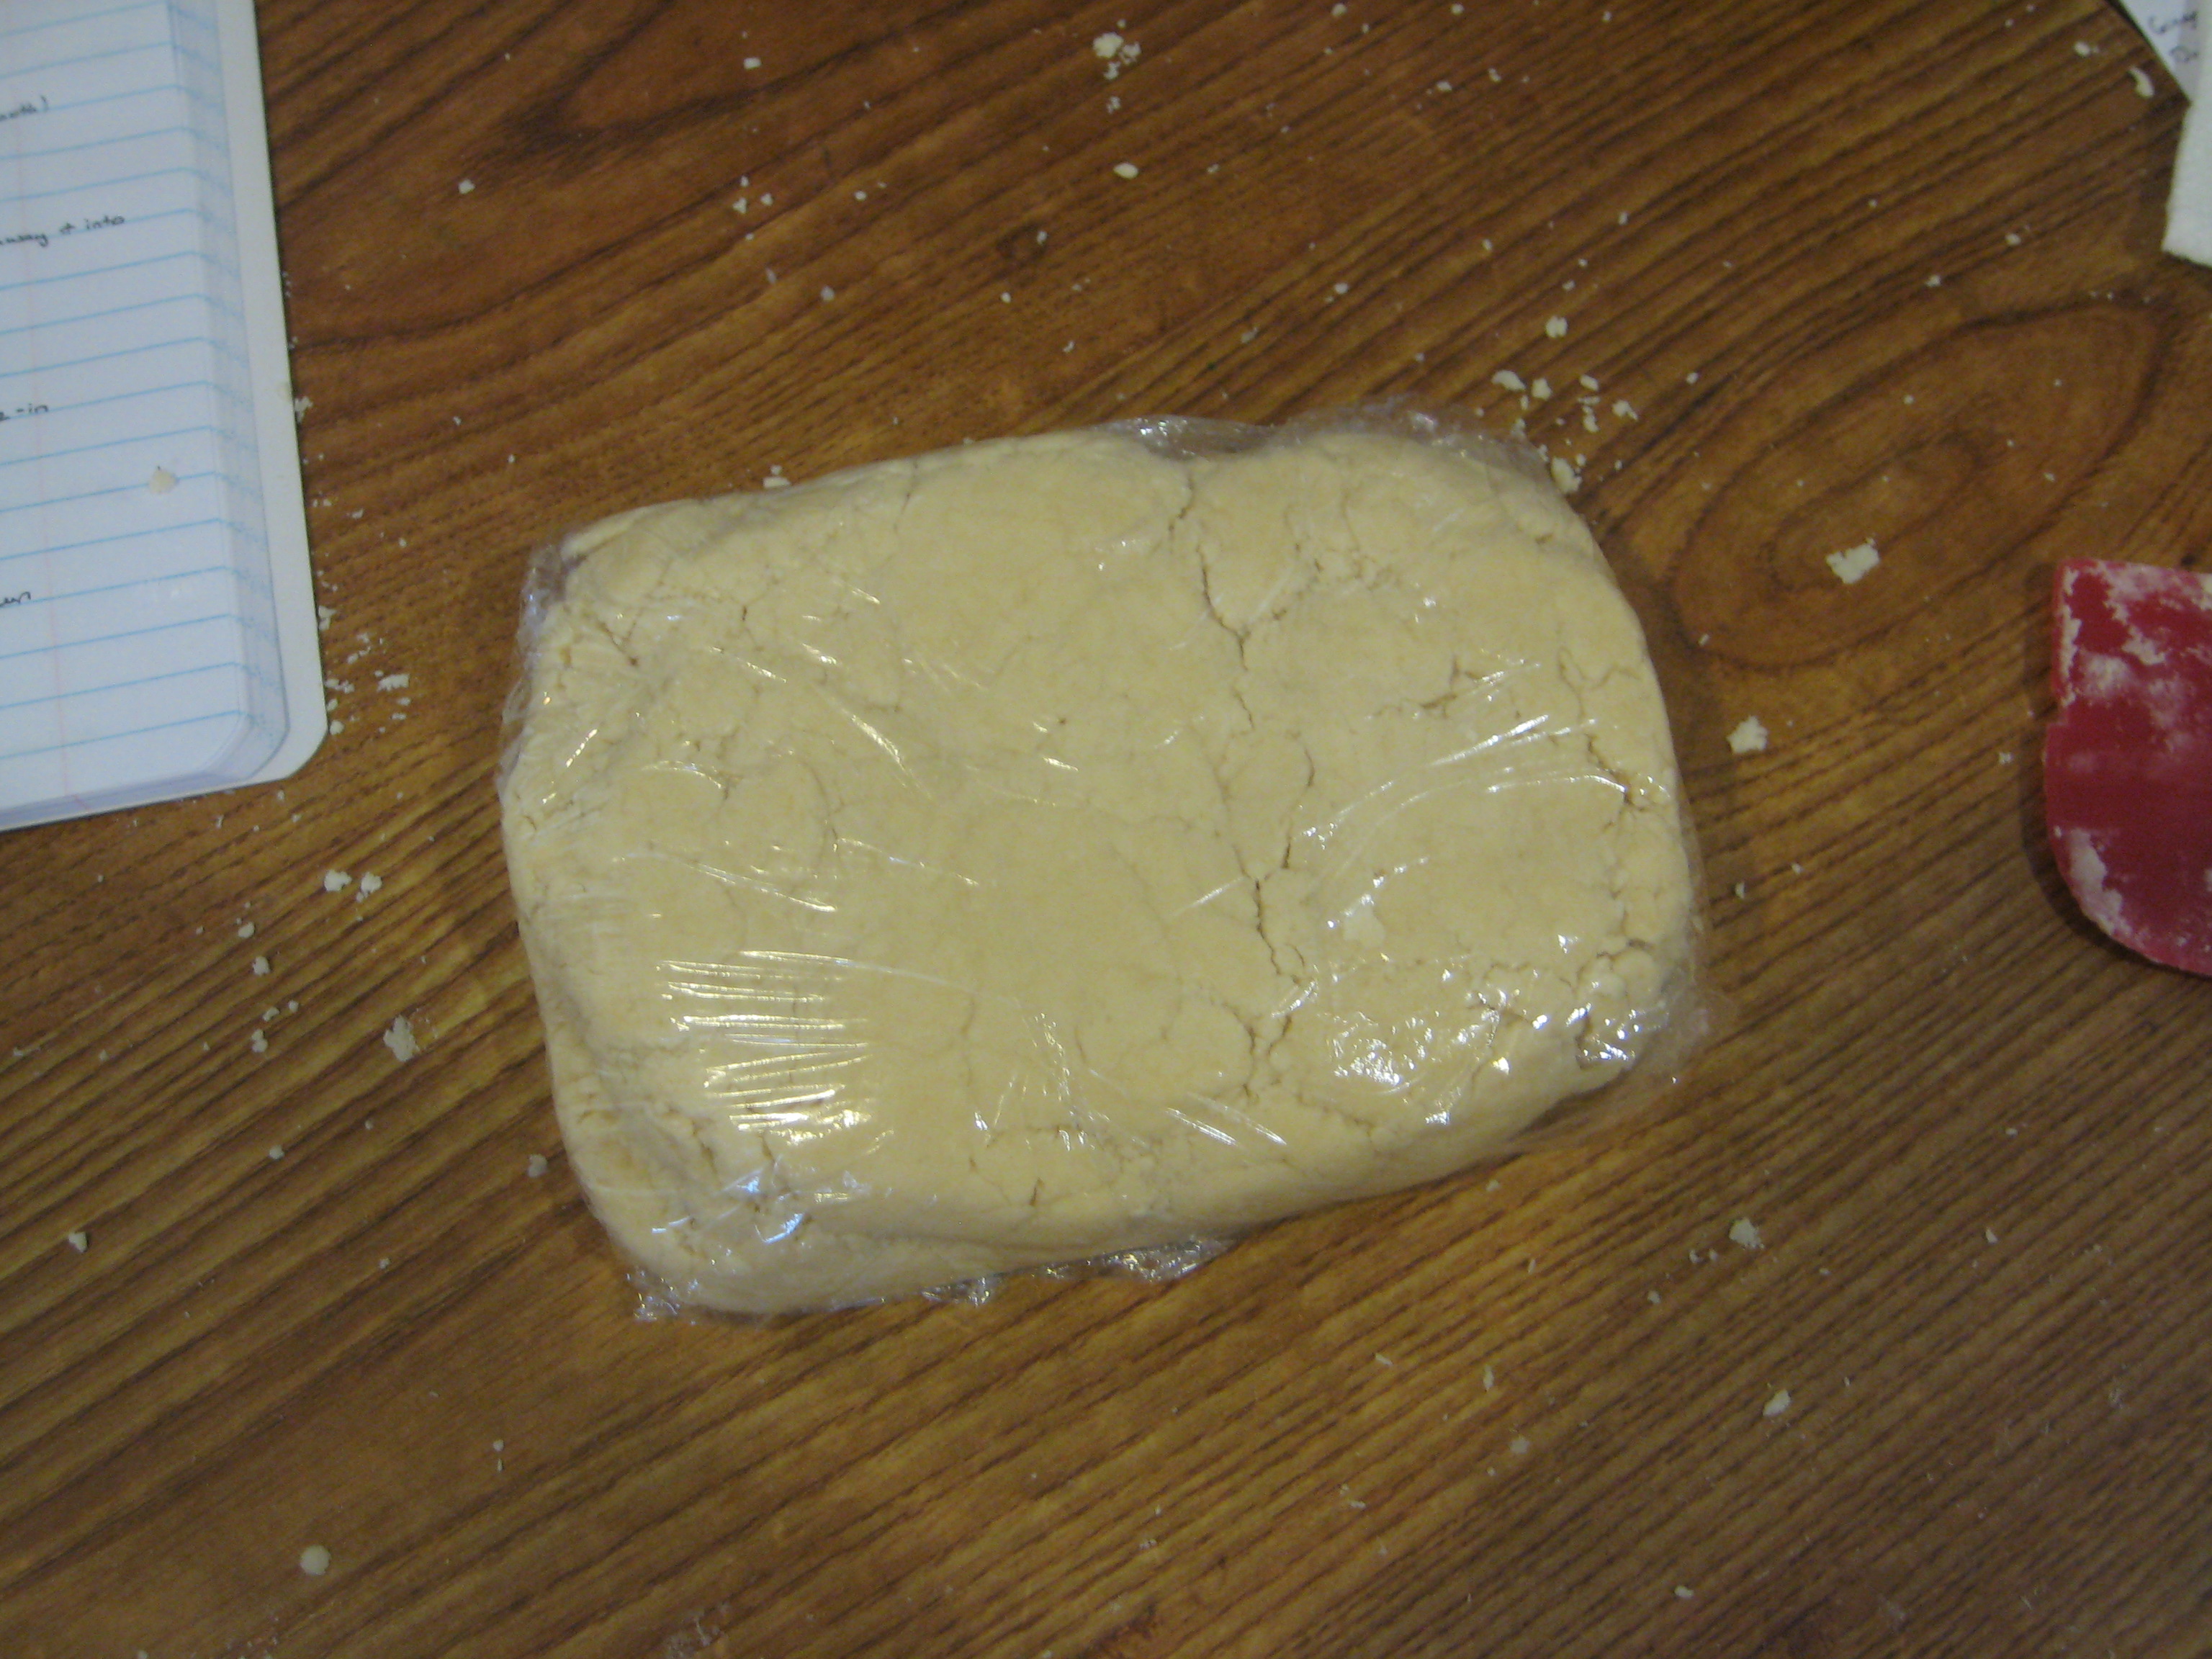
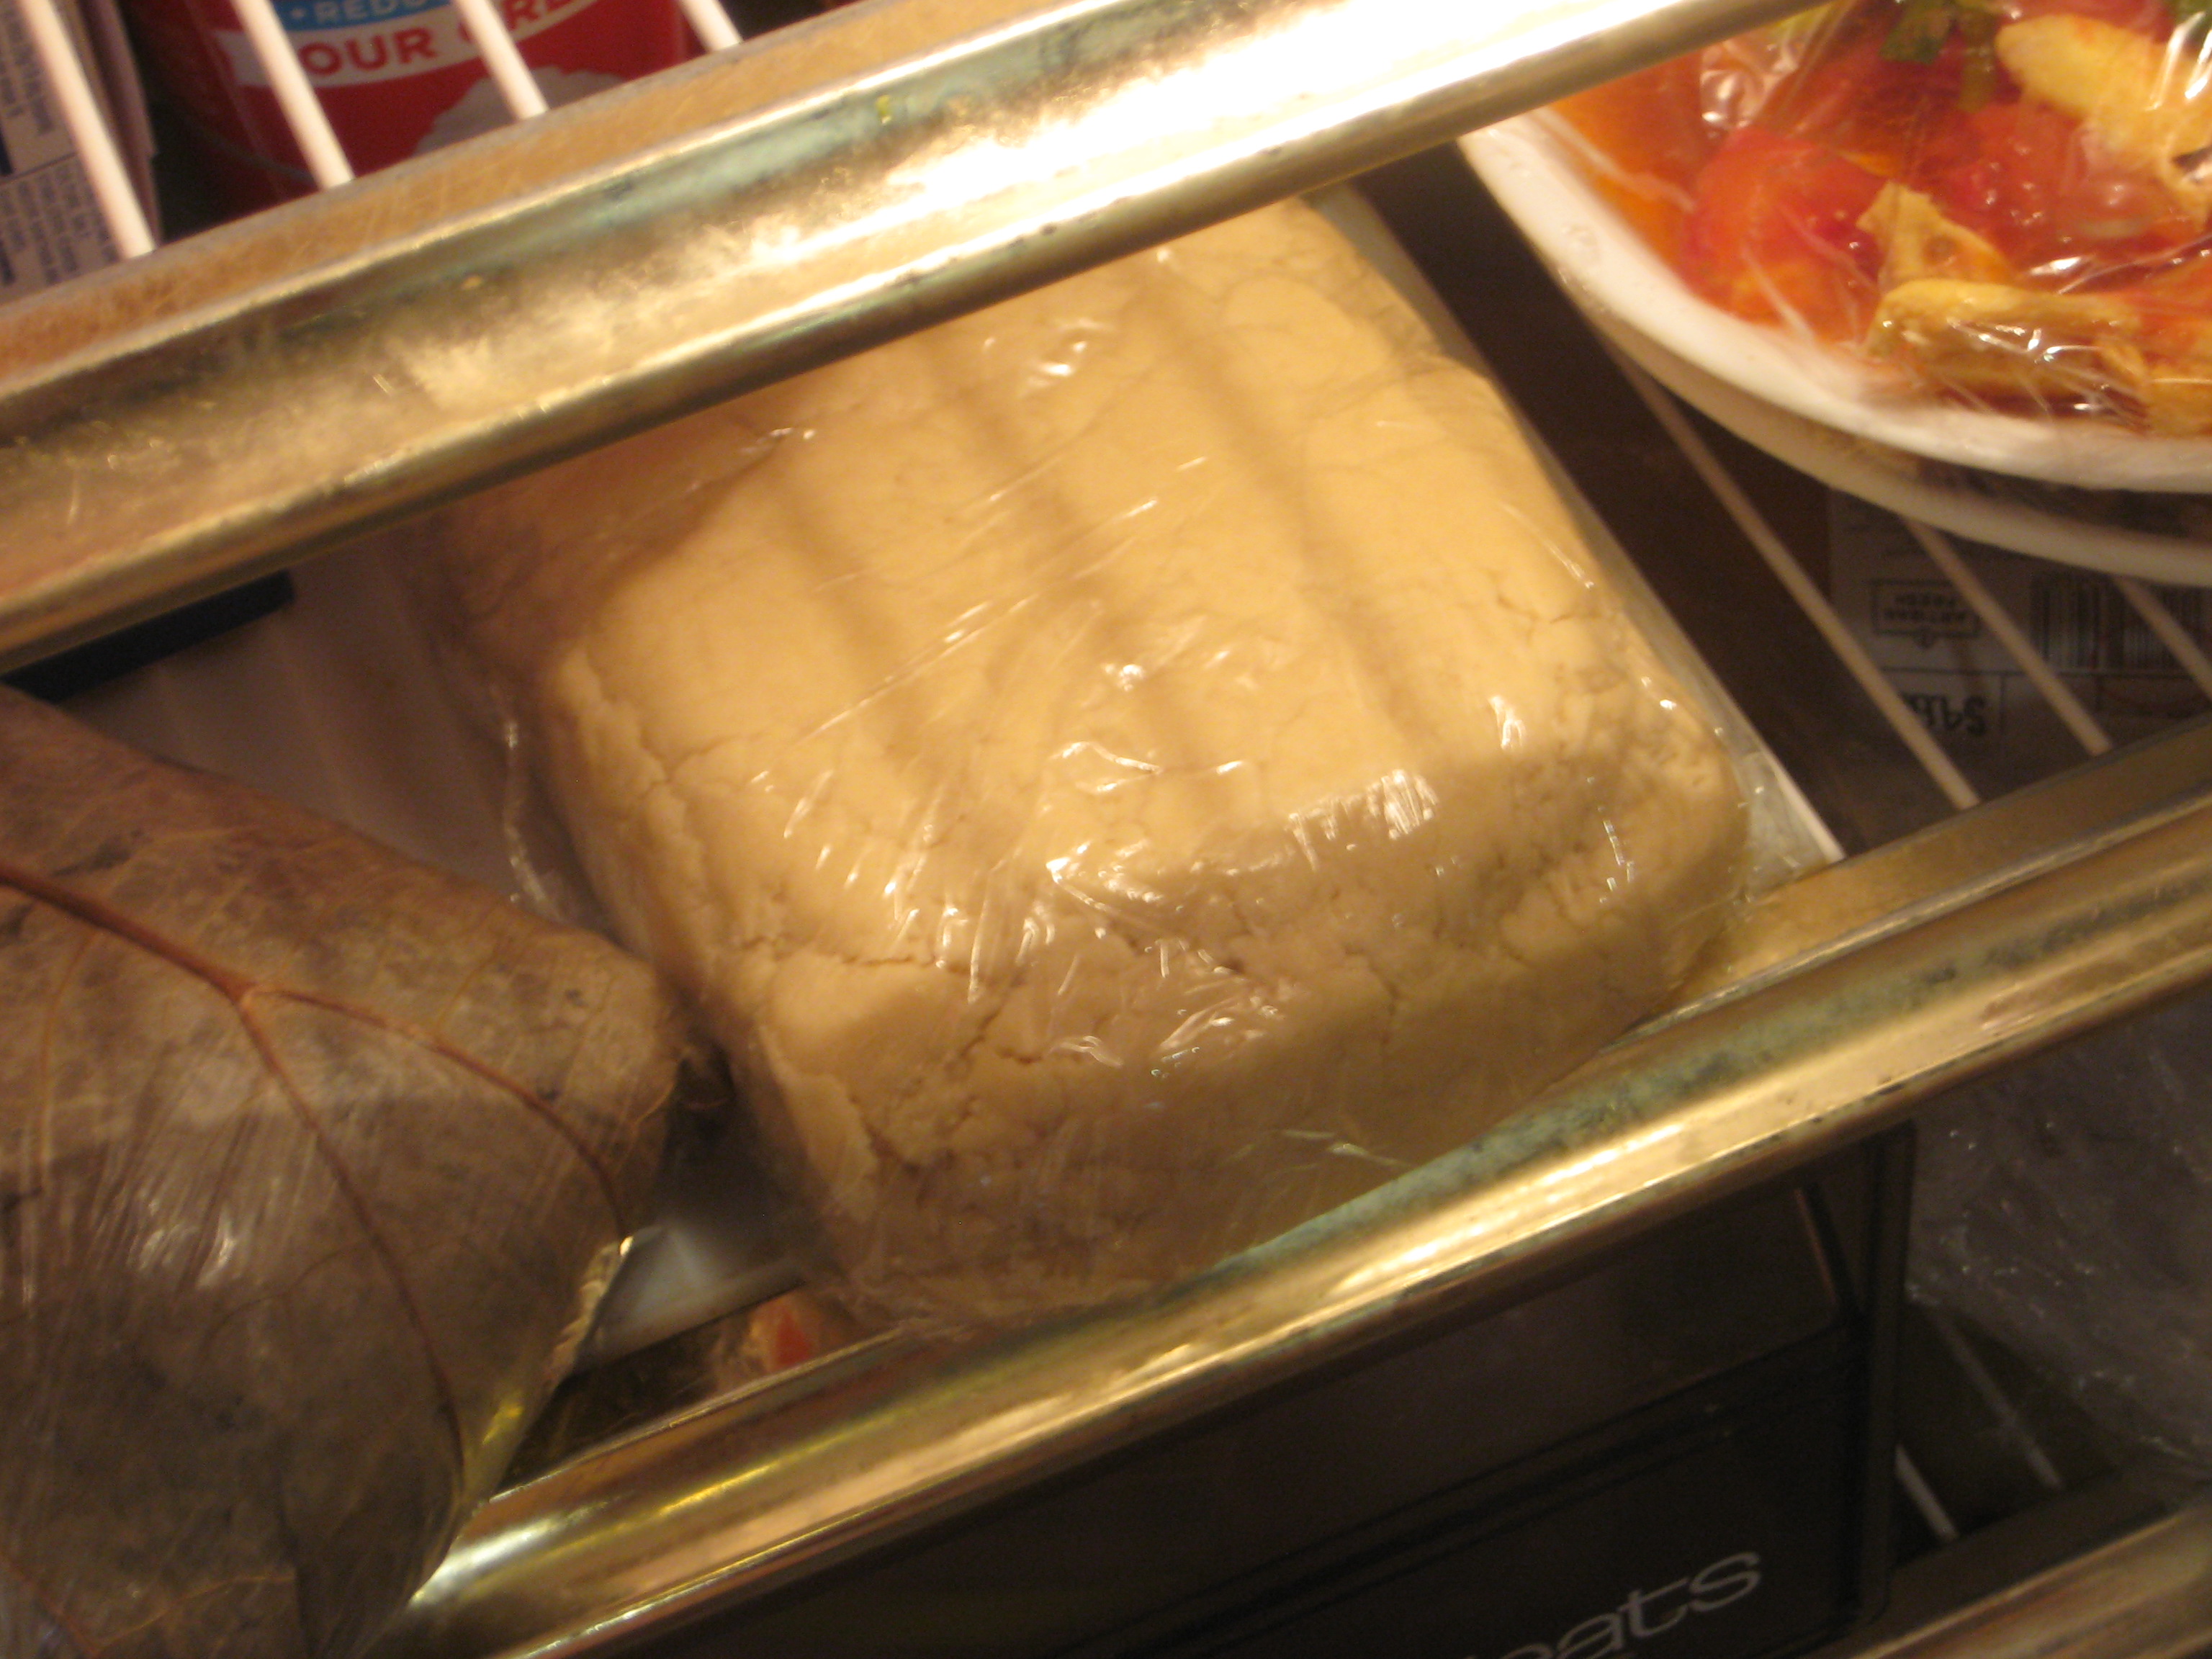
Step 6: Form a ball and flatten slightly.
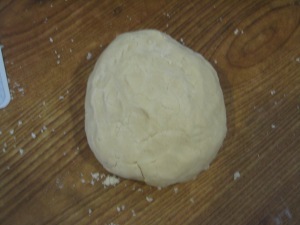

Step 7: Cover the dough and chill in the refrigerator for 1 hour.


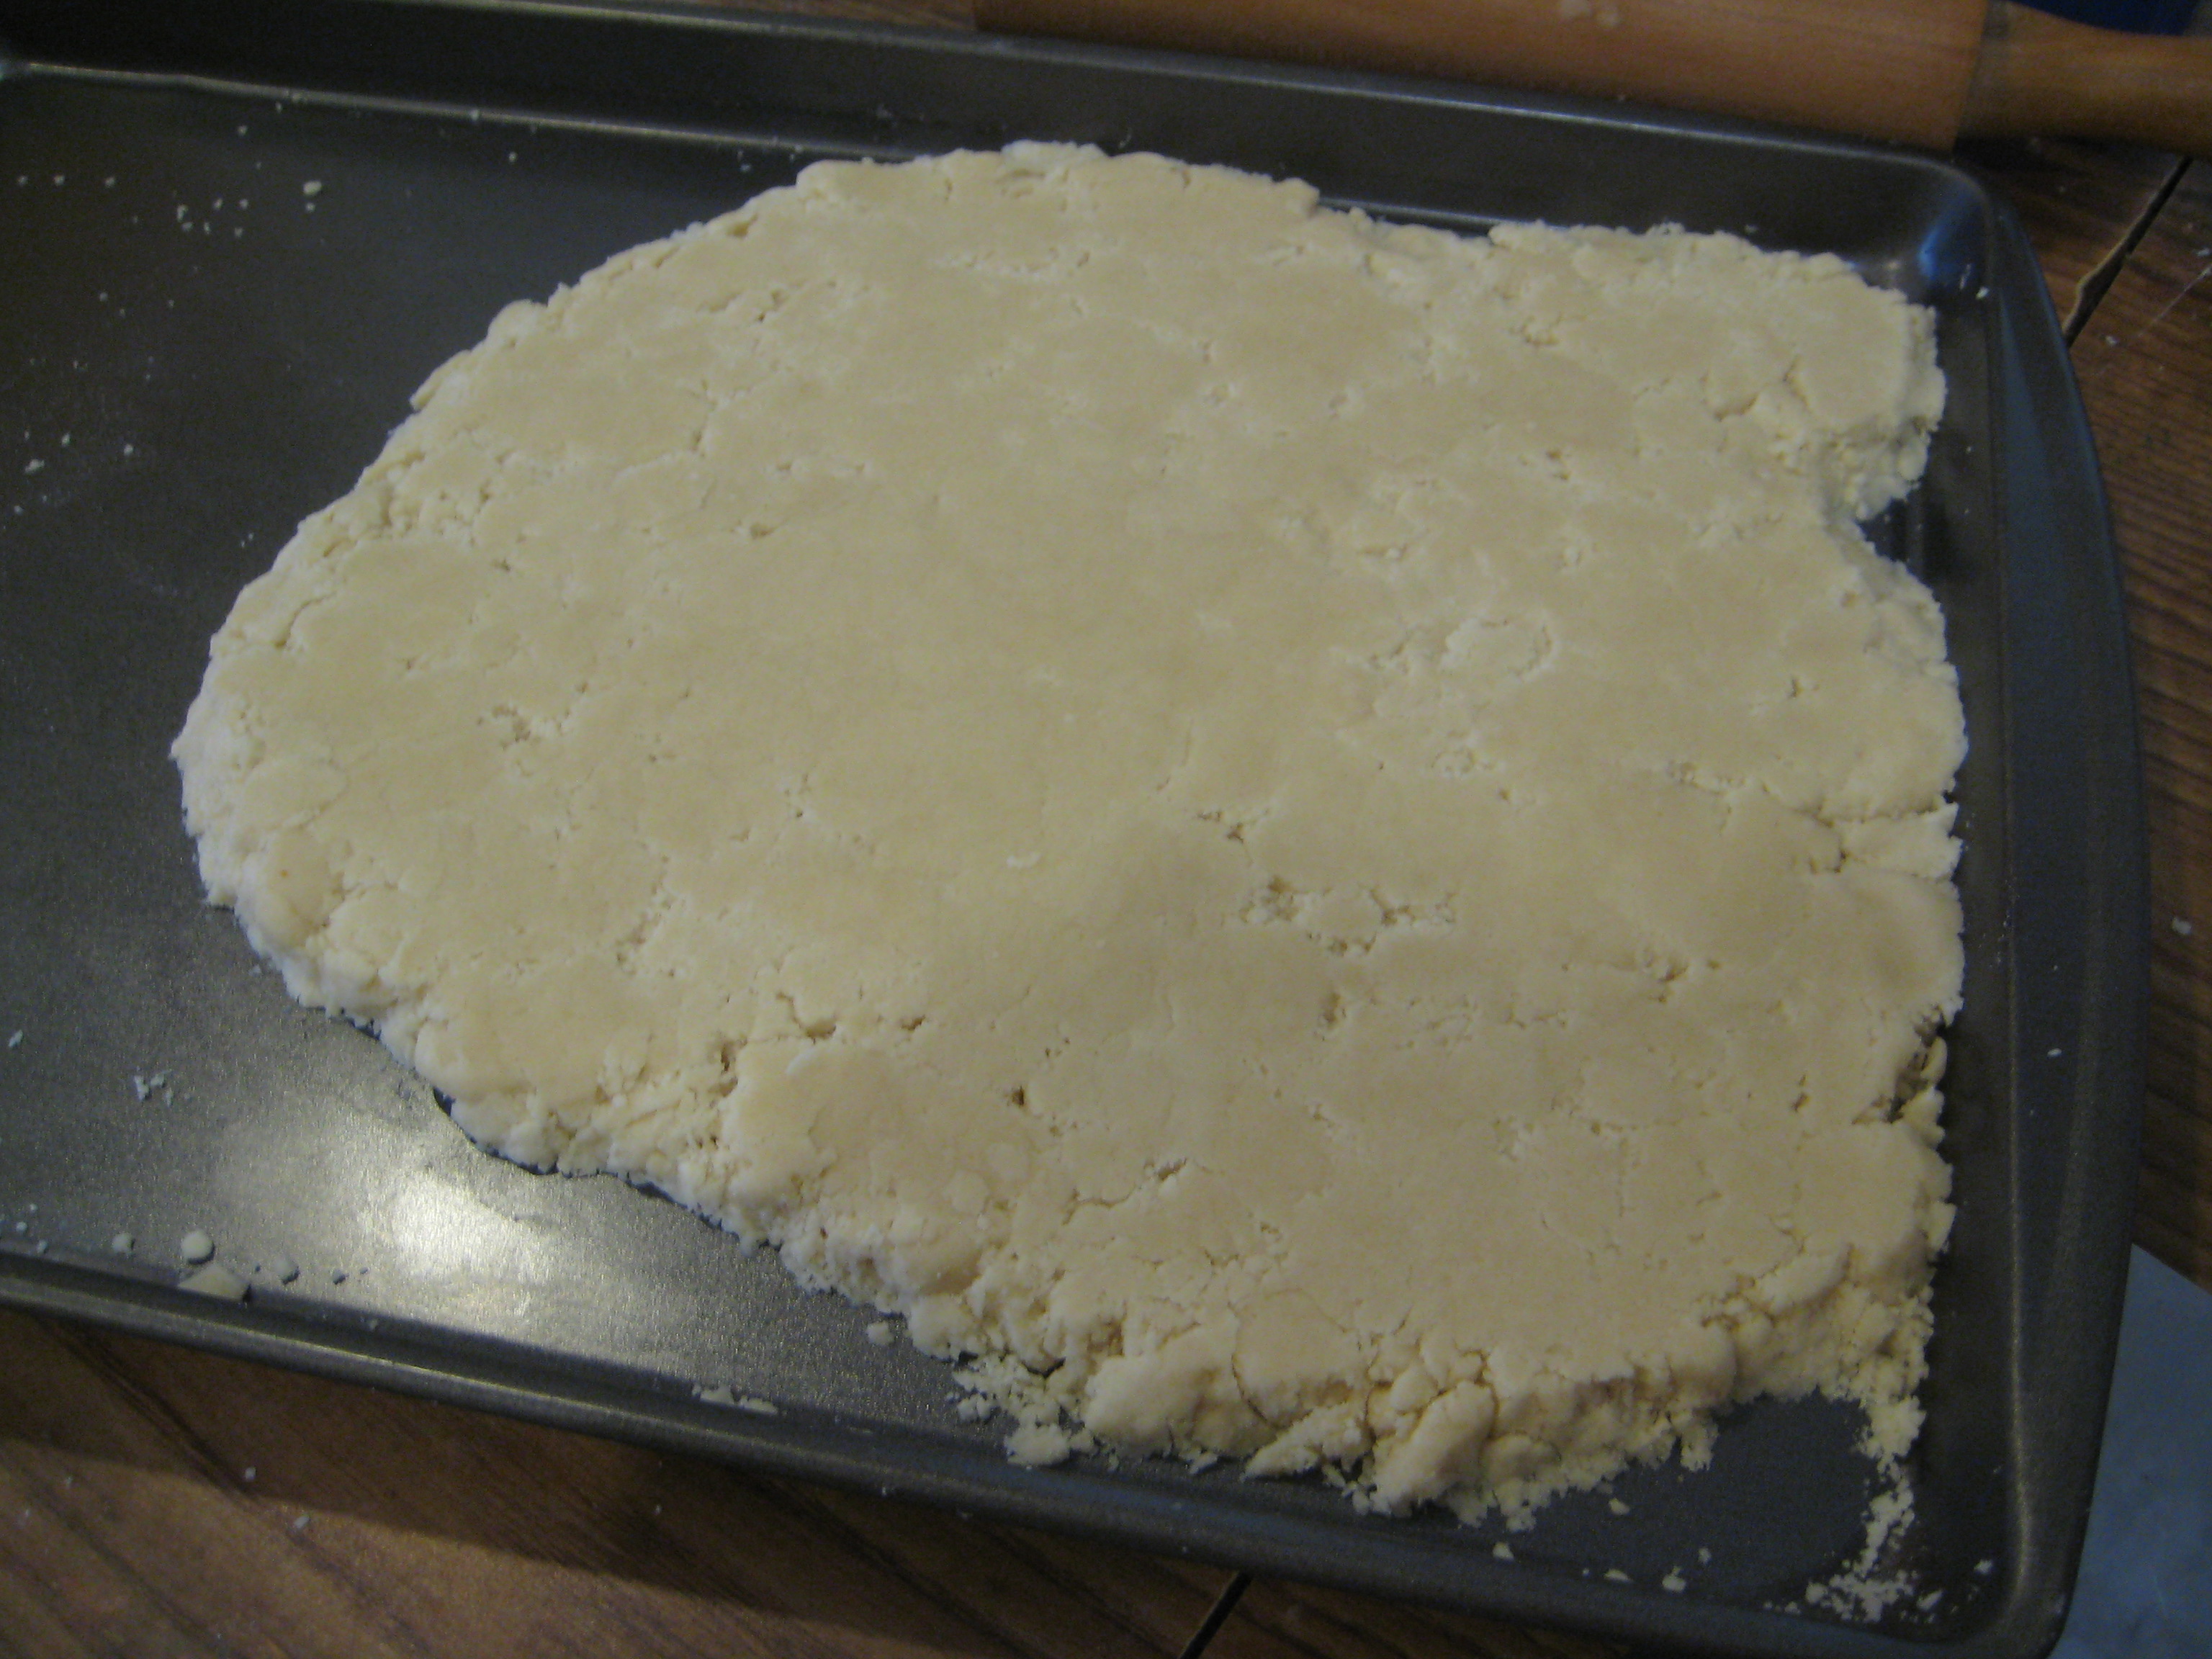
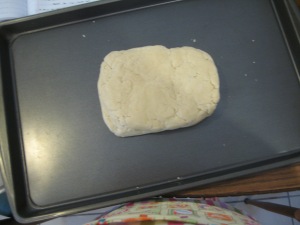
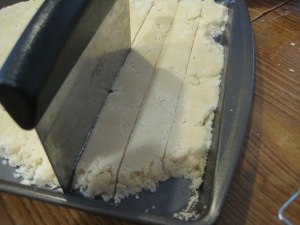
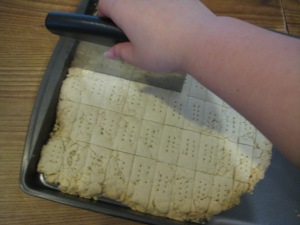
Step 8: Place dough onto a baking sheet and roll dough until it is 1/2-inch thick. (the dough was a bit tough so I crumbled the dough and press it together with a rolling pin)

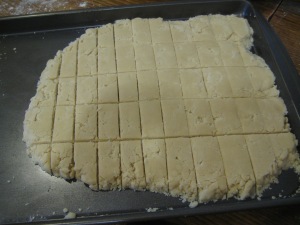
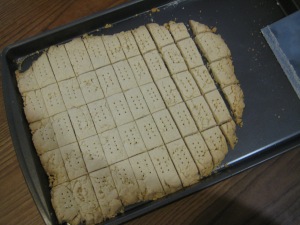
Step 9: Cut the dough with either a sharp knife or a bench scrapper.
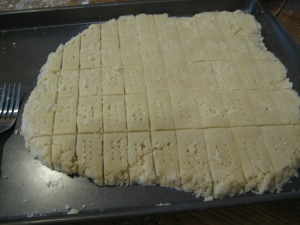
Step 10: Prick the cookies with a fork.
Step 11: Bake at 300°F for 45 minutes, or until light golden brown.
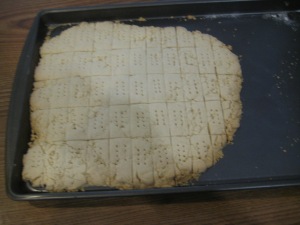
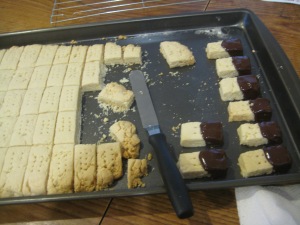
Step 12: Re-cut the cookies once they are out of the oven and allow to cool completely in the pan.
Step 13: Dip one end of the cookie into the melted chocolate and allow the chocolate to harden before serving.
Previous Older Entries