While studying and writing papers I was hankering for something easy and inexpensive to make. I had forgotten about the container of kimchi in the back of the refrigerator and stumbled across it just the other day. So I got to thinking that I should make something with the kimchi. Well I would have had it in a bowl of noodles, but I ran out of noodles a while ago. Instead there was a container of leftover rice and I figured why not combine the two. I was inspired to make this dish from watching Maangchi’s youtube video on Kimchi Fried Rice and just had to make it. But with a few changes.
Here are the ingredient needed for this recipe:
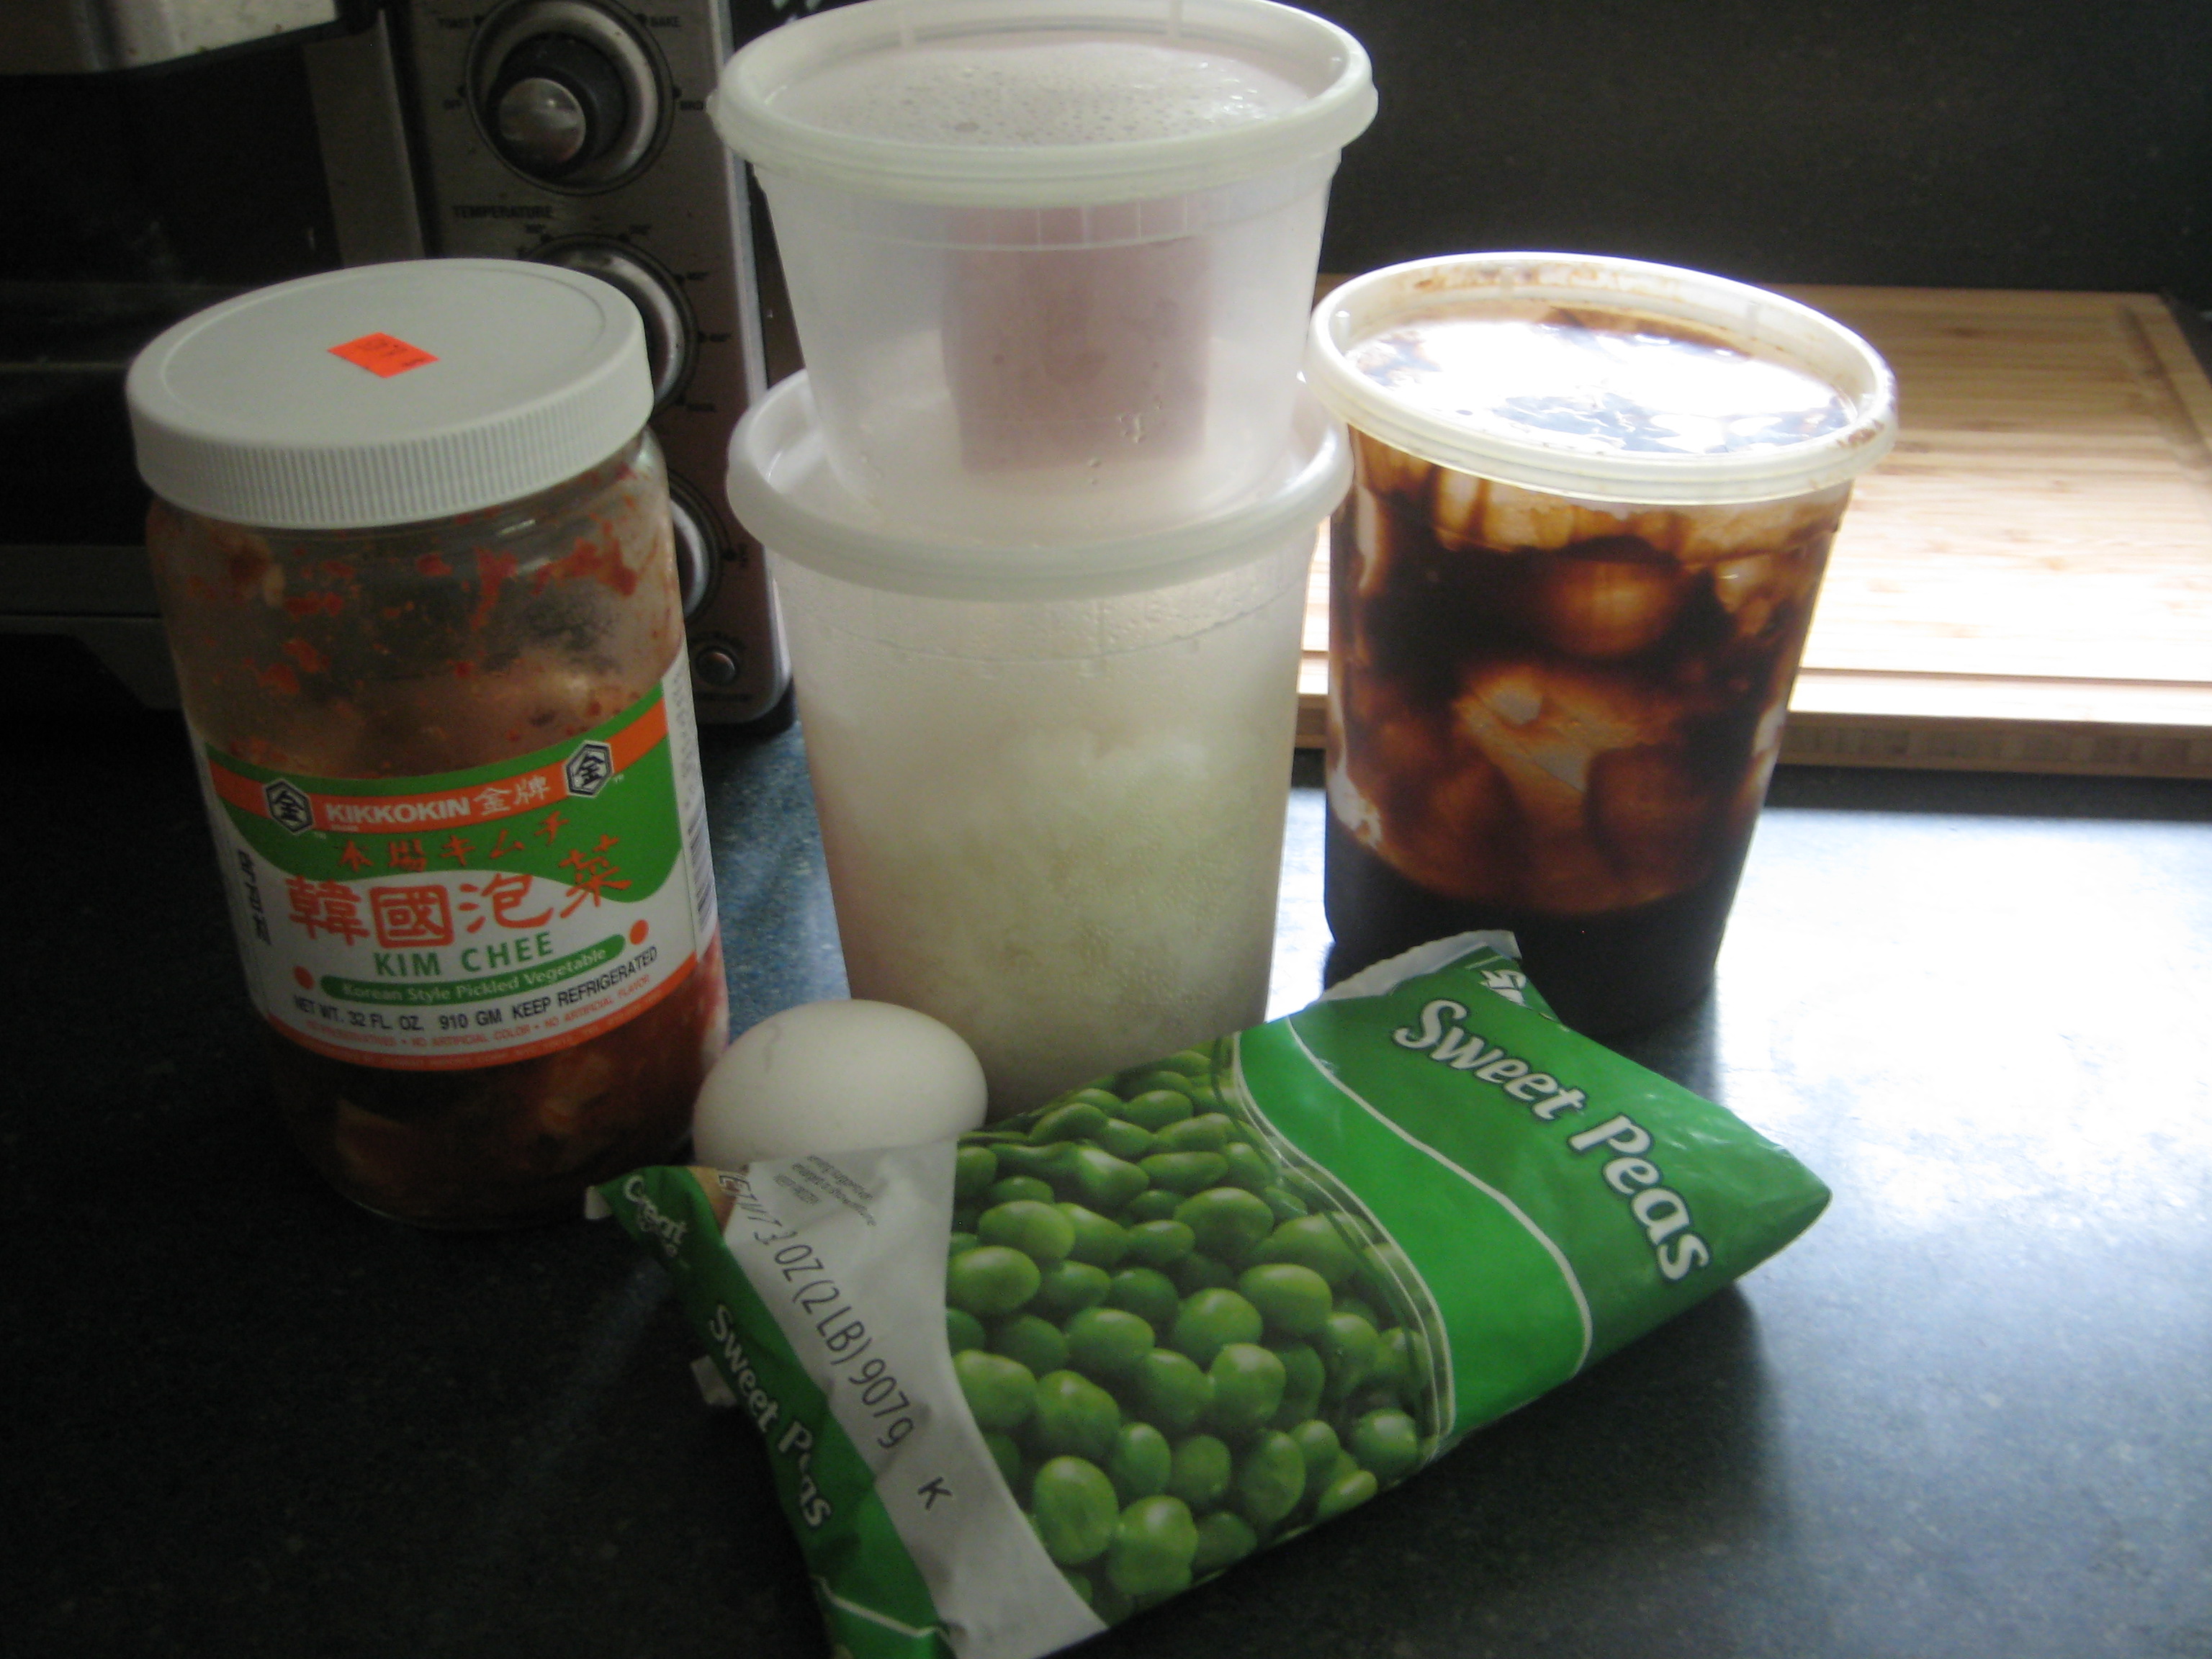
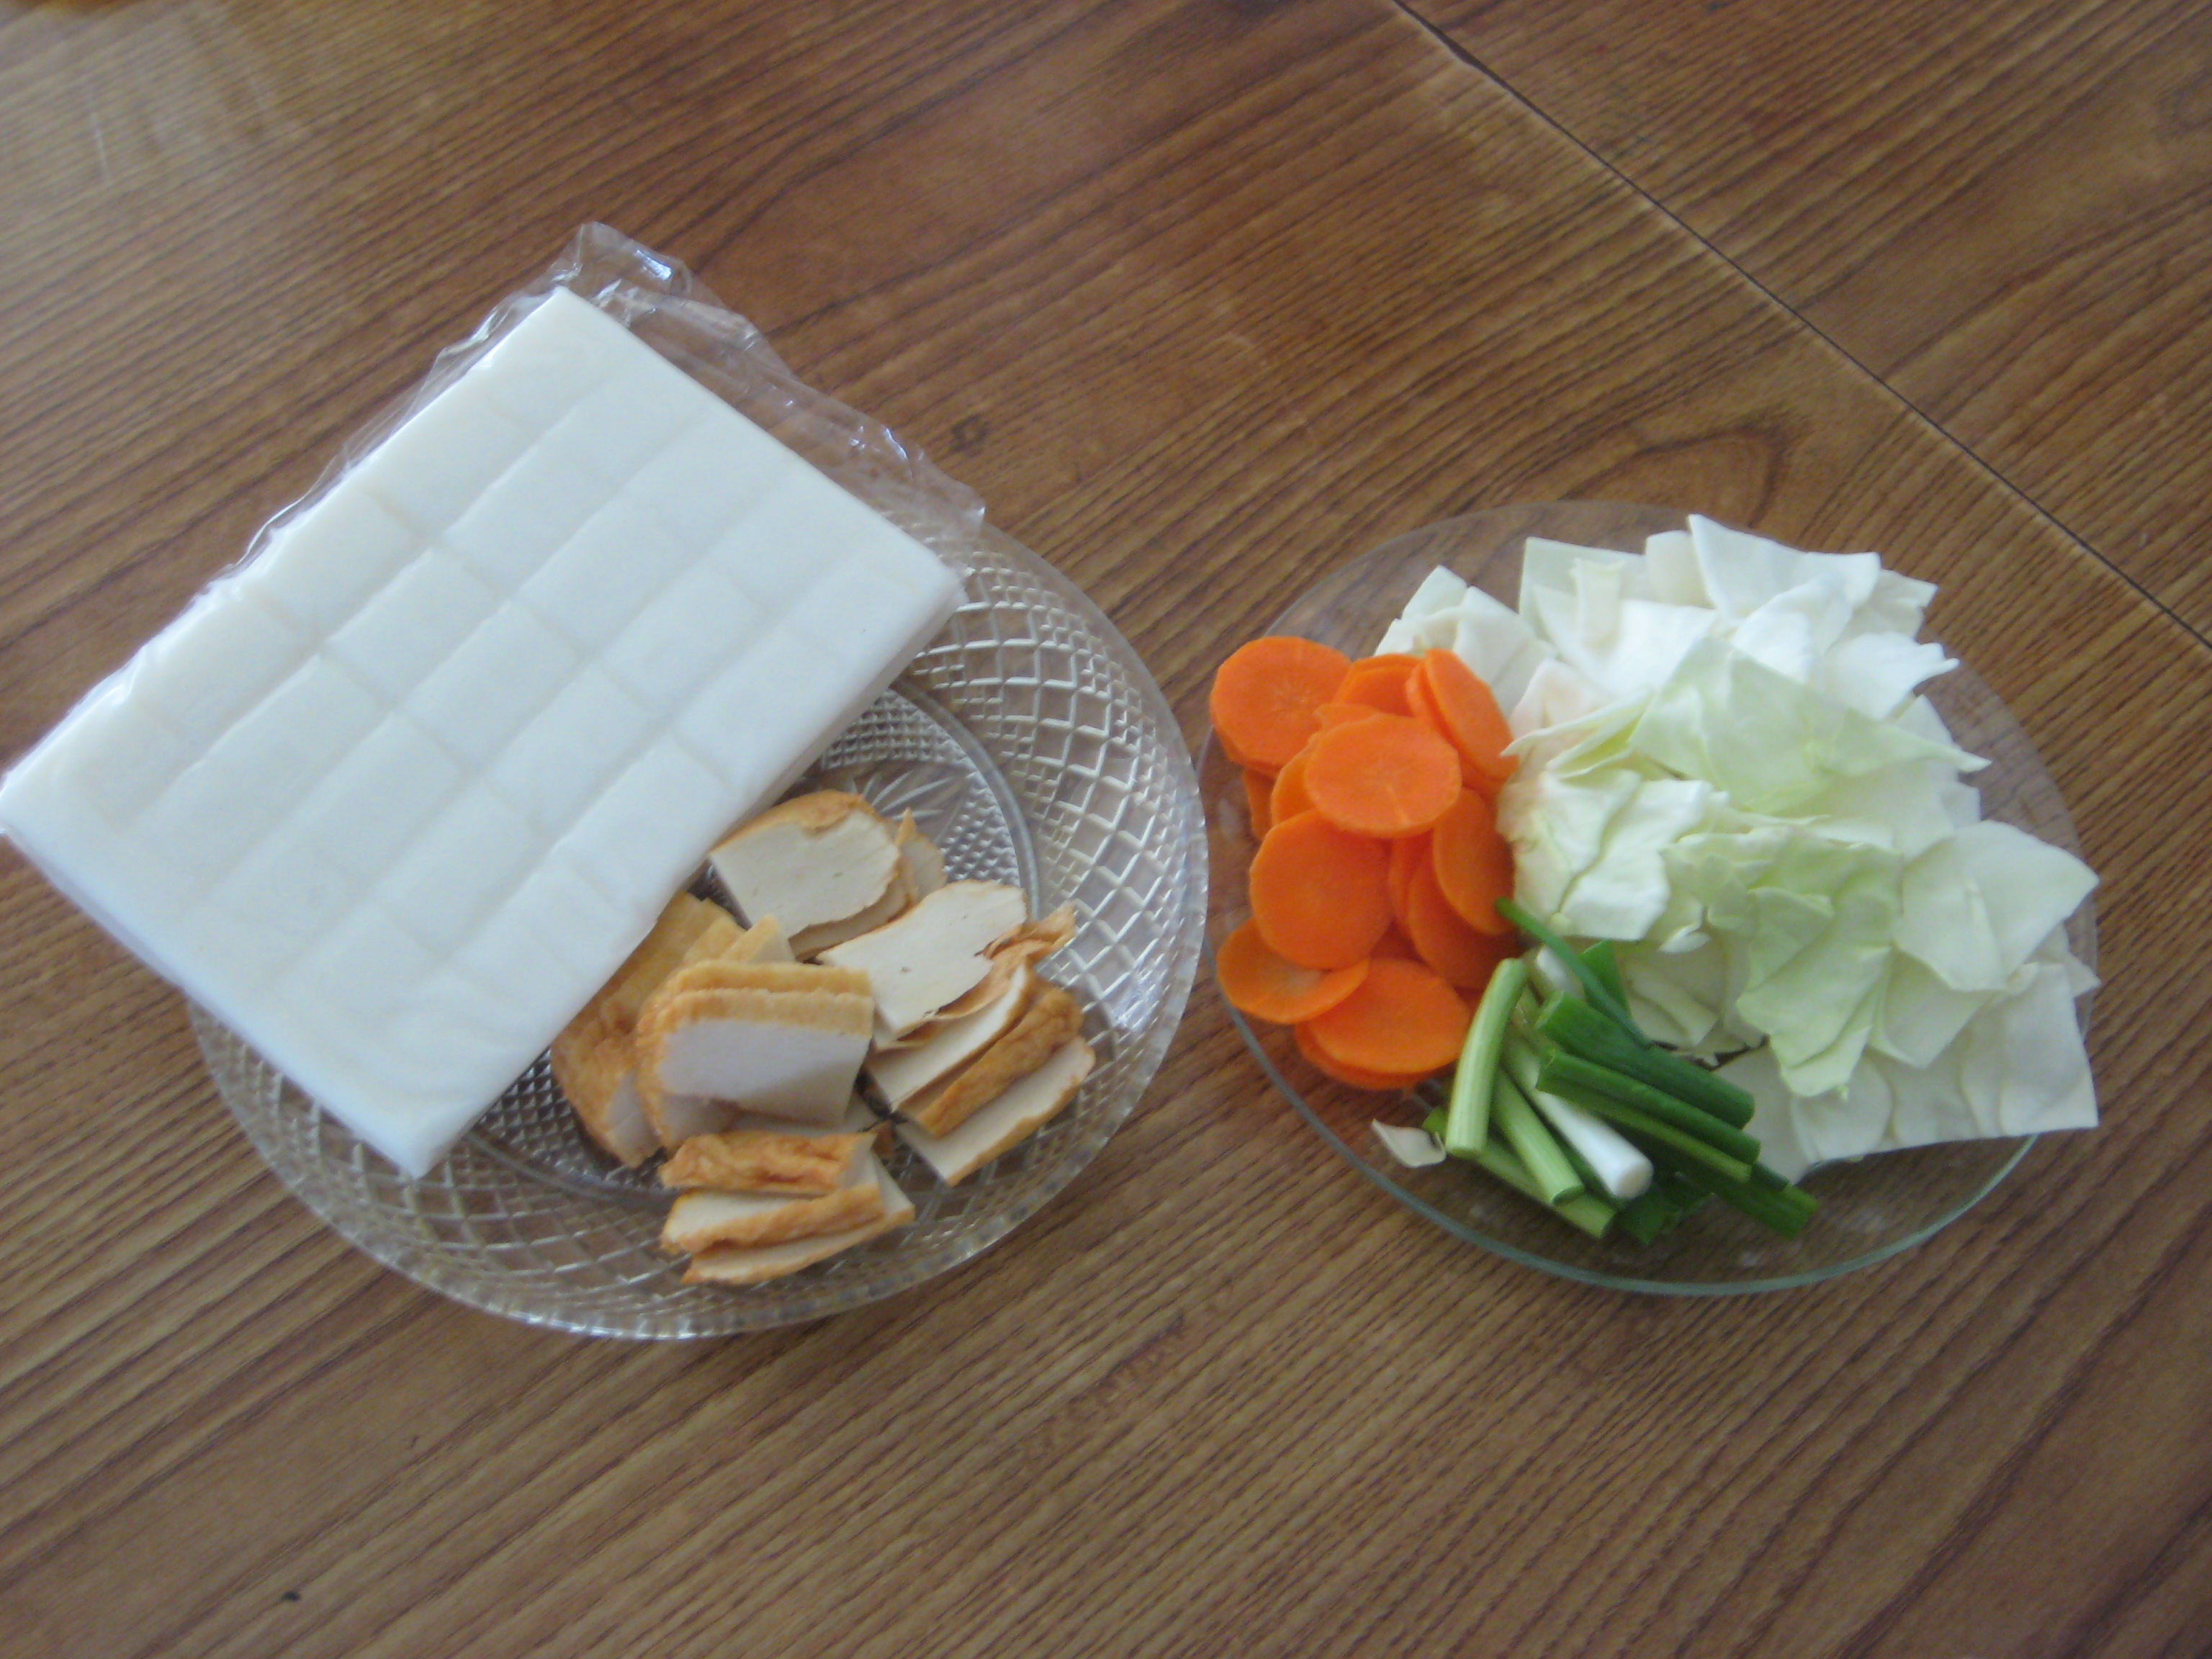
- 1 1/2 cups cooked rice
- 1/3 cup frozen sweet peas
- 1/4 cup Spam
- 1/3 cup kimchi
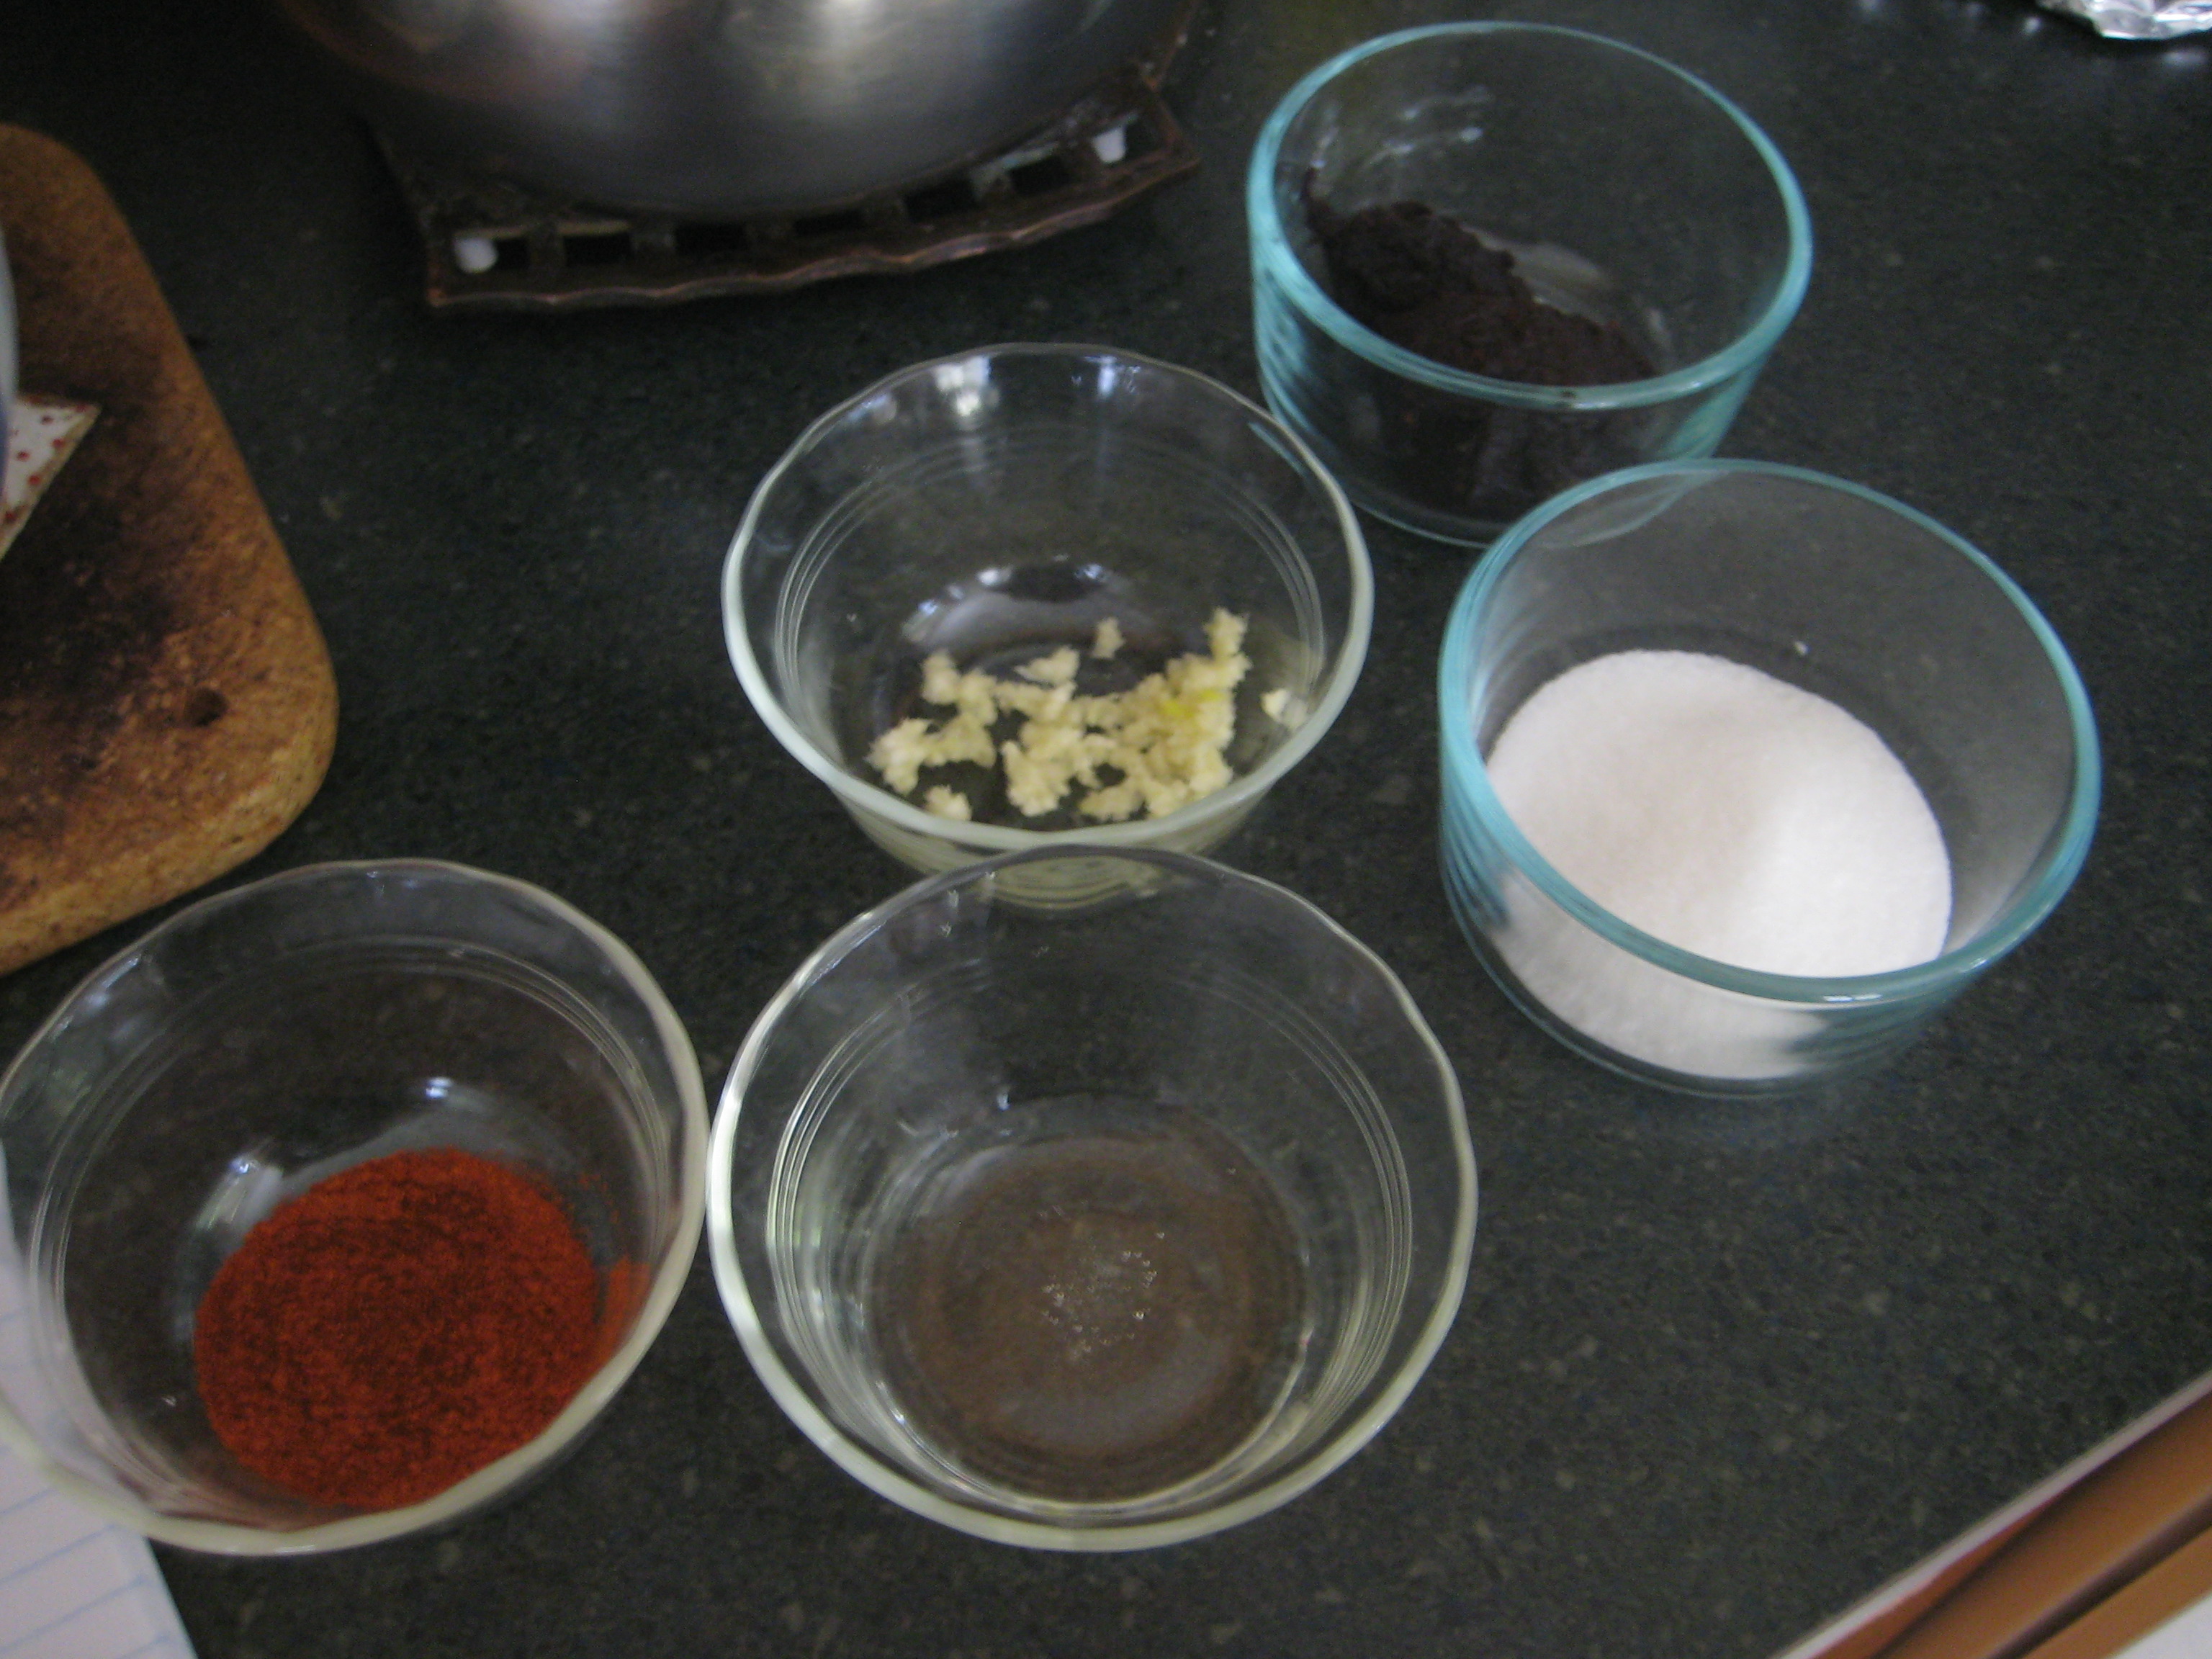
- 1 egg
- 1 tsp. sesame oil
- 1 Tbsp. plum sauce
Step 1: Rinse the frozen sweet peas to remove the ice; set aside.

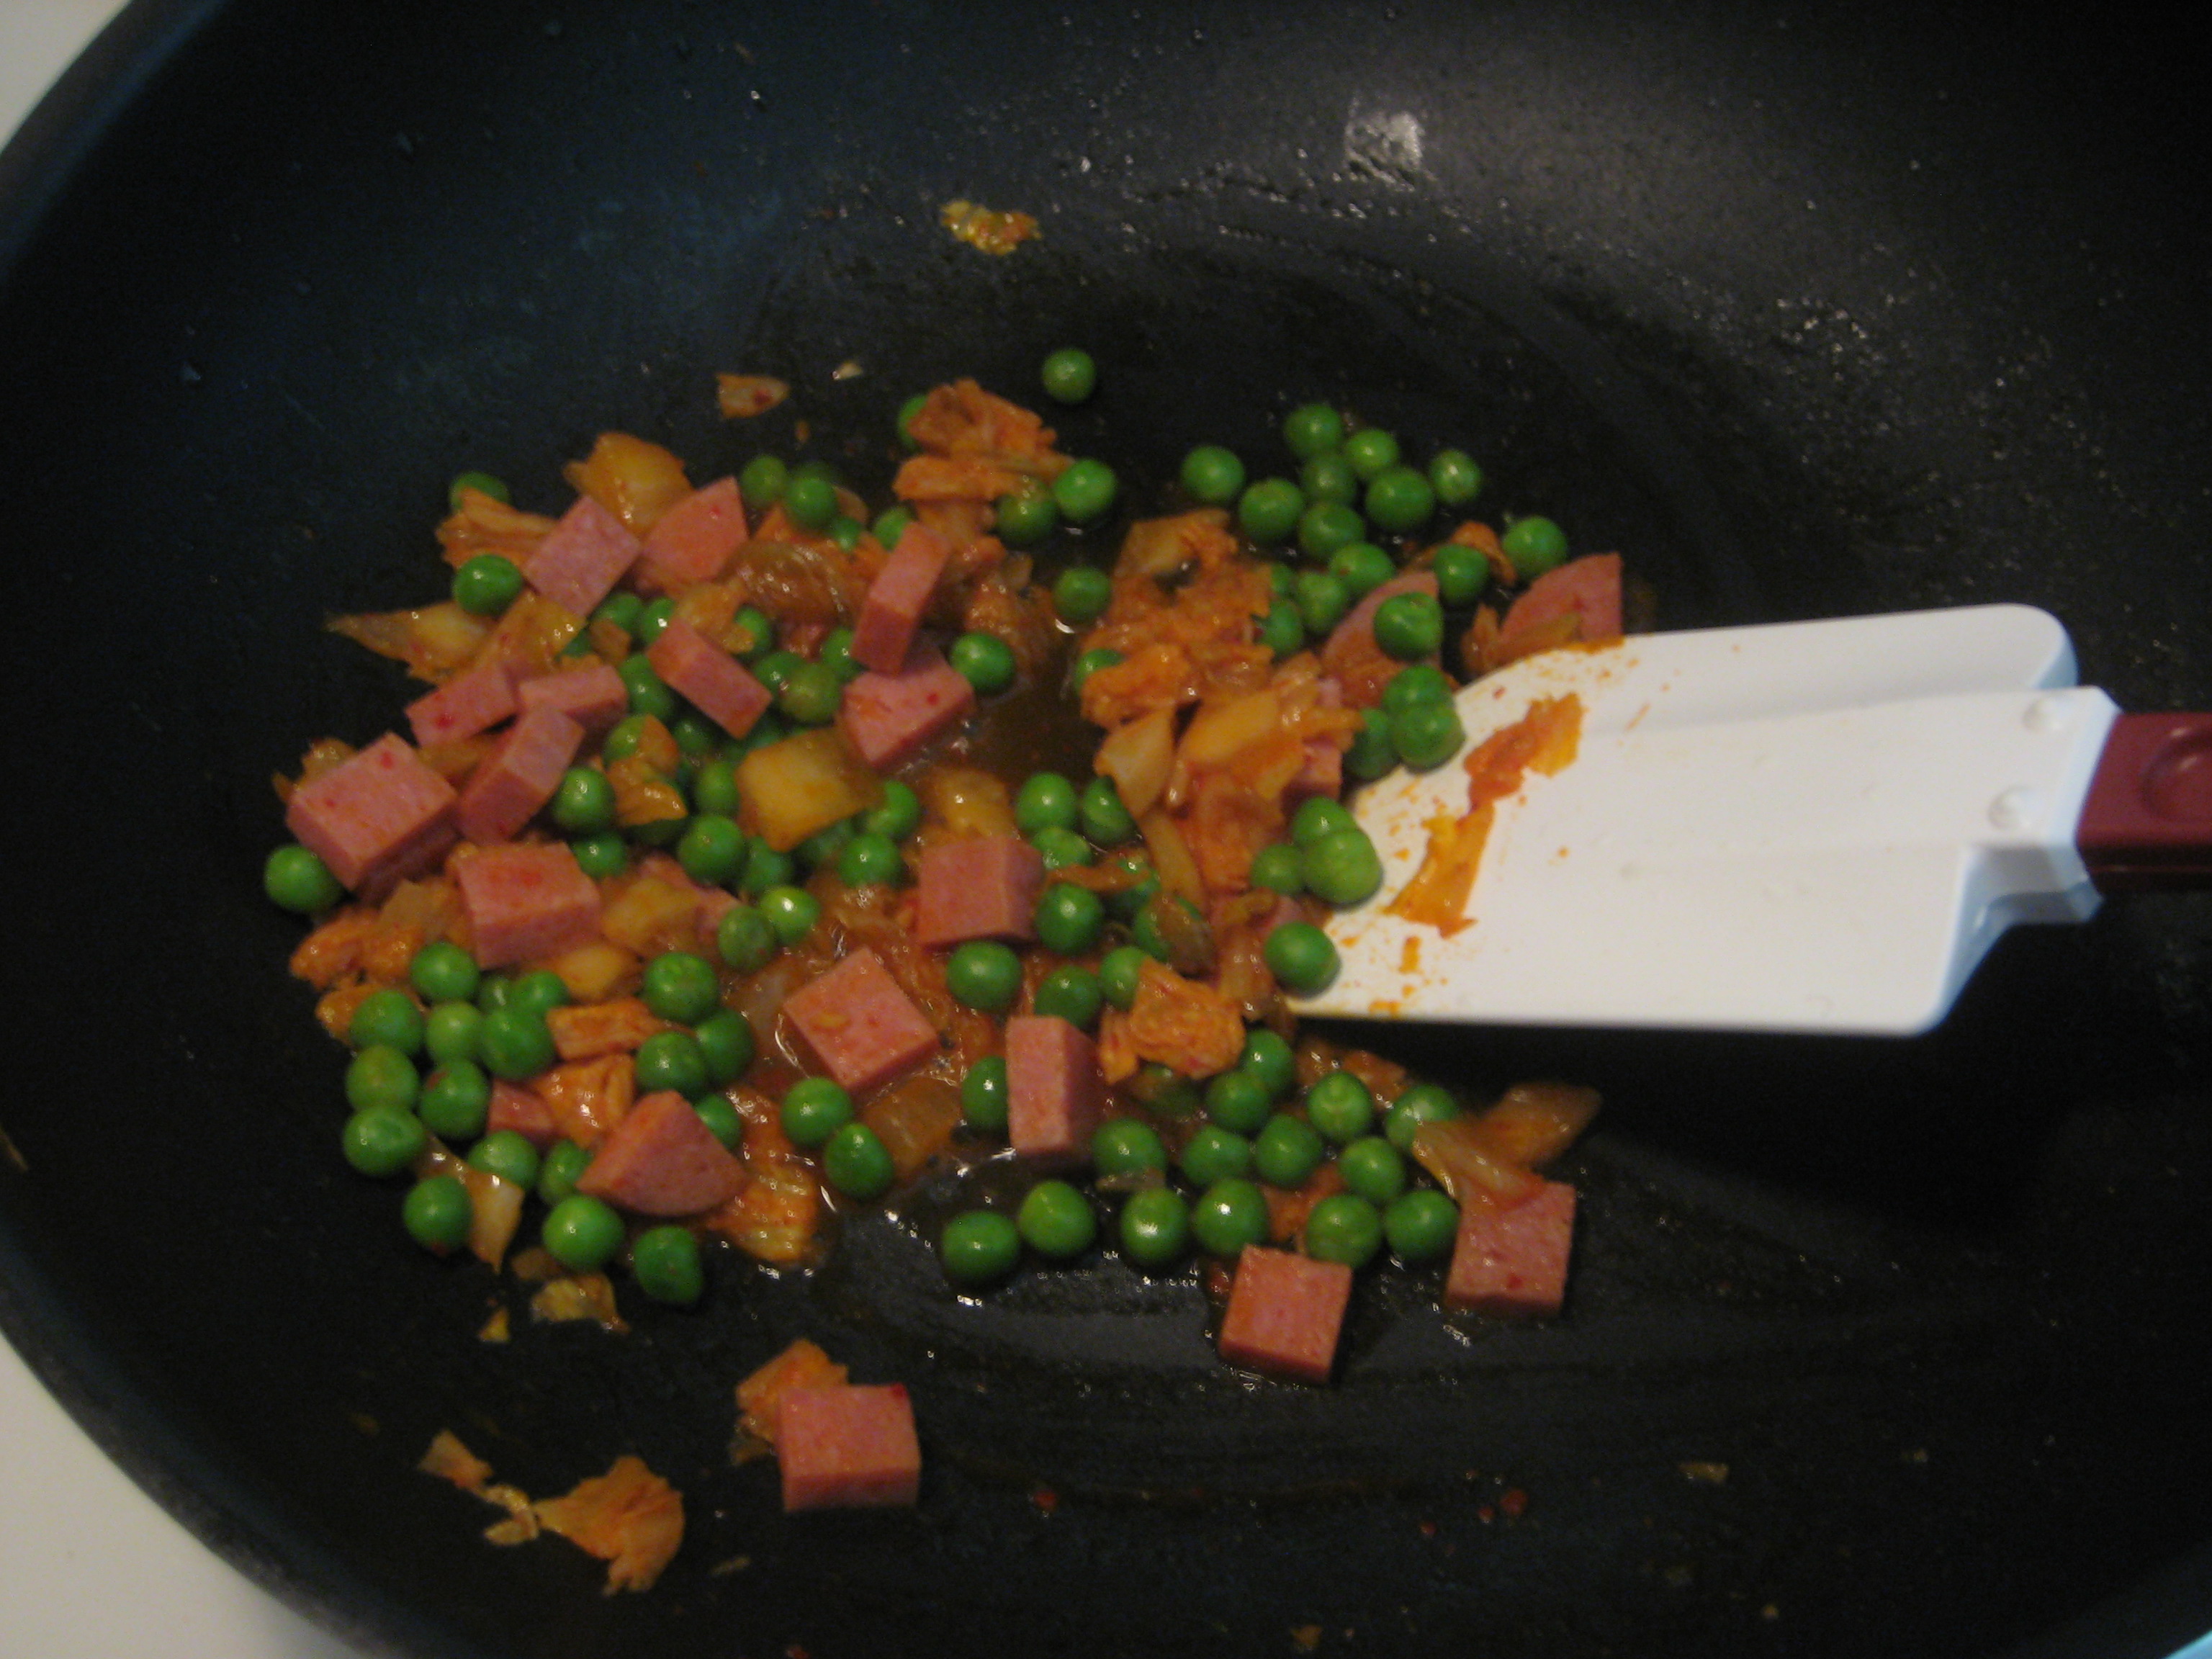
Step 2: Cut the Spam and kimchi into small pieces; set aside.

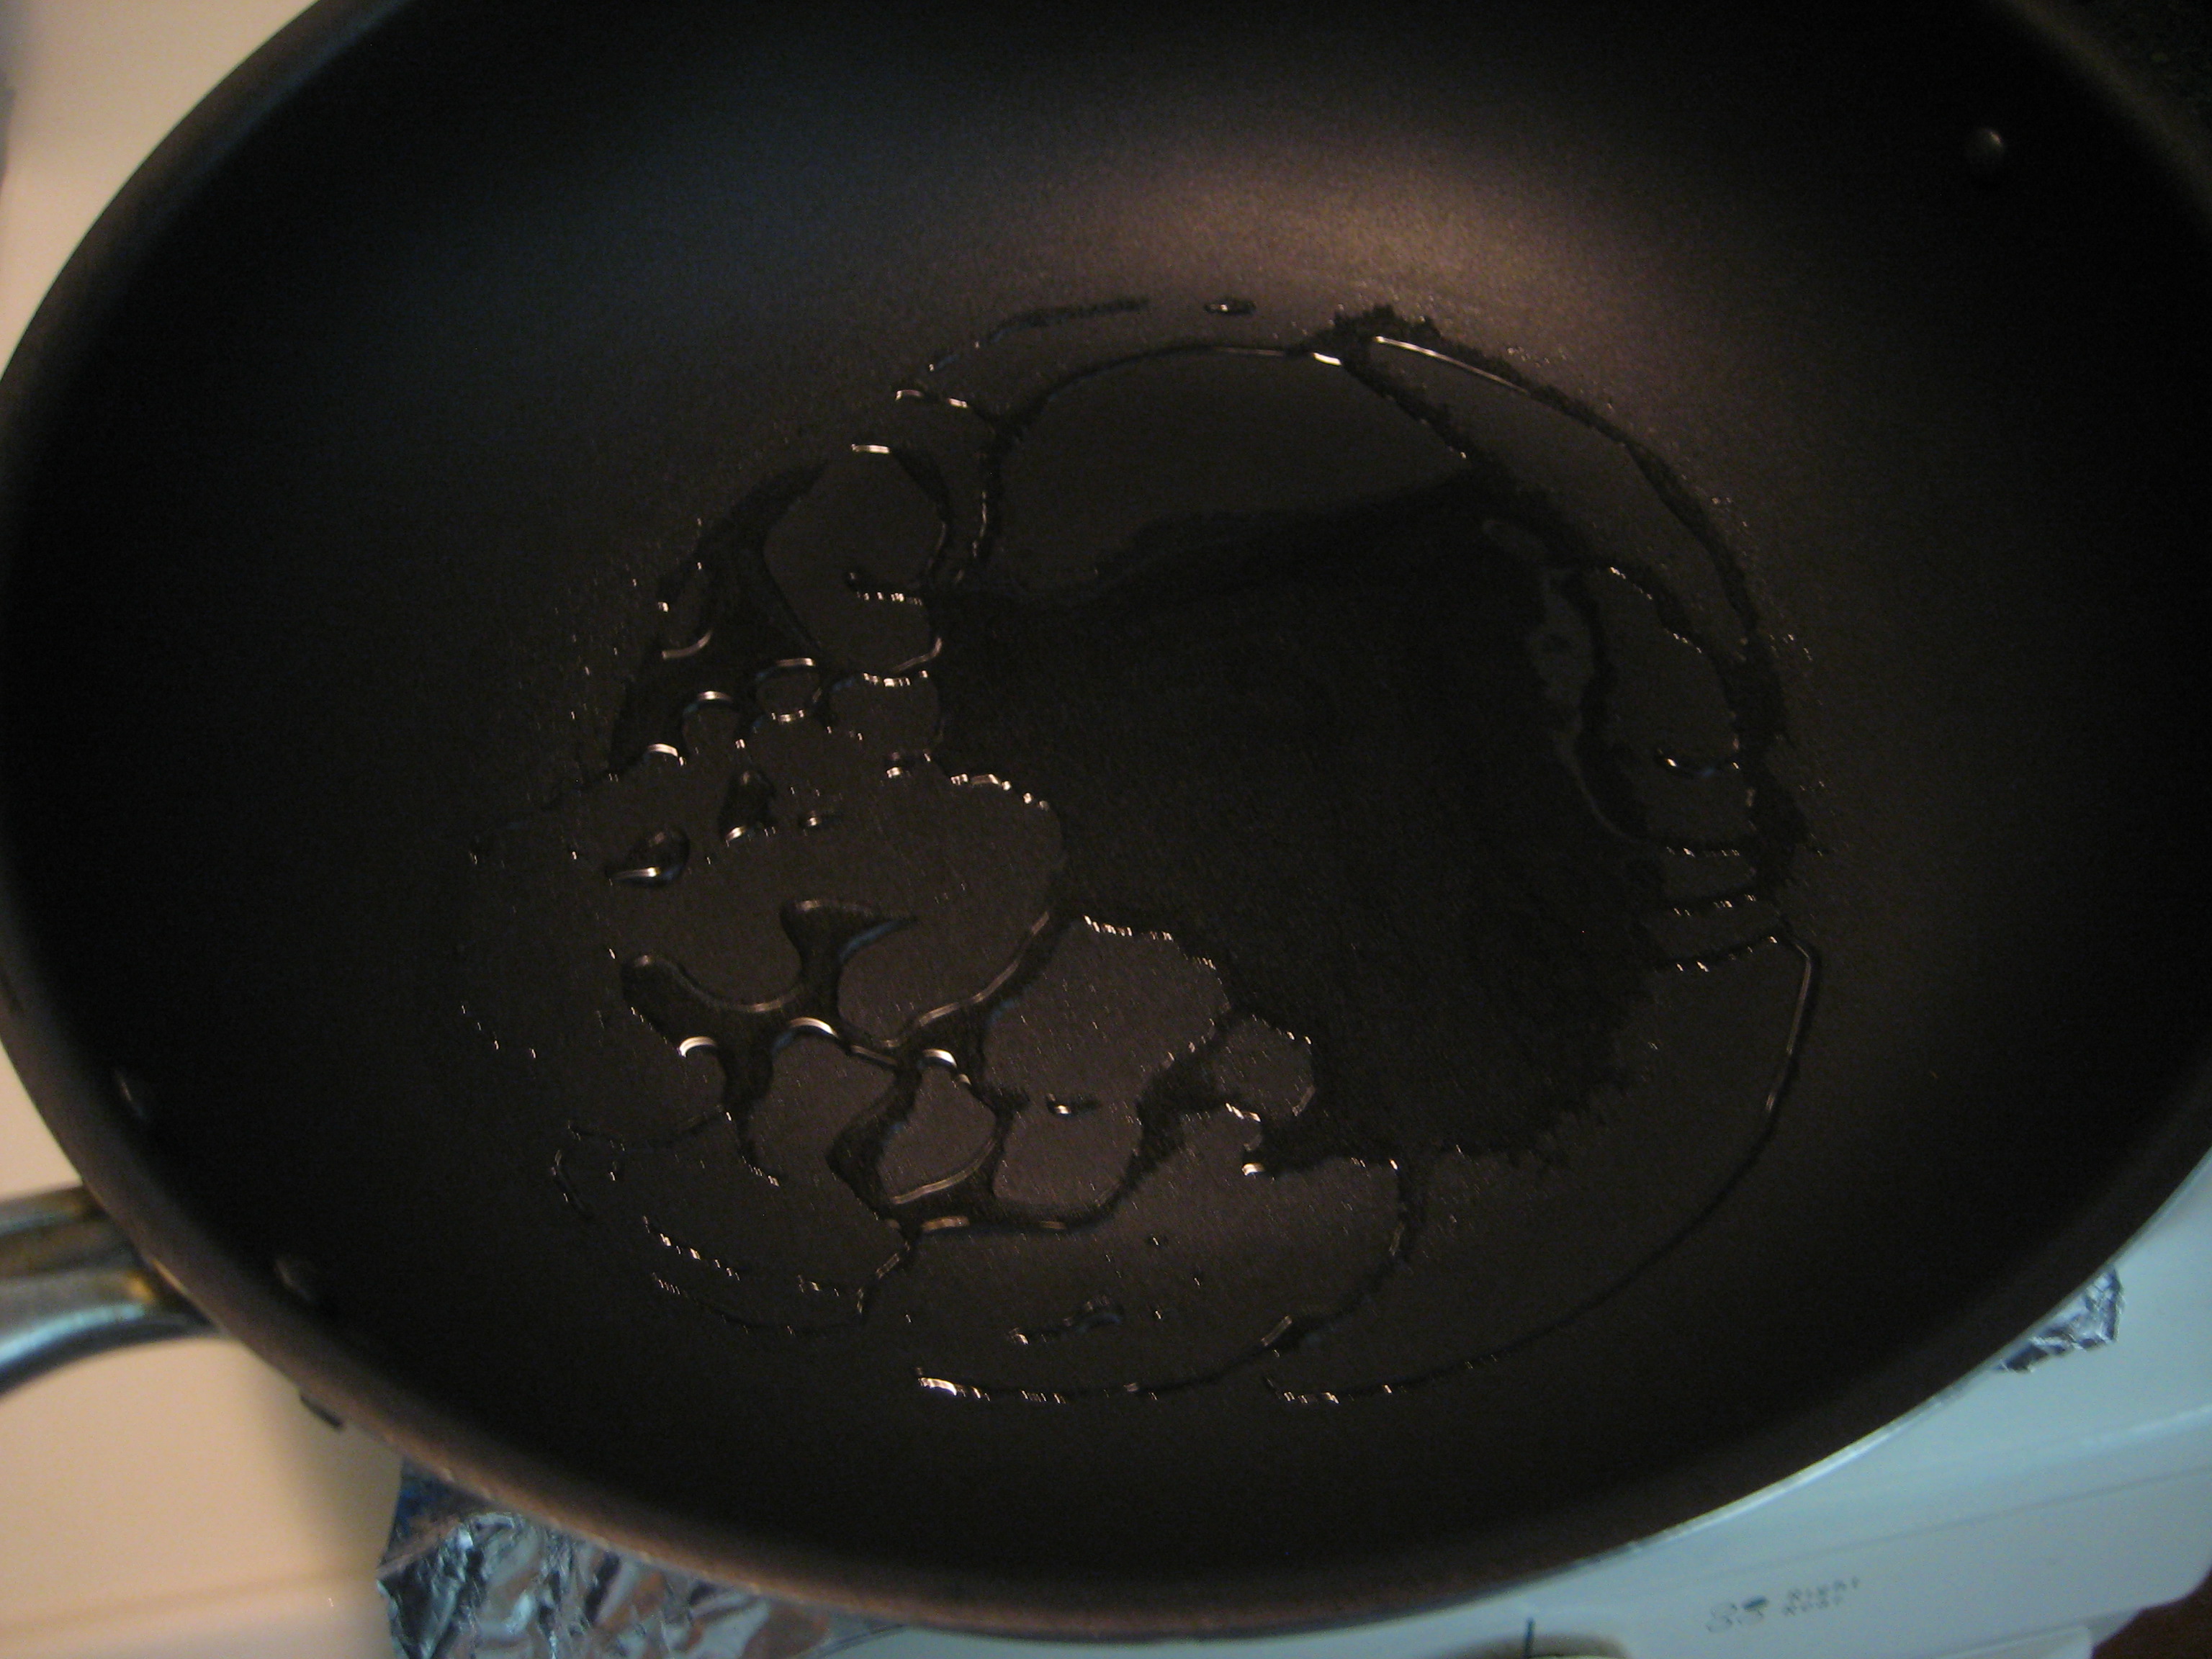
Step 3: In a large pan, add 1 Tbsp. vegetable oil over high heat.
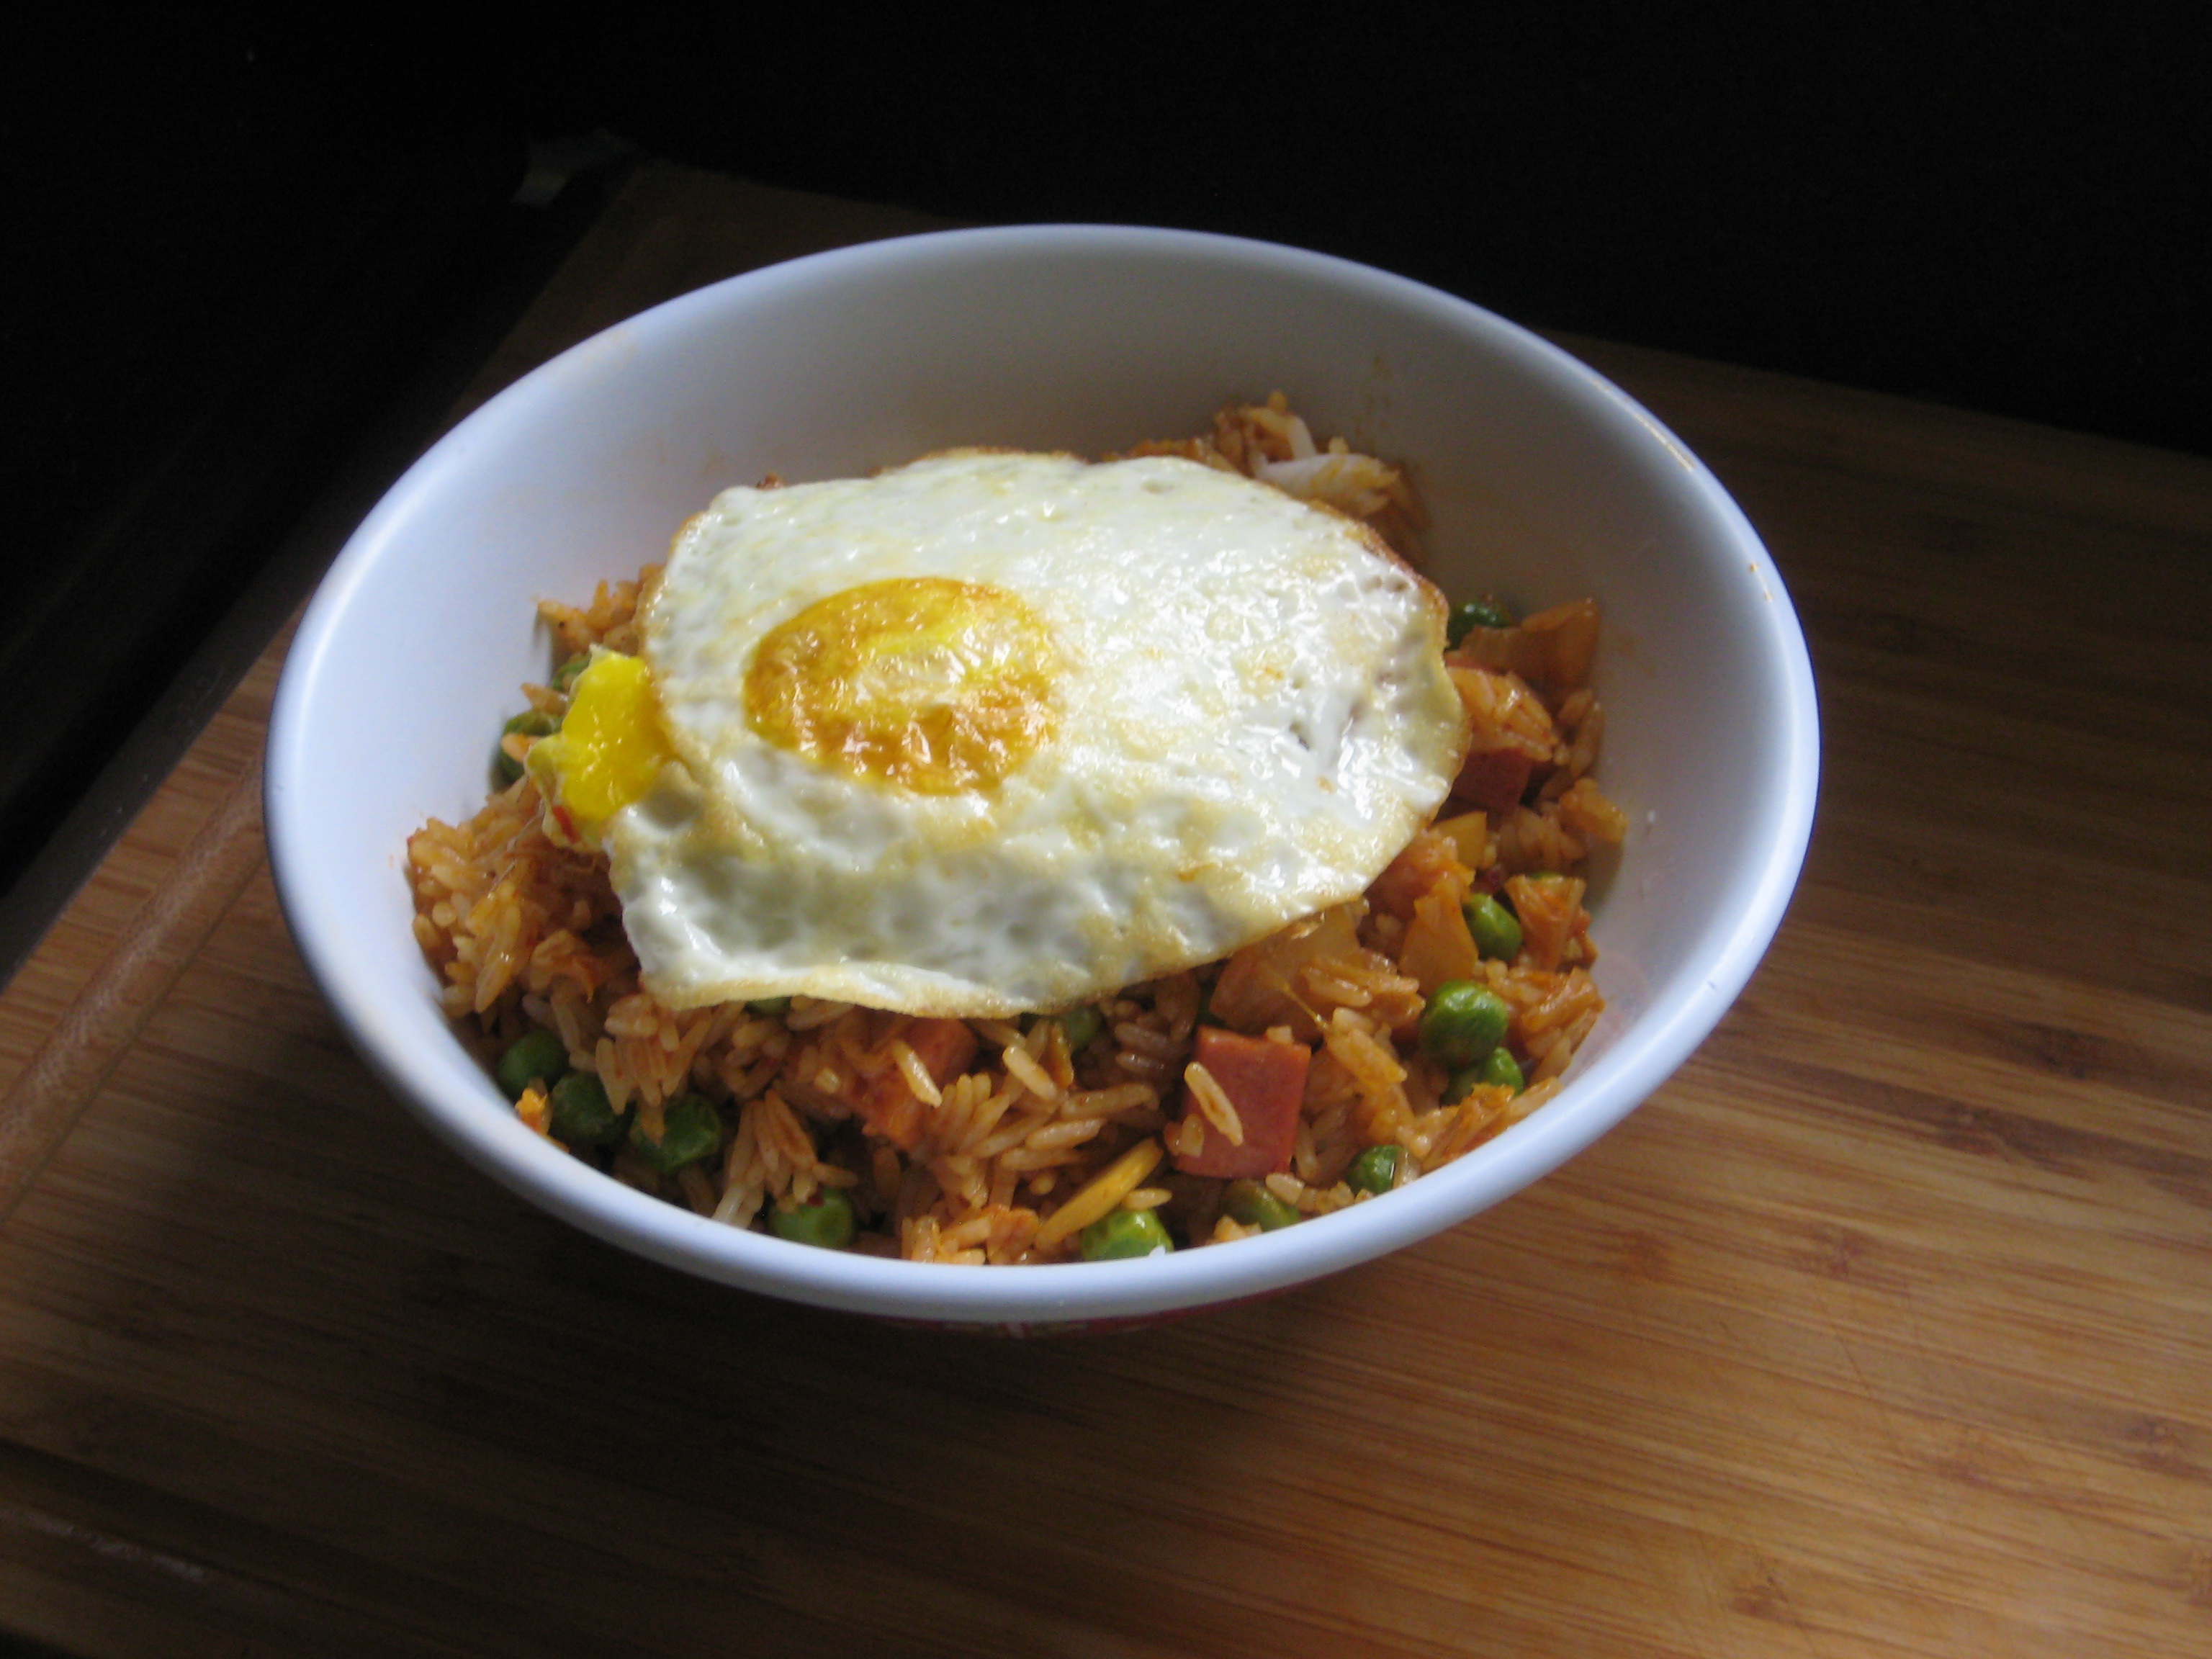
Step 4: Add the egg and fry it to however you prefer it. (I like a slightly runny yolk, this way when I cut into the egg the yolk will give the dish a creamy texture.)

Step 5: Remove the fried egg from the pan and onto the cutting board. (I accidentally broke the yolk, such a sad moment.)

Step 6: In the same pan, add in the defrosted sweet peas, Spam, and kimchi and cook until heated through.

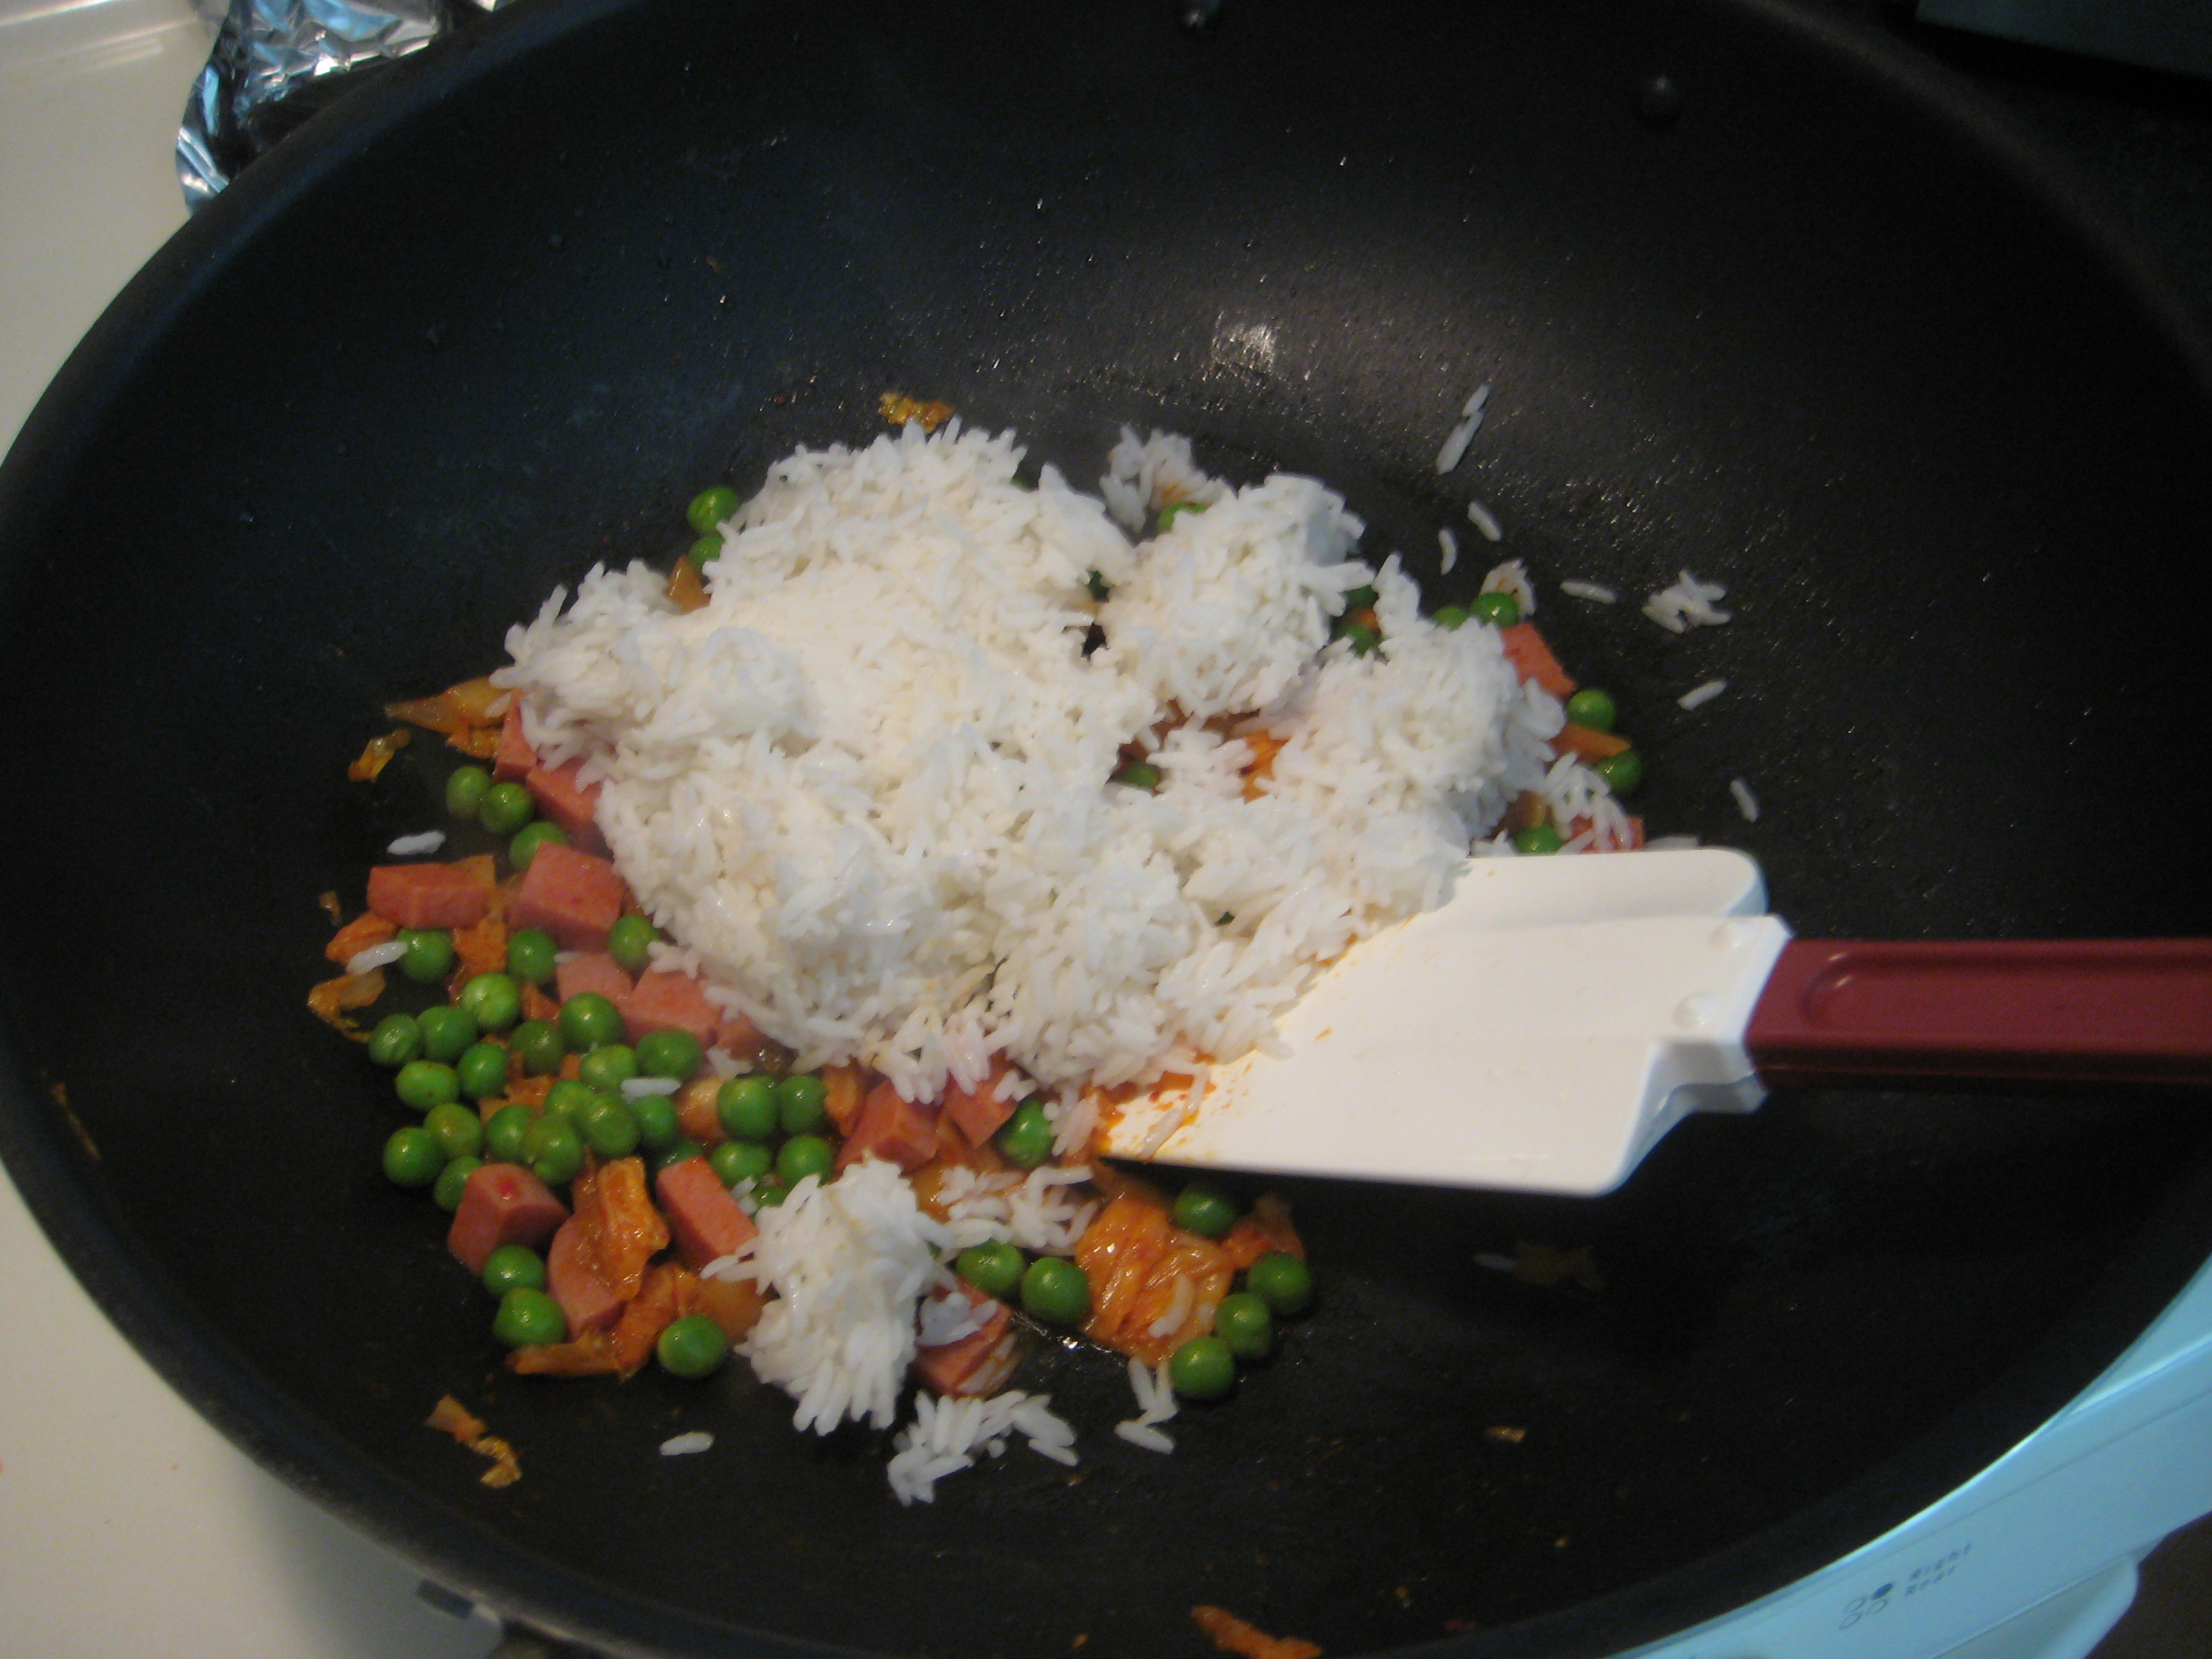
Step 7: Add 1/4 cup of water and the rice.
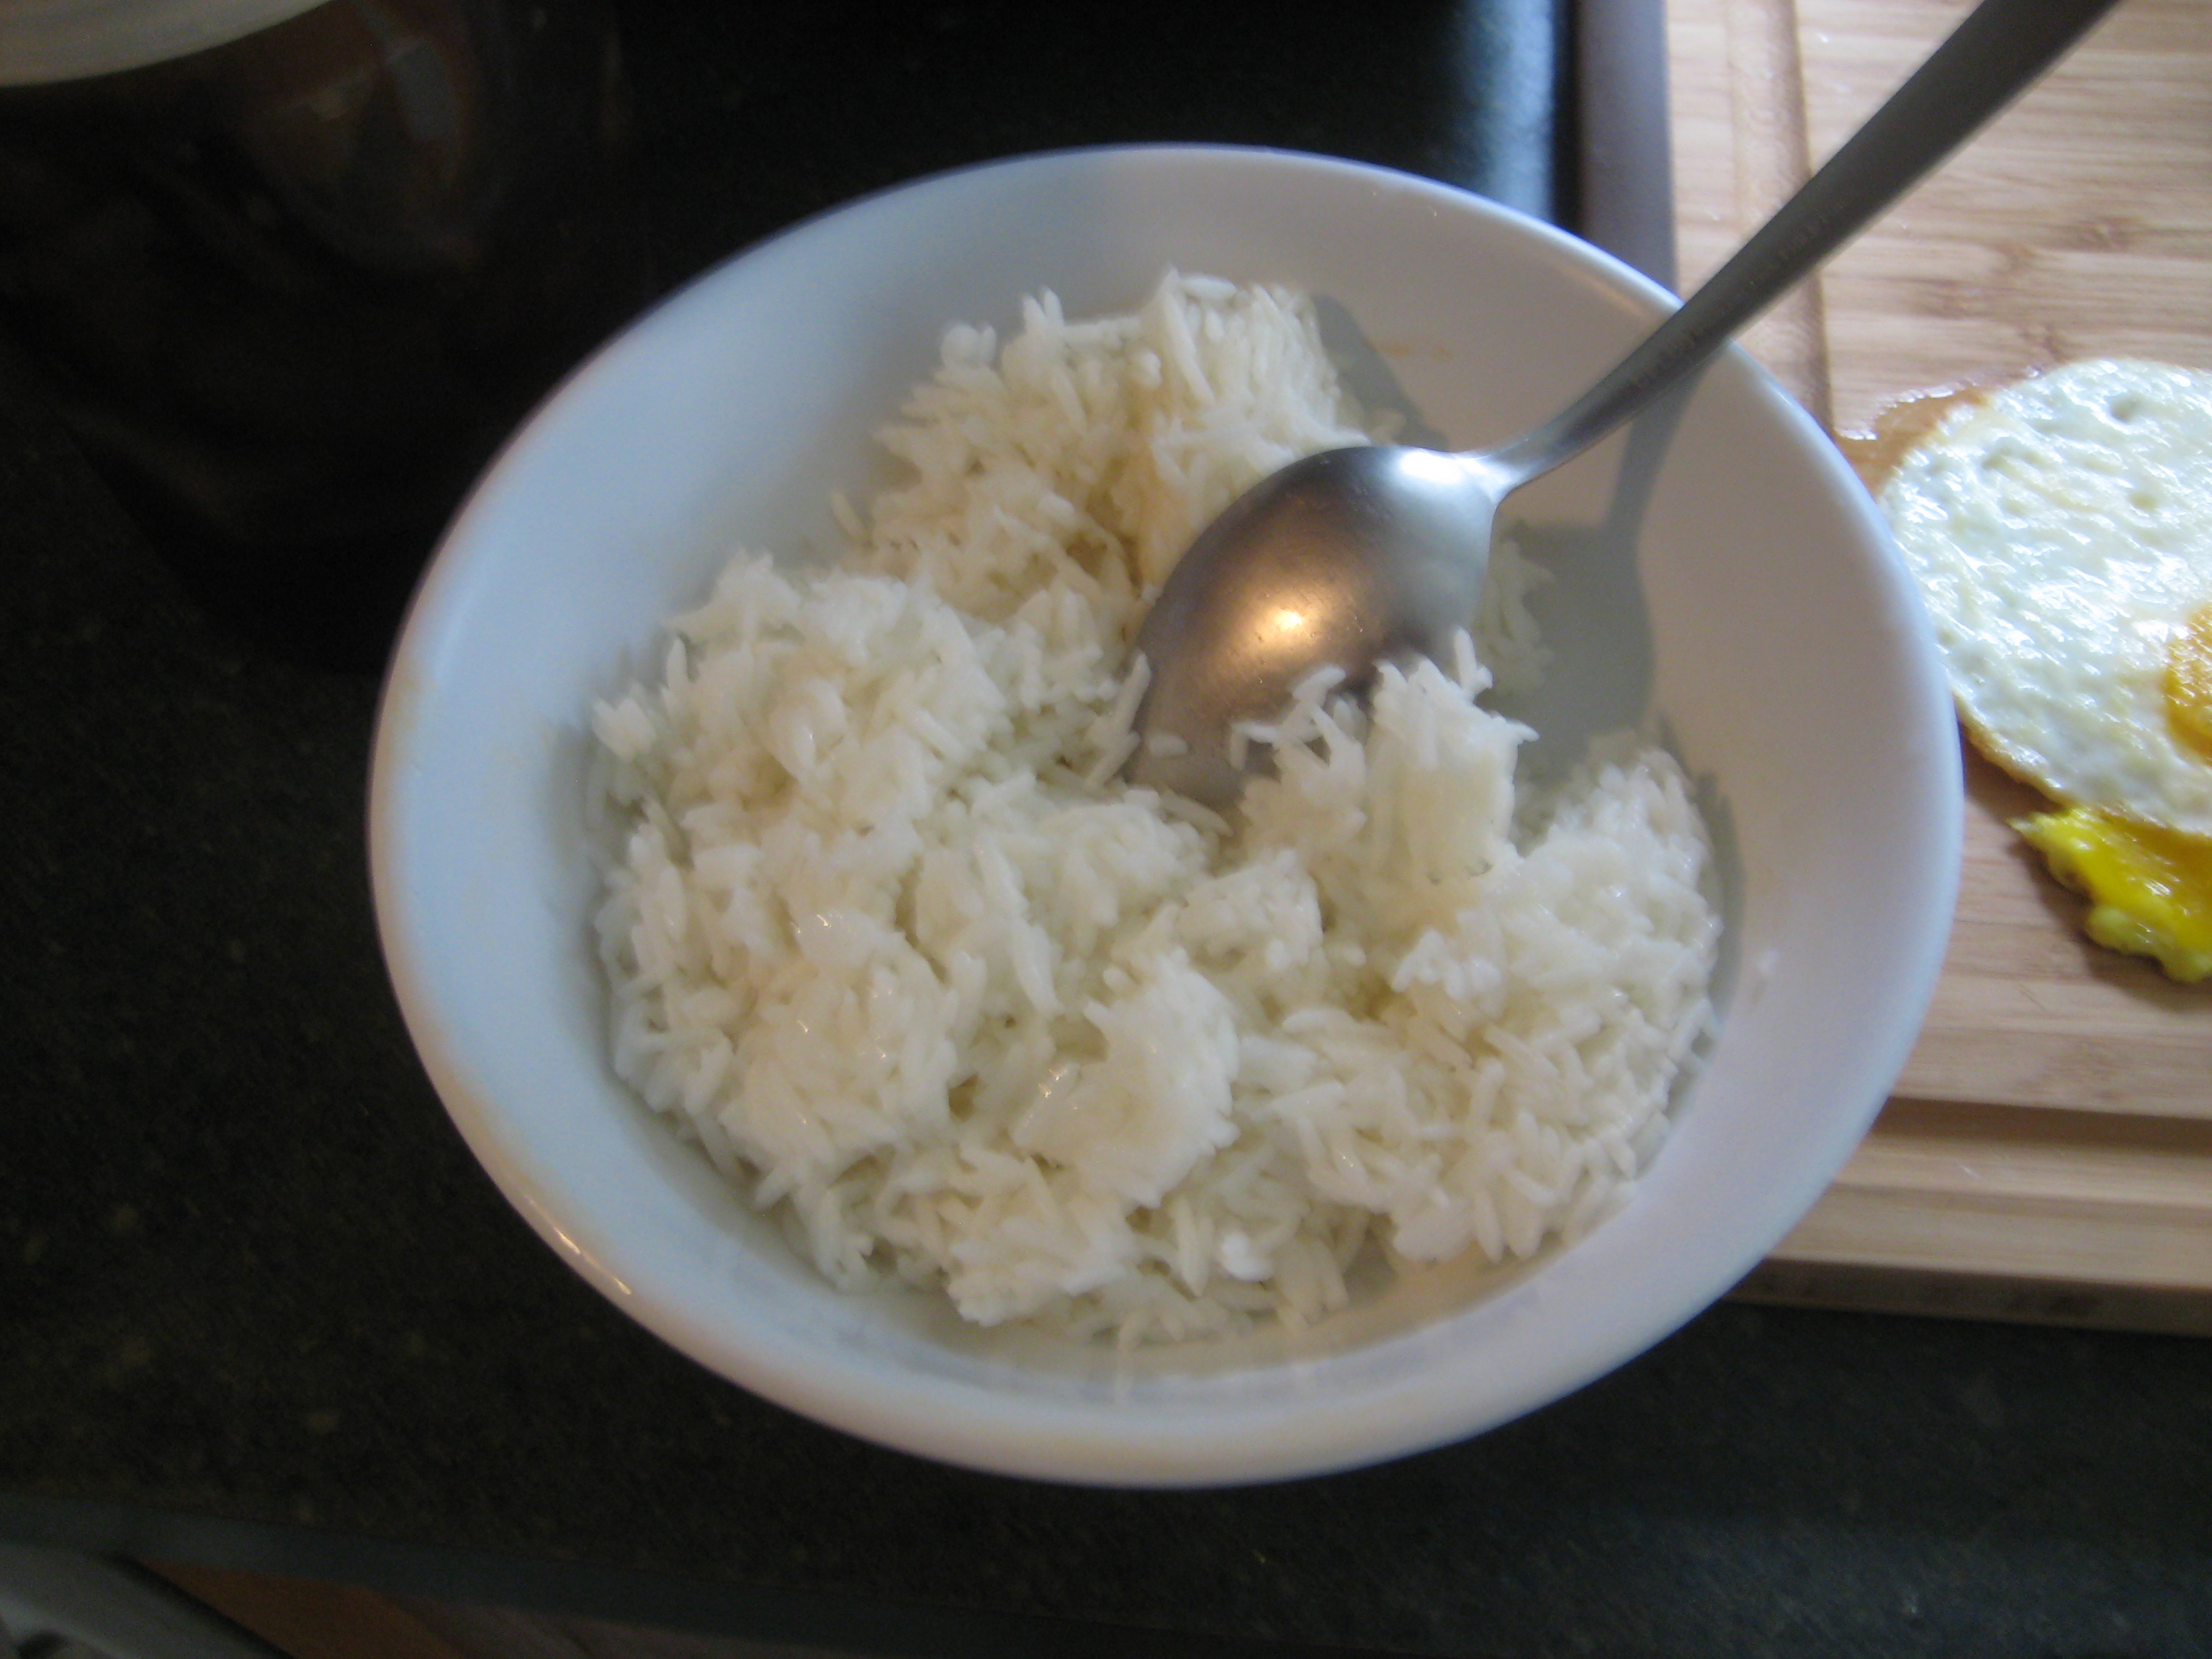
Step 8: Break the rice up with a spatula and again cook until heated through.
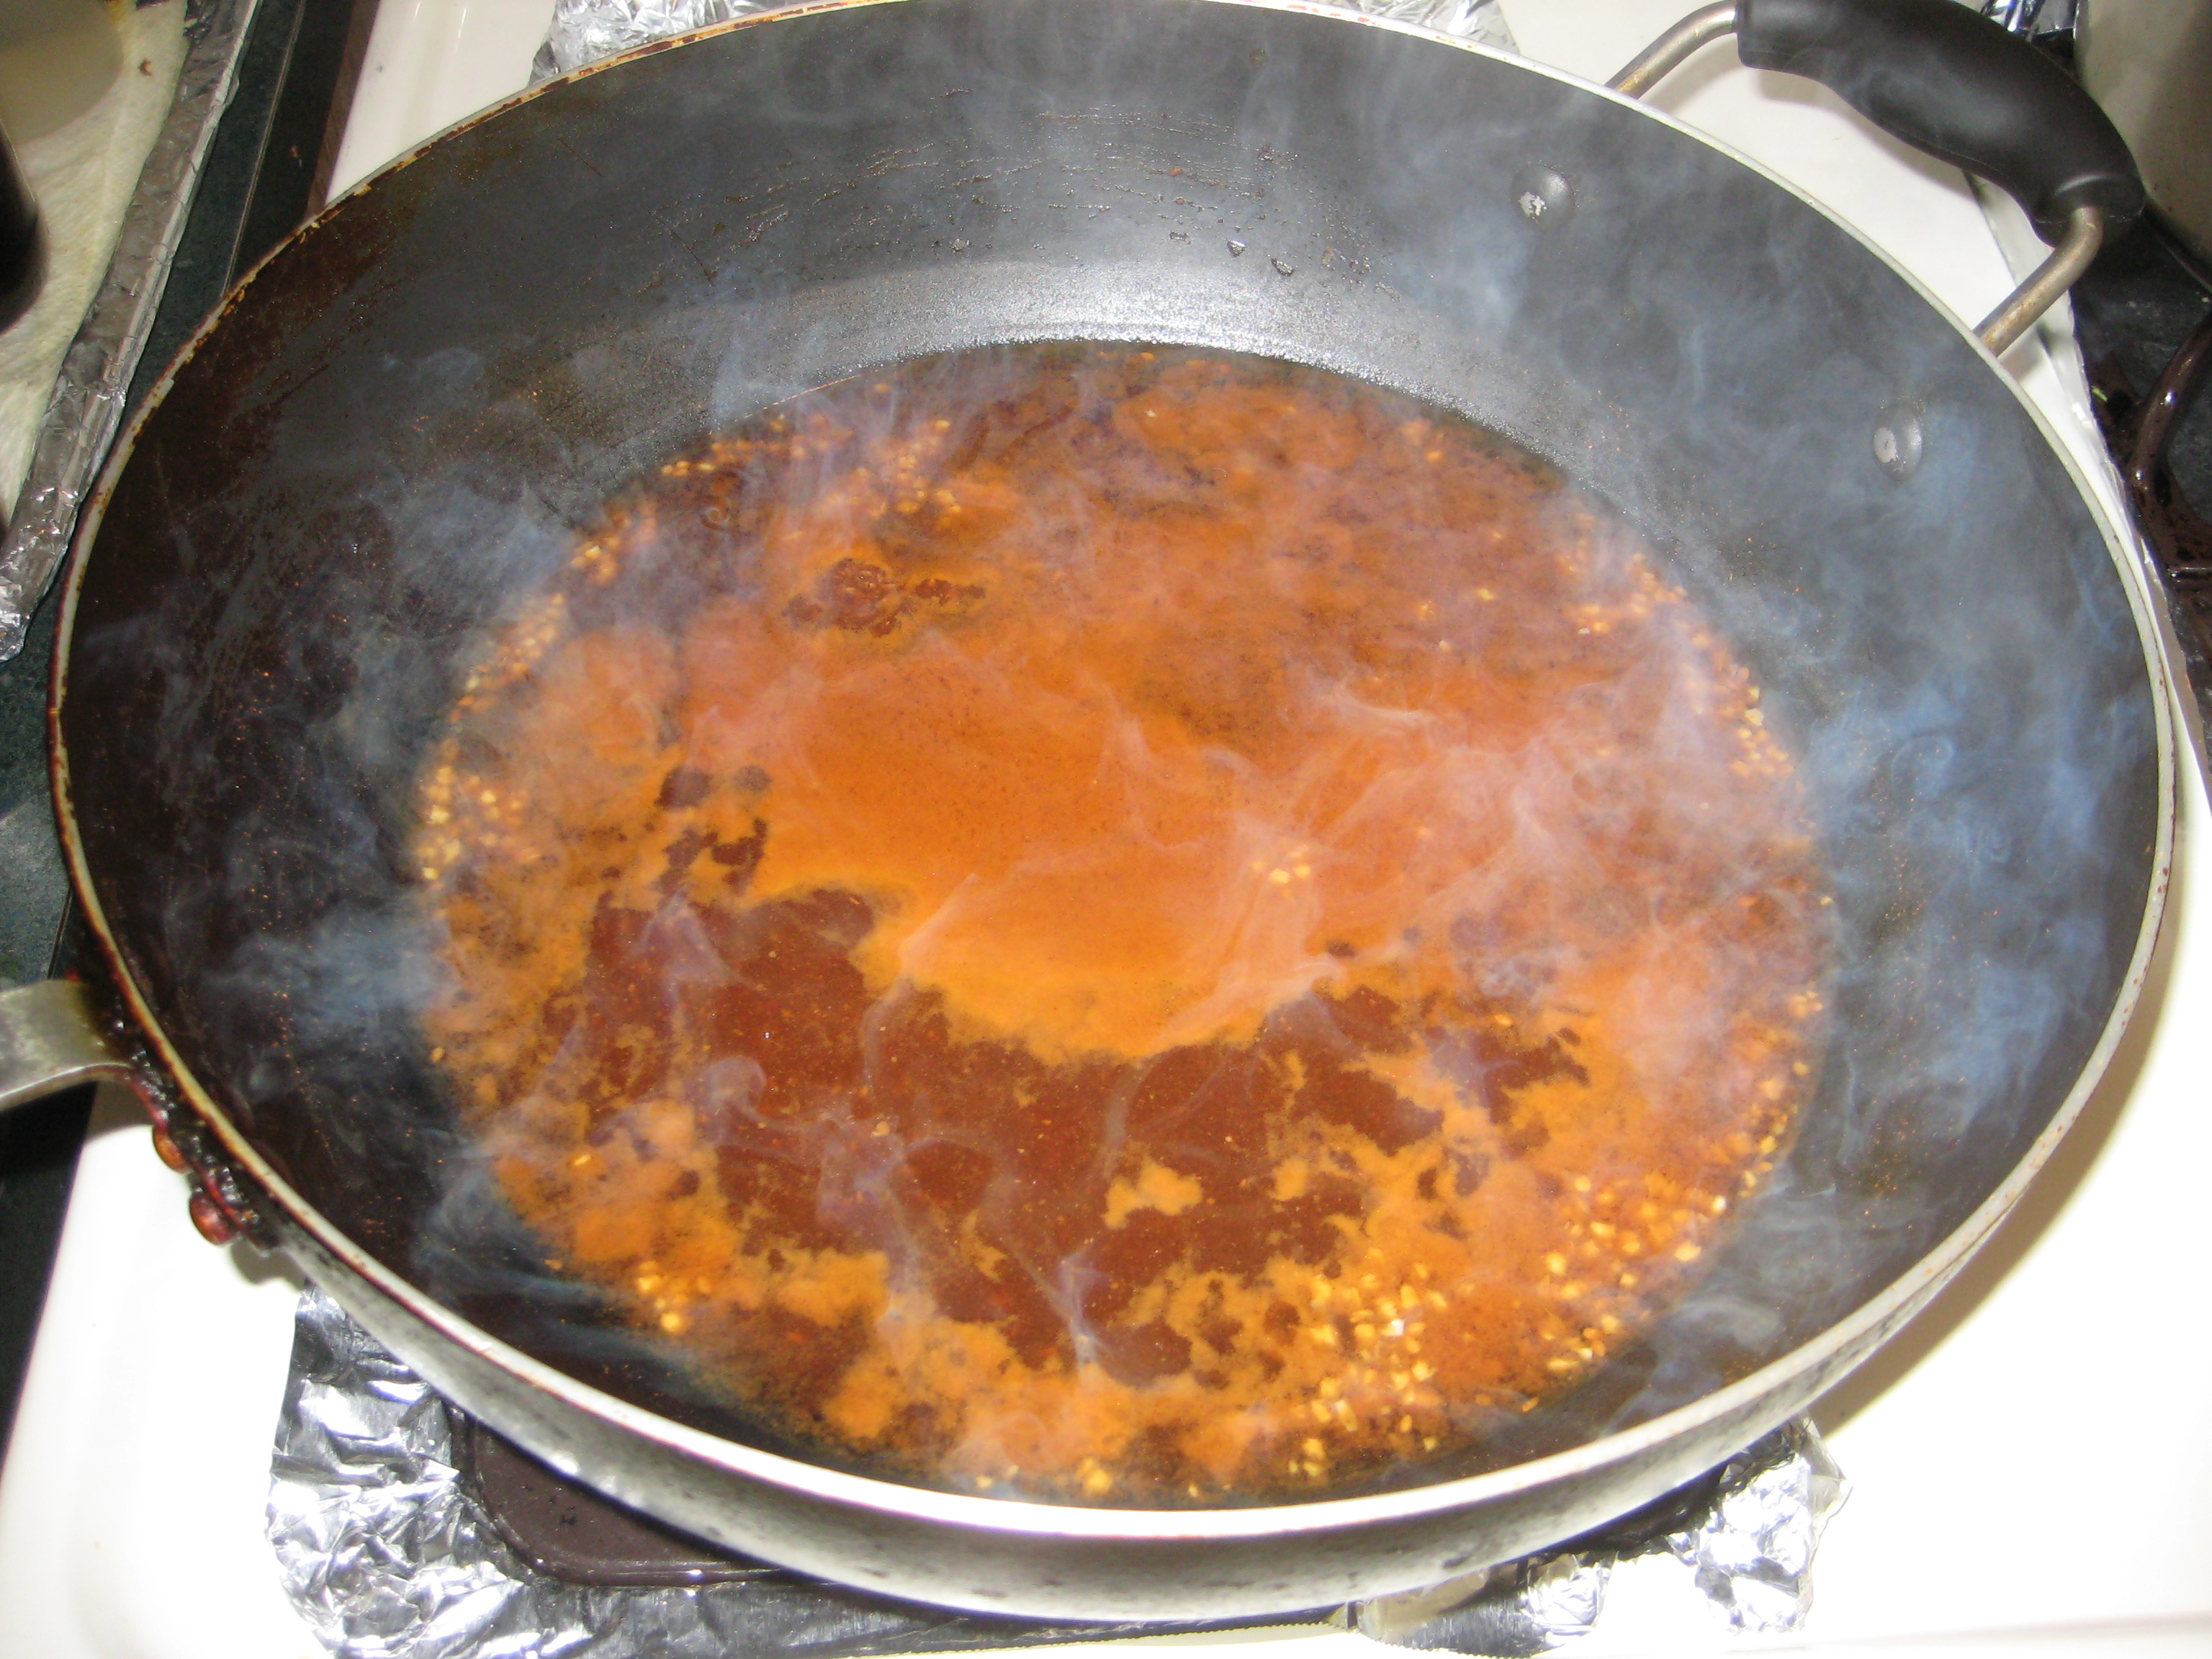
Step 9: Add in 3-4 Tbsp. kimchi juice and stir to combine.

Step 10: Add in the sesame oil and toss to combine.

Step 11: Turn off the heat and add in the plum sauce and stir until well mixed.


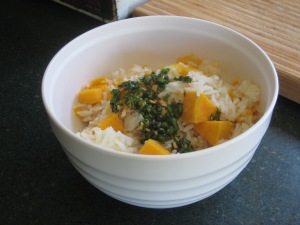
Step 12: Scoop into a large bowl and top it with the fried egg and serve. (I had to make this again the next day, but I added Emoki mushrooms.)