Pumpkin Scones

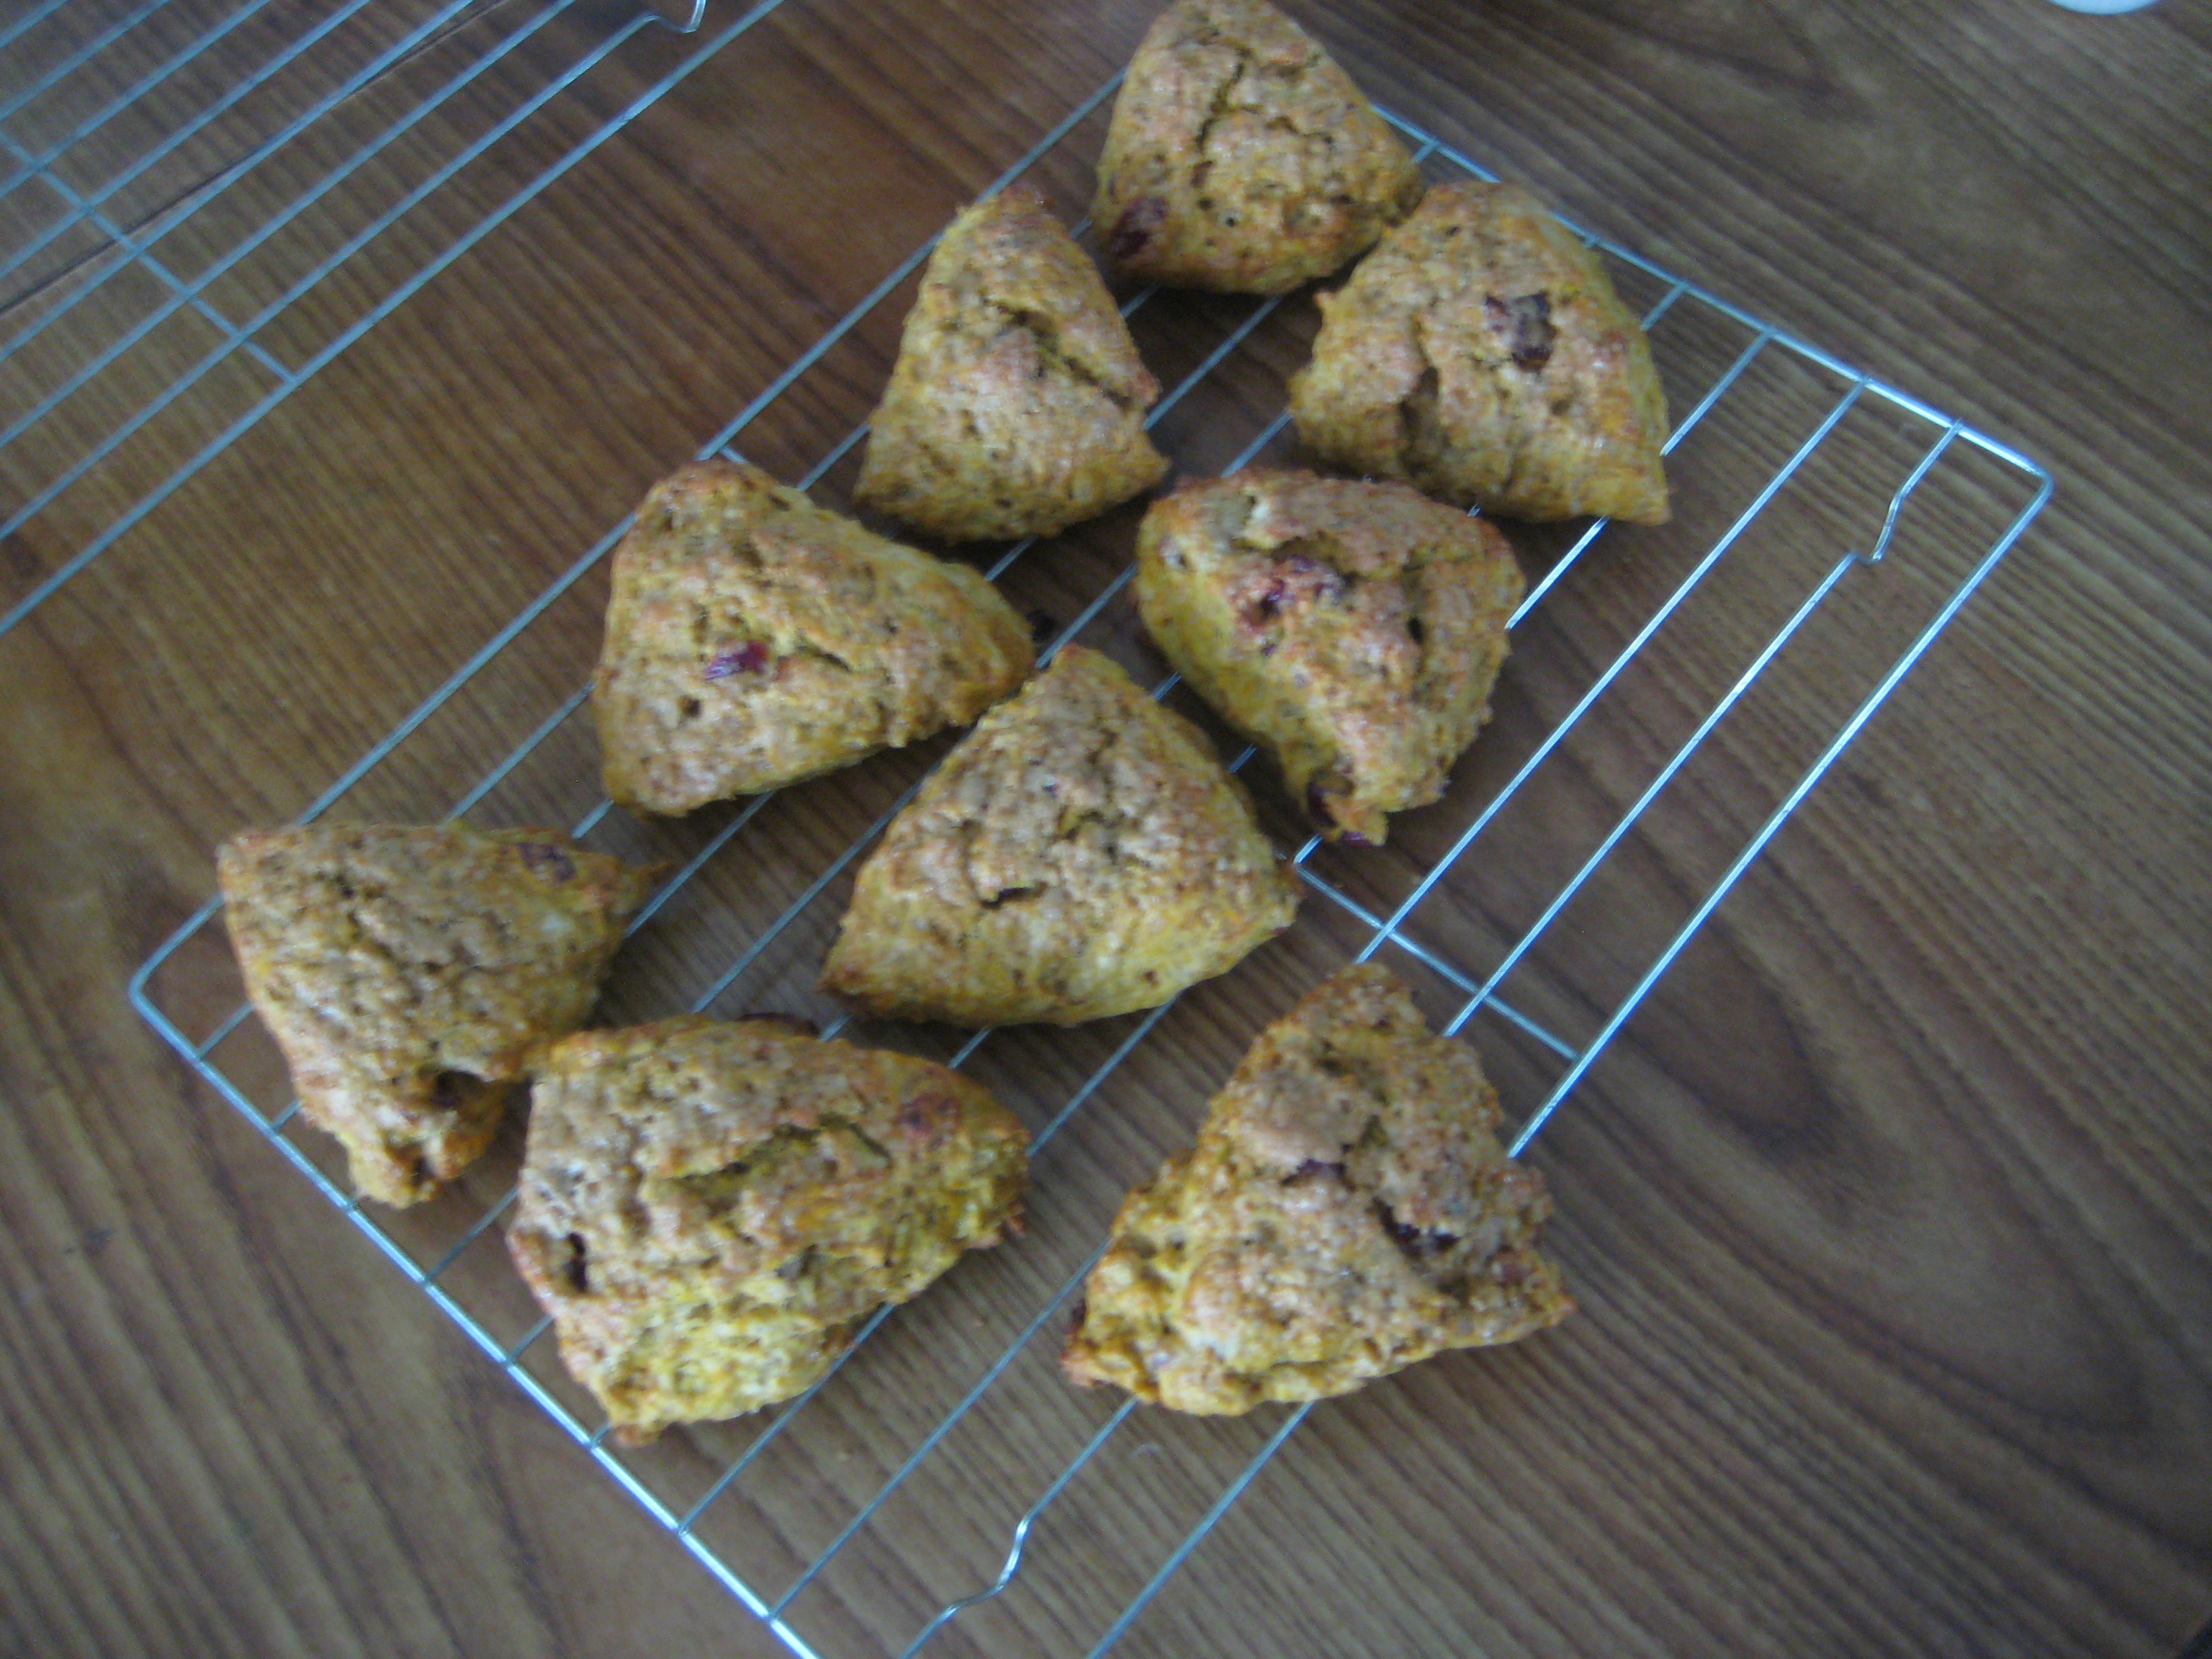
Well Thanksgiving has passed and there are so many leftover ingredients that I have to use it some way or else it’ll end up being thrown away. So I thought maybe something for breakfast would work. A light treat that is simple to make and light on the wallet. Pumpkin scones could work since all the ingredients are from the leftover ingredients for my many desserts.

Here are the ingredients needed for this recipe:

IMG_6769

  • 2 cups cake flour
  • 2 1/2 cups all-purpose flour
  • 1/2 cup brown sugar, packed
  • 1 1/2 Tbsp. baking powder
  • 1/2 tsp. baking soda
  • 1/2 tsp. salt
  • 1 Tbsp. pumpkin spice
  • 1 cup butter, grated and chilled
  • 2 large eggs, beaten
  • 1 cup pumpkin puree, chilled
  • 2/3 cup heavy cream, chilled
  • (Optional: 1 cup dried cranberries, chopped walnuts, chopped pecans, and etc.) (Side note: if adding dried fruit add 1-2 tsp. of milk to the batter)
  • 1/4 cup raw sugar, garnish

Egg Wash

IMG_6795

  • 1 egg, beaten
  • 2 Tbsp. milk

Step 1: Preheat oven to 400°F and line a baking sheet with parchment paper; set aside.

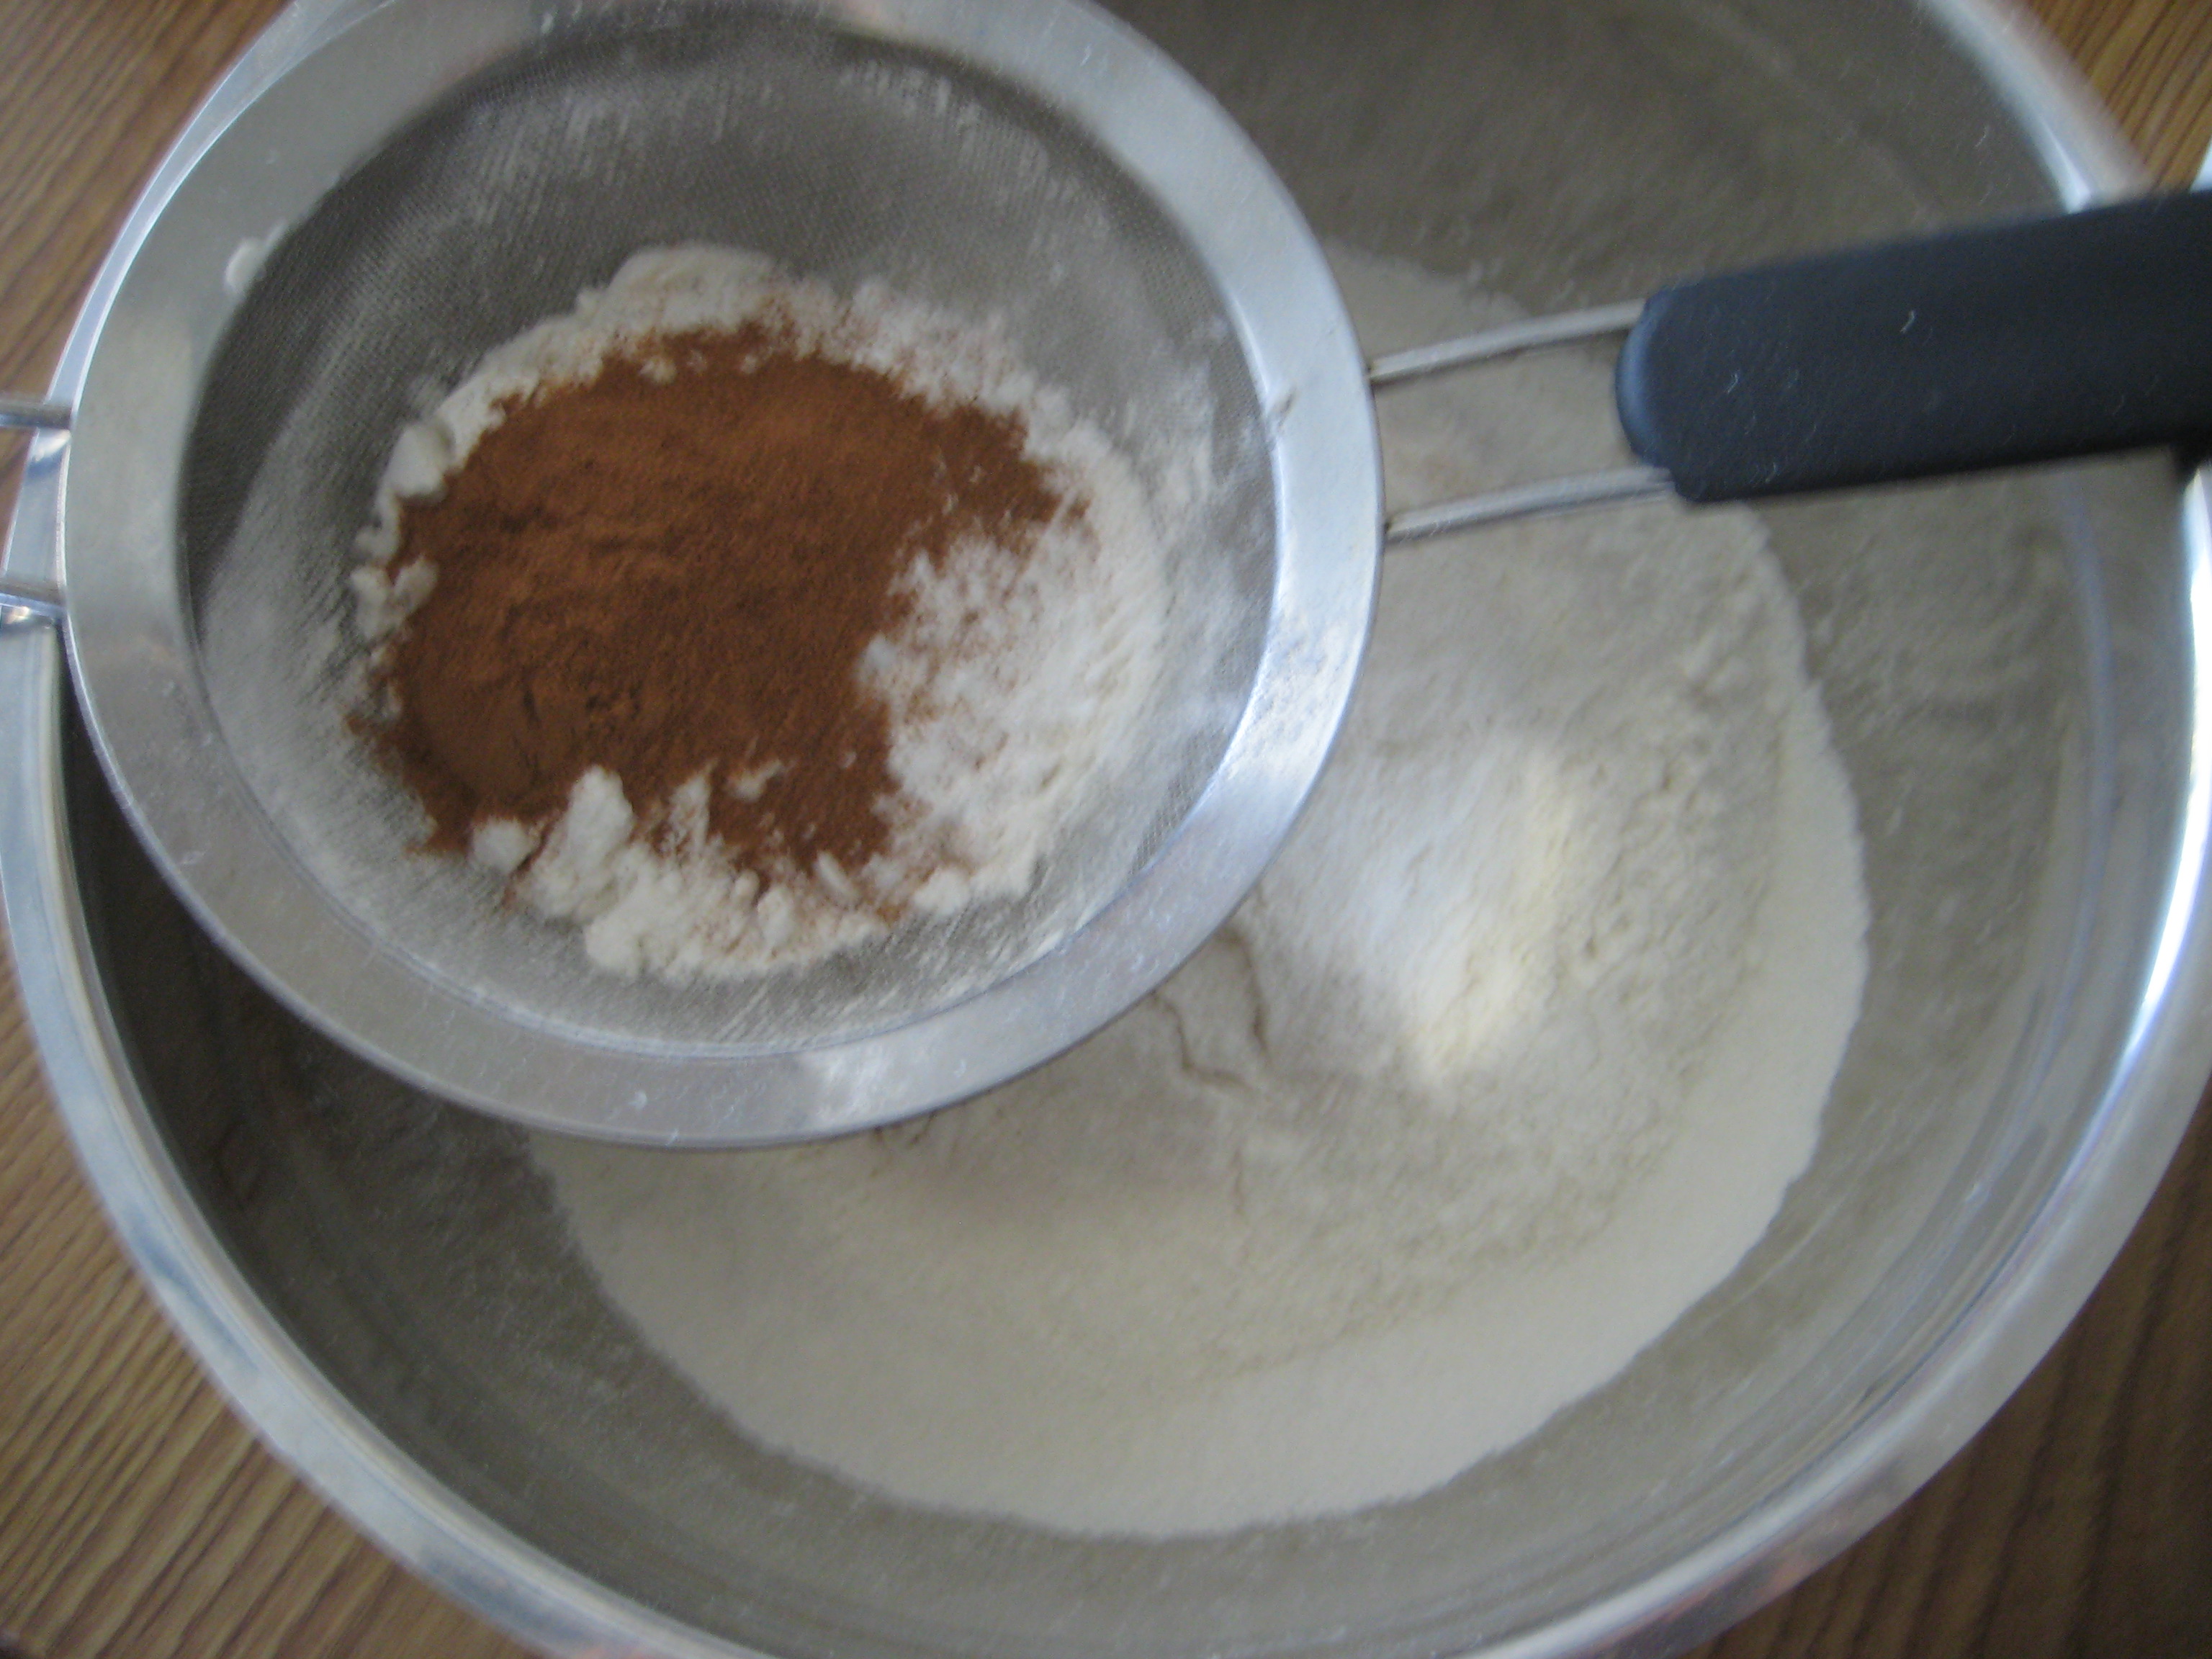
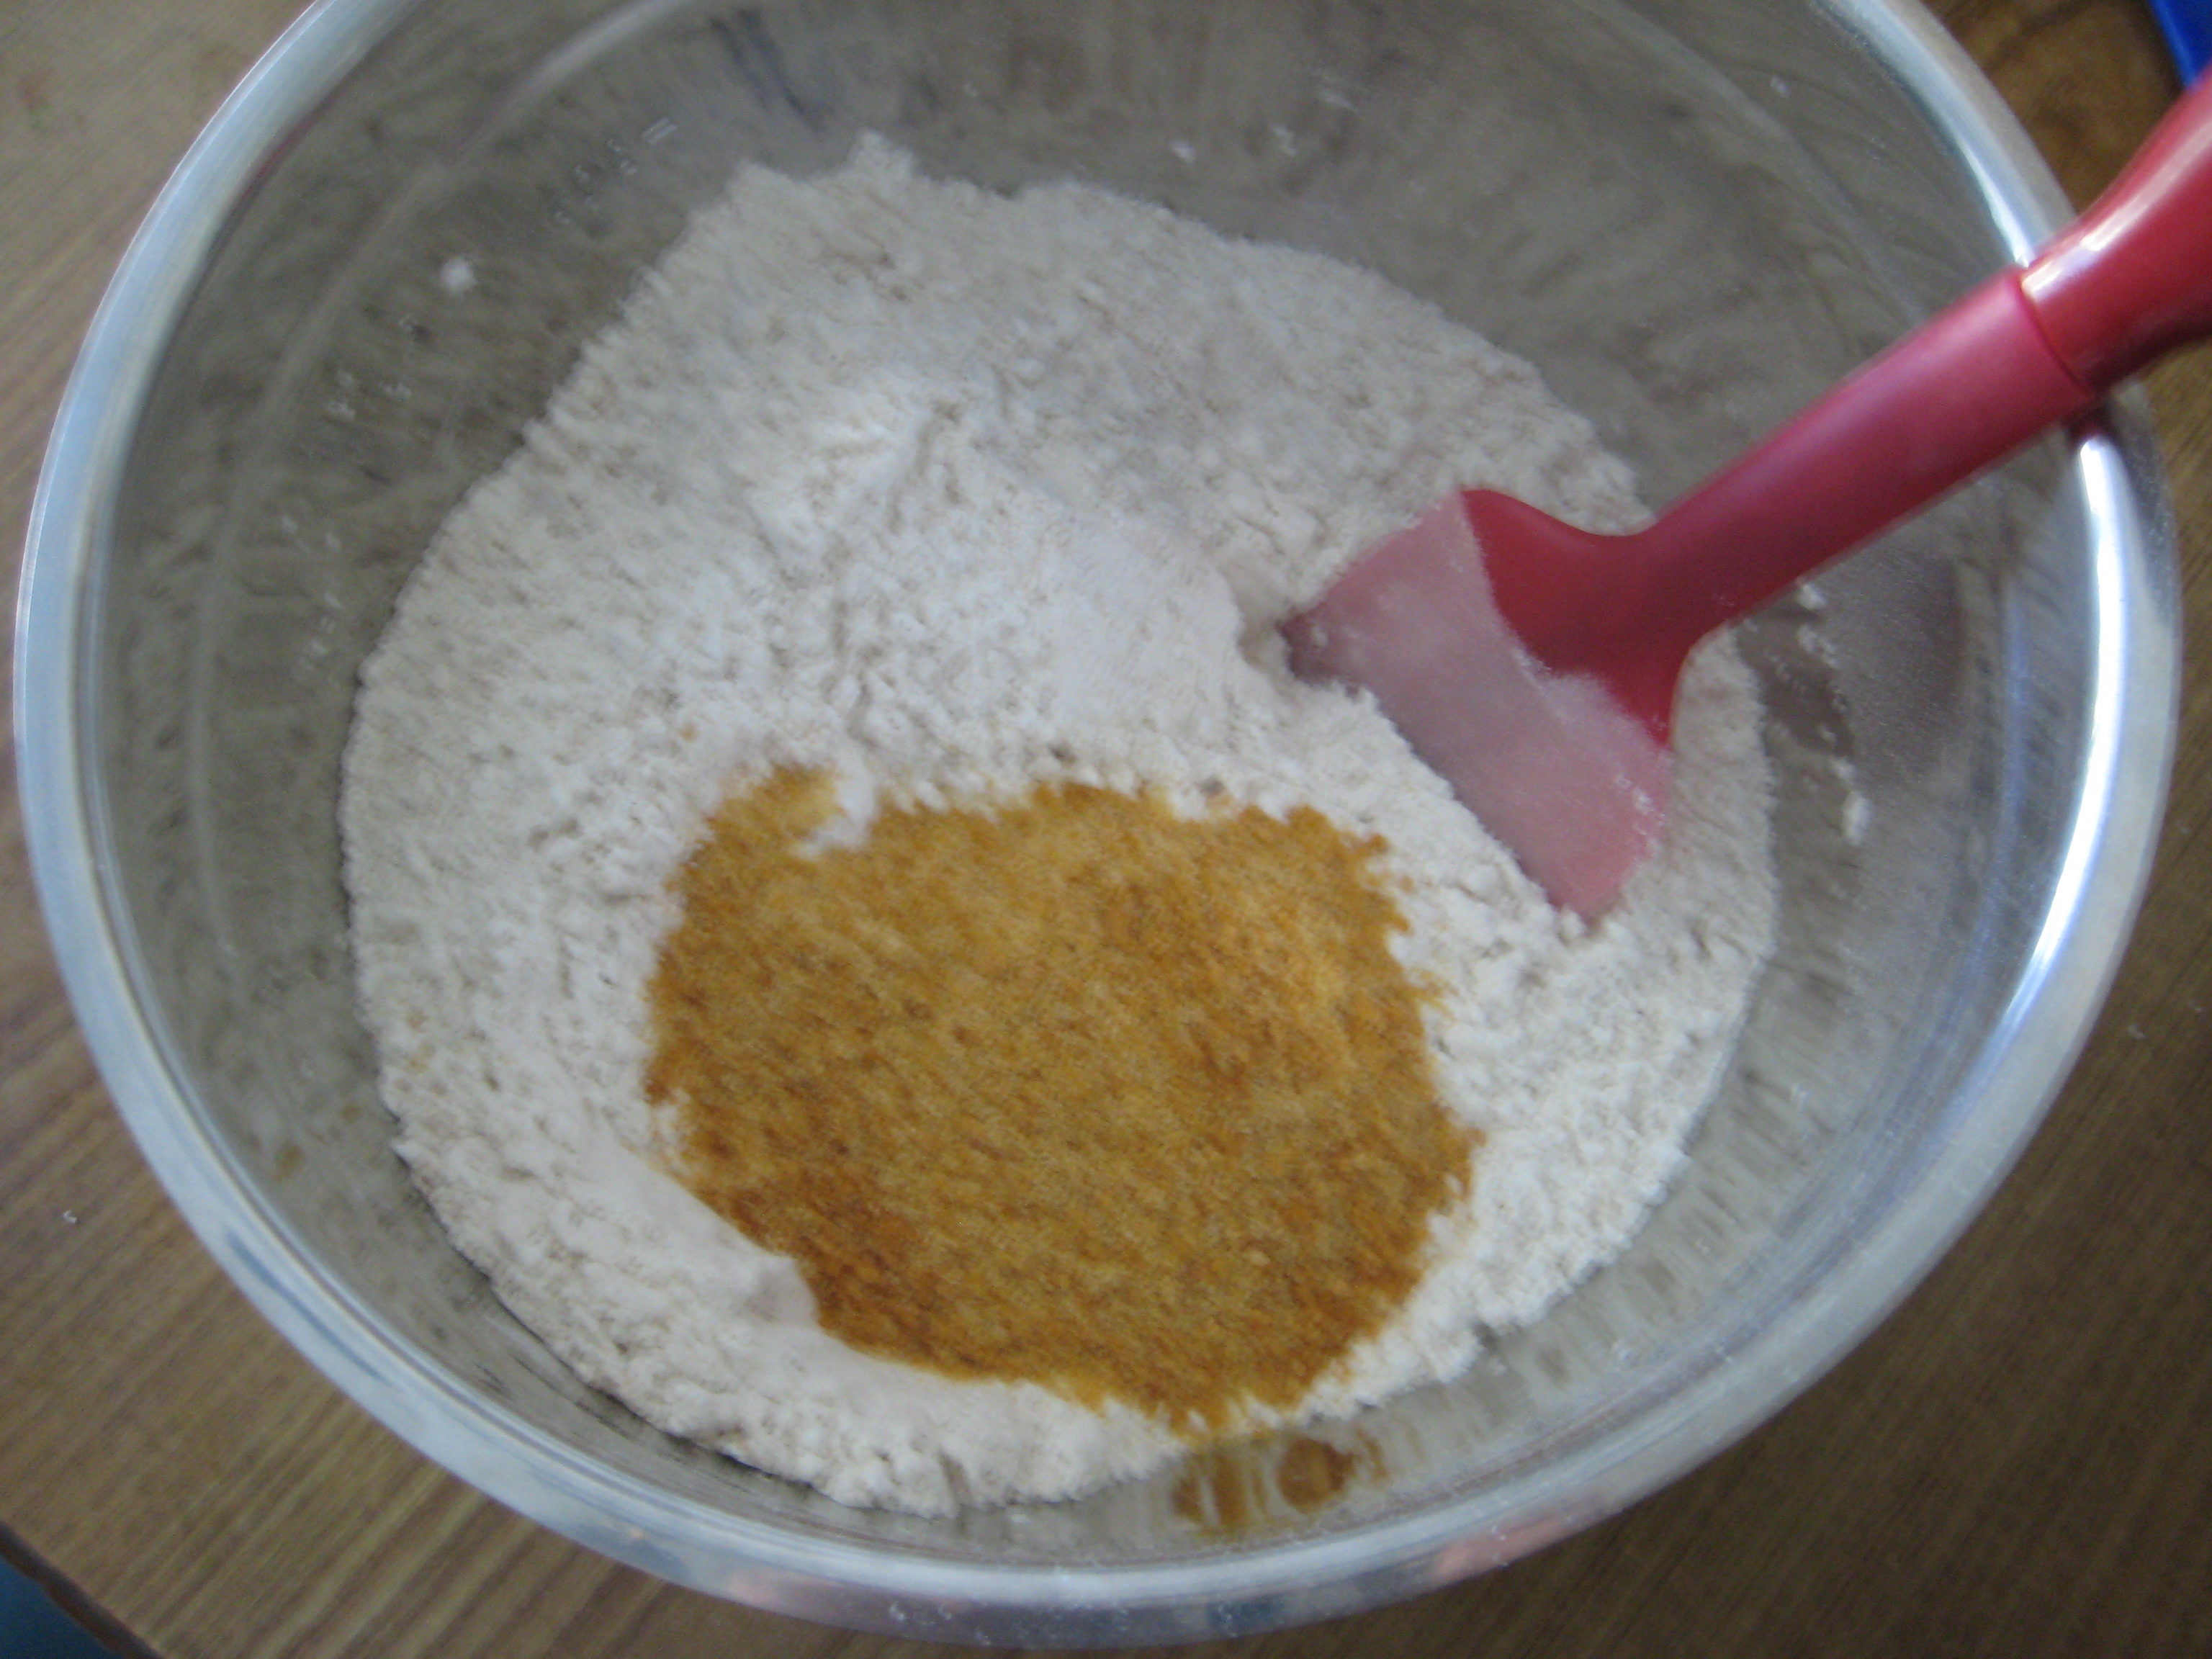
Step 2: In a large bowl, sift together the cake flour, all-purpose flour, baking powder, baking soda, salt, and pumpkin spice.

IMG_6770 IMG_6771 IMG_6772

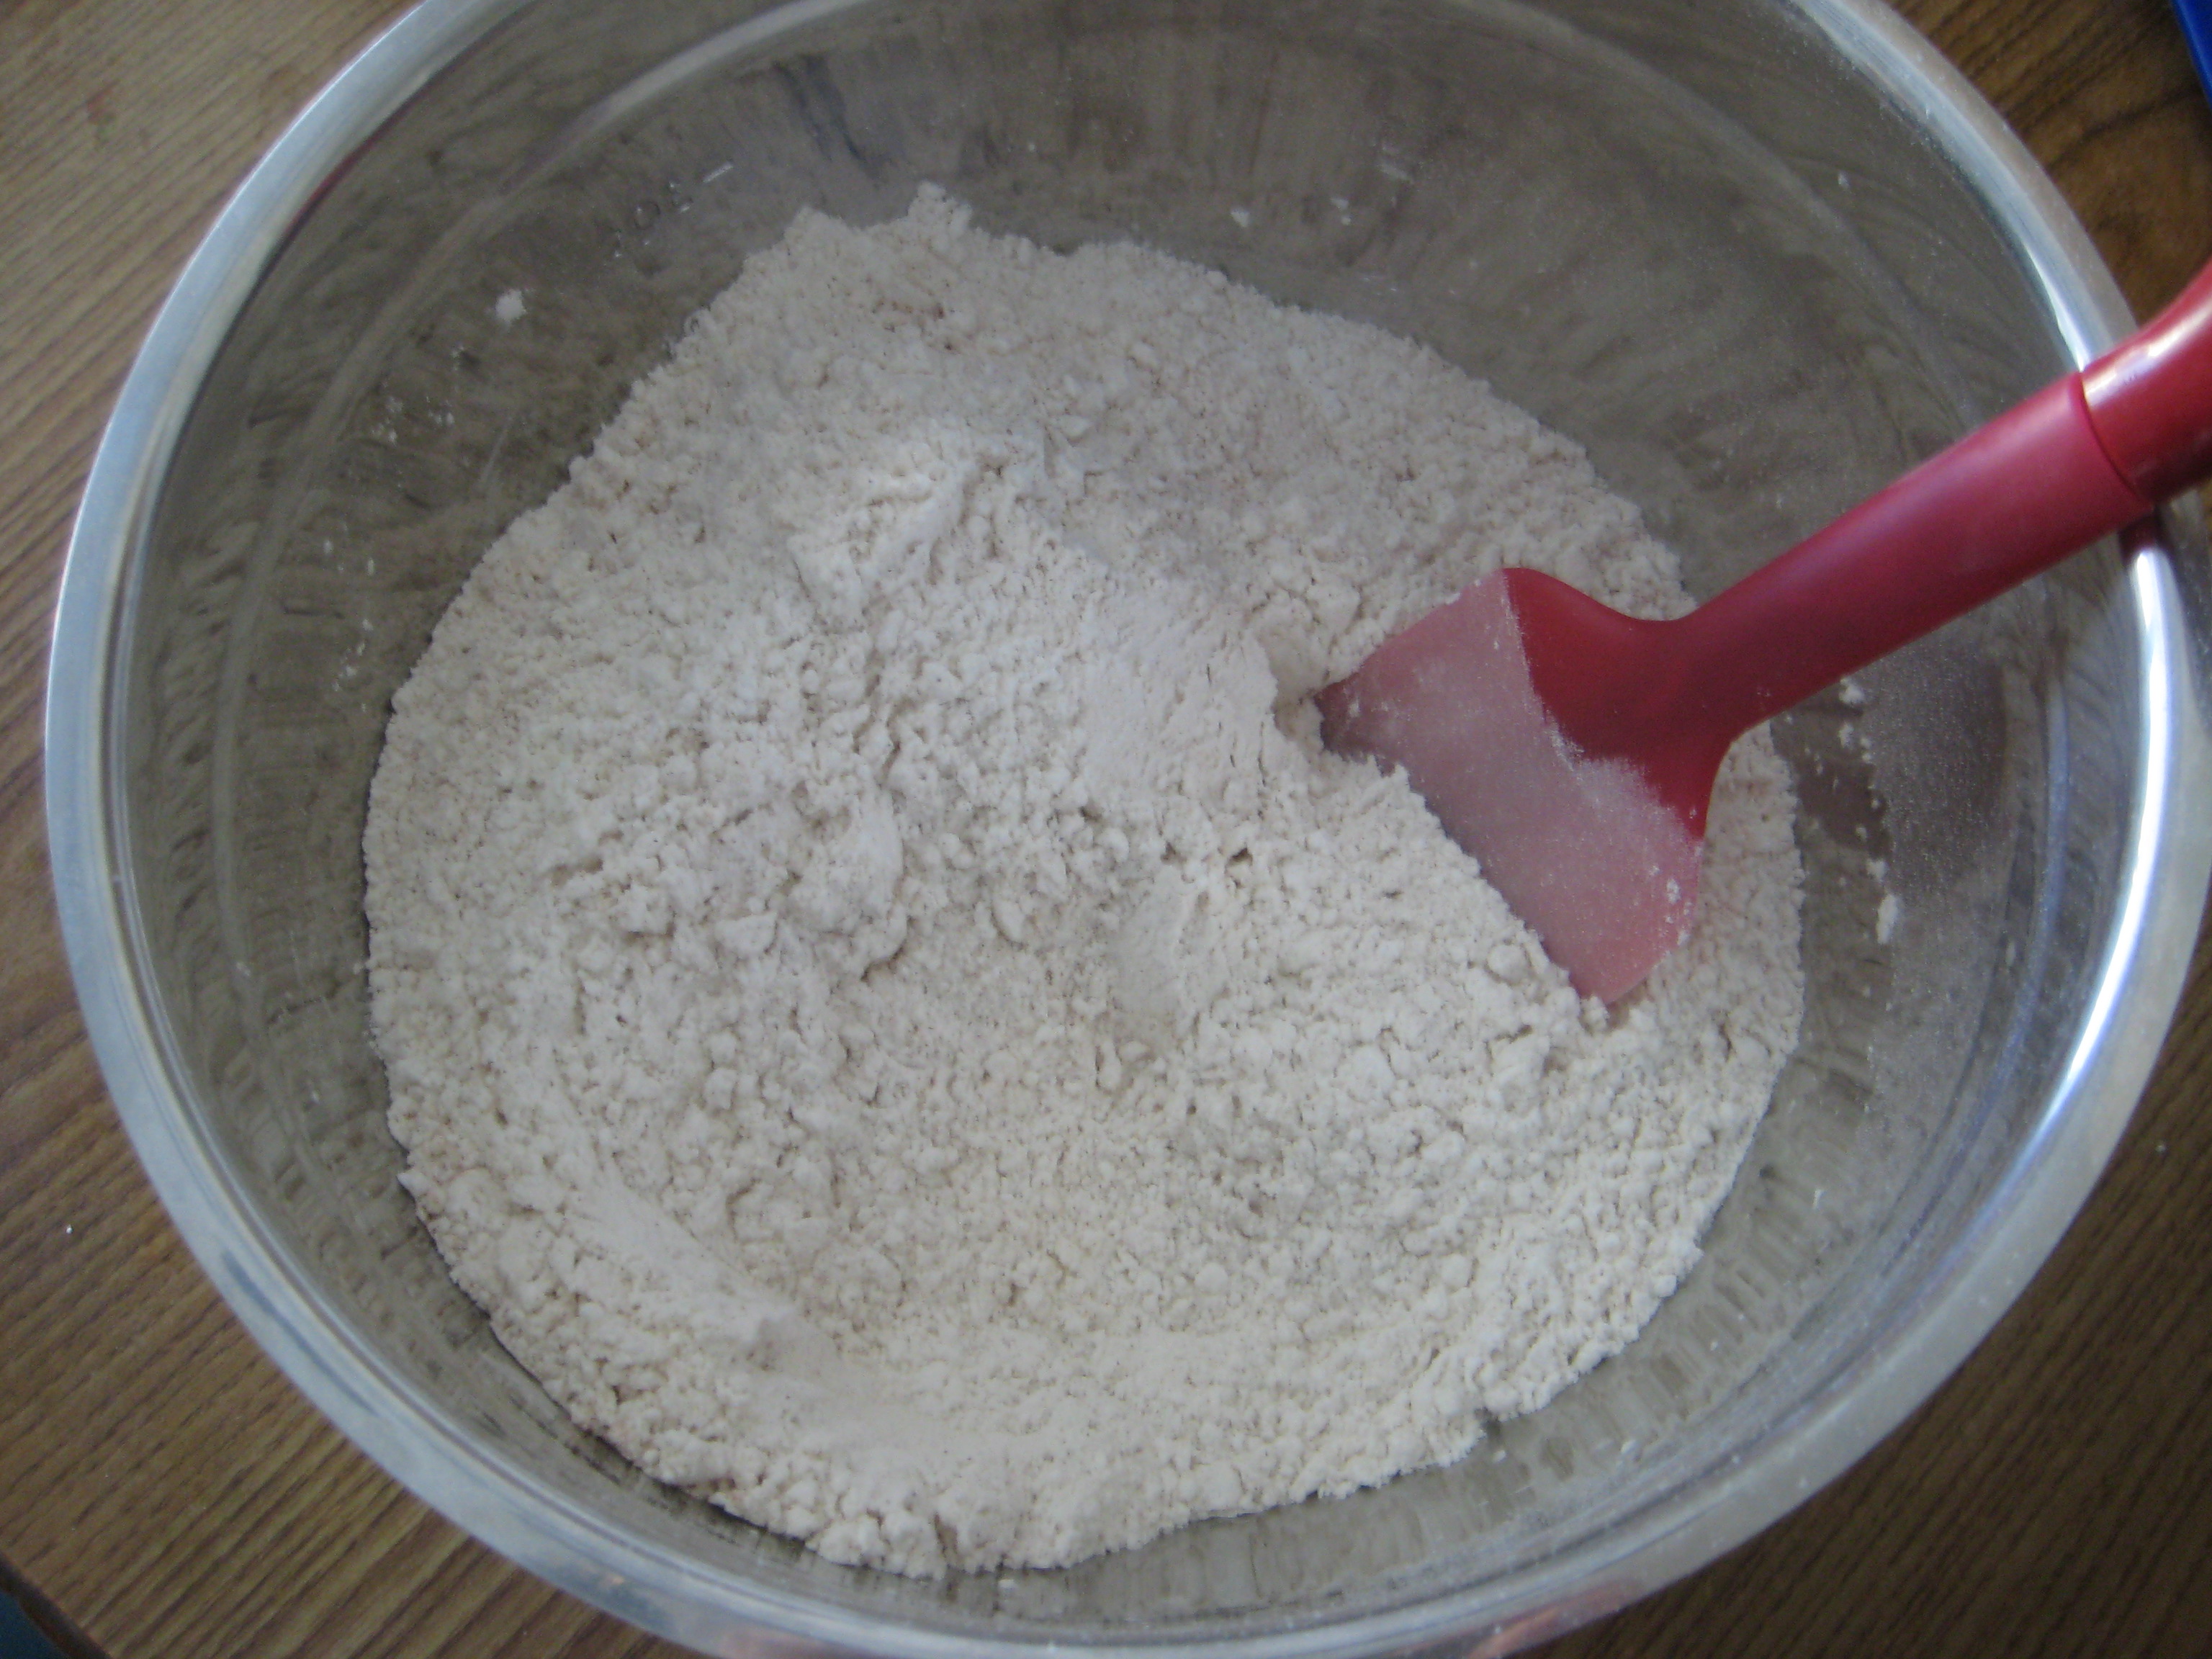
Step 3: Add in the brown sugar and stir together.

IMG_6773 IMG_6774

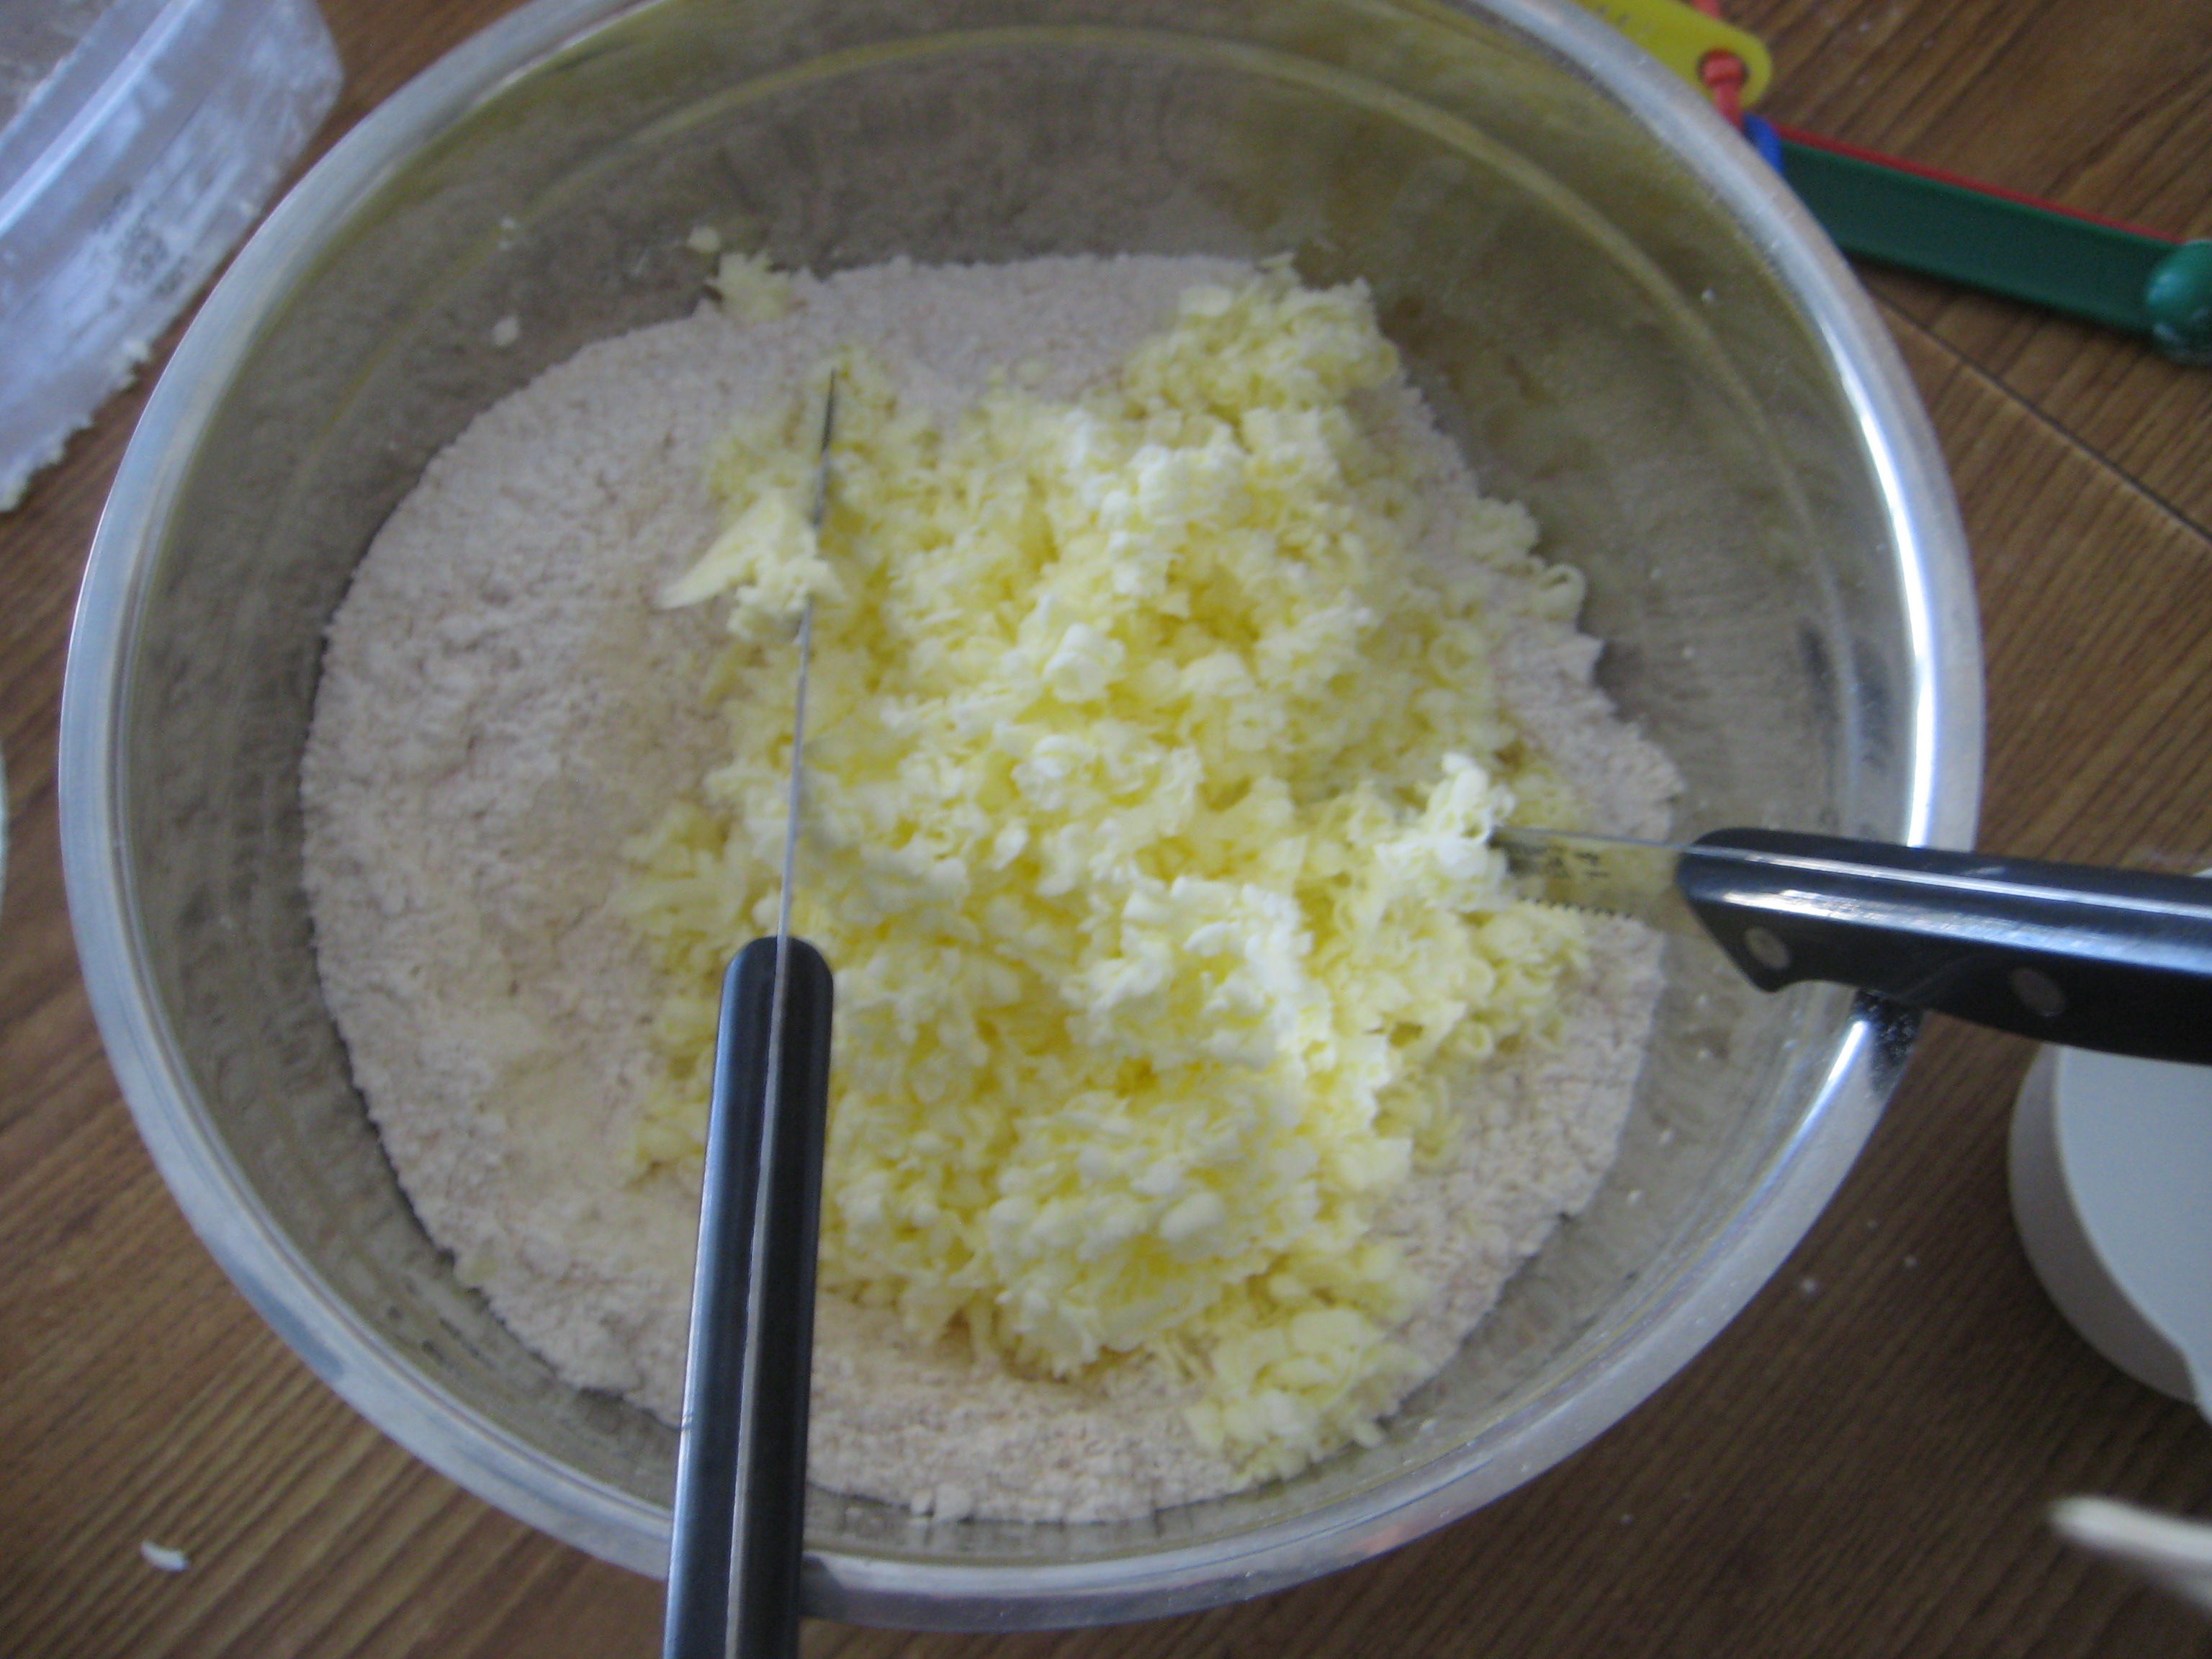
Step 4: Cut in the chilled butter until the mixture resembles course meal, about pea-sized.

IMG_6775 IMG_6776

Step 5: (Optional: stir in the dried fruits and nuts)

IMG_6777 IMG_6778

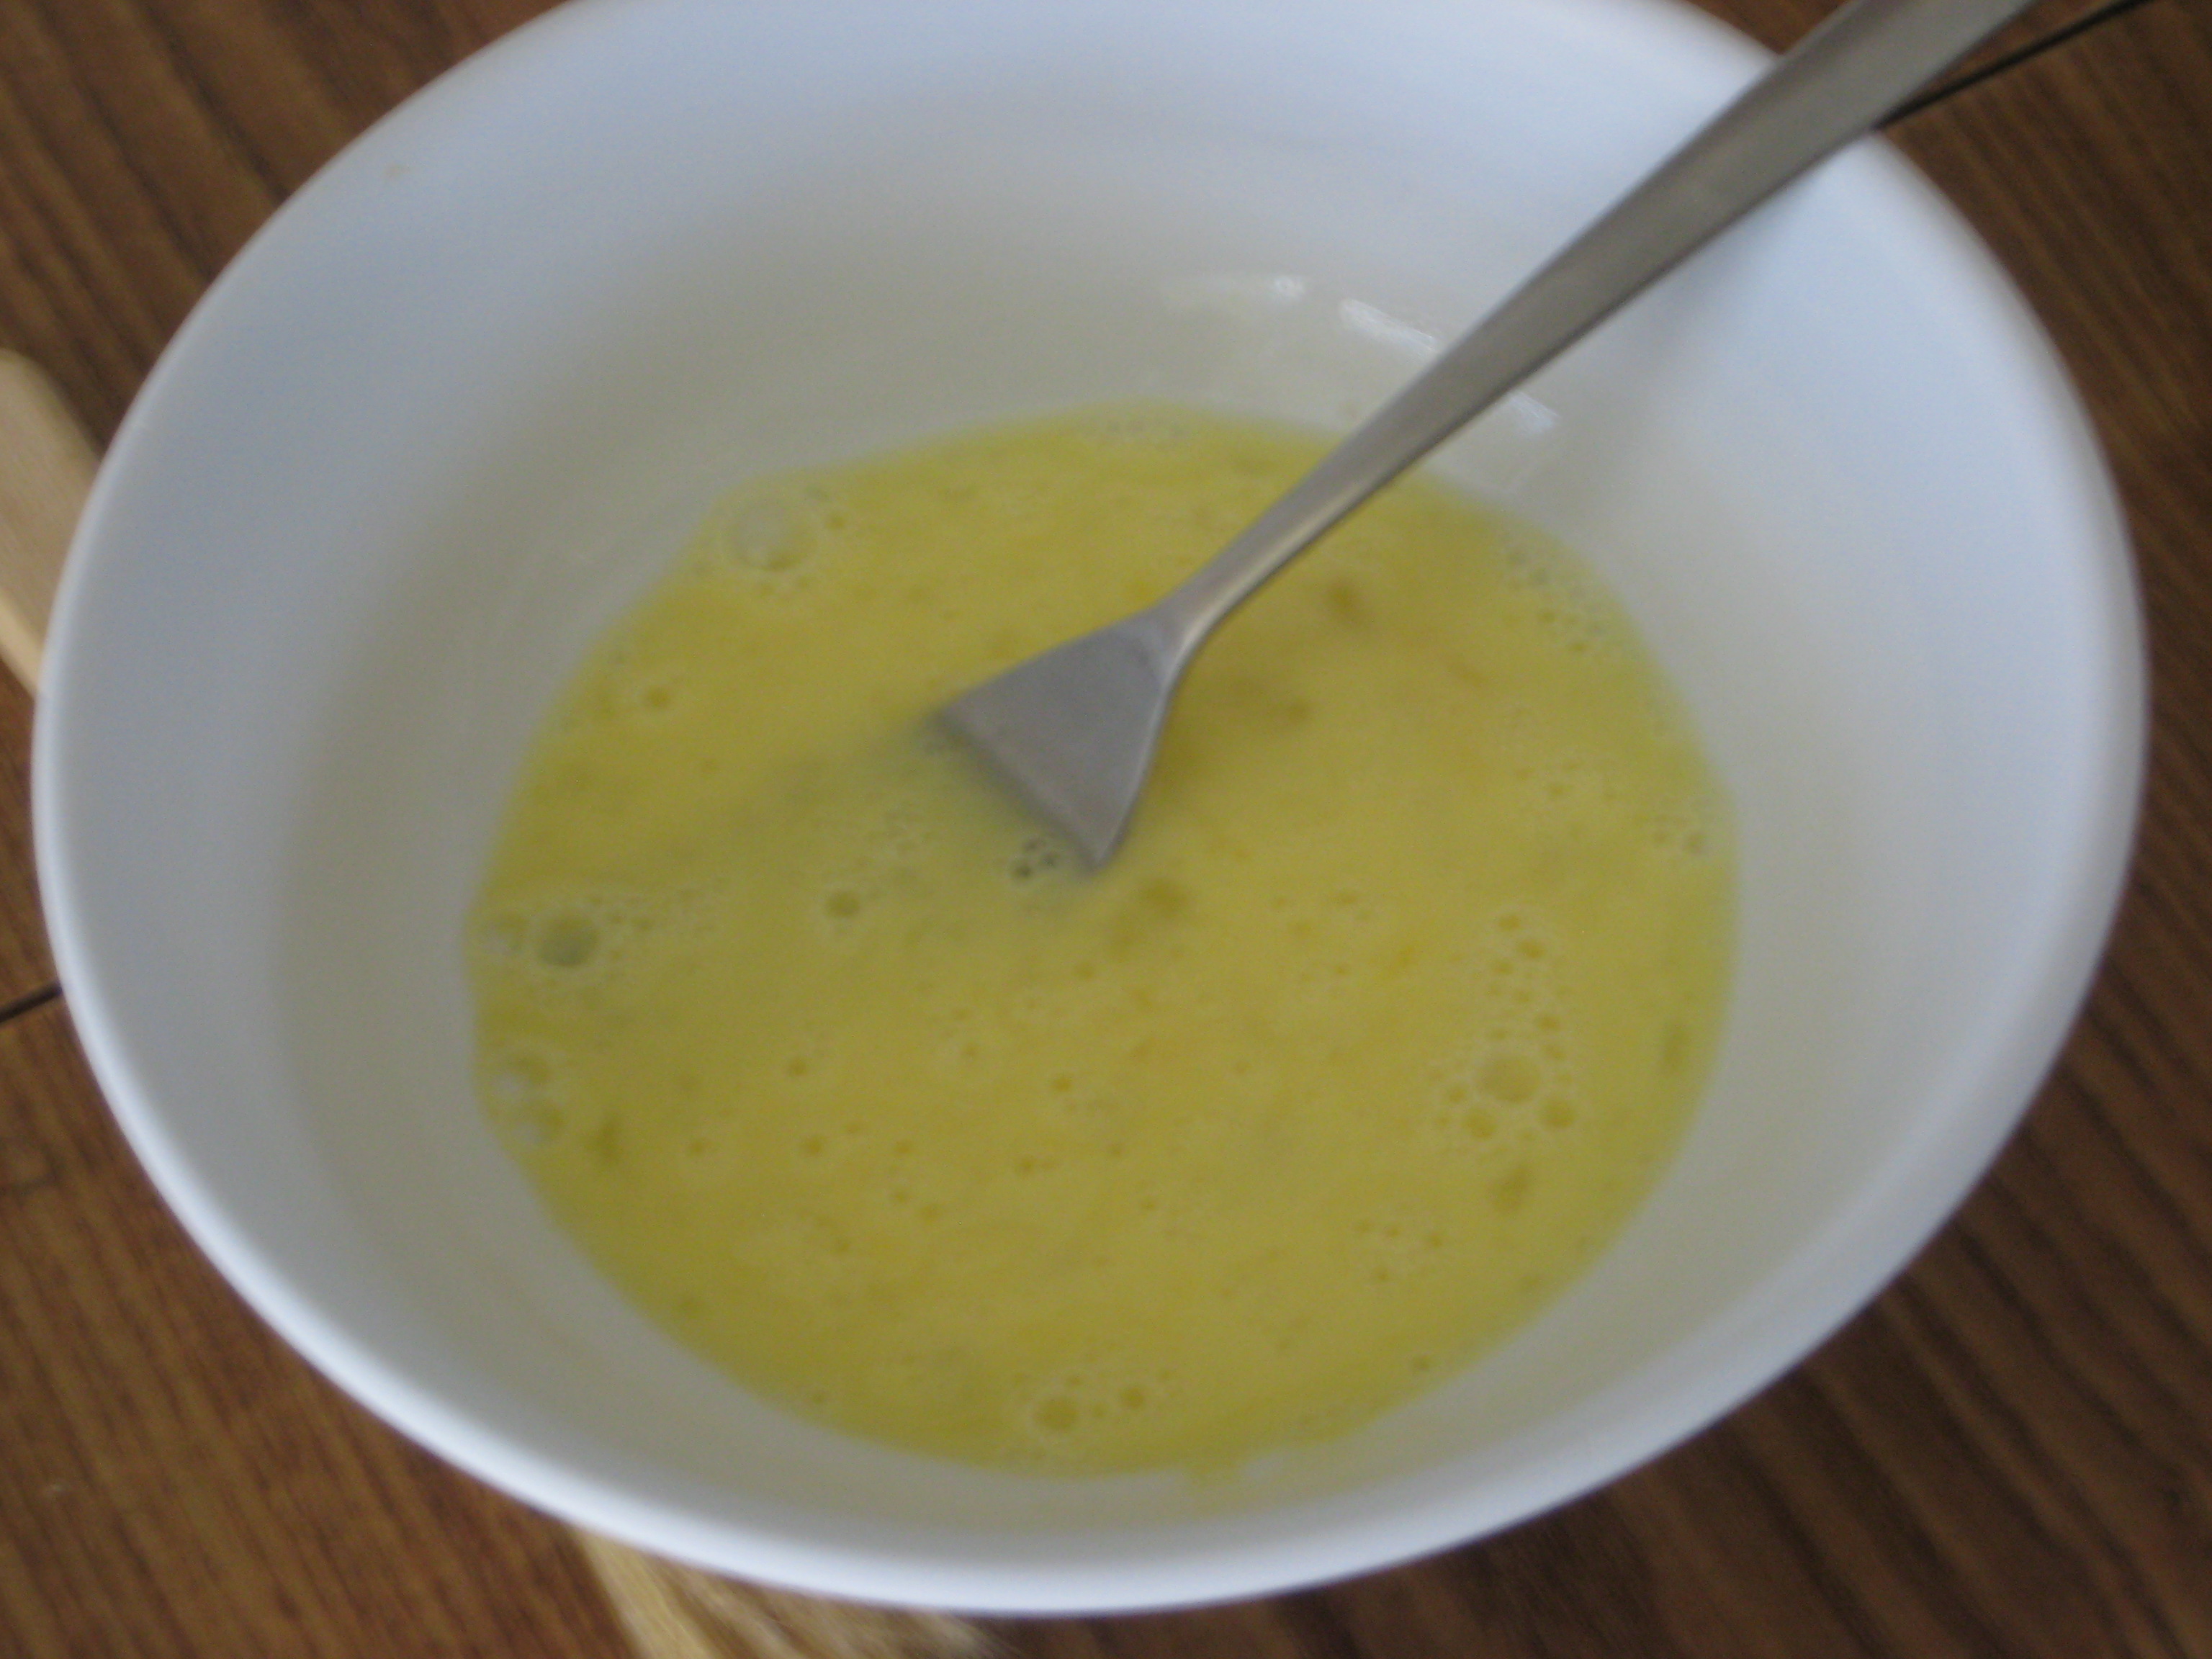
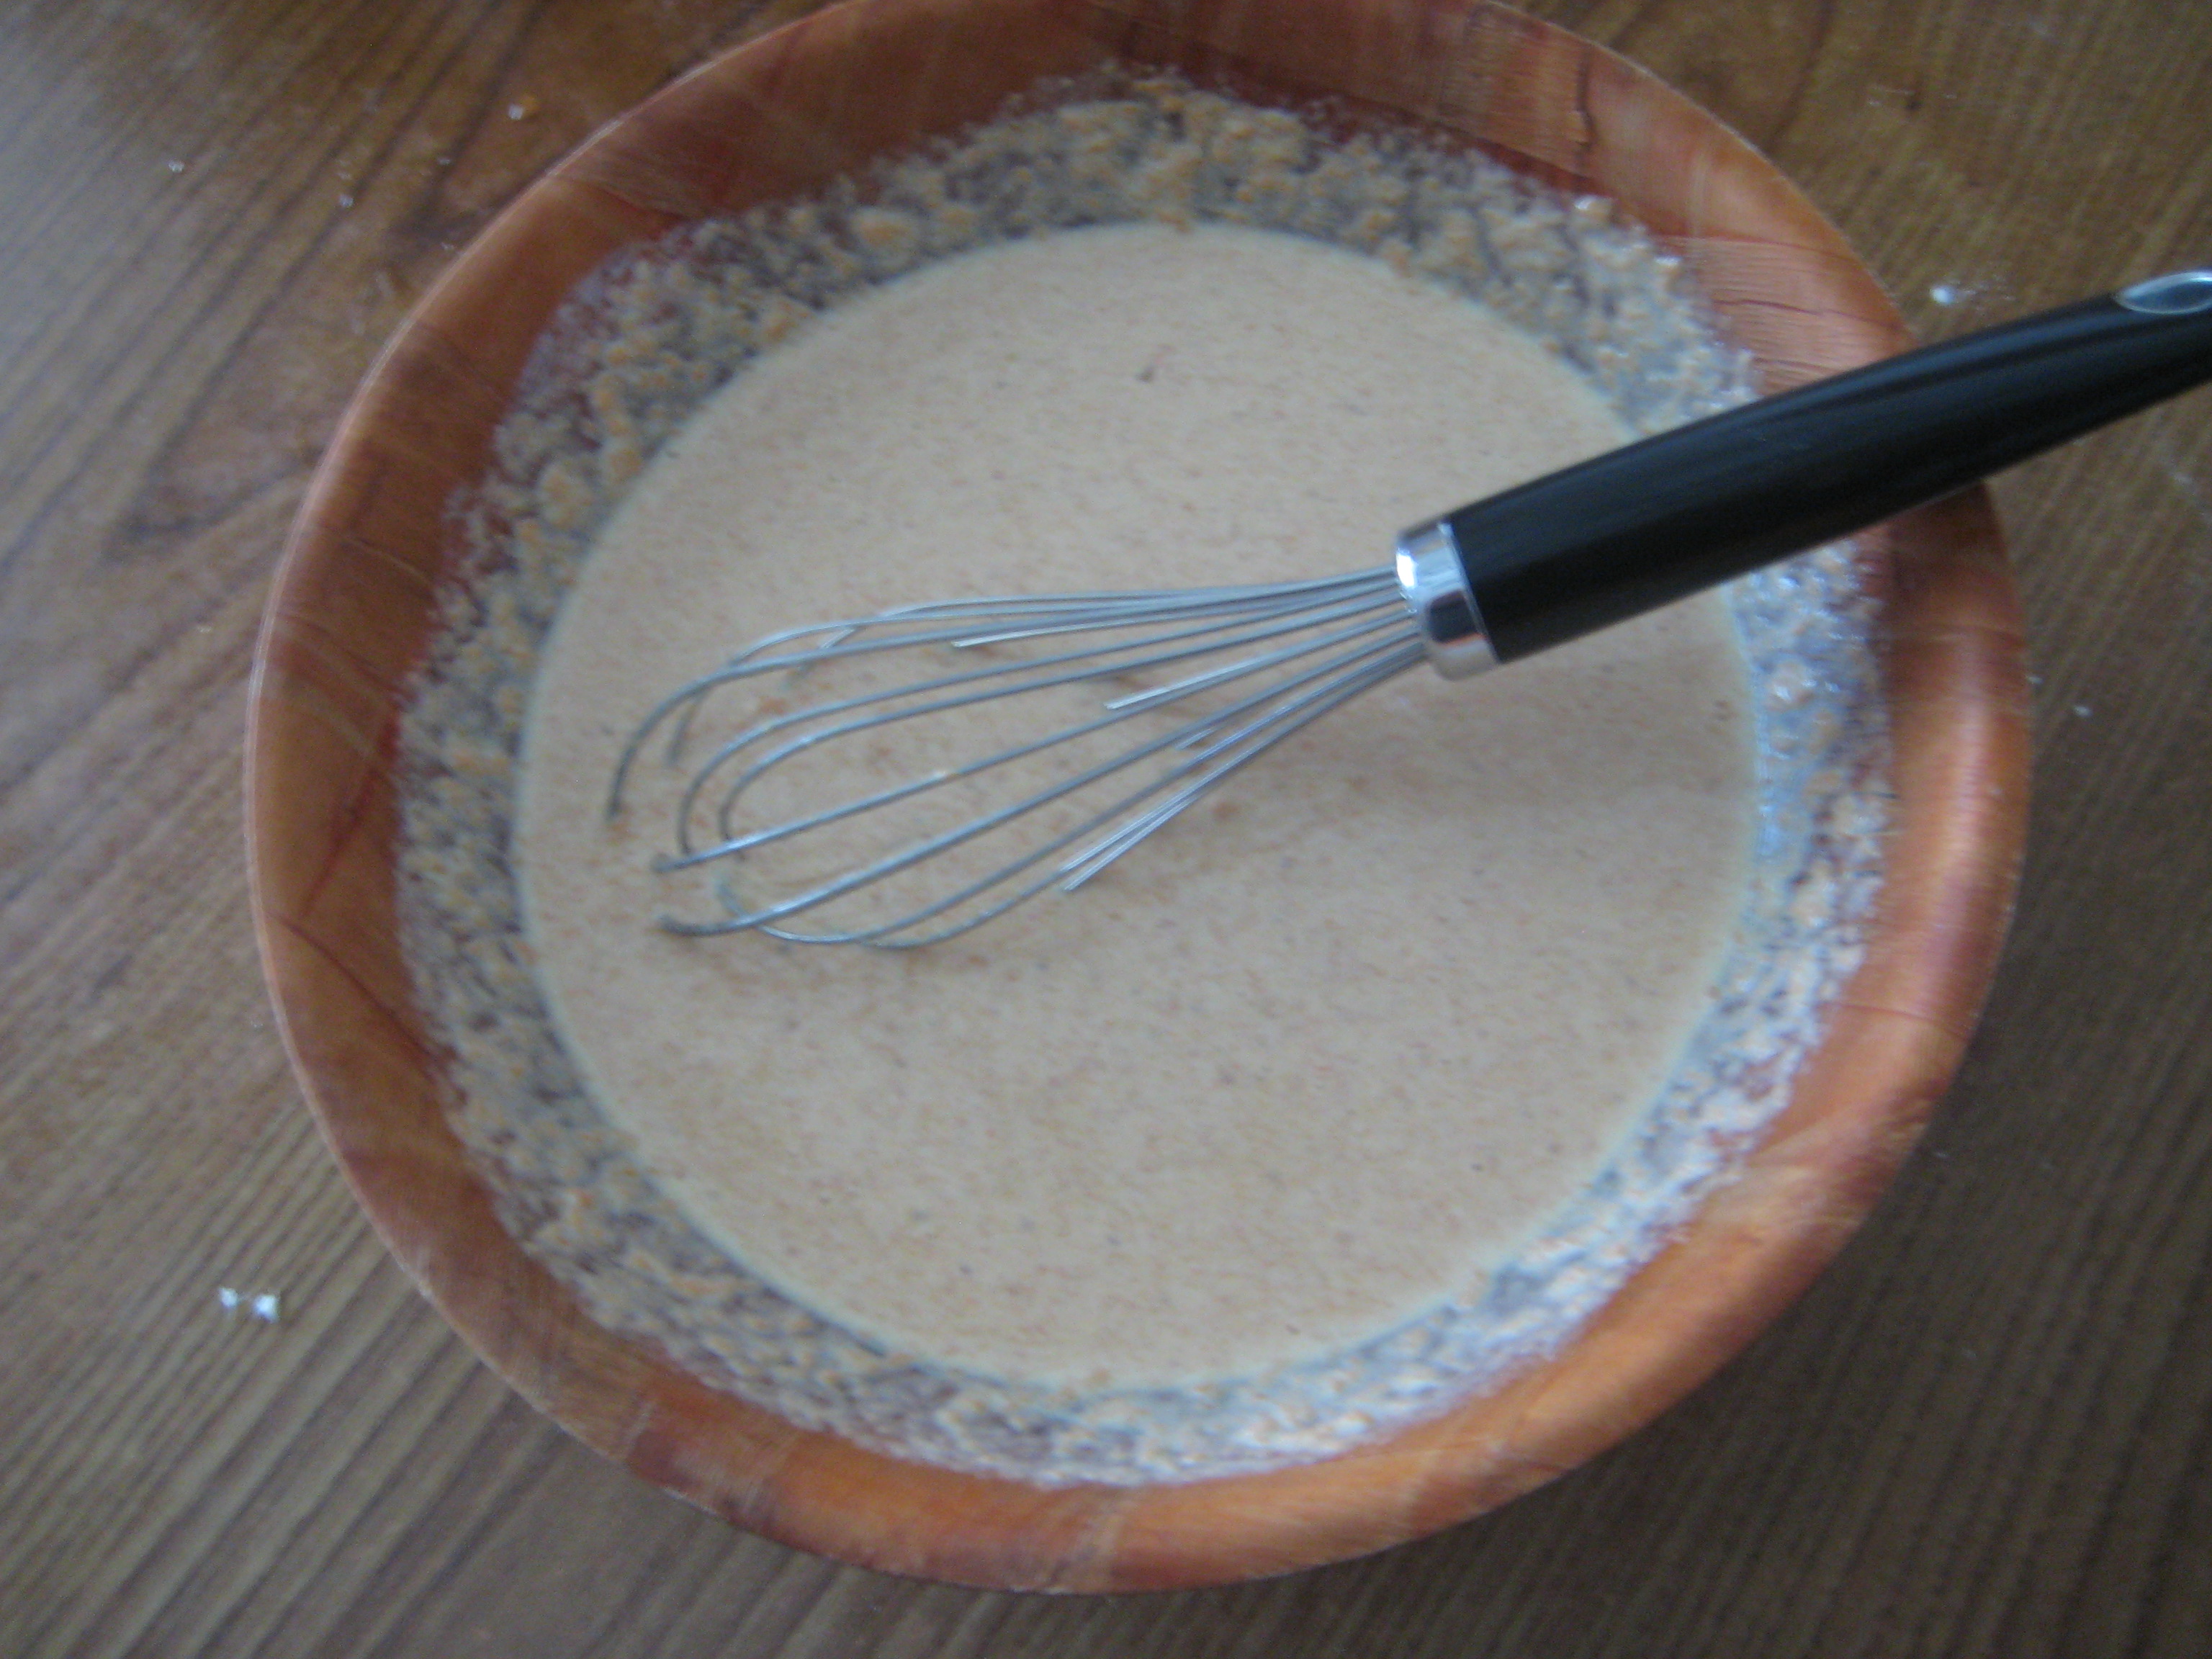
Step 6: In a small bowl, combine the eggs, pumpkin puree, and cream.

IMG_6779 IMG_6781 IMG_6782

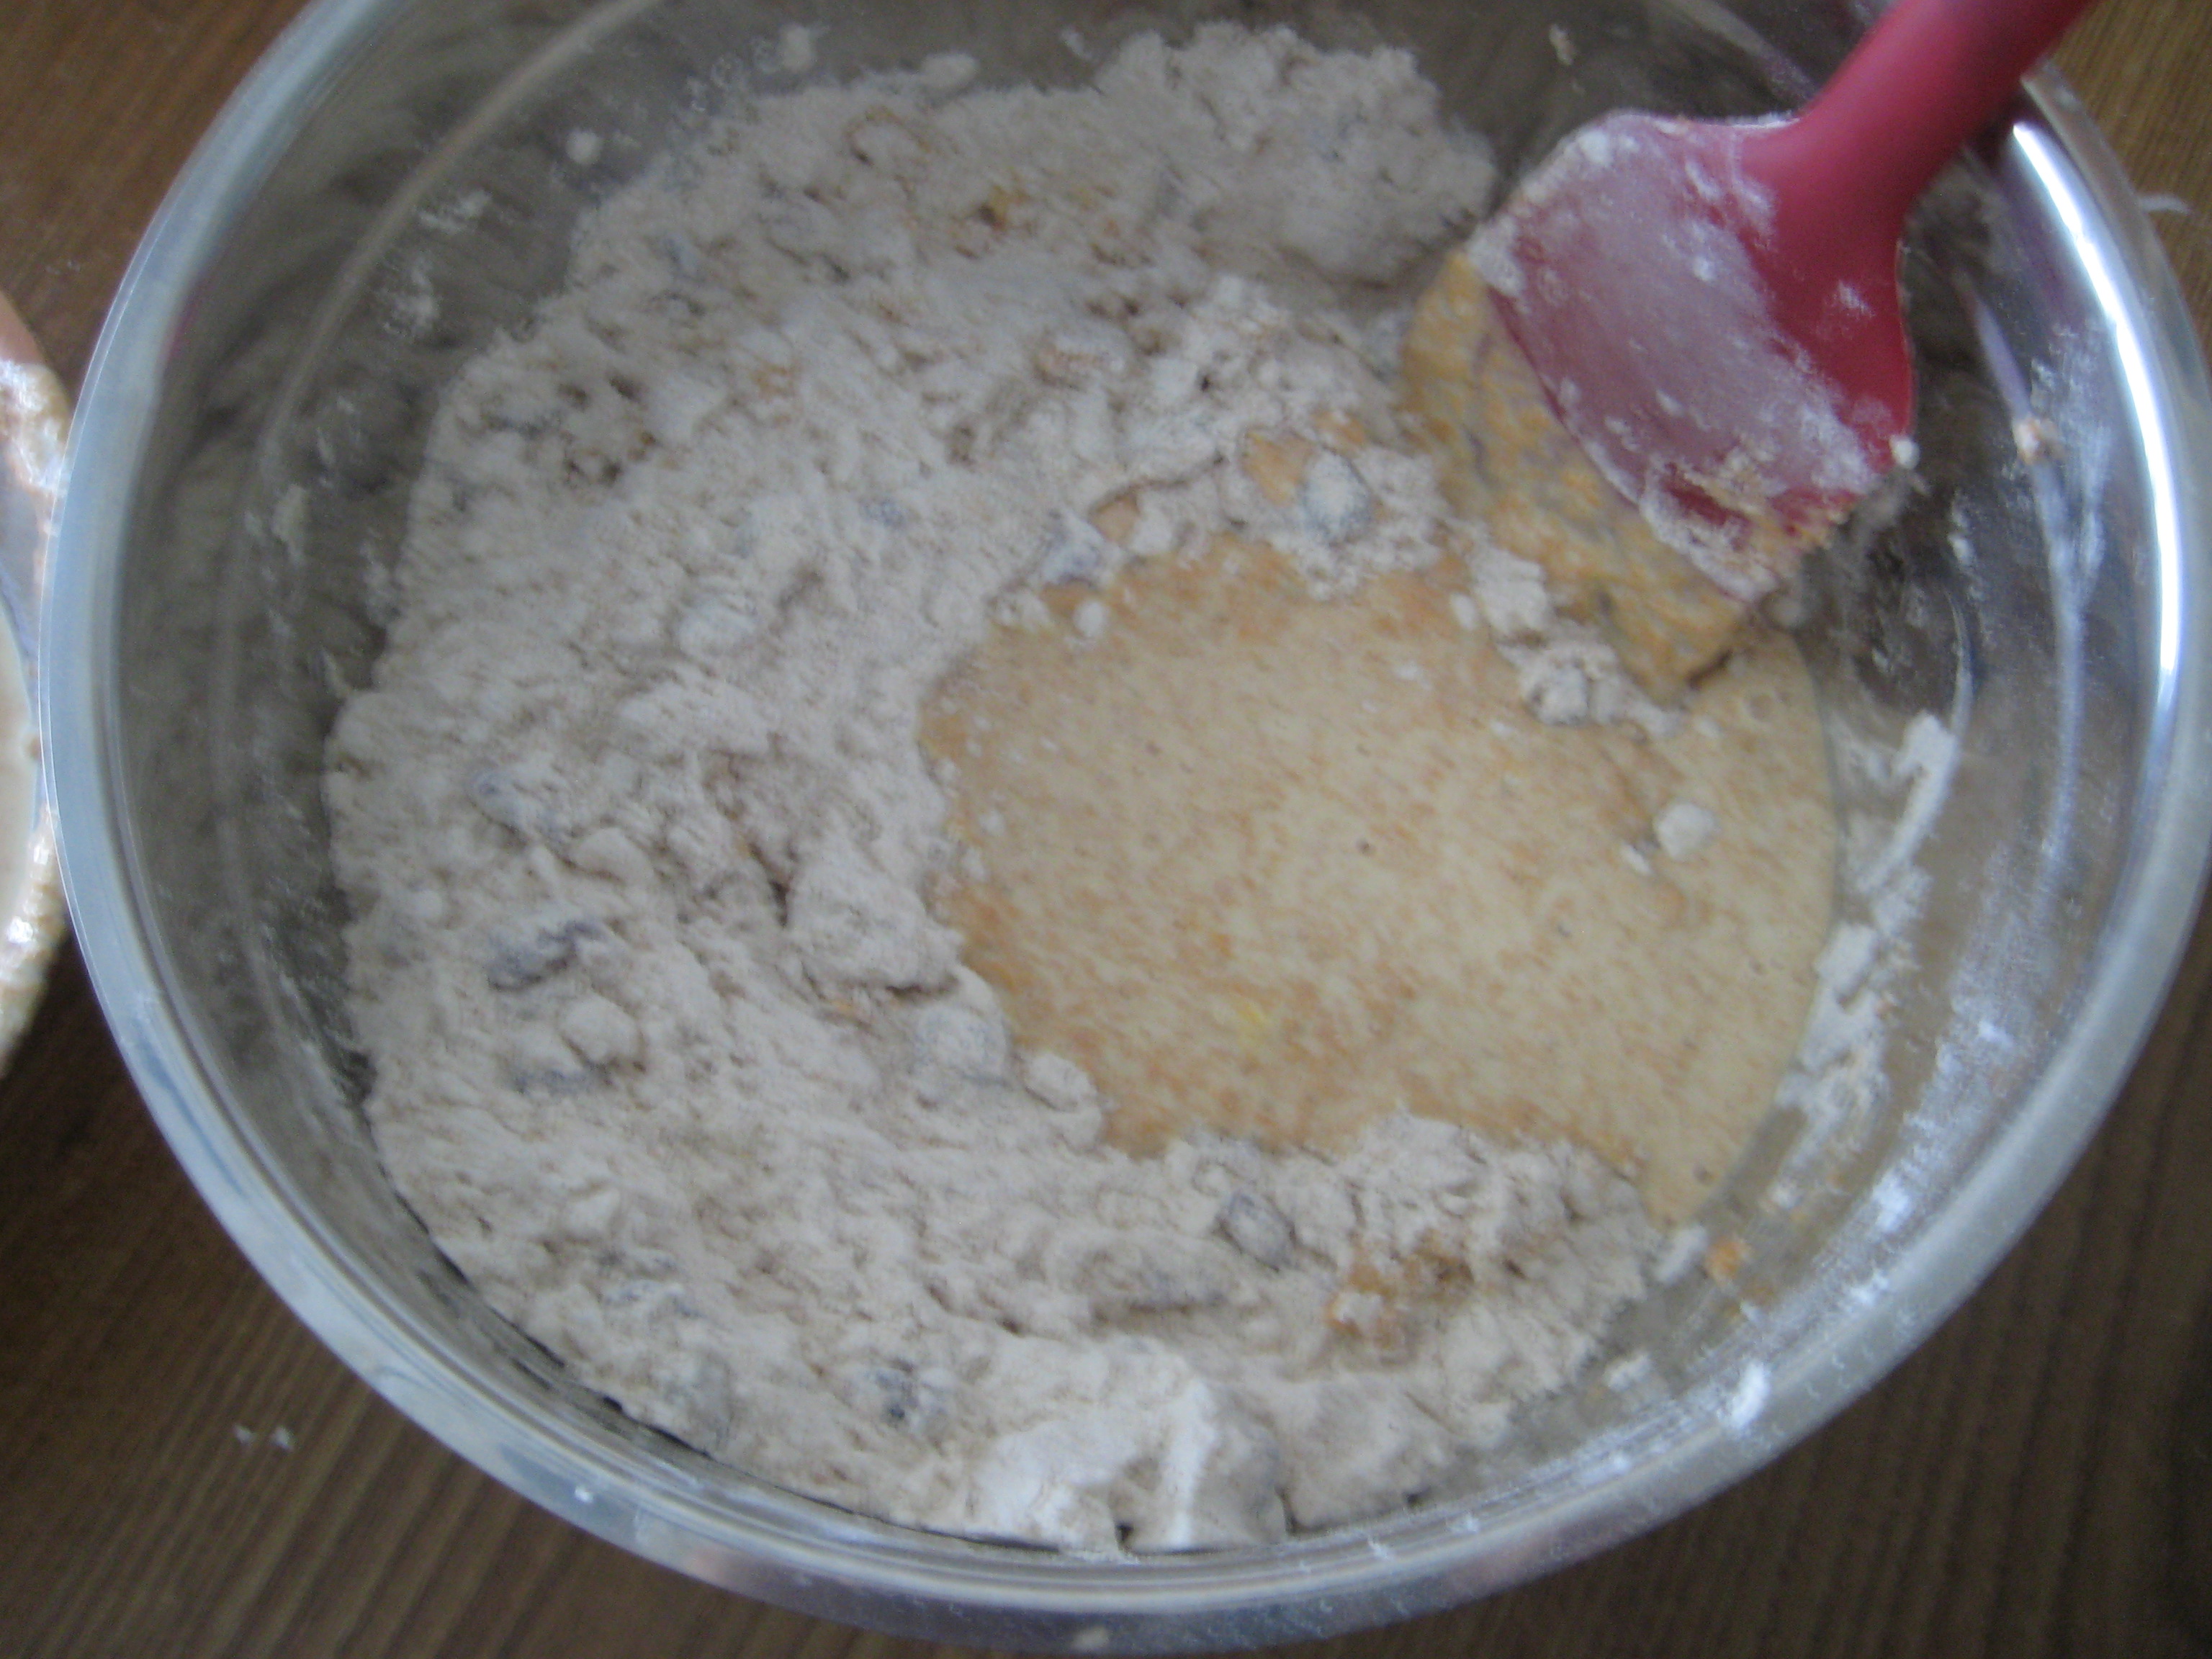
Step 7: While stir the butter mixture, slowly pour in the wet ingredients and stir until just combined. (Bits of butter should be visible and almost all the flour is incorporated.)

IMG_6785 IMG_6789

Step 8: Turn the dough onto a lightly floured surface.

IMG_6790

Step 9: Work quickly while gently kneading the dough, by folding and pressing the dough until fairly smooth. (the dough will be sticky so don’t over knead)

IMG_6791

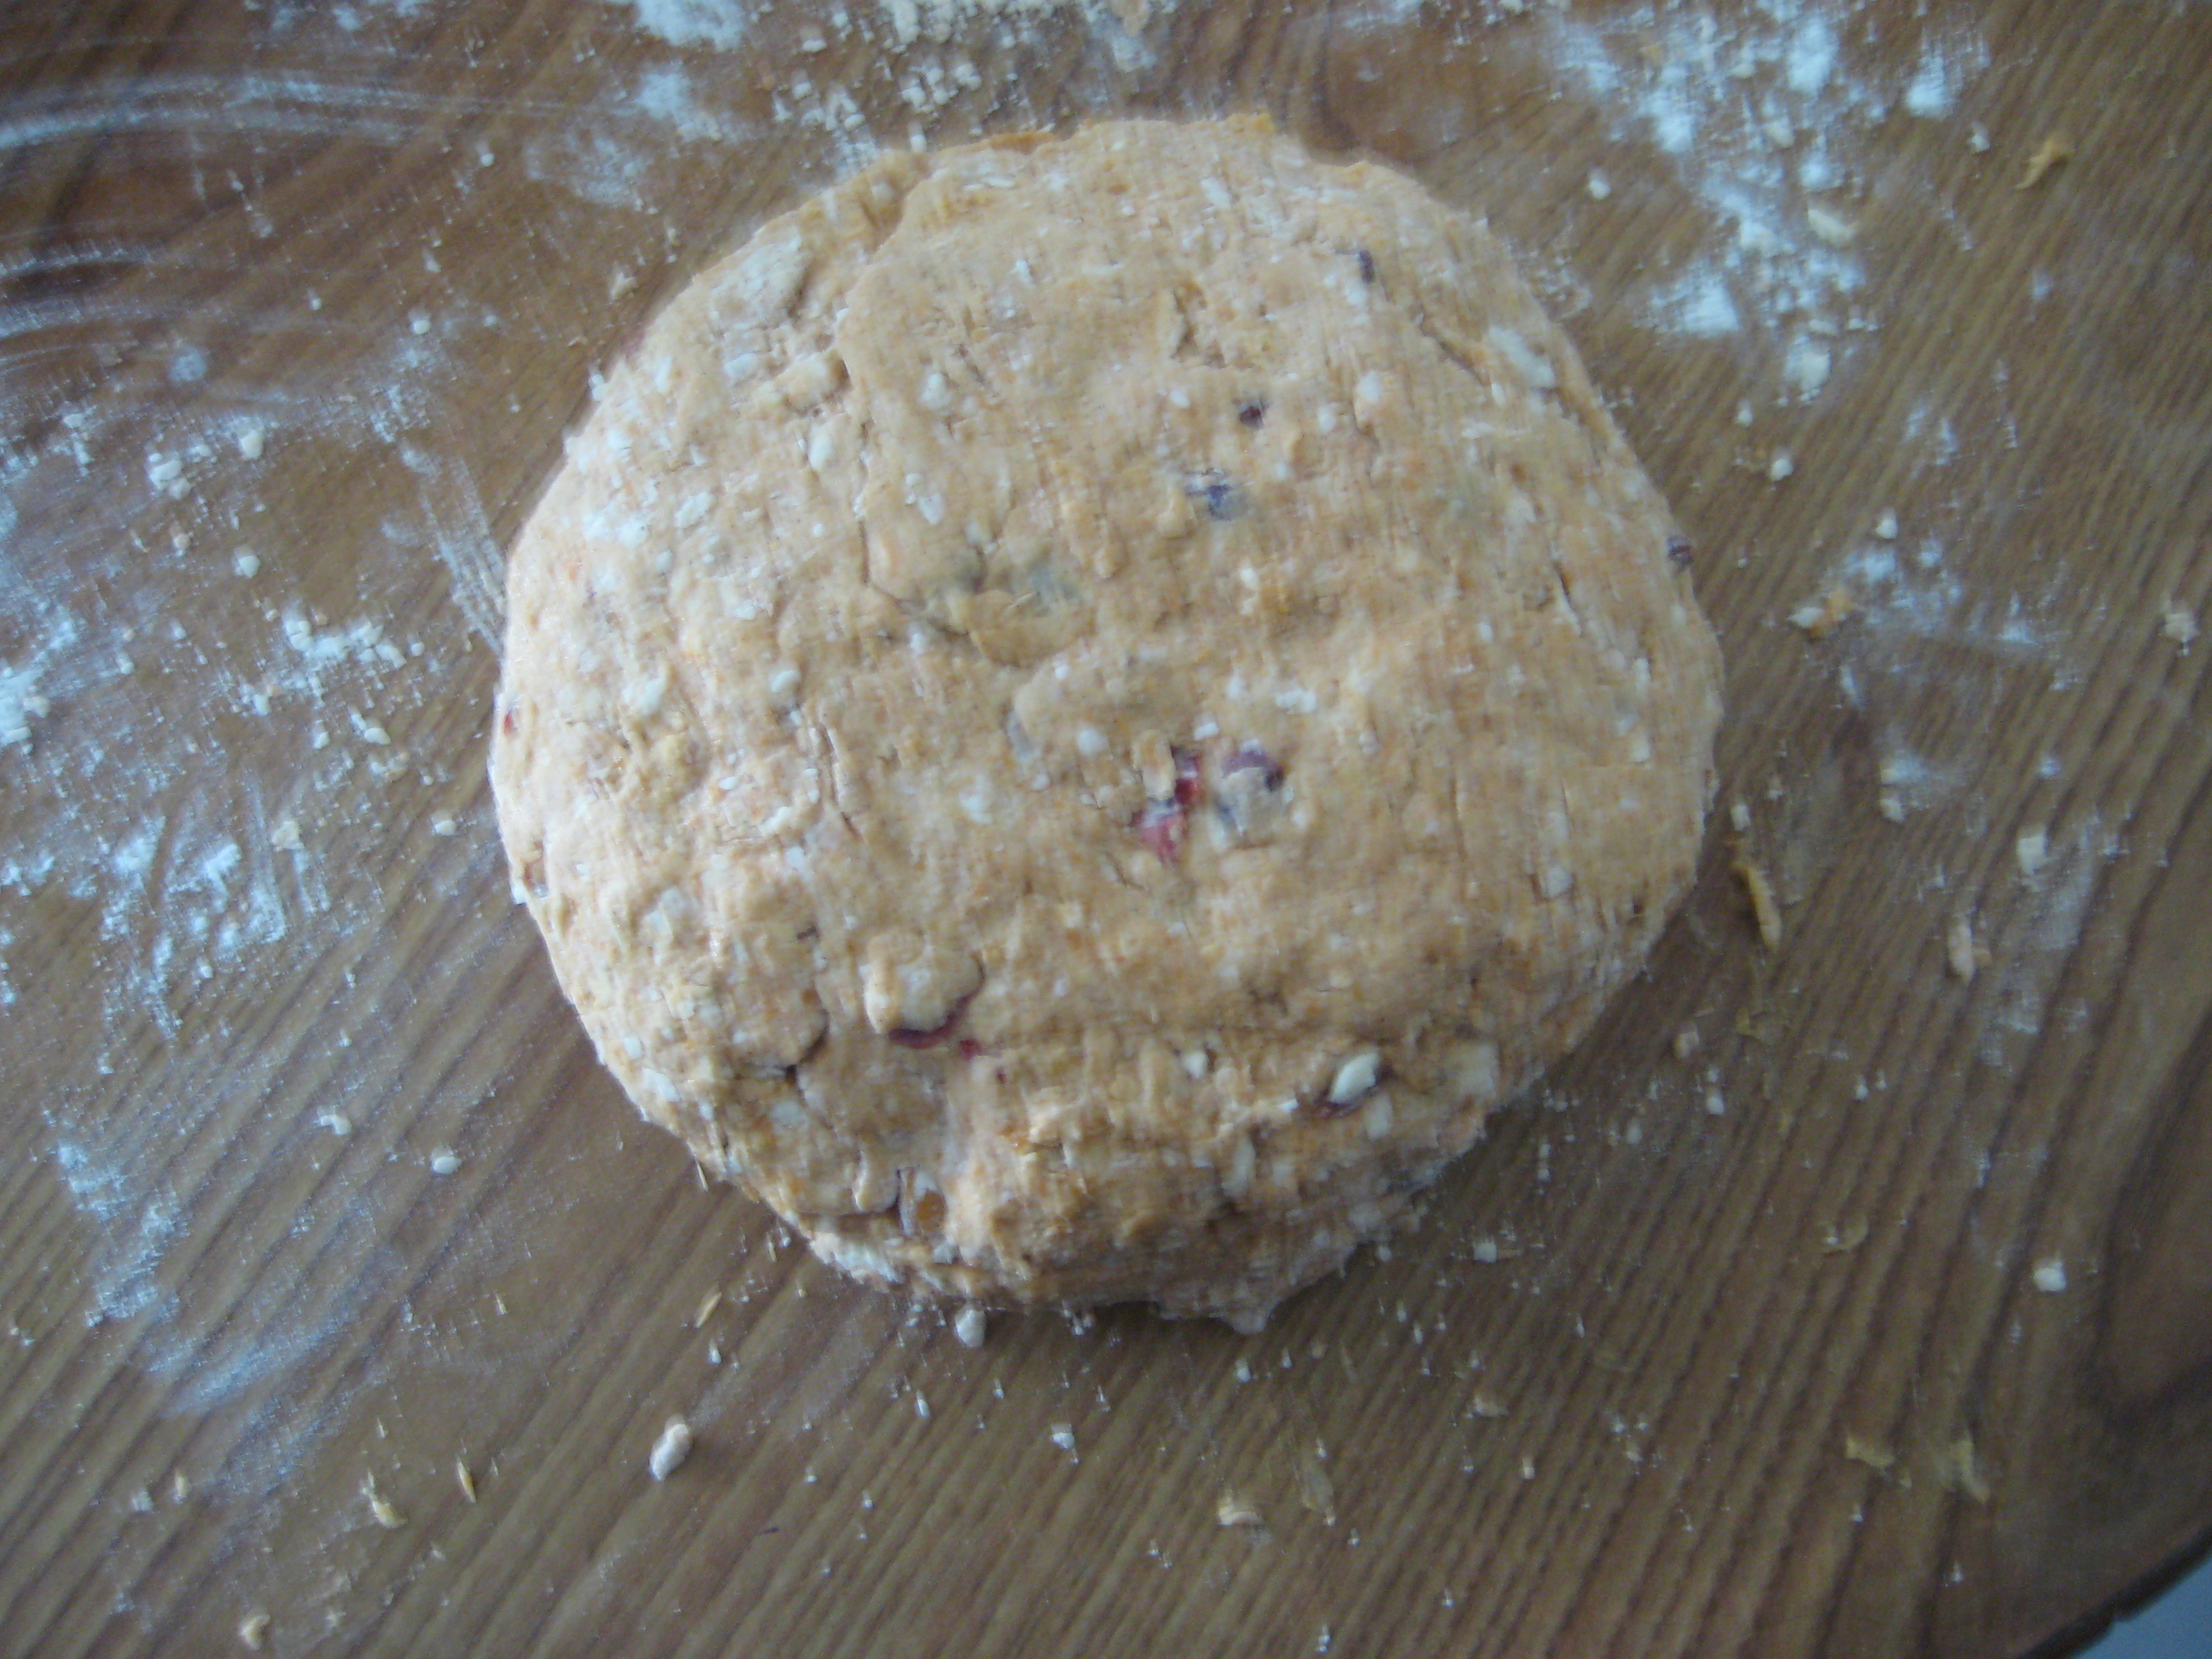
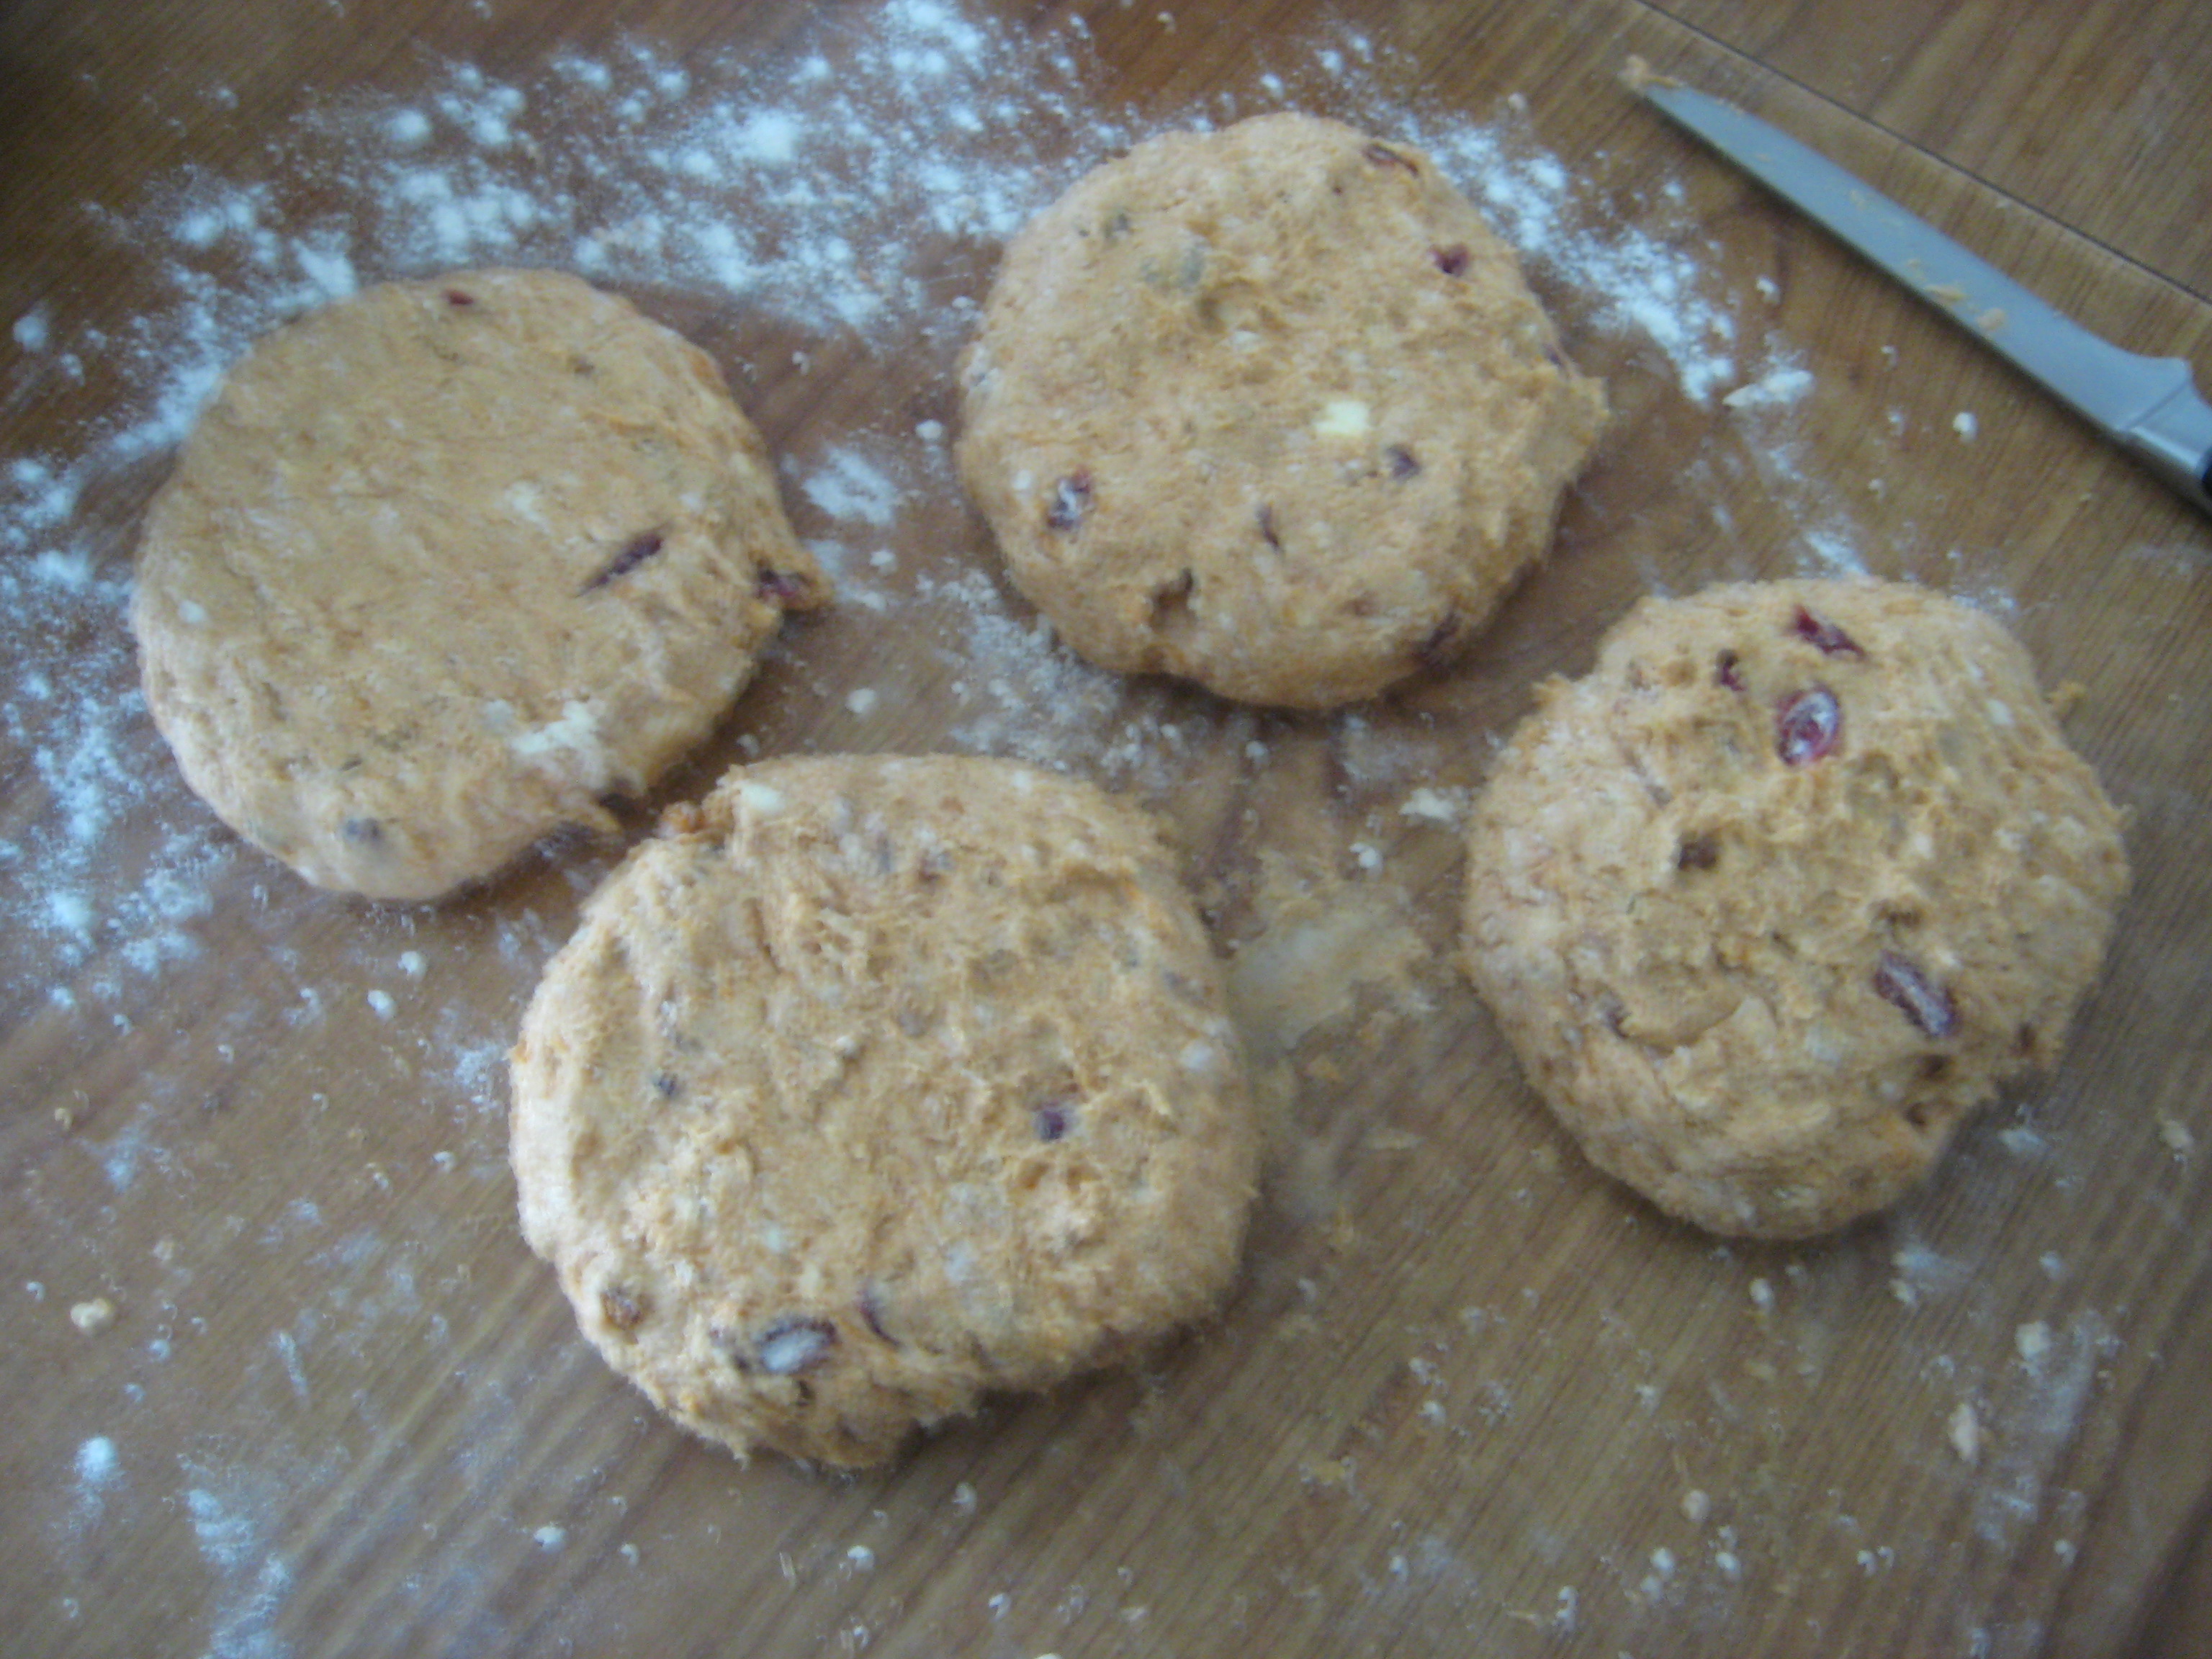
Step 10: Divide the dough into 4 equal parts and shape the dough pieces into balls.

Step 11: Shape dough balls into 4-inch rounds about 3/4-inch to 1-inch thickness.

IMG_6792

Step 12: Cut each round into 6 wedges and place onto the prepared baking sheet.

IMG_6793

Step 13: Brush each pieces with the egg wash and sprinkle on the raw sugar.

IMG_6799 IMG_6801

Step 14: Bake for 15-20 minutes, or until lightly golden and the cut sides look flaky and dry. (Should feel light and sounds almost hollow when tapped on the bottom.)

IMG_6803

Step 15: Cool completely on a wire rack.

IMG_6804

Basic English Scones

While reading a post of tea rooms I was beginning to craved some scones. I wanted to try a different recipe that was easier than my last batch. This one has less ingredients and it takes less time to make it. I even found a helpful site for scones (5 Tips on Baking The Perfect Scones)

Here are the ingredients needed for this recipe:

  • 2 cups all-purpose flour
  • 2 tsp. baking powder (or 1 tsp. cream of tartar and 1/2 tsp. baking soda)
  • 1 pinch of salt
  • 1/4 cup unsalted butter, frozen
  • 3 Tbsp. sugar
  • 1/2 cup milk (+ 2 Tbsp for glaze)

Step 1: Preheat the oven to 425°F and line a baking sheet with parchment paper.

Step 2: In a large bowl, sift the flour, baking powder, and salt together.

Step 3: Grate the butter into the flour mixture and mix.

Step 4: Add in the sugar and stir until combined.

Step 5: Gently mix in the milk until a soft dough forms (I had to add another 1/4 – 1/2 cup, the batter was to dry)

Step 6: Turn dough out onto a lightly floured surface.

Step 7: Roll out dough to 1/2-inch thickness.

Step 8: Cut into 2-inch rounds and place onto the prepared baking sheet.

Step 9: Brush tops with milk to glaze.

Step 10: Bake for 10 minutes. (Bottoms should be lightly golden brown)

Step 11: Cool on wire racks.

Scones

I have been designated in bring baked goods to the tea party in the mid-morning with some friends and I figured I should try my hand at making scones. I found this recipe on the Joy of Baking website and thought it looked pretty easy to make. So here is a basic scone recipe. You can add dried fruits and nuts as a few options when making this recipe. (As a side note: if you are to use dried fruit you will need to soak the dried fruit in some water so that the fruit doesn’t take out the liquid from the scones and rendering them dry.) I will be making the basic and chocolate chip versions today.

Here are the ingredients for this recipe:

  • 2 cups all-purpose flour
  • 1/4 cup sugar
  • 2 tsp. baking powder
  • 1/4 tsp. salt
  • 1/3 cup (5 Tbsp.) unsalted butter, cubed and chilled
  • 1 egg, lightly beaten
  • 1 tsp. vanilla extract
  • 1/2 cup milk (Optional: half and half or  heavy cream)
  • cream for glaze
  • 1/2 cup semi-sweet chocolate chips

Step 1: Preheat oven to 375°F and line a baking sheet with parchment paper.

Step 2: In a large bowl, sift together the flour, sugar, baking powder, and salt.

Step 3: Cut in the butter with a pastry cutter, fork, knives, hands, or a food processor until the mixture resembles coarse crumbs. (Can stir in chocolate chips in at this point)

Step 4: In a measuring cup, add the beaten egg,  milk or cream, and vanilla.

Step 5: Make a well in the center of the flour mixture and stir in milk mixture into the flour mixture until just combined.

Step 6: Turn the dough onto a lightly floured surface and gently knead 4-5 times.

Step 7: Roll the dough out into a 7-inch round disc.

Step 8: Either cut out 8-12 wedges or use a 3-inch biscuit/cookie cutter to cut out the scones.

Step 9: Place scones onto the prepared baking sheet 2-inches apart.

Step 10: Brush he top of the scones with some cream.

Step 11: Bake for 15-20 minutes, or until golden brown on the bottom (if no cream glaze on top then it would be golden brown on top), or until a toothpick comes out clean.

Step 12: Transfer onto a wire rack to cool.

Notes: When re-heating I recommend placing a damp paper cloth on top and microwave for 45 seconds. It will keep the scones moist and will soften them. Though you would want to eat them before they cool off or else it will harden again.

myTaste.com