25 Nov 2013
by suzaku24
in Christmas, recipes, Thanksgiving
Tags: pumpkin spice, recipe, spices
The the holidays are around the corner and it’s time to break out the spices of the season. You may see tons of pumpkin products on the shelves in the local markets and shops. Well I didn’t want to waste more money on buying the pre-made pumpkin spice since I already had all the spices in the kitchen. So today I will be making a batch of pumpkin spice for the coming holidays.
Here are the ingredients needed for this recipe:
 3 Tbsp. + 1 tsp. ground cinnamon
- 2 1/2 tsp. ground nutmeg
- 2 1/2 tsp. ground ginger
- 1 1/4 tsp. ground cloves
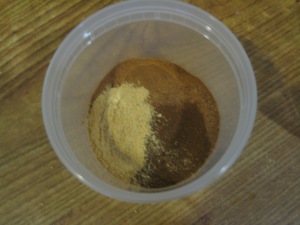
Step 1: In a small bowl, add all the ingredients and stir to combine.
Step 2: Store in an air-tight container for later use.

20 Nov 2013
by suzaku24
in Breads, Cakes, and Pastries, Butter, Chocolates and Candies, Eggs, Nuts, recipes, Seeds, Thanksgiving
Tags: dessert, food, mini pumpkin bread, pumpkin bread, pumpkin muffins, recipe
It is that time of the year again where pumpkins are in an abundance and there seems to be a never ending supply of pumpkin recipes. This year I’ve resigned myself from making over the top pumpkin desserts and instead I figured something simple and quick would be the thing. So a quick and easy pumpkin bread came to mind. And I found the perfect recipe by EugenieKitchen.
Here are the ingredients needed for this recipe:

- 1 cup unsalted butter, room temperature
- 1 1/4 cups brown sugar, packed
- 2 large eggs
- 2 cups pumpkin puree (I’ll be using 1 15 oz. can)
- 2 cups all-purpose flour
- 2 tsp. baking powder
- 1/4 tsp. baking soda
- 1/2 tsp. salt
- 2 tsp. pumpkin spice
- pumpkin seeds or even melted chocolate
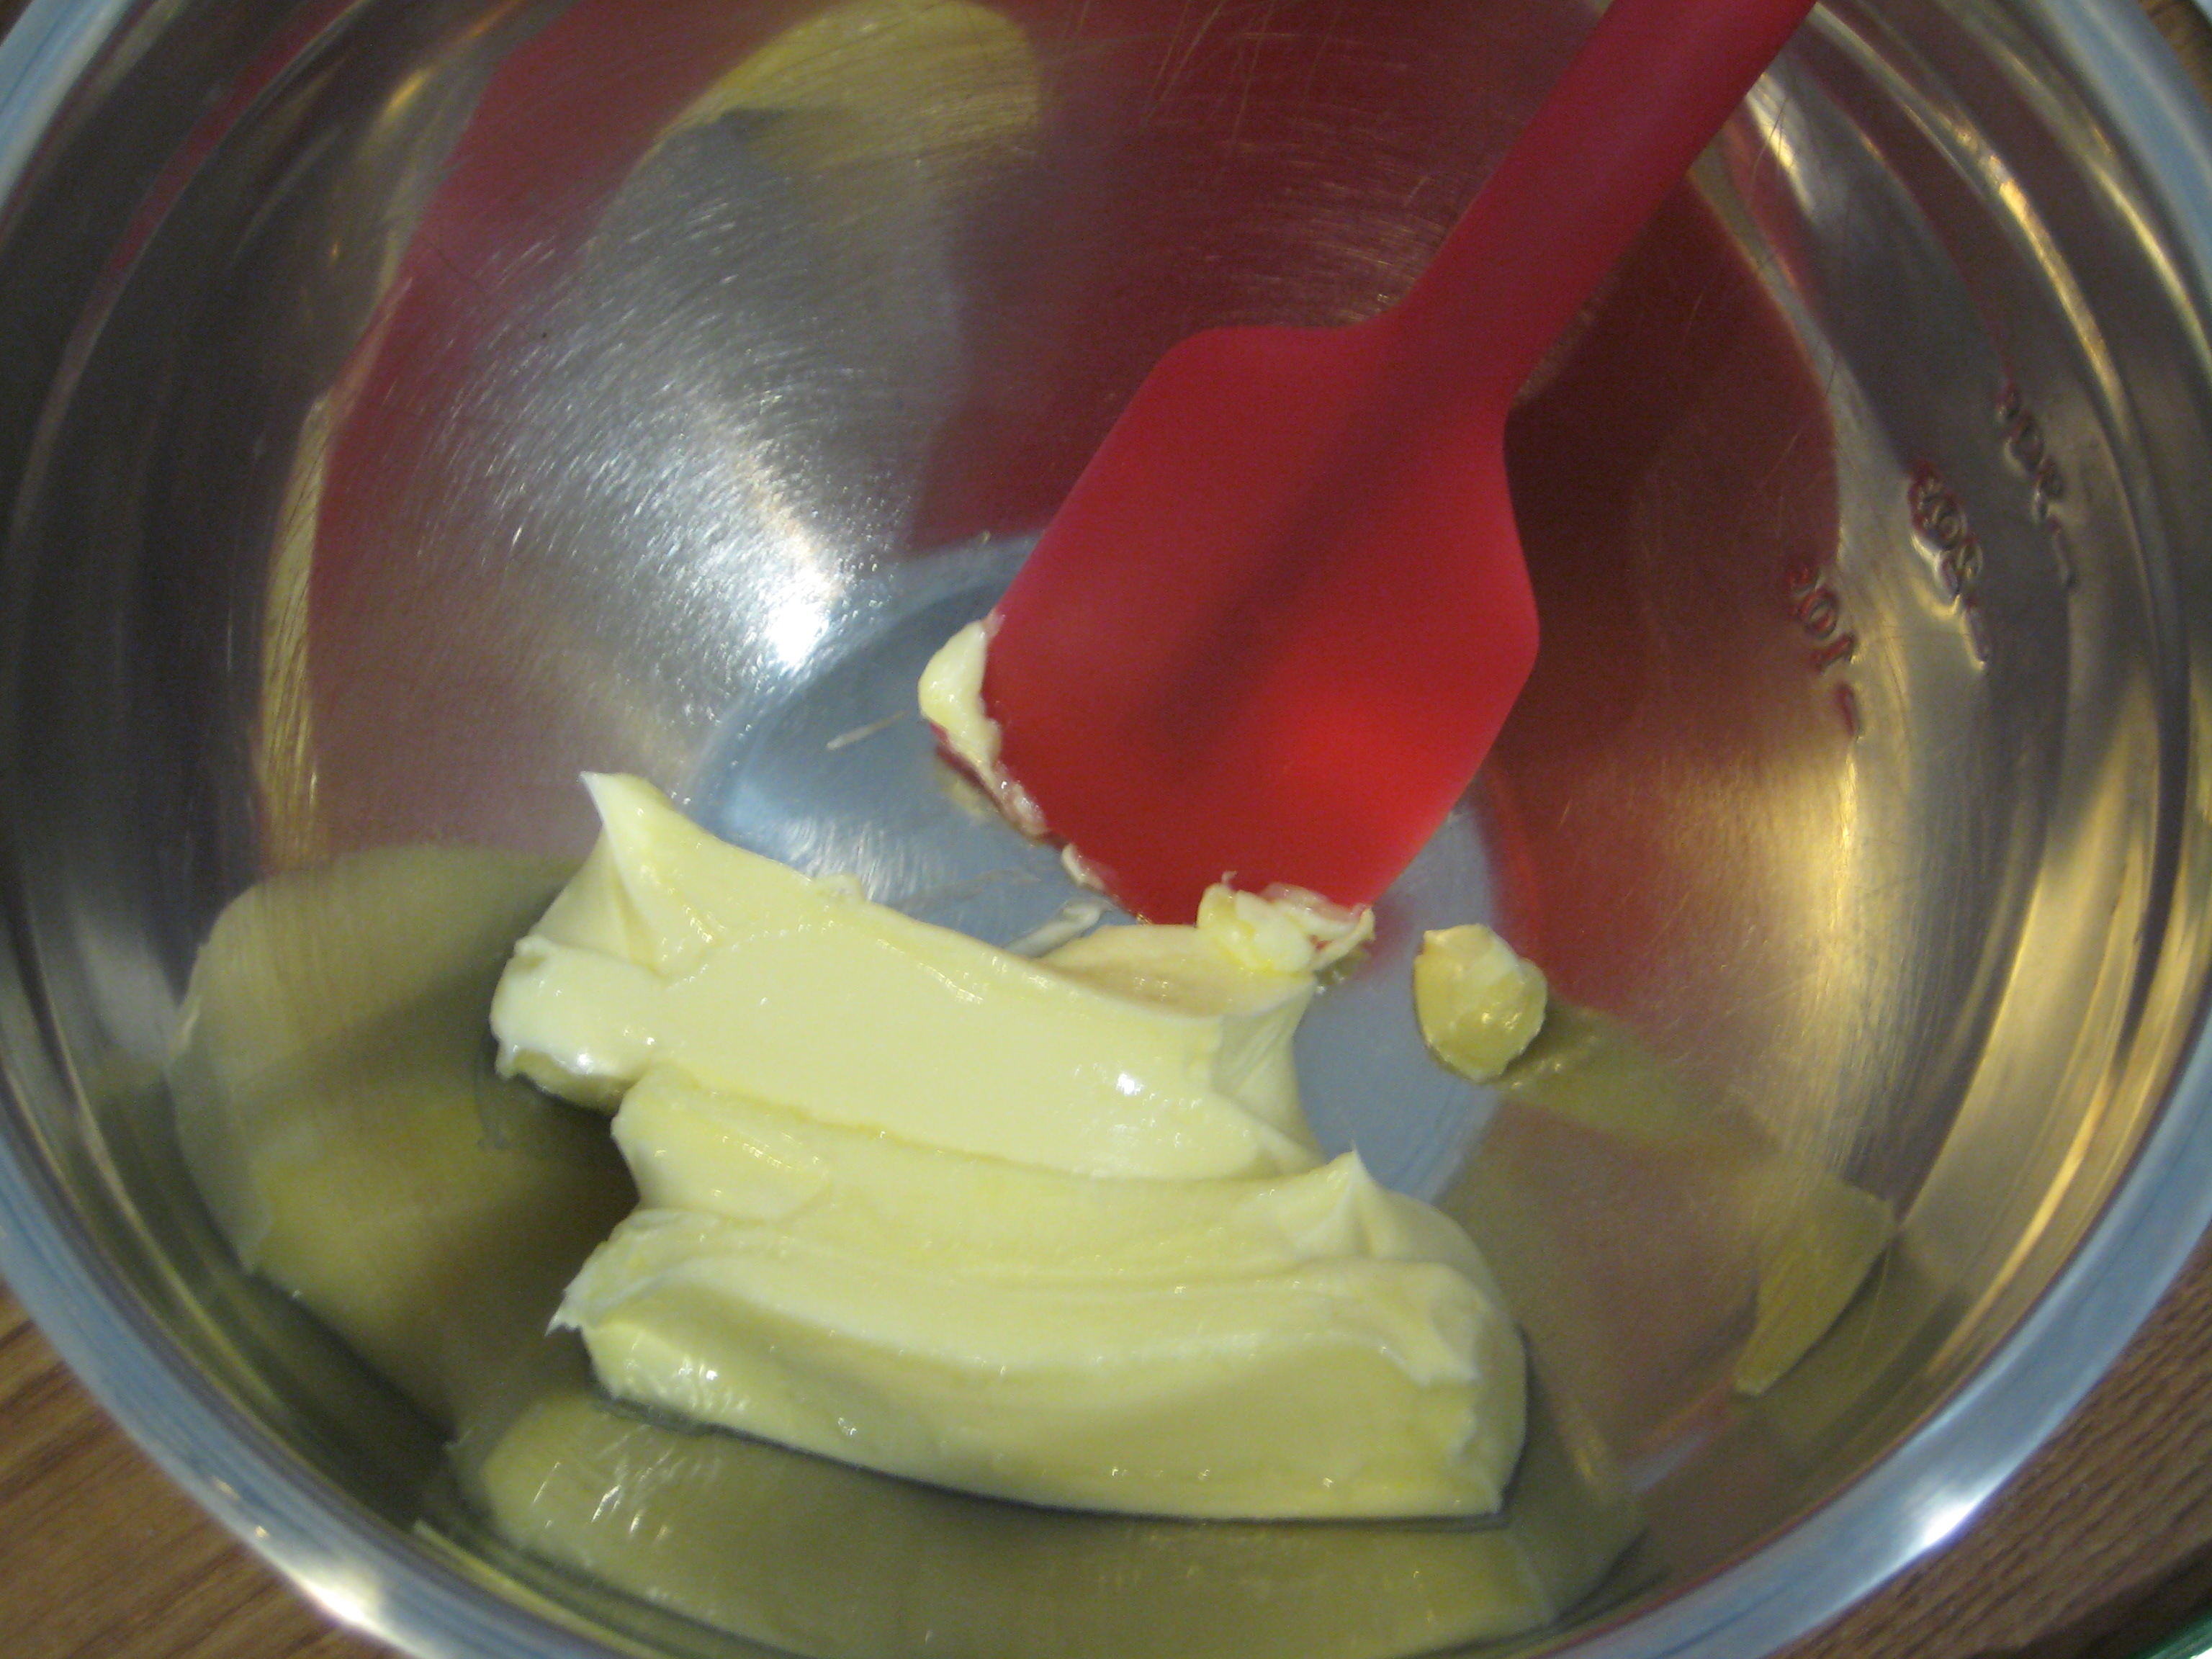
Step 1: In a large bowl, cream the butter and brown sugar until smooth and creamy.


Step 2: Add in the eggs and beat until well combined.

Step 3: Add in the pumpkin puree and stir to combine; set aside.
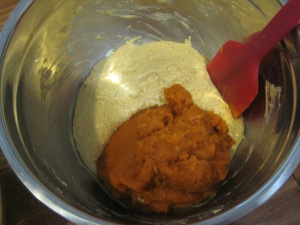

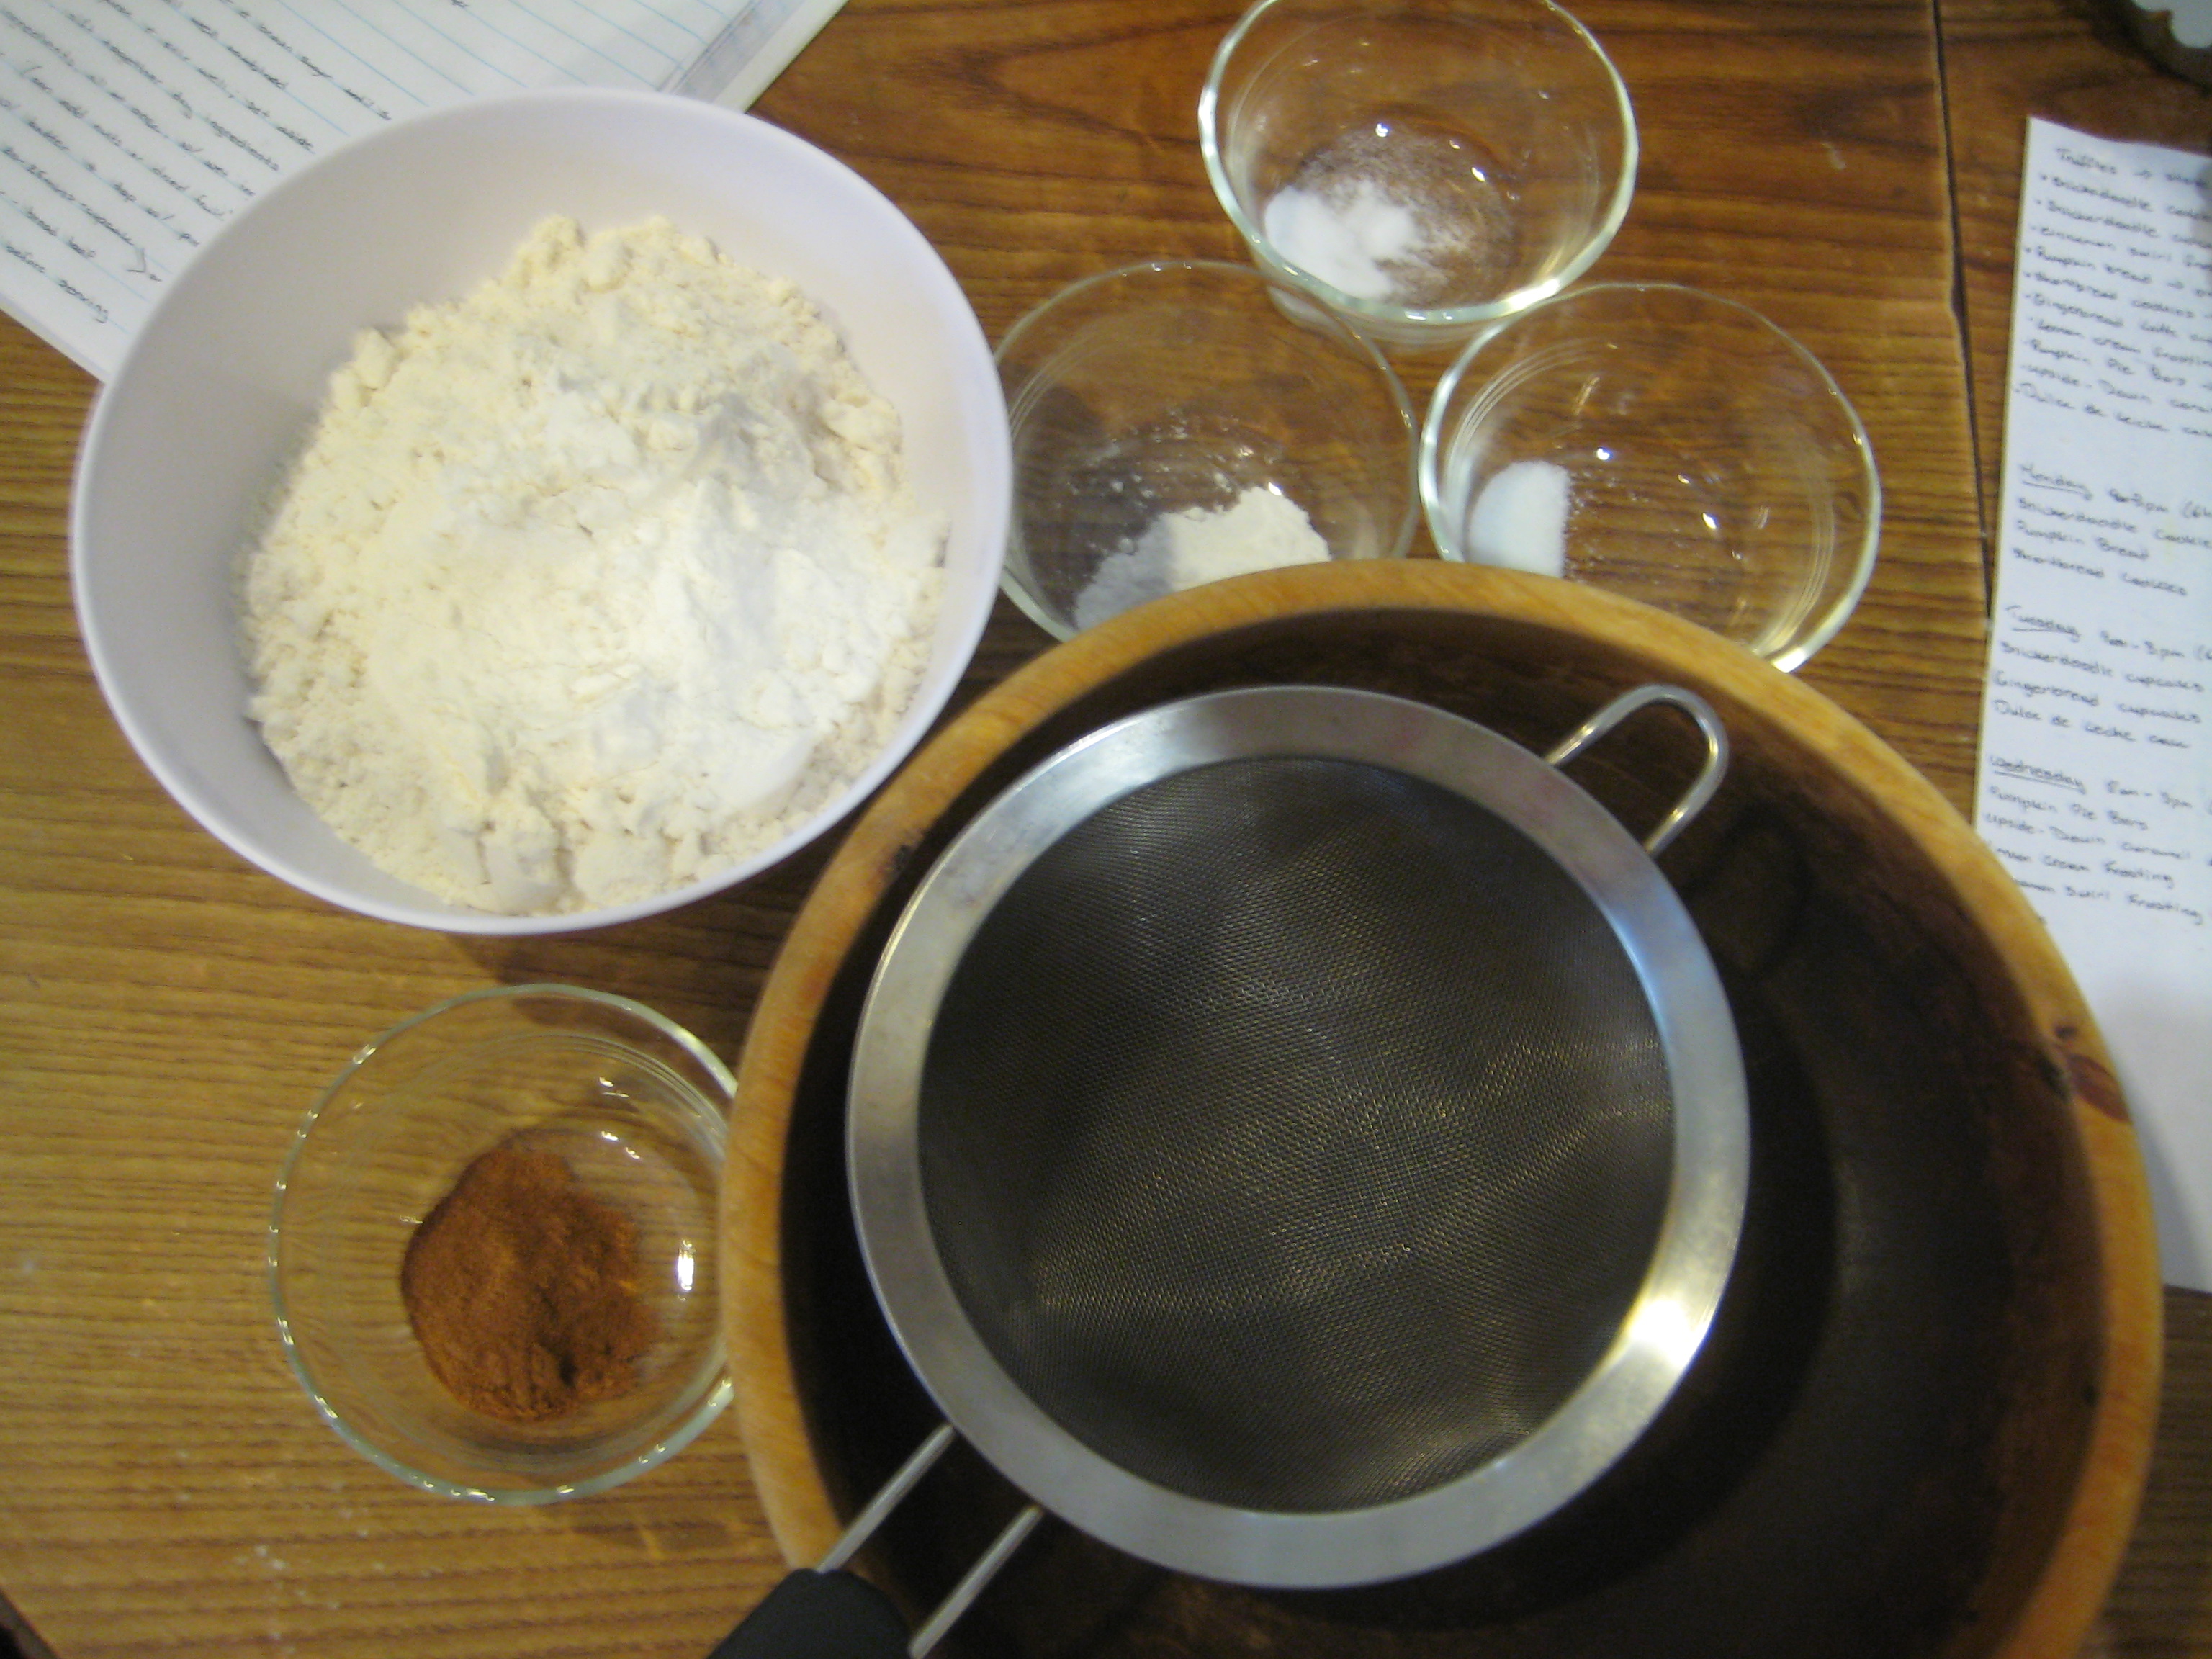
Step 4: In a medium bowl, sift together the flour, baking powder, baking soda, salt, and pumpkin spice.


Step 5: Add the dry ingredients all at once into the butter mixture and fold to combine. (Optional: may add in nuts, dried fruit, or chocolate chips and fold into the mixture)


Step 7: Fill the prepared pans with batter and top with pumpkin seeds (Optional: swirl in some melted chocolate).

Step 8: Bake at 350°F for 35-40 minutes or until a toothpick inserted into the center comes out clean.

Step 9: Allow bread to cool for 20 minutes before serving. (They should just pop out of the baking cups easily)

Step 10: (Optional: Drizzle icing over the tops of the cooled bread)
20 Nov 2013
by suzaku24
in Breads, Cakes, and Pastries, Butter, Dessert, Eggs, recipes, Thanksgiving
Tags: cinnamon sugar cookies, cookies, dessert, food, minature cookies, recipe, snickerdoodle, snickerdoodle cookies
An indecent love of cinnamon-sugar will one day be my downfall, but not today. Today I shall be making mini snickerdoodle cookies as a decoration/accompaniment to a lovely set of snickerdoodle cupcakes. All for the preparation of Thanksgiving. The one time of the year where I can’t say no to an array of decadent desserts.
Here are the ingredients needed for this recipe:

- 1 cup unsalted butter, room temperature
- 1 1/3 cups sugar
- 1 large egg
- 2 tsp. vanilla extract
- 3 cups all-purpose flour
- 2 tsp. cream of tartar
- 1 tsp. baking soda
- 2 1/2 tsp. ground cinnamon
- 1/2 tsp. salt
Cinnamon-Sugar


- 1/4 cup sugar
- 1 tsp. ground cinnamon (you may add more cinnamon depending on your taste)
Step 1: Preheat the oven to 375°F and line 2 baking trays with parchment paper; set aside.
Step 2: In a large bowl, cream the butter for 1 minute until smooth.


Step 3: Add the sugar and beat until light in color and fluffy in texture.


Step 4: Add in the egg and vanilla and beat until combined; set aside.


Step 5: In a medium bowl, sift together the flour, cream of tartar, baking soda, cinnamon, and salt.

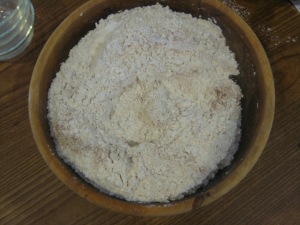
Step 6: Slowly ass the dry ingredients in 3 parts into the butter mixture. (Side Note: the dough will become thick and may require being stirred by hand.)


Step 7: Scoop out 2 tsp. of cookie dough and roll into a ball-shape.

Step 8: Roll dough into the cinnamon-sugar mixture and then place onto the prepared baking sheets.


Step 9: Bake for 7 minutes
Step 10: Lightly press the cookies with the back of a spoon as soon as they come out of the oven.

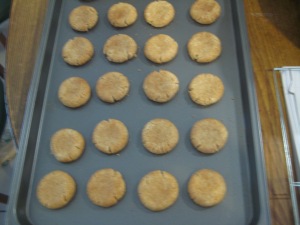
Step 11: Allow to cool on baking sheets for 10 minutes and then transfer onto a wire rack. (I was able to get 57 cookies out of this batch)

09 Nov 2013
by suzaku24
in Breads, Cakes, and Pastries, Butter, Cheese, Chocolates and Candies, Dessert, Eggs, Fruits, Milk, Nuts, recipes, Thanksgiving, Uncategorized, Yogurt
Tags: brigadeiro truffles, chocolate swirled pumpkin pie, dessert, dulce de leche, dulce de leche cake, flavored truffles, food, monket bread, pumpkin bread, pumpkin muffins, pumpkin pie, recipe, savory monkey bread, snickerdoodle, snickerdoodle cookies, snickerdoodle cupcakes, truffles
Well another year has quickly come to an end and the holidays are just around the corner. Time to break out the new recipes and maybe a few classic ones, but nonetheless treats that will tantalize even the picky of eaters. Now last year I had done a simple set of desserts and a side.
- Iced Chocolate Chip Pumpkin Cookies
- Pumpkin Molasses Cupcakes
- Pumpkin Cheesecake
- Roasted Garlic Mashed Potatoes
This year I will be bringing back a classic cake that I haven’t made in a while. But most of all the rest of the desserts will be new recipes. So here are the desserts and sides that will be served this year for the holidays.
- Dulce de Leche Cake
- Upside-Down Caramel Apple Rolls
- Pumpkin Pie Bars
- Snickerdoodle Cupcakes with Cookies
- Gingerbread Latte Cupcakes
- Shortbread Cookies
- Mini Pumpkin Bread
(Side Note: Will be adding links to the list after Thanksgiving)
08 Nov 2013
by suzaku24
in Chocolates and Candies, Christmas, Coffee, Drink, Hot Chocolate, recipes, Thanksgiving
Tags: cocoa, drink, food, hot chocolate, hot chocolate mix, hot cocoa, hot cocoa and coffee, hot cocoa mix, hot drinks, mocha, recipe, spiced hot chocolate, spiced hot cocoa
It’s that time of the year again. That’s right gift giving is in season. As winter approaches the hot drink are rolling. Now recently I have been invited to a few housewarming parties and the traditional gifts are fine and all, but with a tight budget and with the holidays coming around the corner I had to figure something quick and easy. Looking around the kitchen I was suddenly struck with a new idea for a gift. Something that will last and would be enjoyed by others and not just the host of the party. I figured “how about something in a jar and is easy to make?” Well at first I thought of cake mix, but what if the gift receiver doesn’t have an oven or can’t bake?, so I instead I went for the simple route. Hot Cocoa!

Here are the ingredients needed for this recipe:
- 2 cups confectioners’ sugar
- 1 cup unsweetened cocoa, dutch processed (I used Ghirardelli chocolate)
- 1 tsp. salt
- 1 1/2 tsp. cornstarch
- 1 pinch cayenne pepper
- 1 pinch ground nutmeg
- 1 pinch ground cloves
- 1 pinch ground allspice
- 1 tsp. ground cinnamon
- 1/4 cup instant coffee granules (I used Nescafe vanilla)
Step 1: Sift all the ingredients
Step 2: Stir to combine all the ingredients.
Step 3: Scoop or funnel the mixture into a mason jar and seal tightly.
Step 4: Store at room temperature and decorate it however you like
To make the hot cocoa drink just add 1-2 Tbsp. of mixture into a heat-proof mug and add in 1 cup of hot water or milk.

07 Oct 2013
by suzaku24
in Fruits, Ice Cream, Milk, recipes
Tags: cold dessert, cream, dessert, popsicles, strawberries and cream, strawberries and cream popsicle, strawberry
While spending days studying for exams I needed to have a break. Since it’s still searing hot outside and a bit stuffy inside I wanted to make something refreshing and yet super simple. So I watched videos of how-to-make-frozen-desserts and it dawned on me to try my hand at some frozen desserts. I looked into the freezer and saw that there wasn’t that much space to work with, but I moved some things around and saw that a popsicle mold would fit in the tiny back corner.
Here are the ingredients needed for this recipe:
- 1 cup heavy whipping cream
- 3-4 Tbsp. honey (I used orange blossom honey)
- 1 tsp. vanilla extract
- 10-12 frozen strawberries (slightly thawed and sliced)
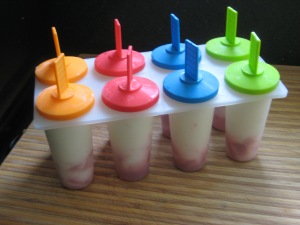
Step 1: Fill the popsicle molds with the sliced strawberries evenly
Step 2: In a large bowl, combine the heavy whipping cream, honey, and vanilla until soft peaks.
Step 3: Spoon or pipe the whipped cream into the molds.
Step 4: Use a chop stick or skewer to help blend the strawberries and cream.
Step 5: Top off the popsicle molds with remaining whipped cream.
Step 6: Freeze for 6 hours or overnight. (Side Note: I only froze it for 4 hours so when removing from the mold the handle kept coming off because the center was still soft, so I had to dip it into hot water to have the entire popsicle release from the mold.”
 (Side Note: After freezing it over night, I recommend dipping the bottom with the fruit in hot water to help loosen the popsicle from the mold. Try not to warm up the cream, that part will come out easily.)

10 May 2013
by suzaku24
in Breads, Cakes, and Pastries, Dessert, Fruits, Milk, Mother's Day, recipes, Valentine's Day
Tags: cold dessert, food, pound cake, strawberry, strawberry shortcake
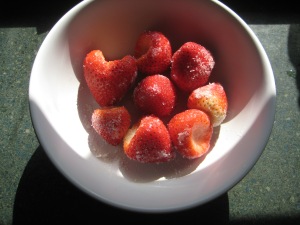
Well it’s that time of the year again. That’s right summer. When fruits are in abundance and the sweltering heat is overabundance. Strawberries galore is happening at my house right now and I need to use them before they go bad. Since I really wanted to skip out on baking and/or cooking because of the oppressing heat of the summer I figured a cold dessert was needed. Something that didn’t require too much time and there was no need to even go near the stove.
So I went to the grocery in the early morning. Wandering around to see what would inspire me. Walking down the frozen dessert aisle I spotted some frozen cakes. Now when I was in elementary school my mother use to buy the Sara Lee Pound Cake and I would have a slice of it with her on the weekends. That always entertained me for the day, as I would savor that one slice while trying to distract myself with a film on television.
Now that got me thinking. The cake was always partially frozen and it kept me cool in the house. So I figured I could get a small loaf. Now from there I was able to think of combining the cake with the massive amount of strawberries that I had just received earlier that week. There was also a bowl full of freshly whipped cream in the refrigerator. That was my ticket to a quick an easy dessert without the hassle of ovens or stoves.
Now that I think about it these would be perfect for Mother’s Day or even Valentine’s Day.
Here are the ingredients needed for this recipe:

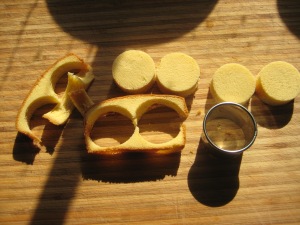
- 2 slices of Sara Lee Pound Cake, thawed
- 1/2 cup whole strawberries, washed and hulled
- 1 cup sweetened whipped cream
- 1-2 tsp. sugar
Step 1: In a small bowl, gently combine the strawberries and sugar until strawberries are lightly coated in the sugar. Set aside.


Step 2: Take a cookie cutter and cut out rounds from the pound cake slices. (Optional: I used 1-3/4 inch cutter. I also cut the small disc in half)


Step 3: Slice the strawberries in a fan-like slices. (How to fan strawberries)


Step 4: Place one cake round on a plate.

Step 5: Fan out 1-2 strawberries on top of the cake slice.

Step 6: Top it with whipped cream and repeat with remaining cake rounds.


Step 7: Garnish with strawberry fanned out.

If you didn’t want to cut out the rounds here is the non-cut version:


04 Apr 2013
by suzaku24
in Appetizer, Cheese, recipes, Vegetables
Tags: appetizer, artichoke, baguette, food, open-faced sandwich, spinach
After finishing up a busy day I felt pretty hungry, but super lazy as well. While scouring the kitchen I came upon ingredients that I have used to make my Turkey Artichoke Panini. Well with a slight difference of bread and without any turkey. But anyways I really did not feel like spending time on pressing pans down and such. So instead I opted to make an open-faced type of sandwich. Which turned into an appetizer-like dish instead.
So for ingredients:
- 1 Roma tomato, thinly sliced rounds
- 1/2 cup spinach artichoke dip, heated until hot
- 1/2 baguette, sliced at an angle
Step 1: Toast the bread slices until golden brown around the edges.
Step 2: Take bread out and generously top with the spinach artichoke dip
Step 3: Top with a fresh slice of tomato

26 Mar 2013
by suzaku24
in Asia, Eggs, Pasta and Noodles, recipes, Rice, Seafood, Vegetables
Tags: ddeokbokki, fish cakes, food, Korean, spicy rice cakes, topokki, tteokbokki
Tteokbokki, also known as ddeokbokki or topokki,is a popular Korean snack food which is commonly purchased from street vendors or Pojangmacha. Originally it was called tteok jjim (떡찜), and was a braised dish of sliced rice cake, meat, eggs, and seasoning.
So while I was completely and utterly sick from a head cold for a good week I ended up watching some Korean dramas online and I stumbled upon one called Gourmet. This drama was all about the traditional foods of Korea and of course the drama of the characters’ lives, but anyways I got really into the food shown on it. This has led me to wanting to make some of the dishes. Well at least the ones that I can kind of manage with the limited supplies on hand in my town.
So today, finally after getting over the nasty cold, I will show you how to make topokki. Well a version that I am able to make right now. After looking over dozens of food blogs and videos I have come up with my own version. Let’s hope it’s not too spicy to eat. As an added bonus you can add instant ramen to the mix as well and it’s really tasty.
Here are the ingredients needed for this recipe:

- 1lb. rice cake sticks (there are different types, the smaller they are the less time it takes to cook them, so be careful when cooking them, try not to overcook them.)
- 4 oz. fish cake, thinly sliced
- 4 oz. cabbage (optional)
- 1/2 medium carrot, thinly sliced (optional)
- 1 green onion, cut into 2-inch pieces (I had tiny ones from the market so I used 3 of them)
- 4 boiled eggs (optional)
- 8 oz. fish meat balls (optional)
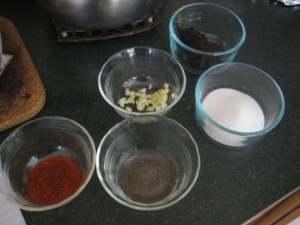
Sauce

- 2 Tbsp. gochujang (hot pepper paste) I’ll be using a milder version (Korean Bean Paste [green container])
- 1 tsp. red pepper powder (paprika for my taste)
- 1 tsp. garlic, minced
- 1/2 Tbsp. mirin
- 1 Tbsp. corn syrup
- 1 Tbsp. soy sauce
- 2 Tbsp. sugar
- 3 cups anchovy stock, vegetable stock, water, or in this case dashi
- 1 Tbsp. ketchup (optional)
Step 1: Prepare the rice cakes as indicated by the packaging.
Step 2: In a large saucepan, add stock or water, pepper paste, sugar, corn syrup, pepper powder, and garlic and bring to a boil. (When you add in the pepper paste make sure you press it in, cause it doesn’t like to dissolve easily)


Step 3: Add in the rice cakes, cabbage, carrot, and fish cake. (Add the instant ramen)

Step 4: Turn heat down to low and simmer for 5 minutes, stirring occasionally.

Step 5: Add in remaining ingredients.


Step 6: Keep stirring until rice cakes are cooked through, or soft. (I removed everything but the sauce so that I could thicken the sauce without overcooking everything else.)

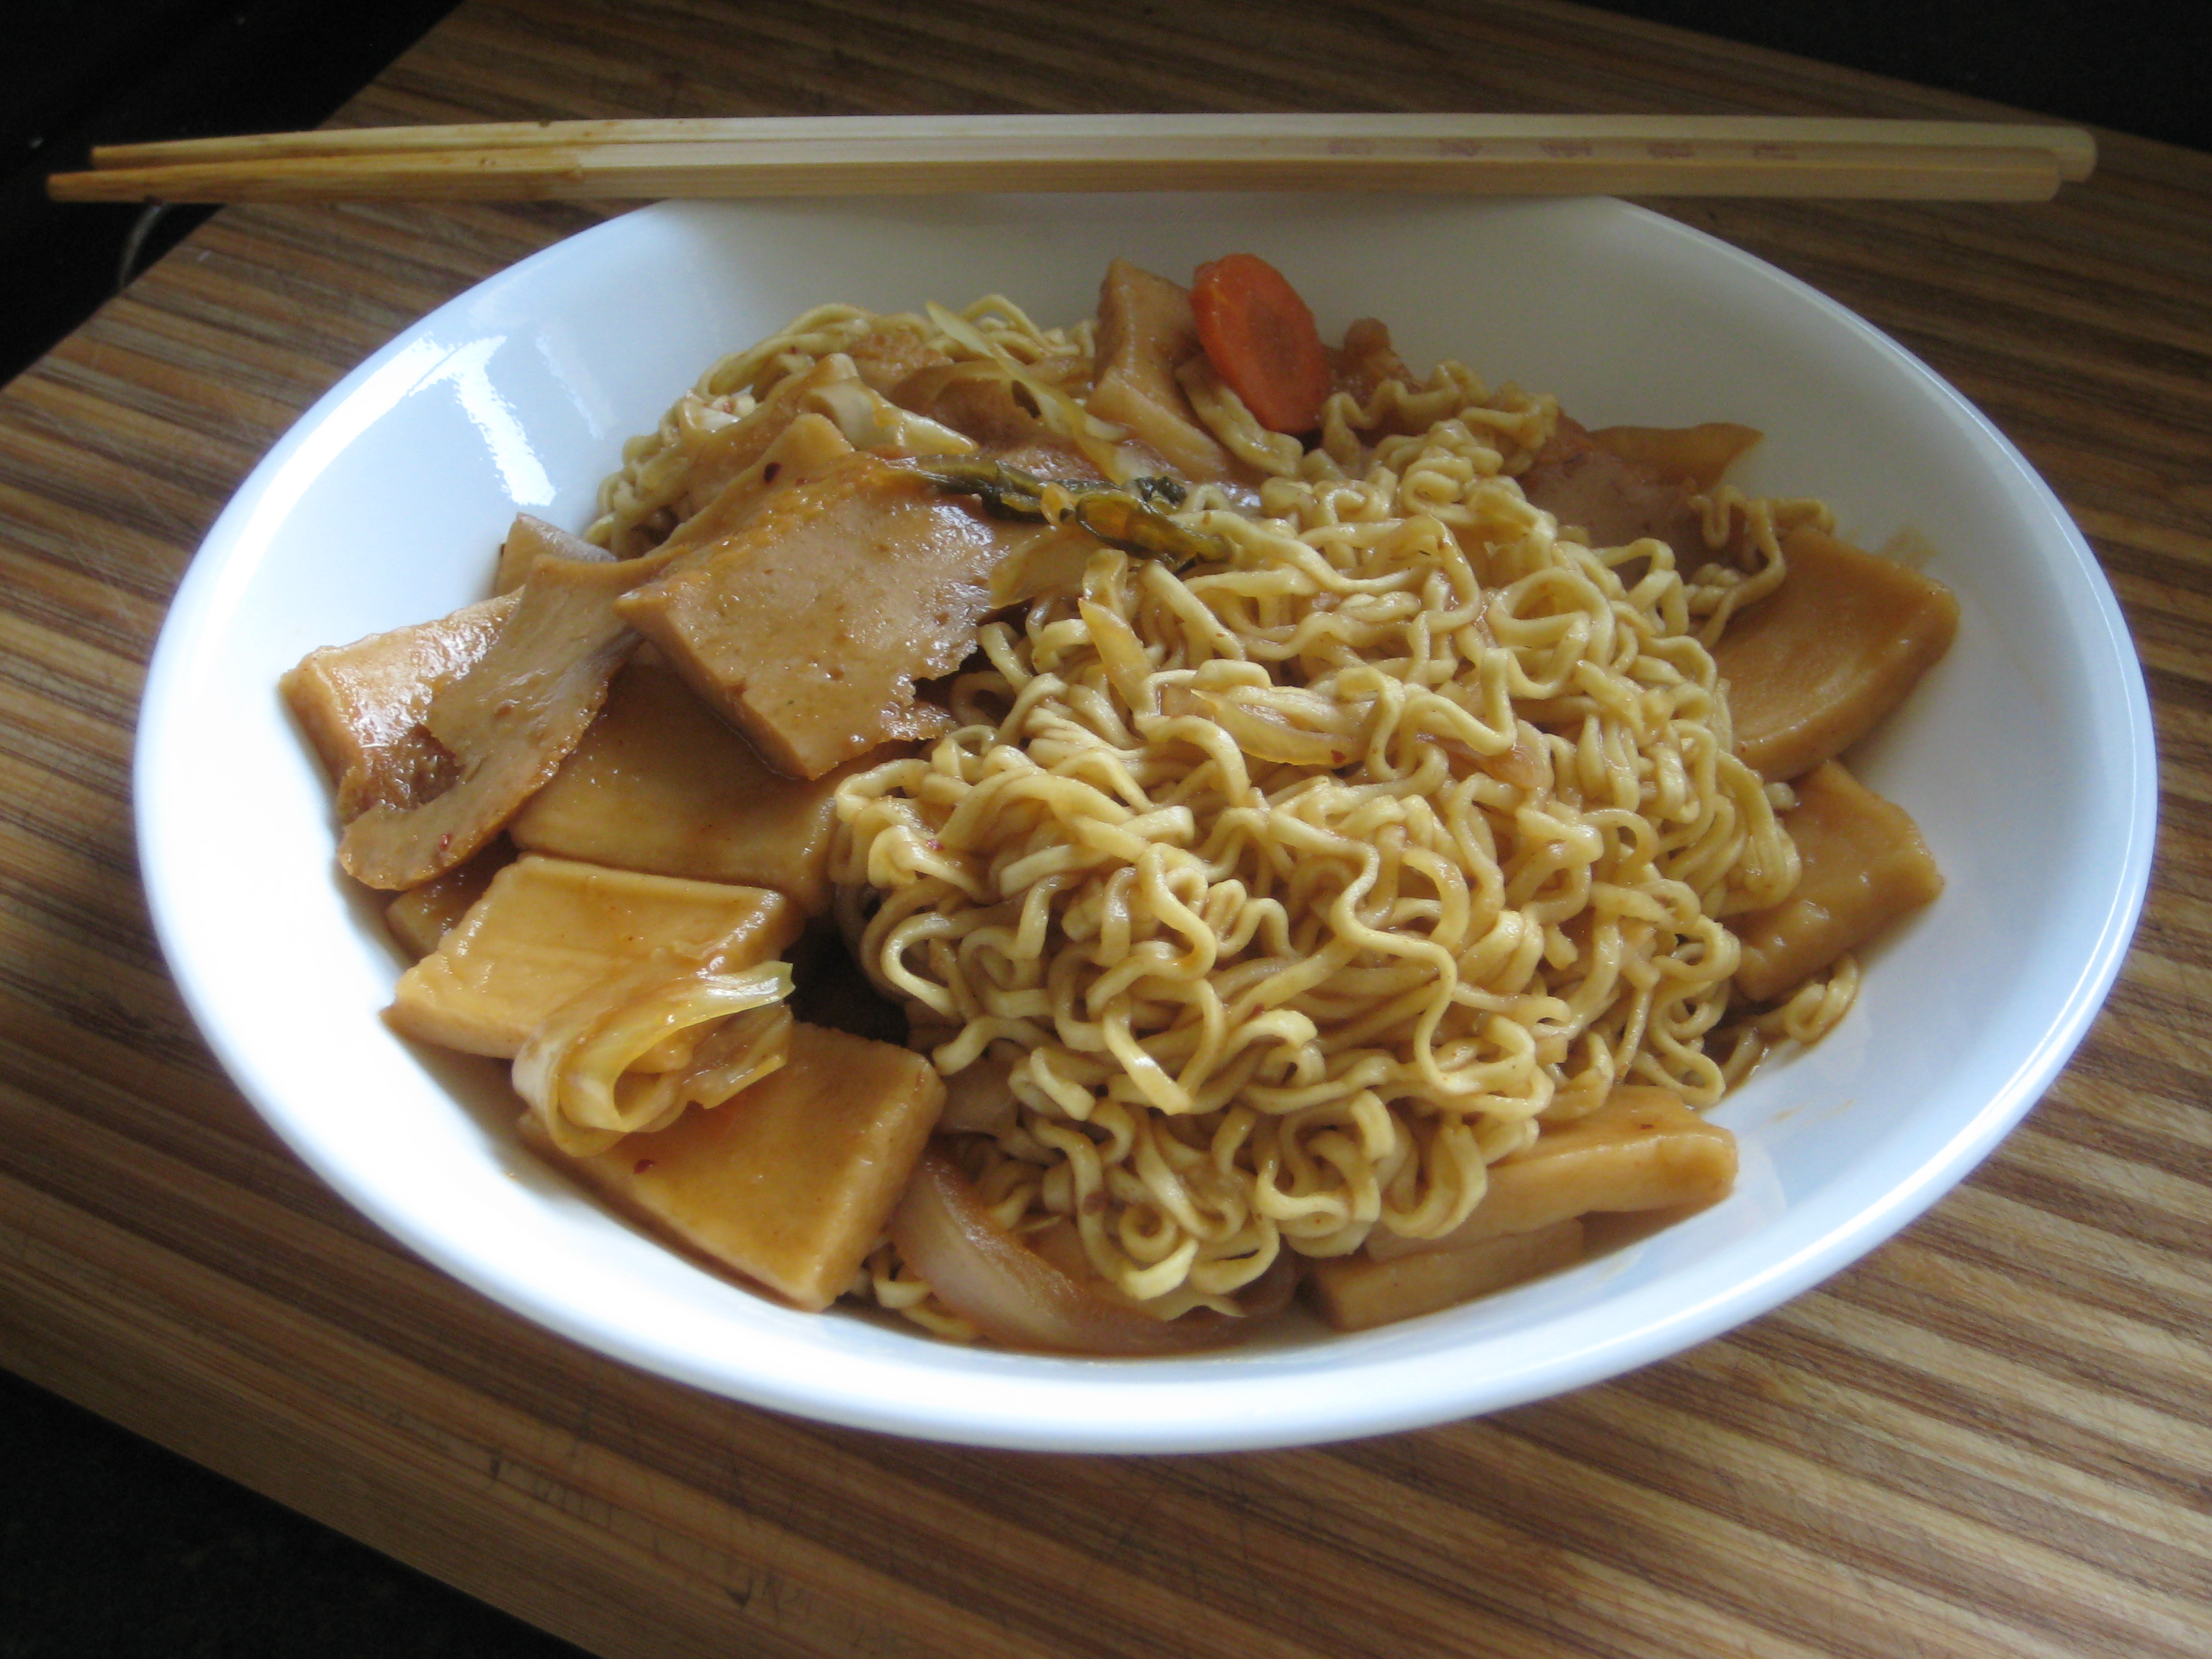
Step 7: Serve hot and garnish if desired with sesame seeds and sliced green onion.


Previous Older Entries Next Newer Entries