A few years ago I had made different types of truffles which got a bit messy to say the least. This year I wanted to try out a simpler version that required less ingredients and time. I recently found out about the Brazilian truffles called “Brigadeiro” through a few websites and I wanted to make this treat. Now there were two ways of making this truffle. One way was by Betty Crocker and the other was by Eugenie Kitchen.
I found that the one by Eugenie was simpler and less of a hassle to make when compared to the Betty Crocker version. Although I am tempted to make double the batch, at the moment I have upcoming projects that are due in the coming week.
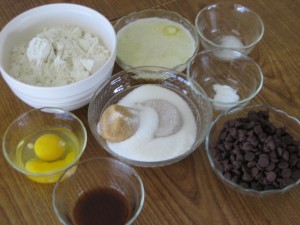
Here are the ingredients needed for this recipe:

- 14 oz. sweetened condensed milk
- 1 Tbsp. unsalted butter + extra for rolling the truffles
- 3 1/2 Tbsp. unsweetened cocoa powder, sifted
- pinch of salt (if you use unsalted butter)
Decorations:
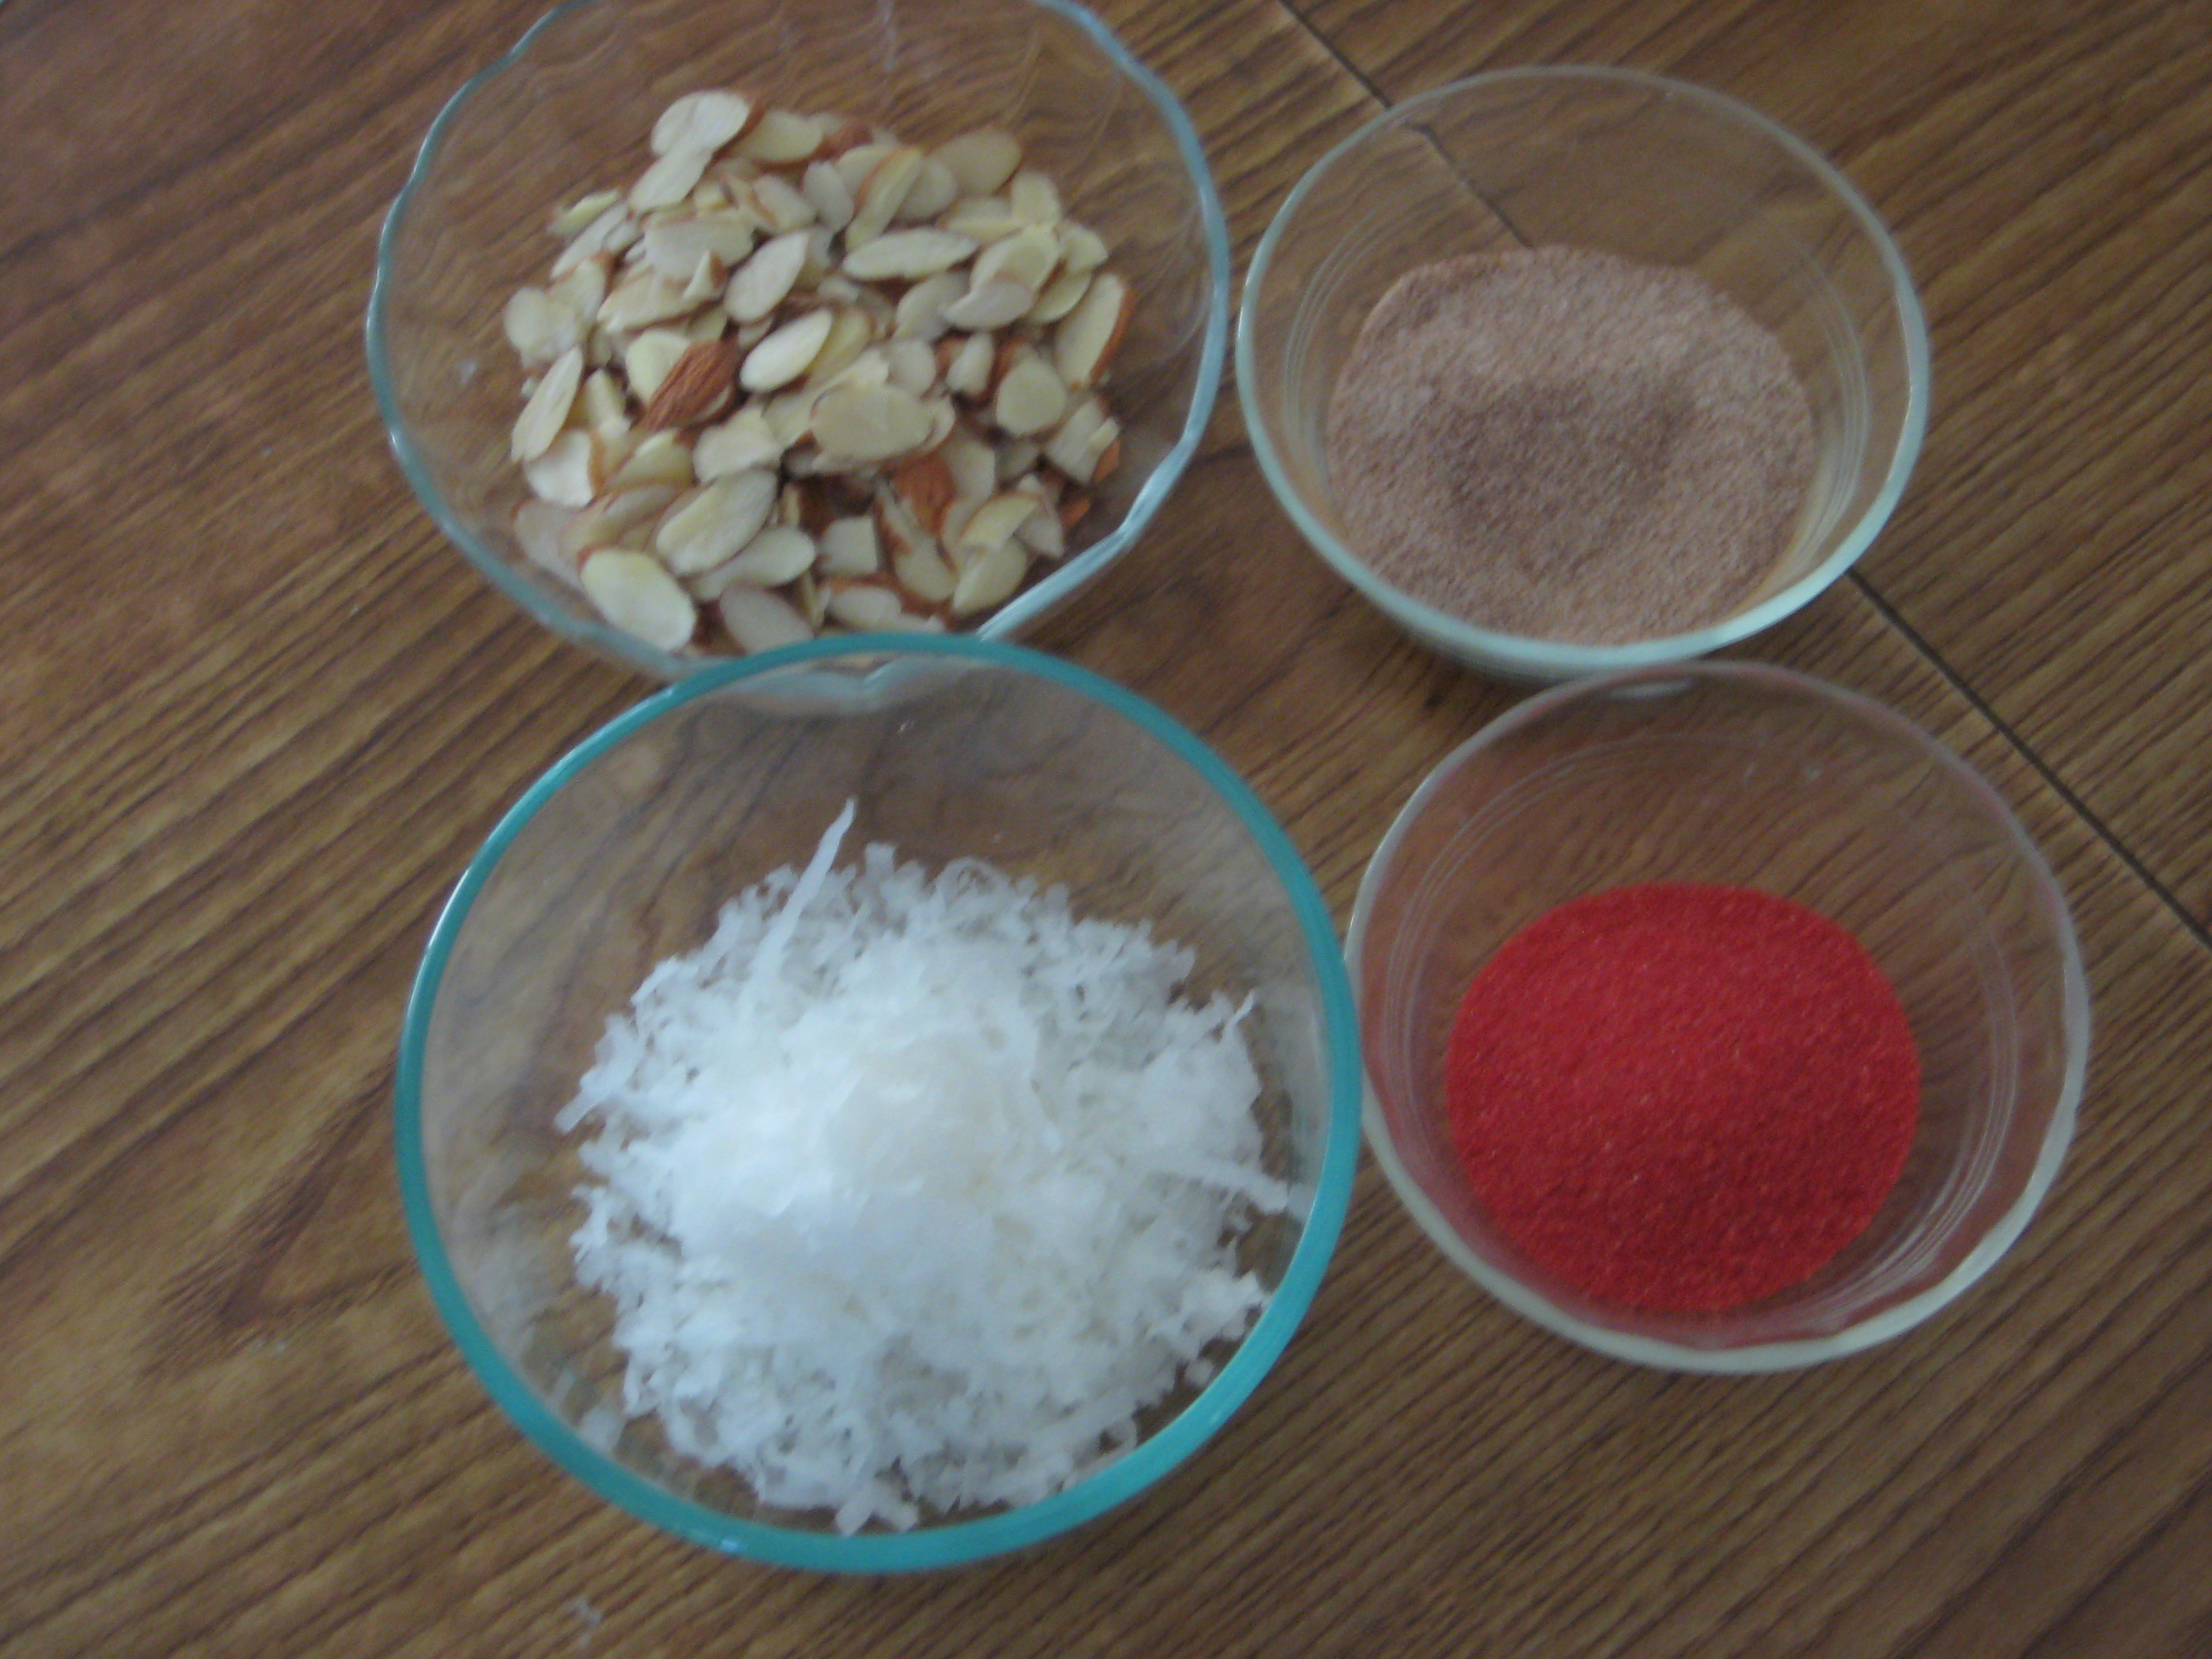
- Coconut flakes
- Cocoa powder
- Cinnamon-sugar
- Decorating sugar
- Pumpkin spice-sugar
- Green tea powder
- Dried berries (Cranberries, blueberries, strawberries, blackberries, etc.)
- Cookie crumbs (Almond, gingersnap, Oreo, graham cracker, etc.)
- Sprinkles
- Chopped nuts (Pistachio, walnut, almond, chestnut, etc.)
- Fine espresso powder
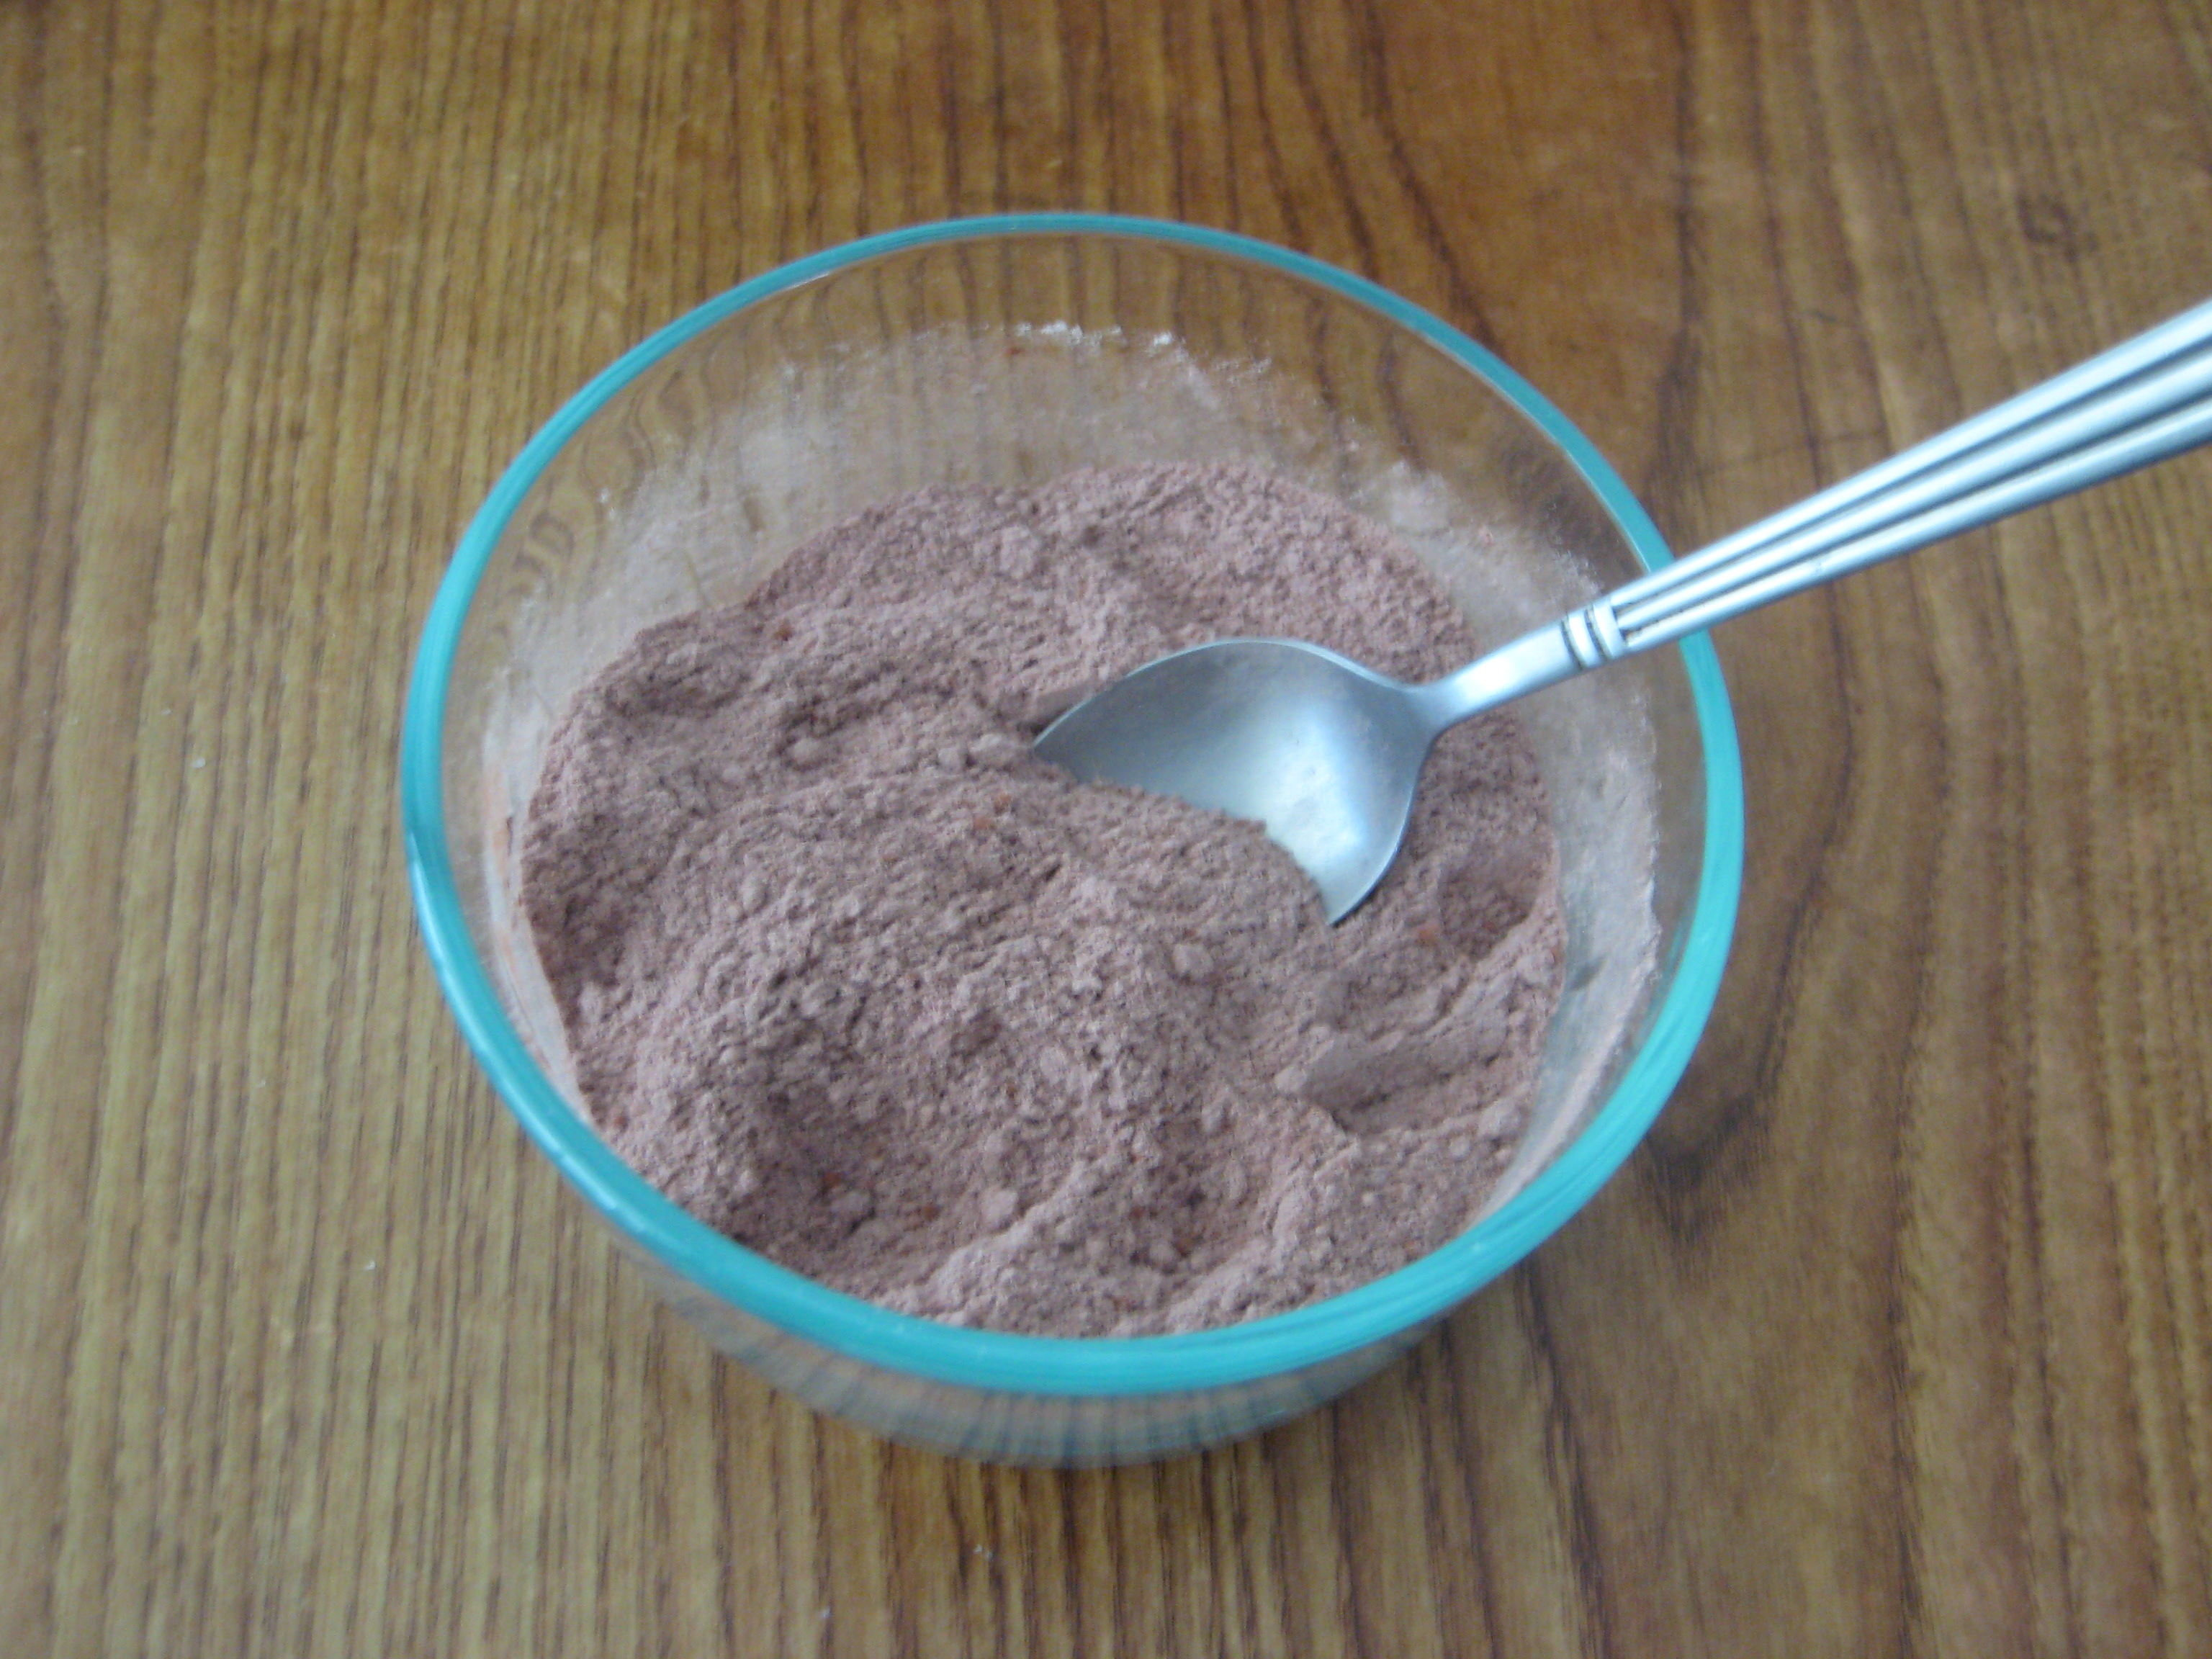
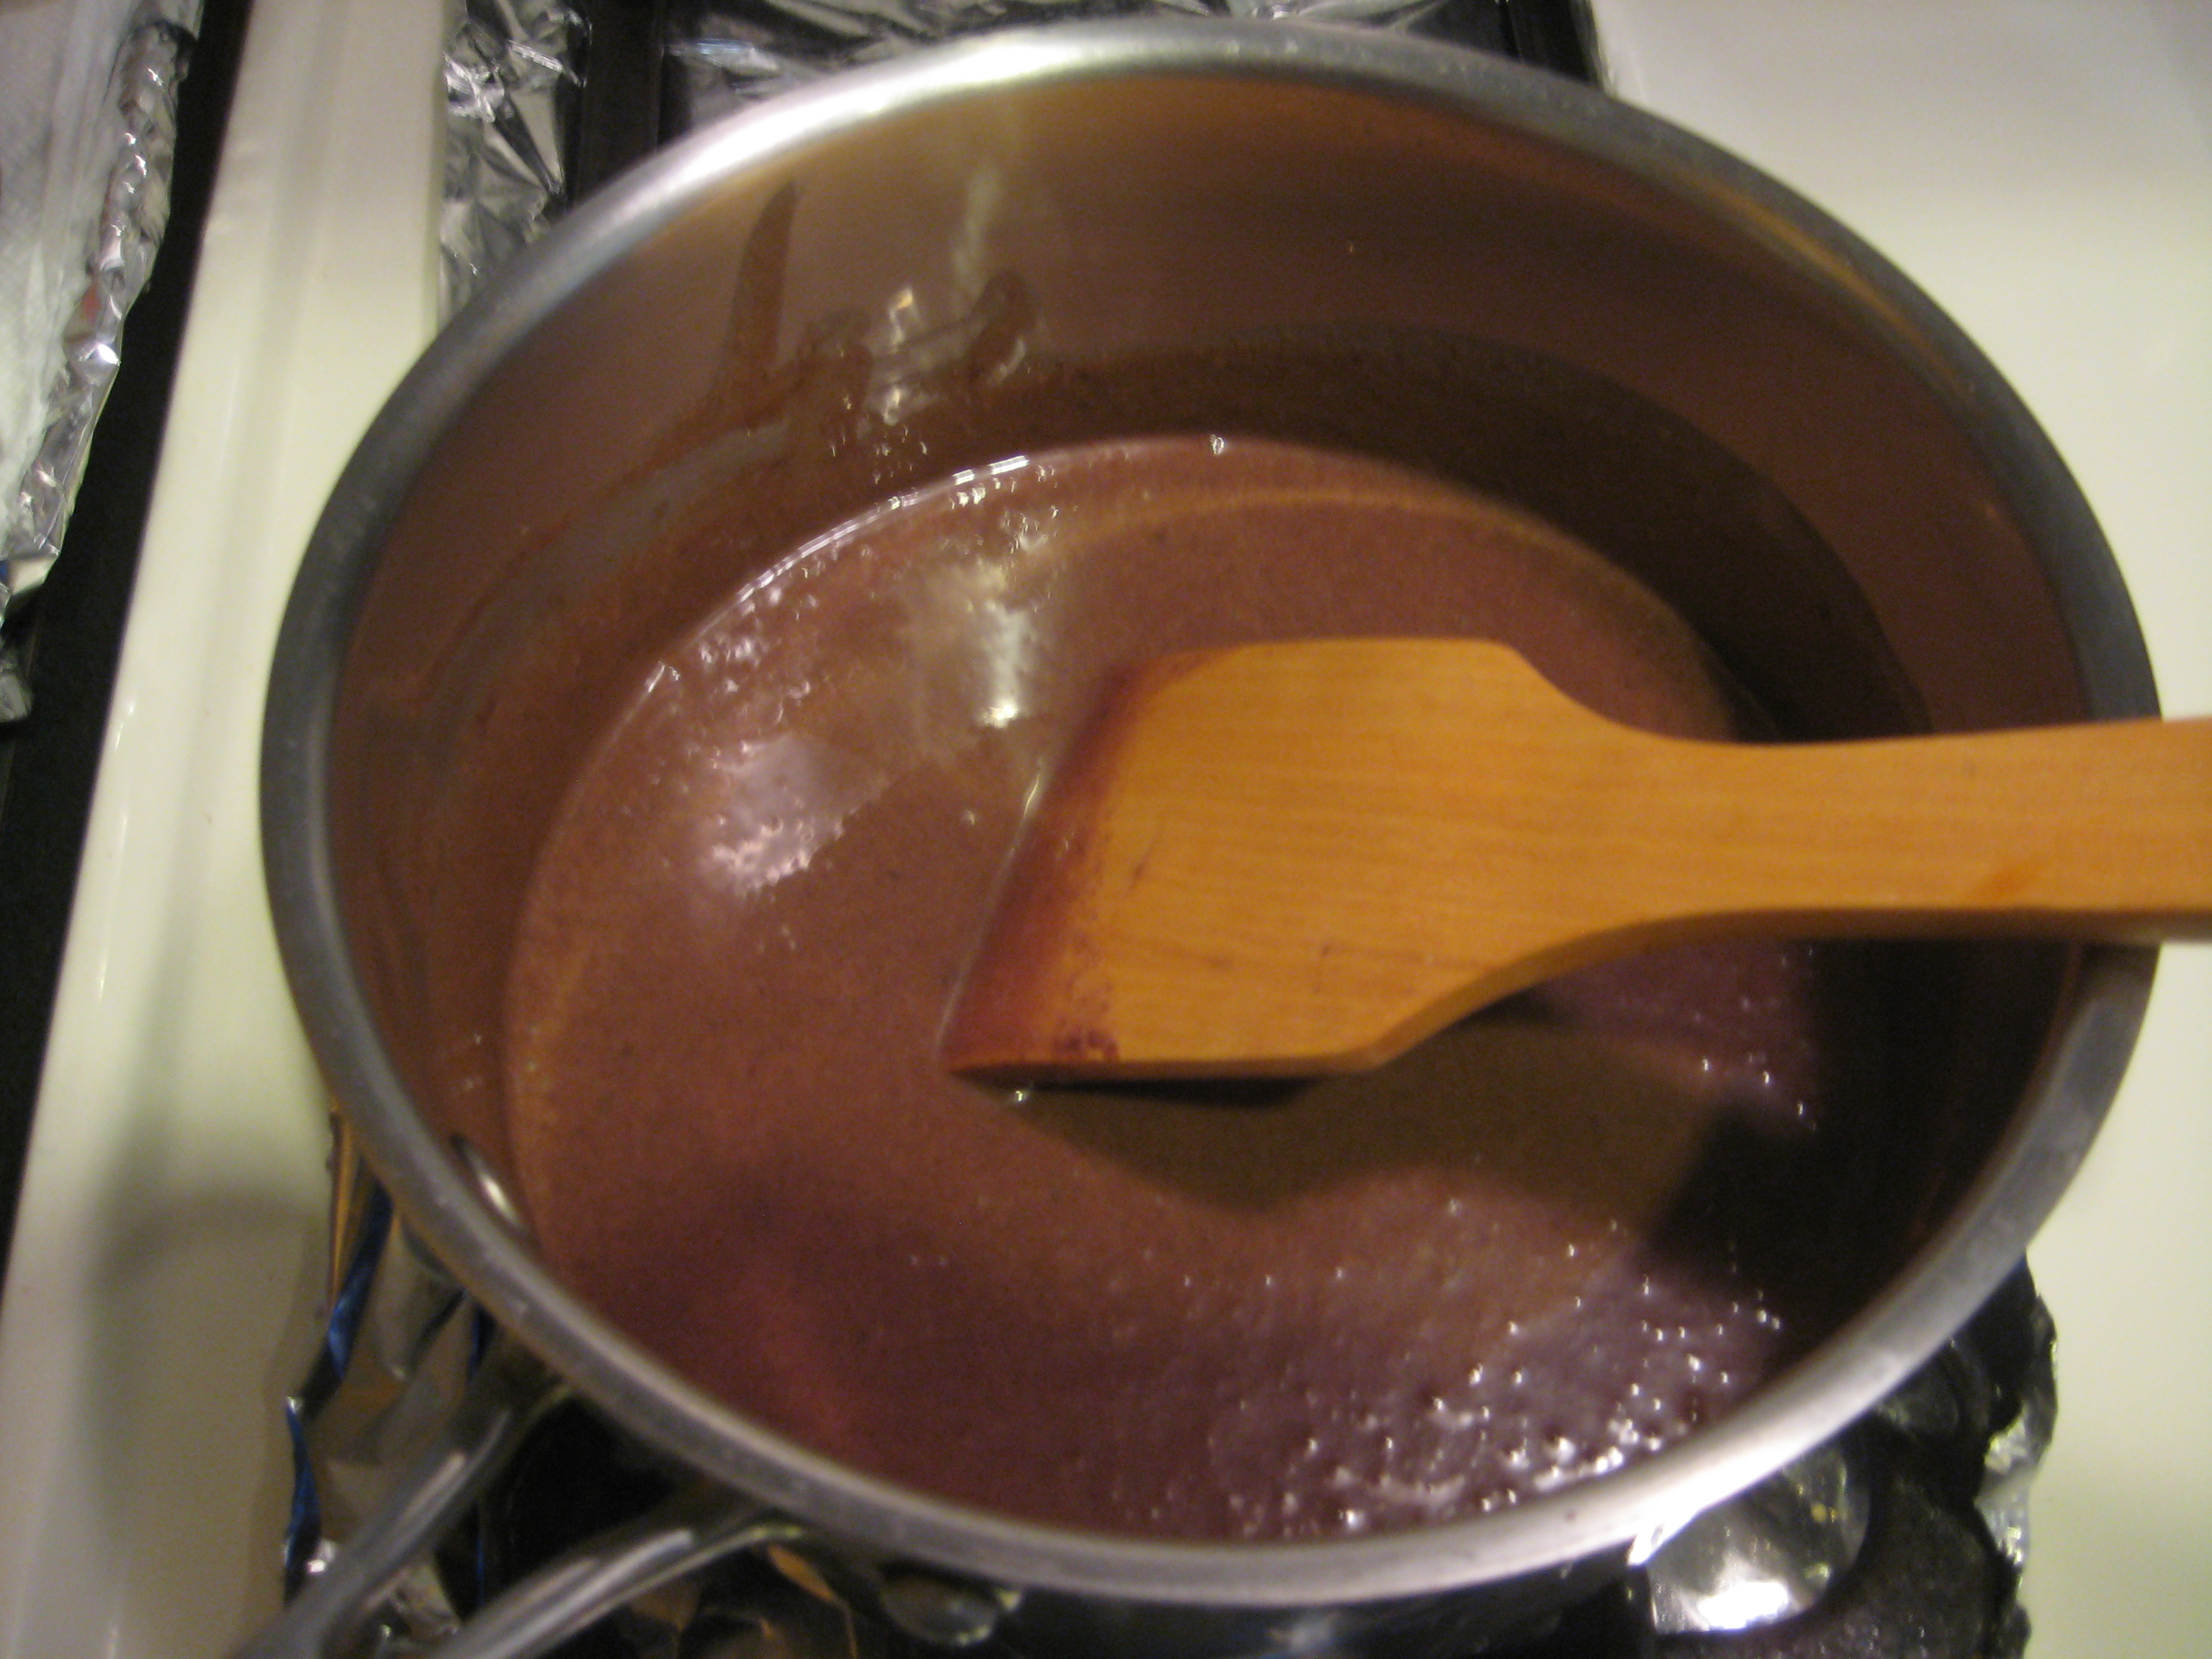
Step 1: In a thick-bottom sauce pan, add in the sweetened condensed milk and cocoa powder.

Step 2: Stir the mixture with a wooden spoon, over medium heat, until well combined.


Step 3: Add in the butter and stir continuously until melted.

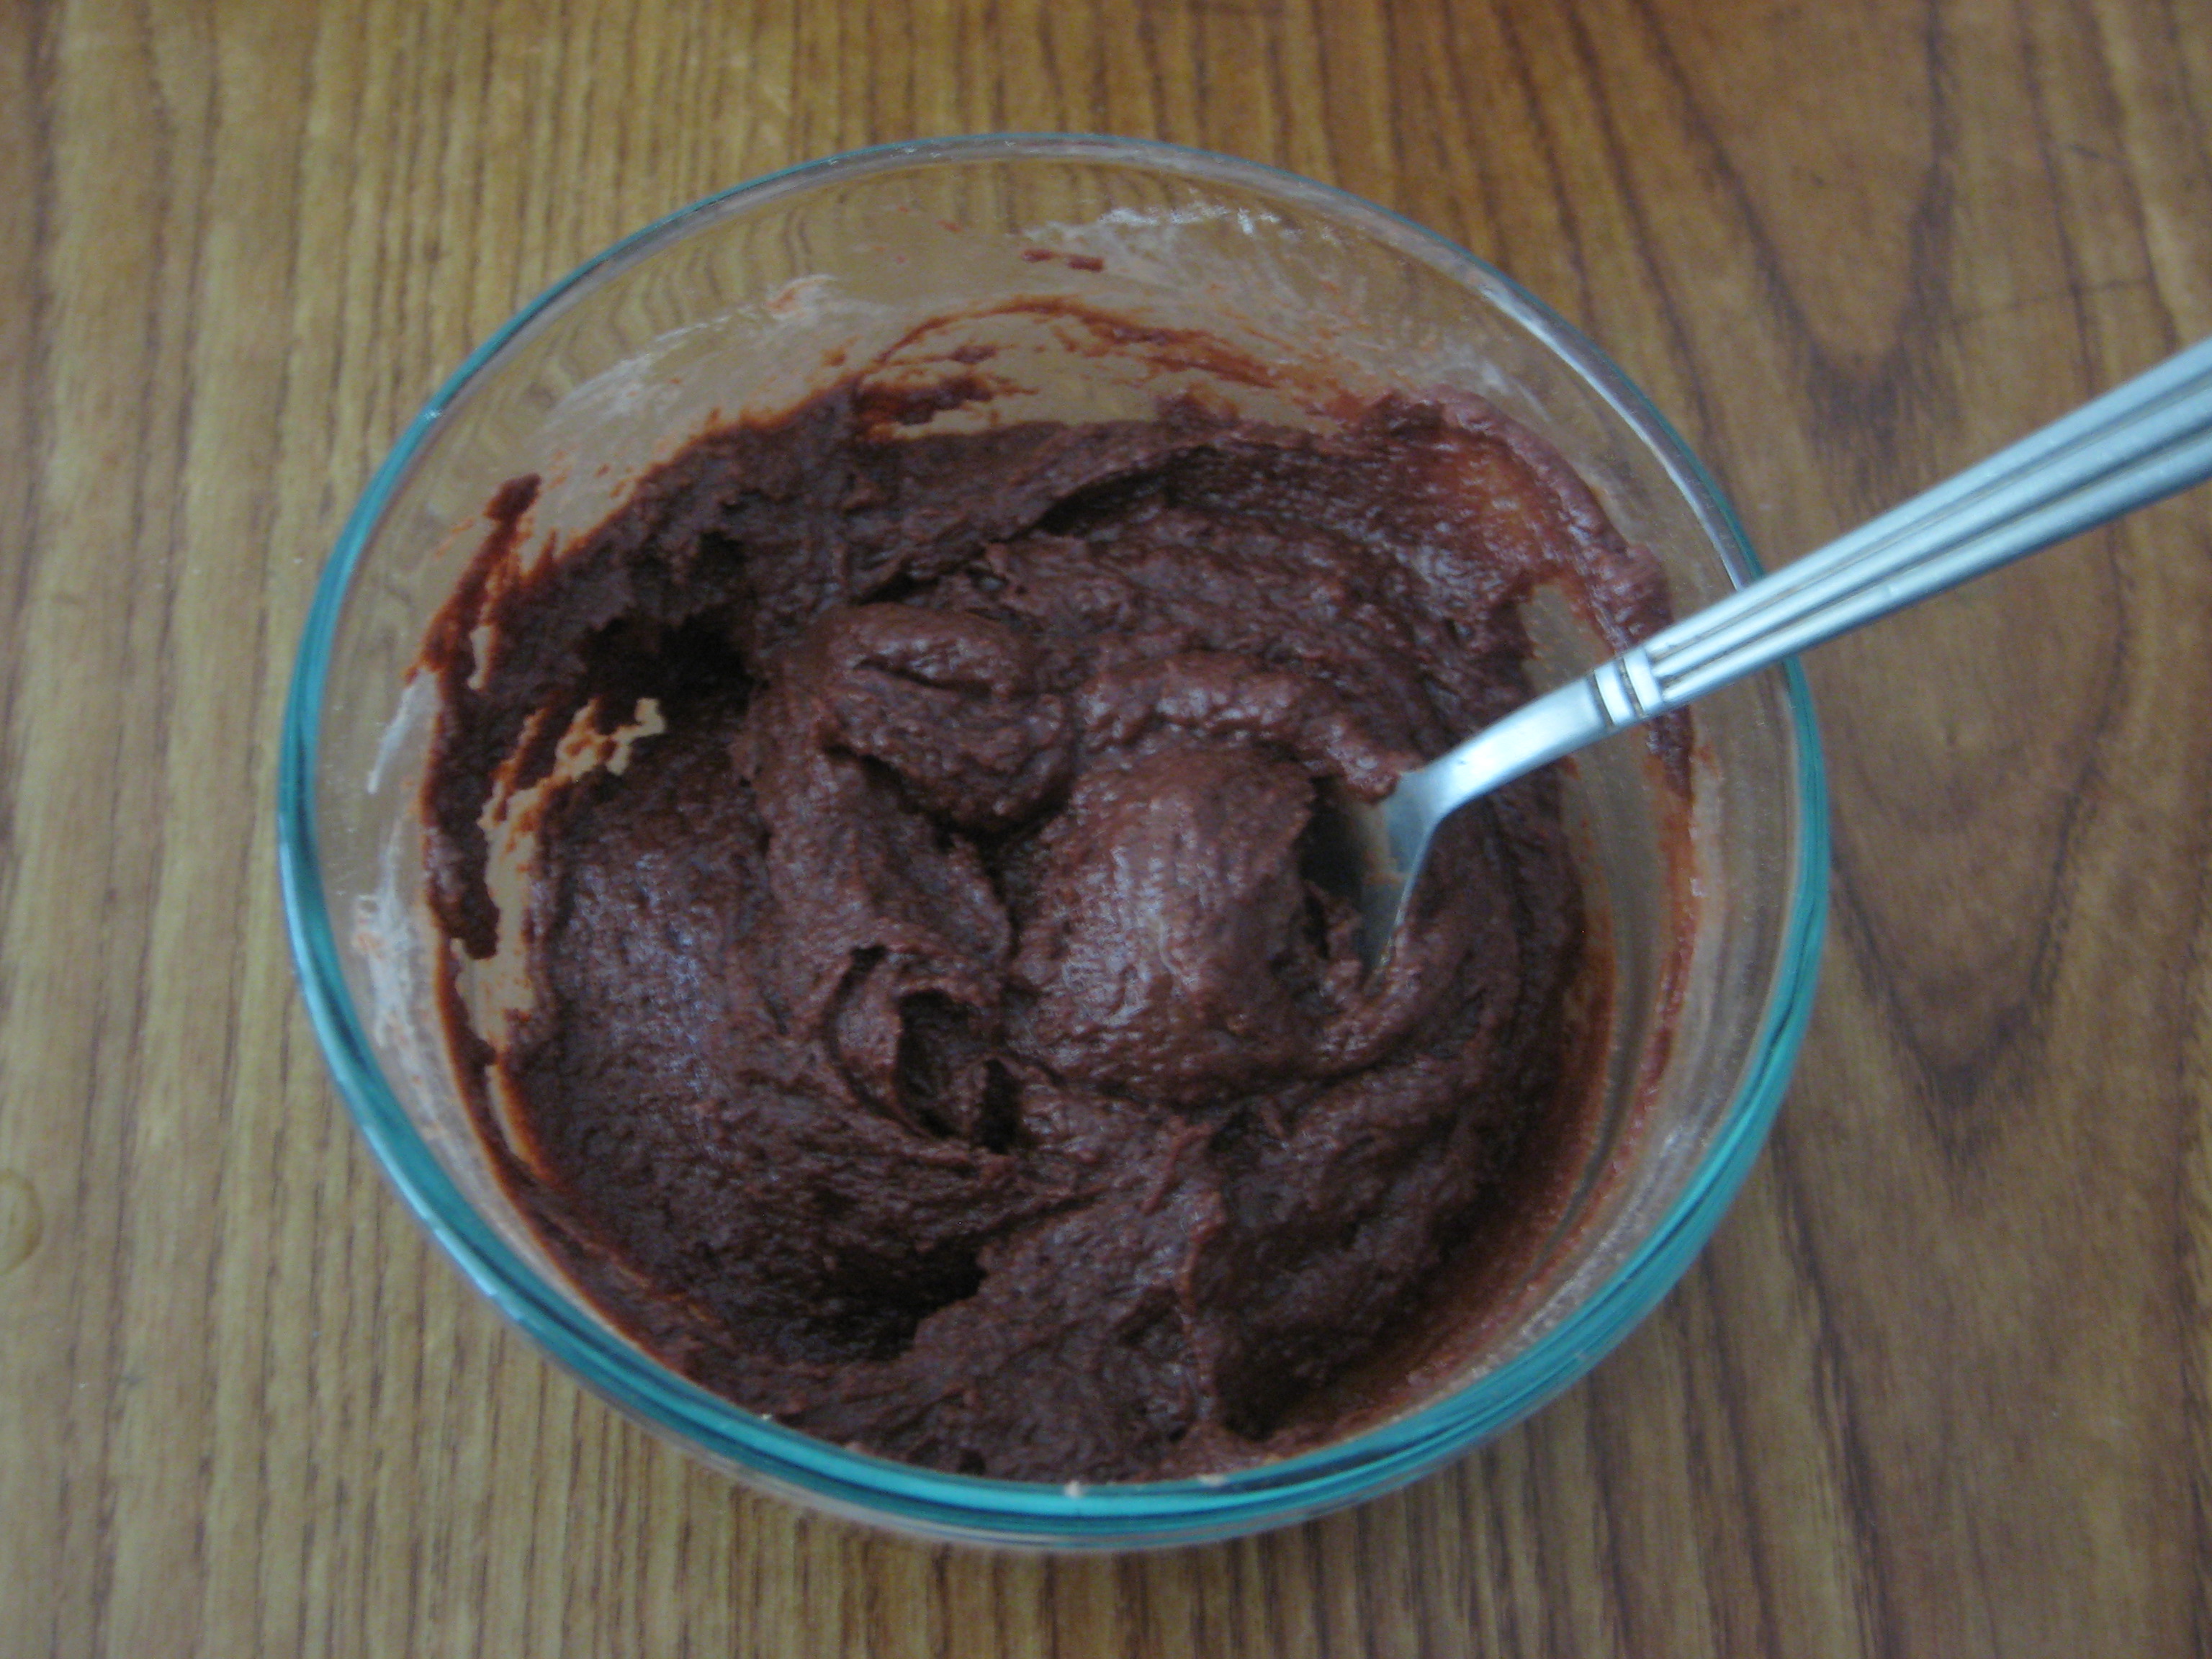
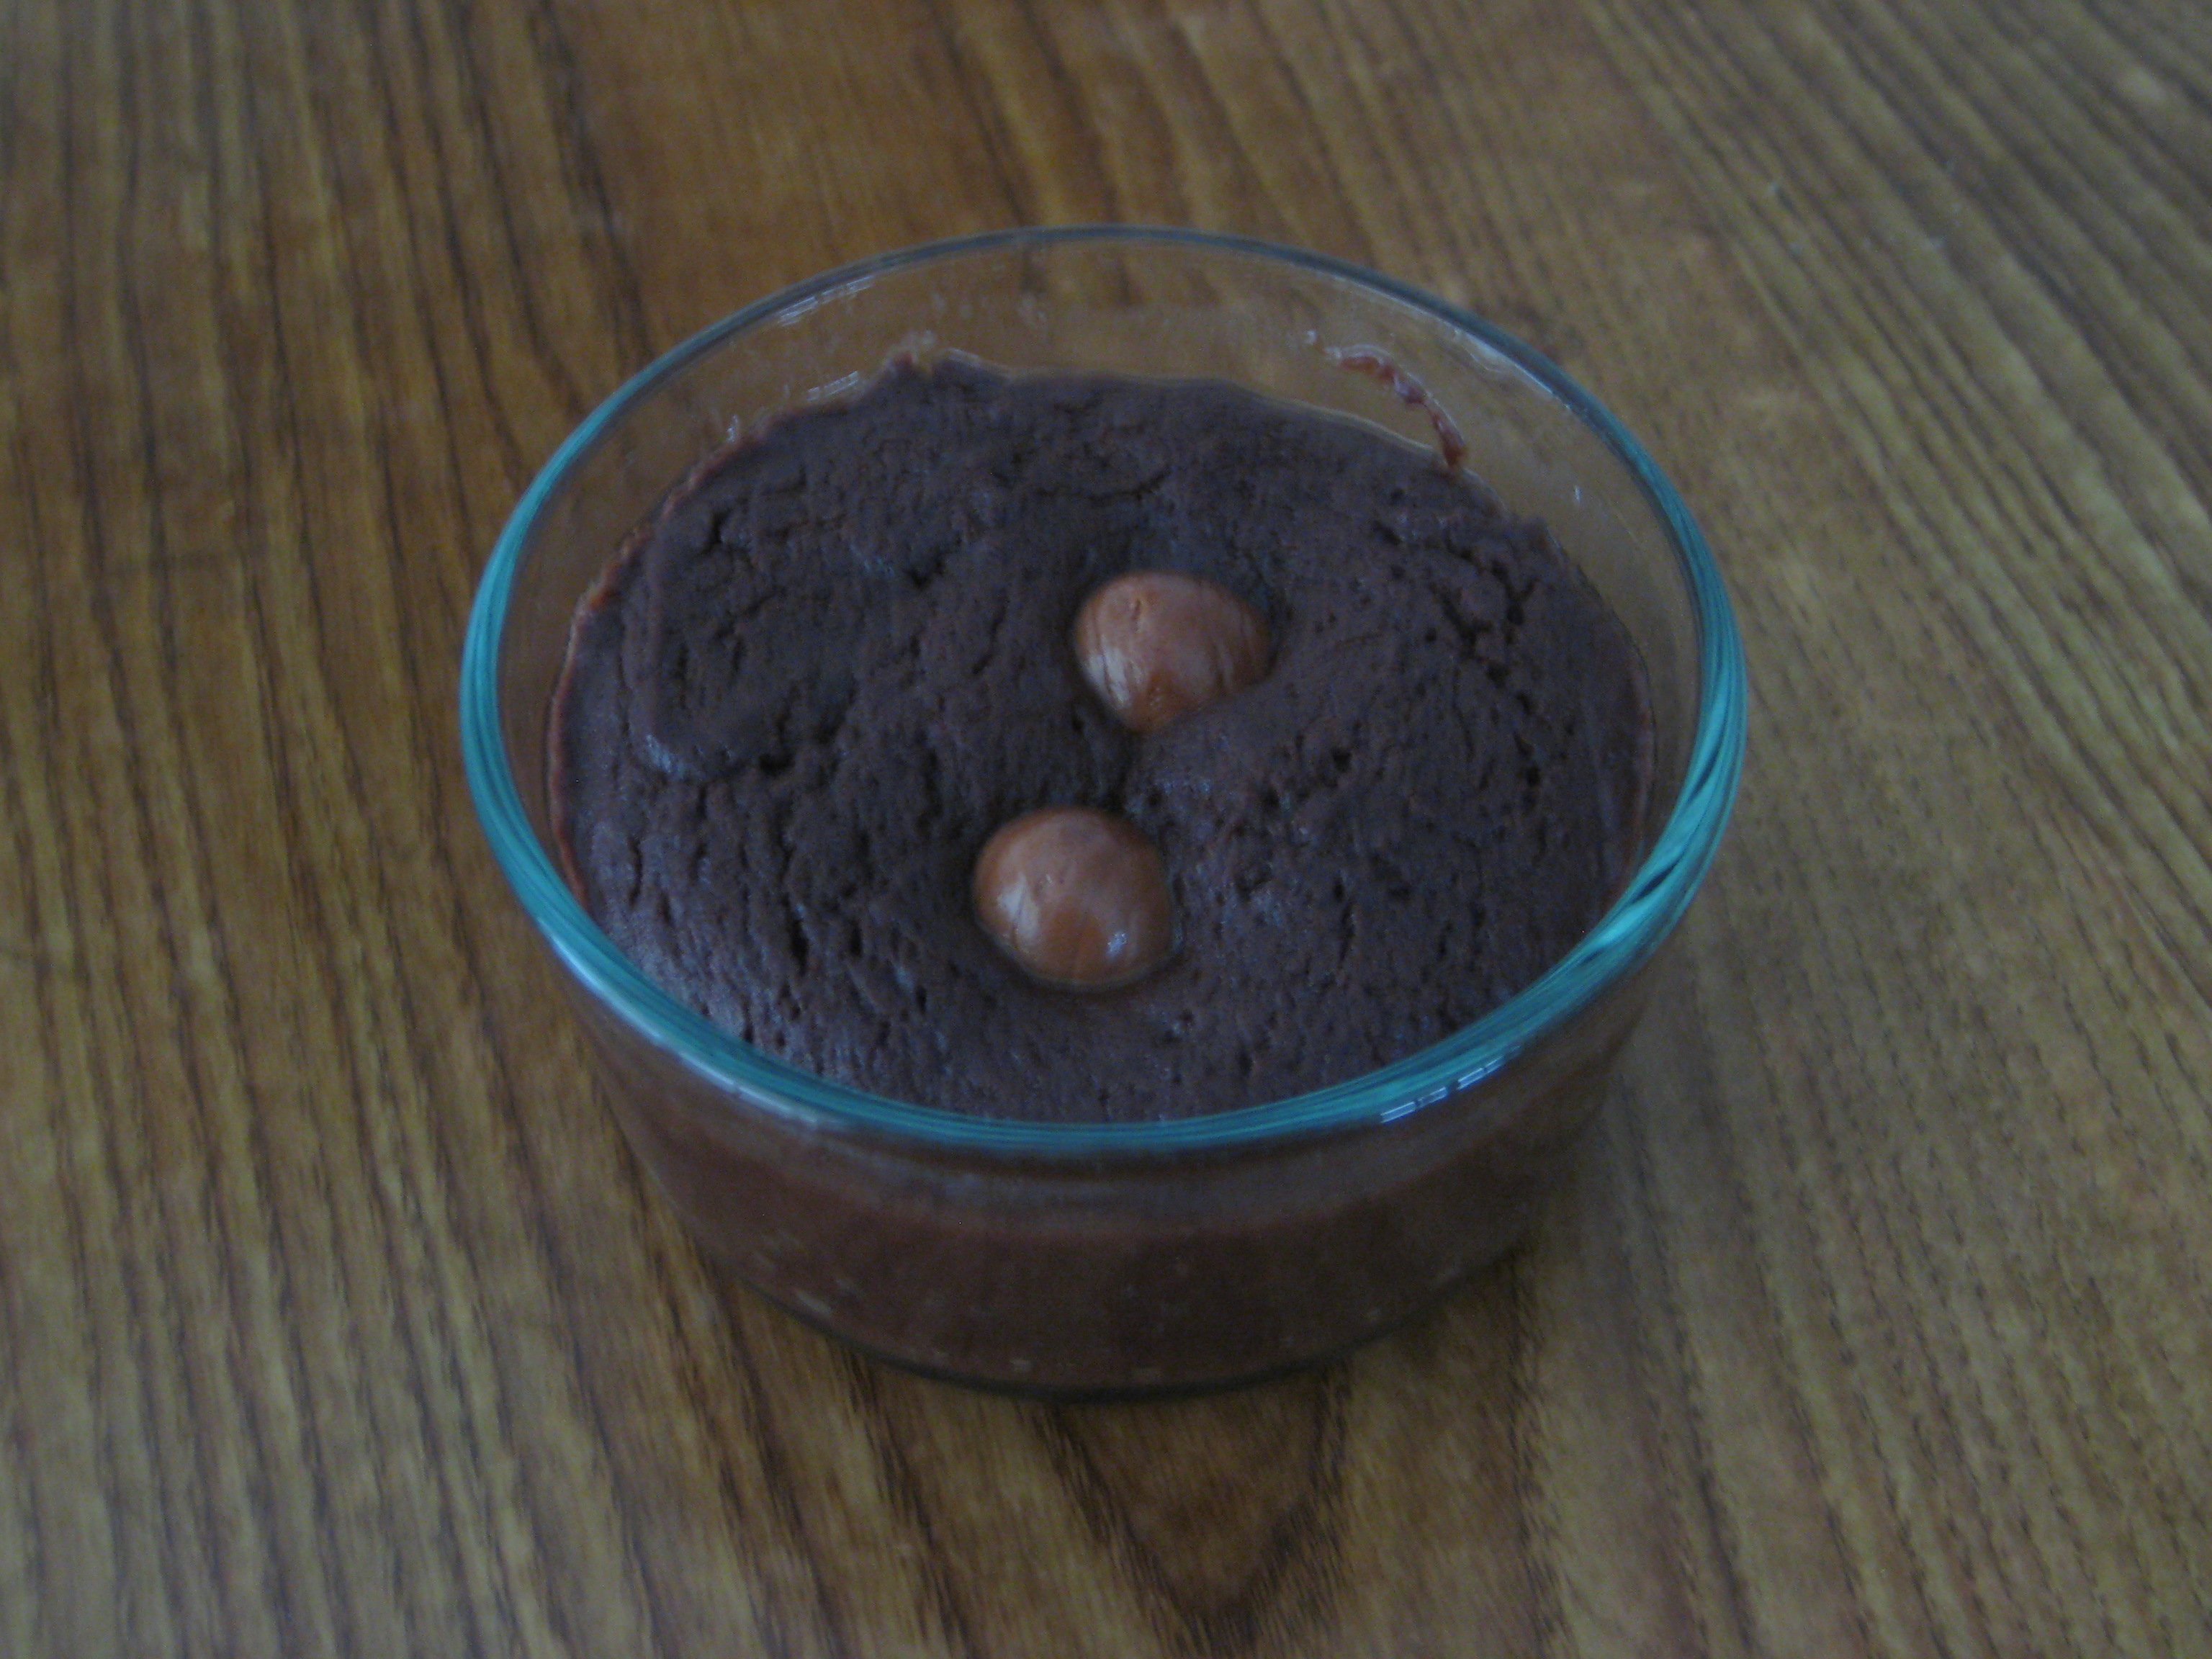
Step 4: When the mixture comes to a boil begin stirring rigorously until it thickens.

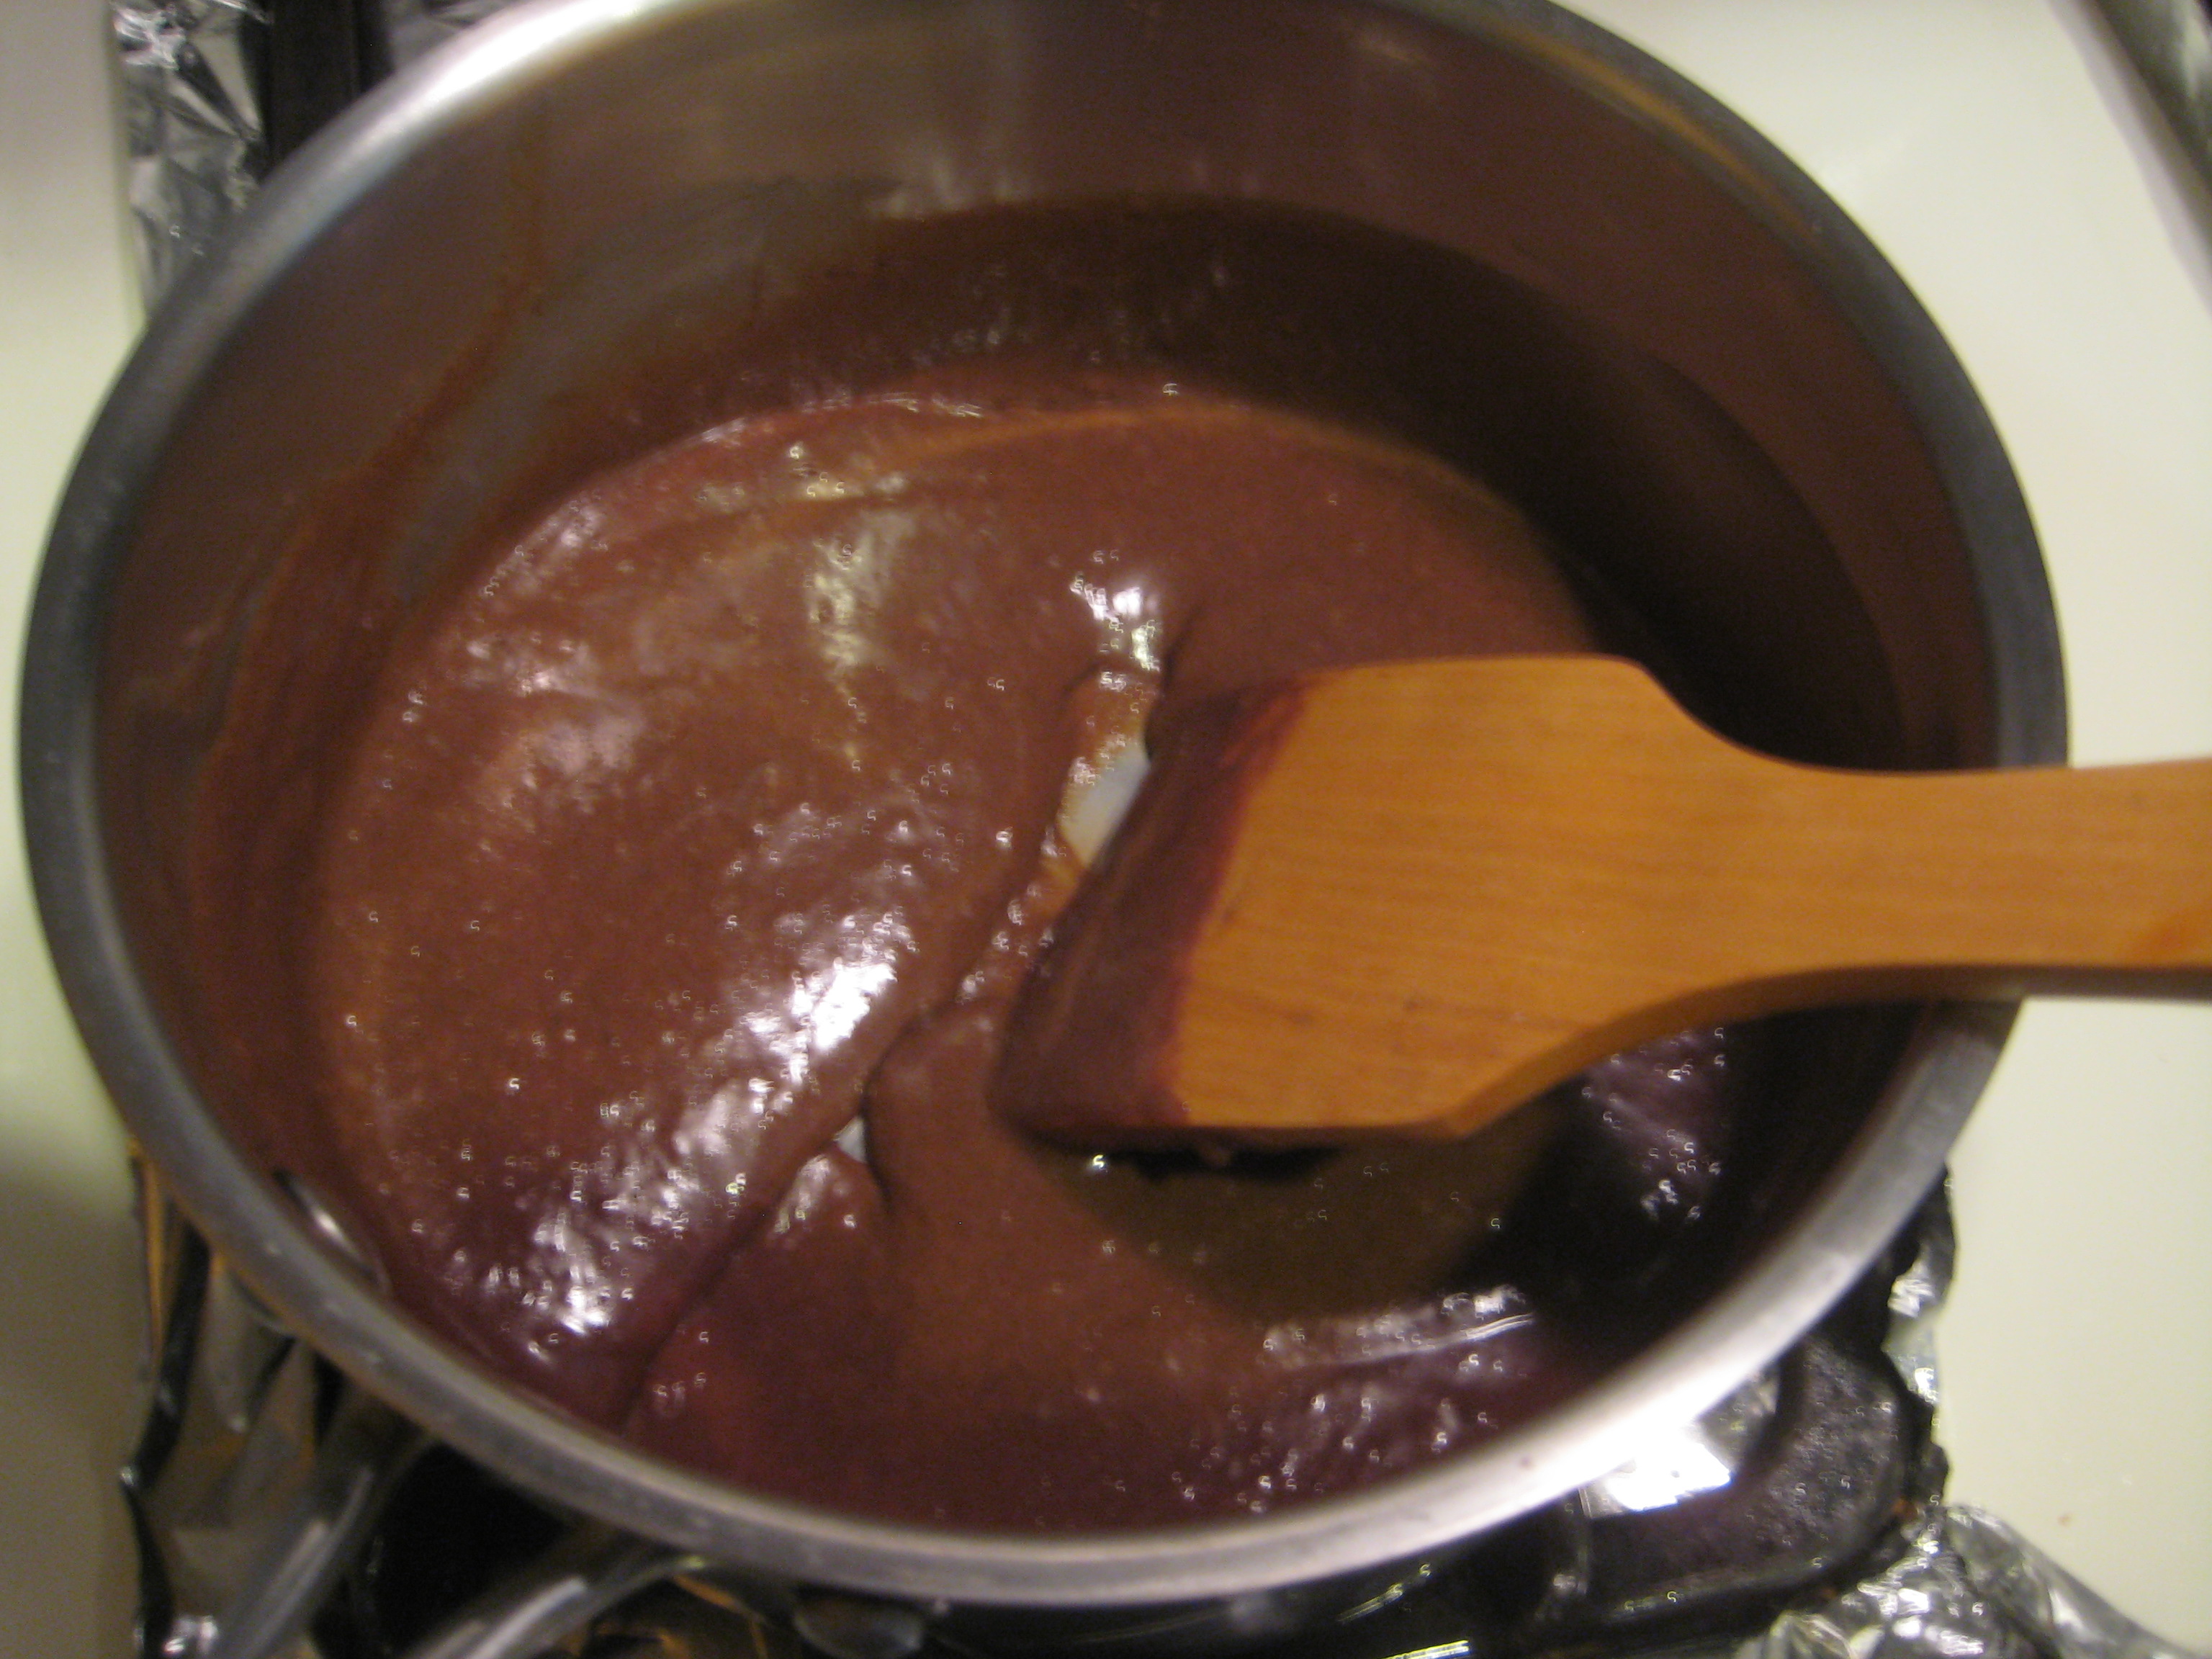
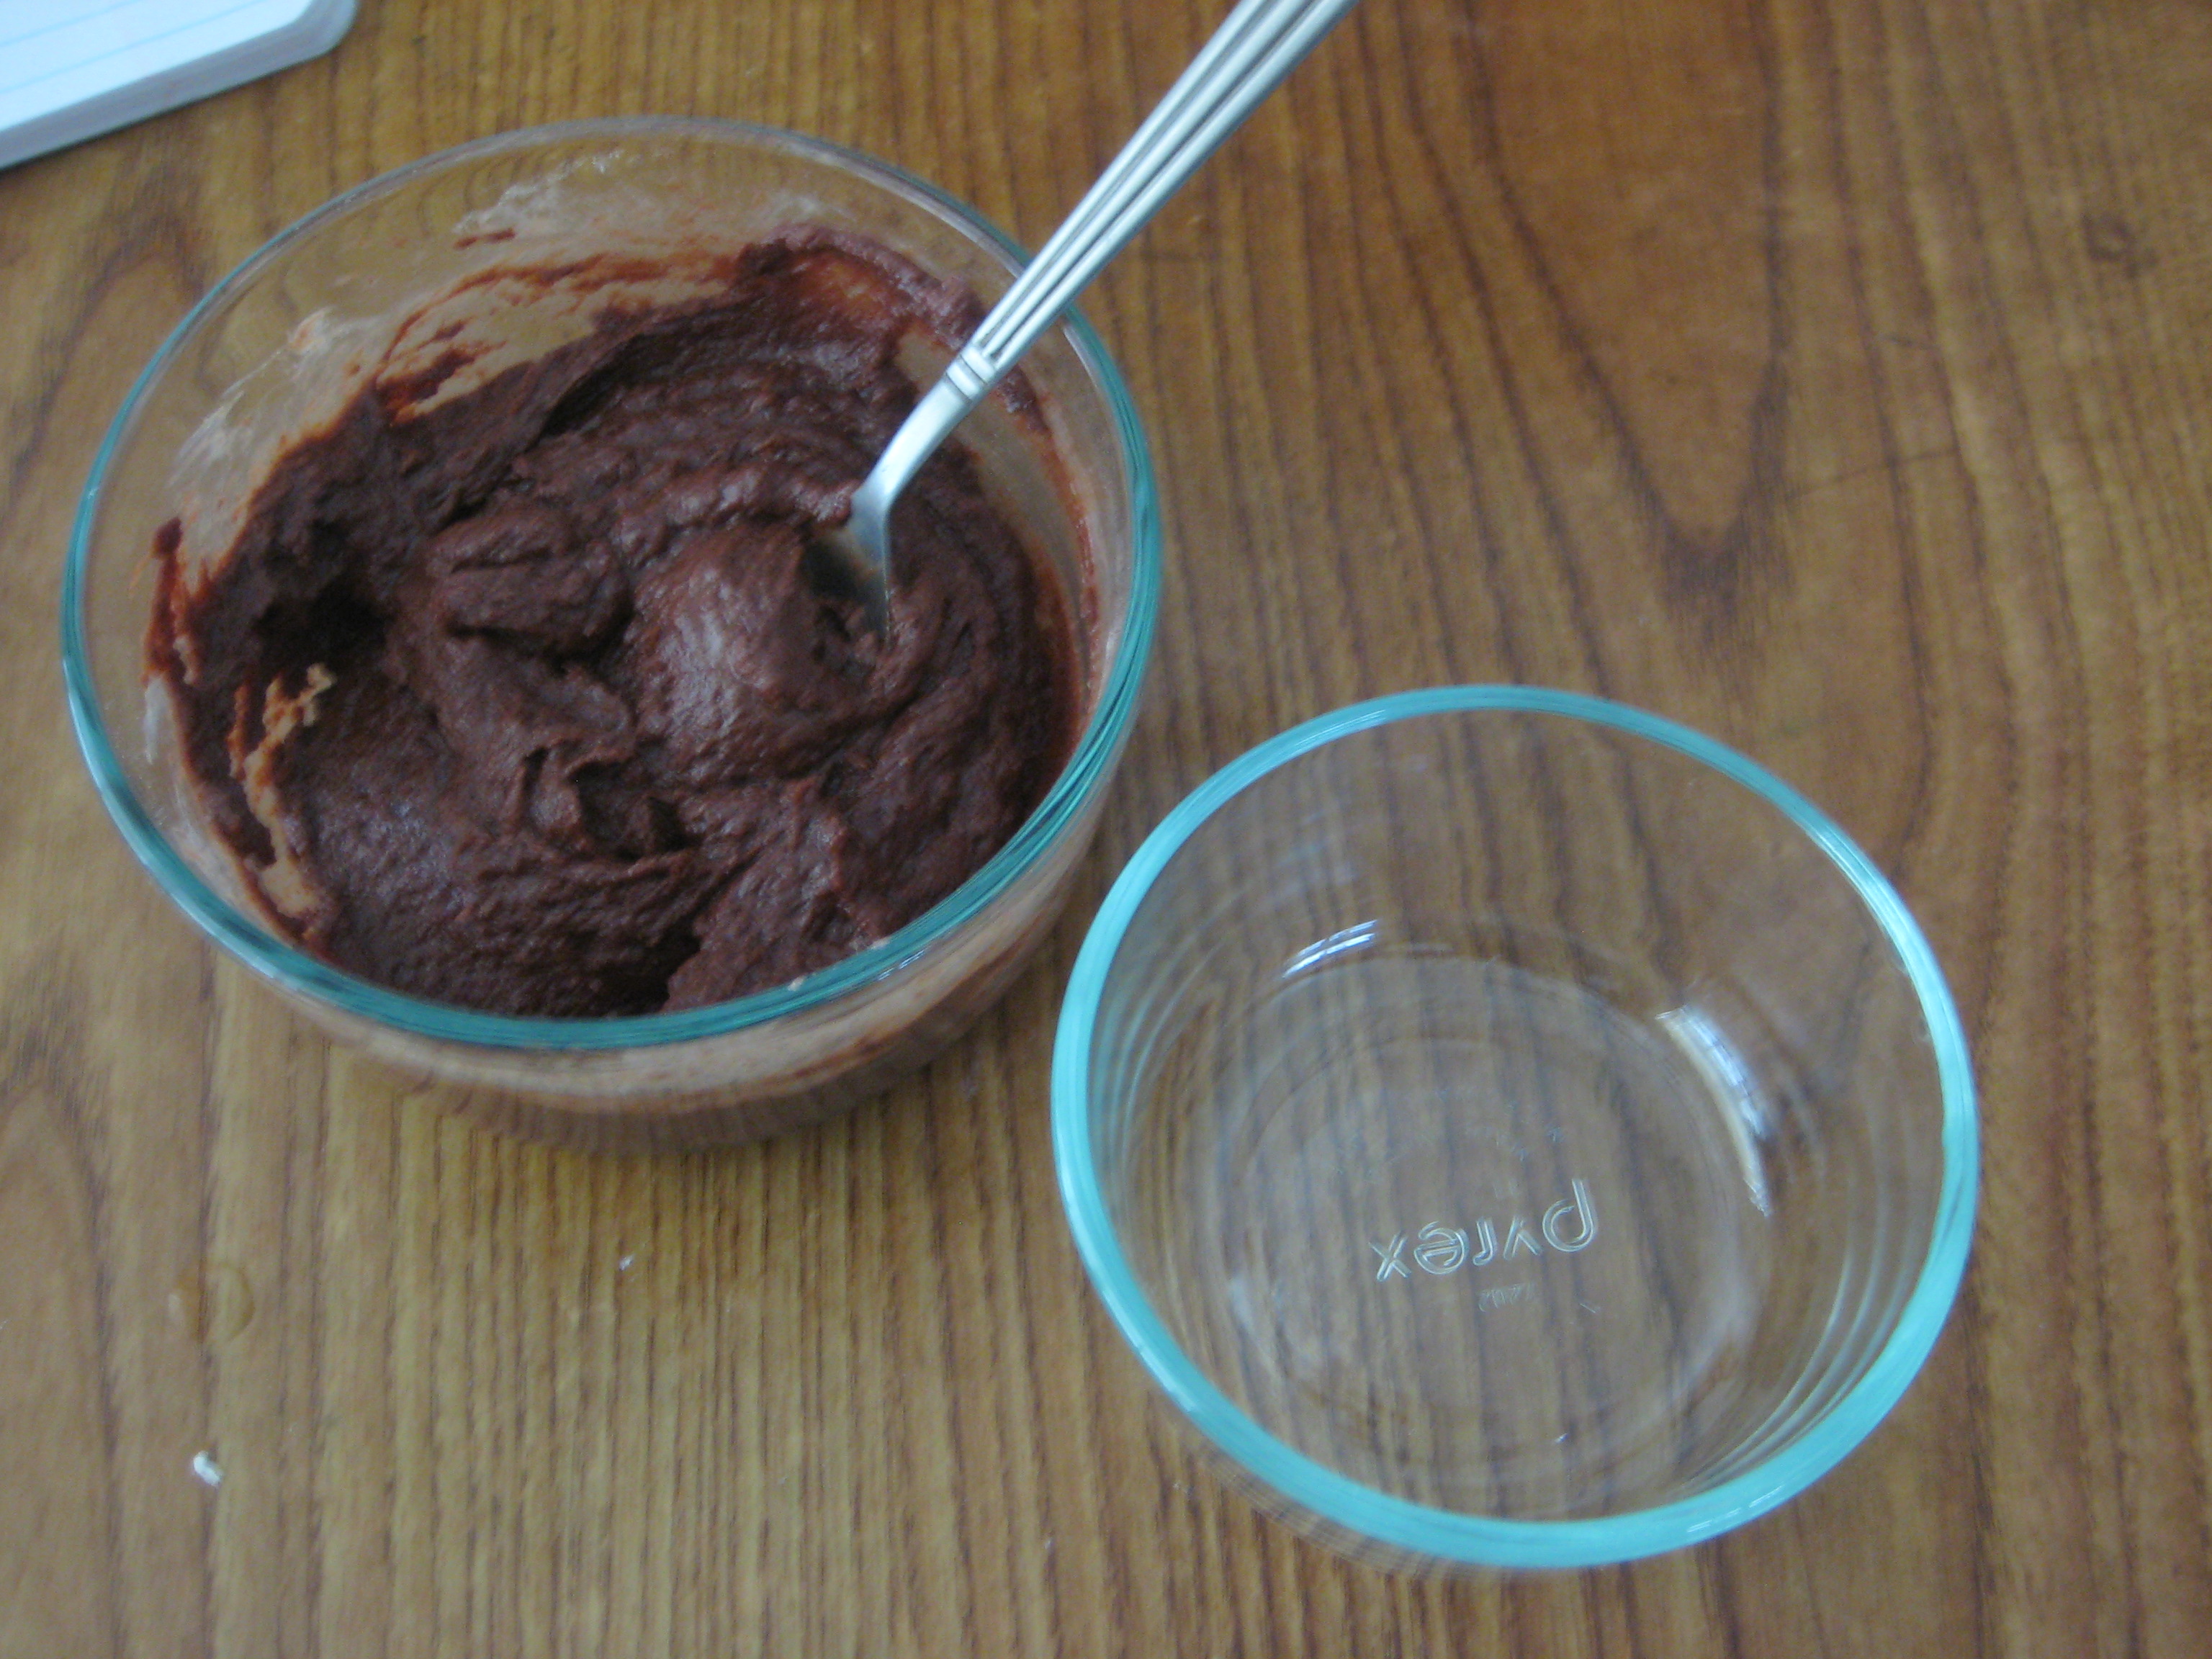
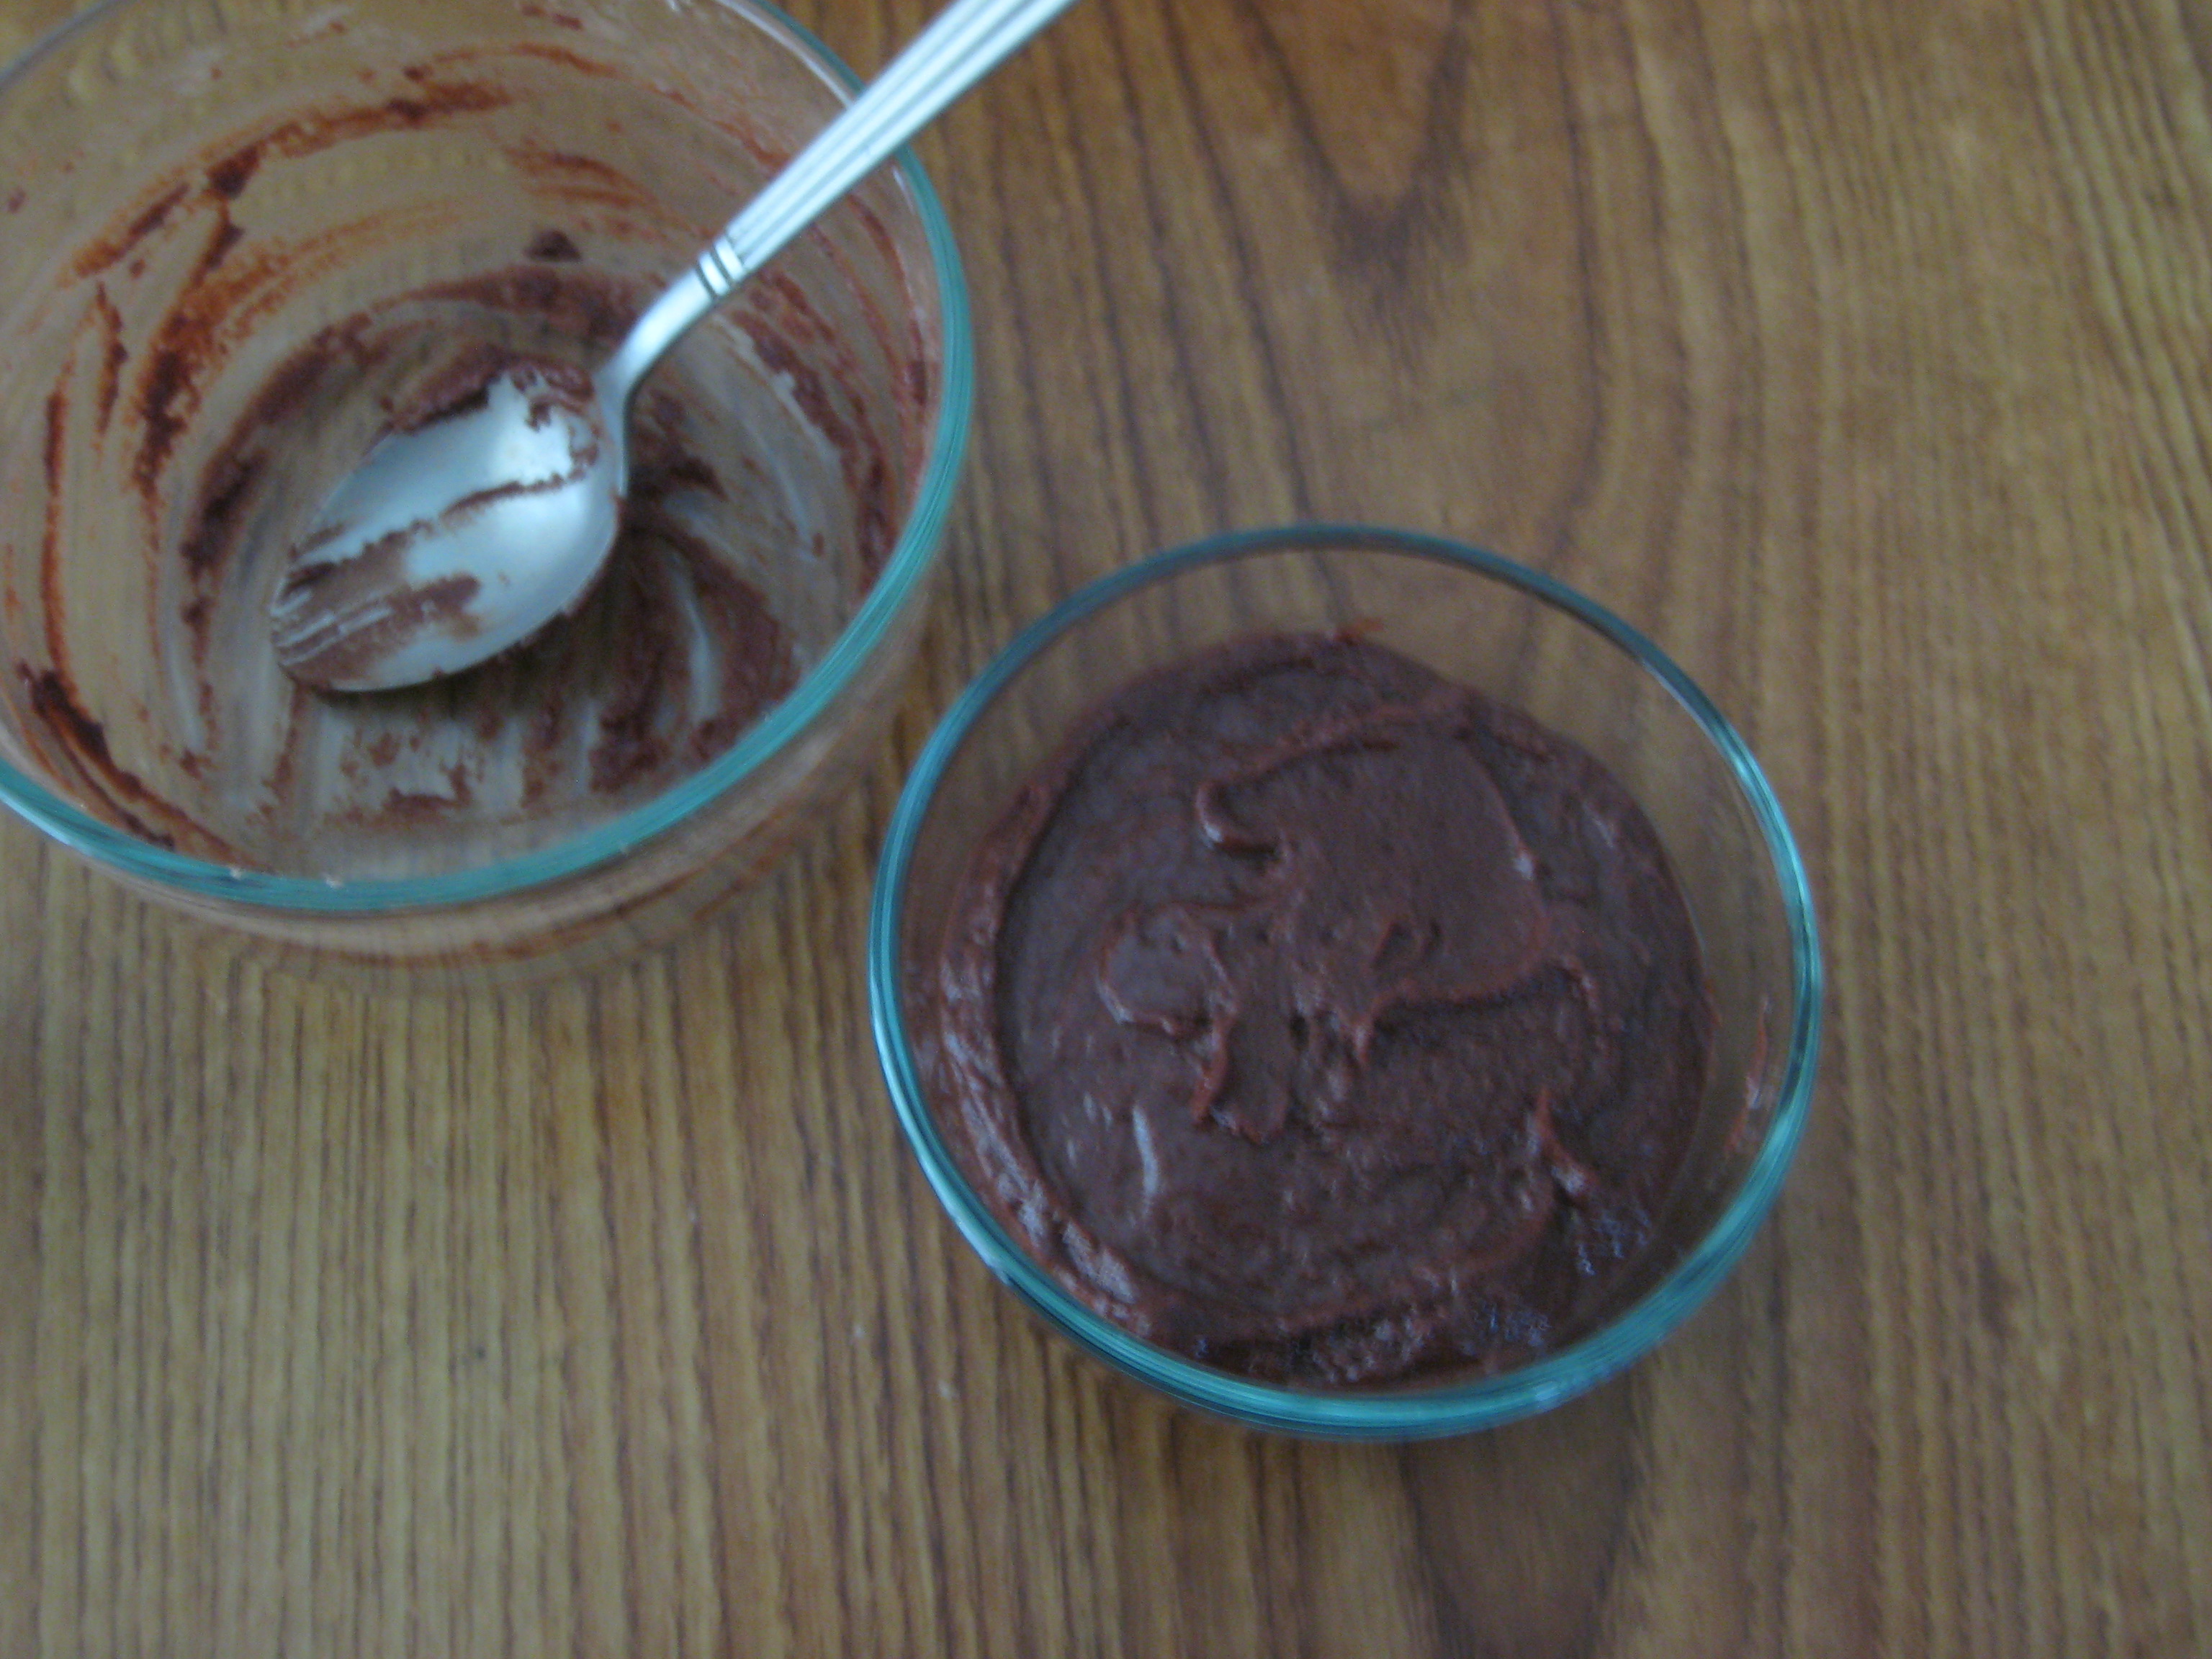
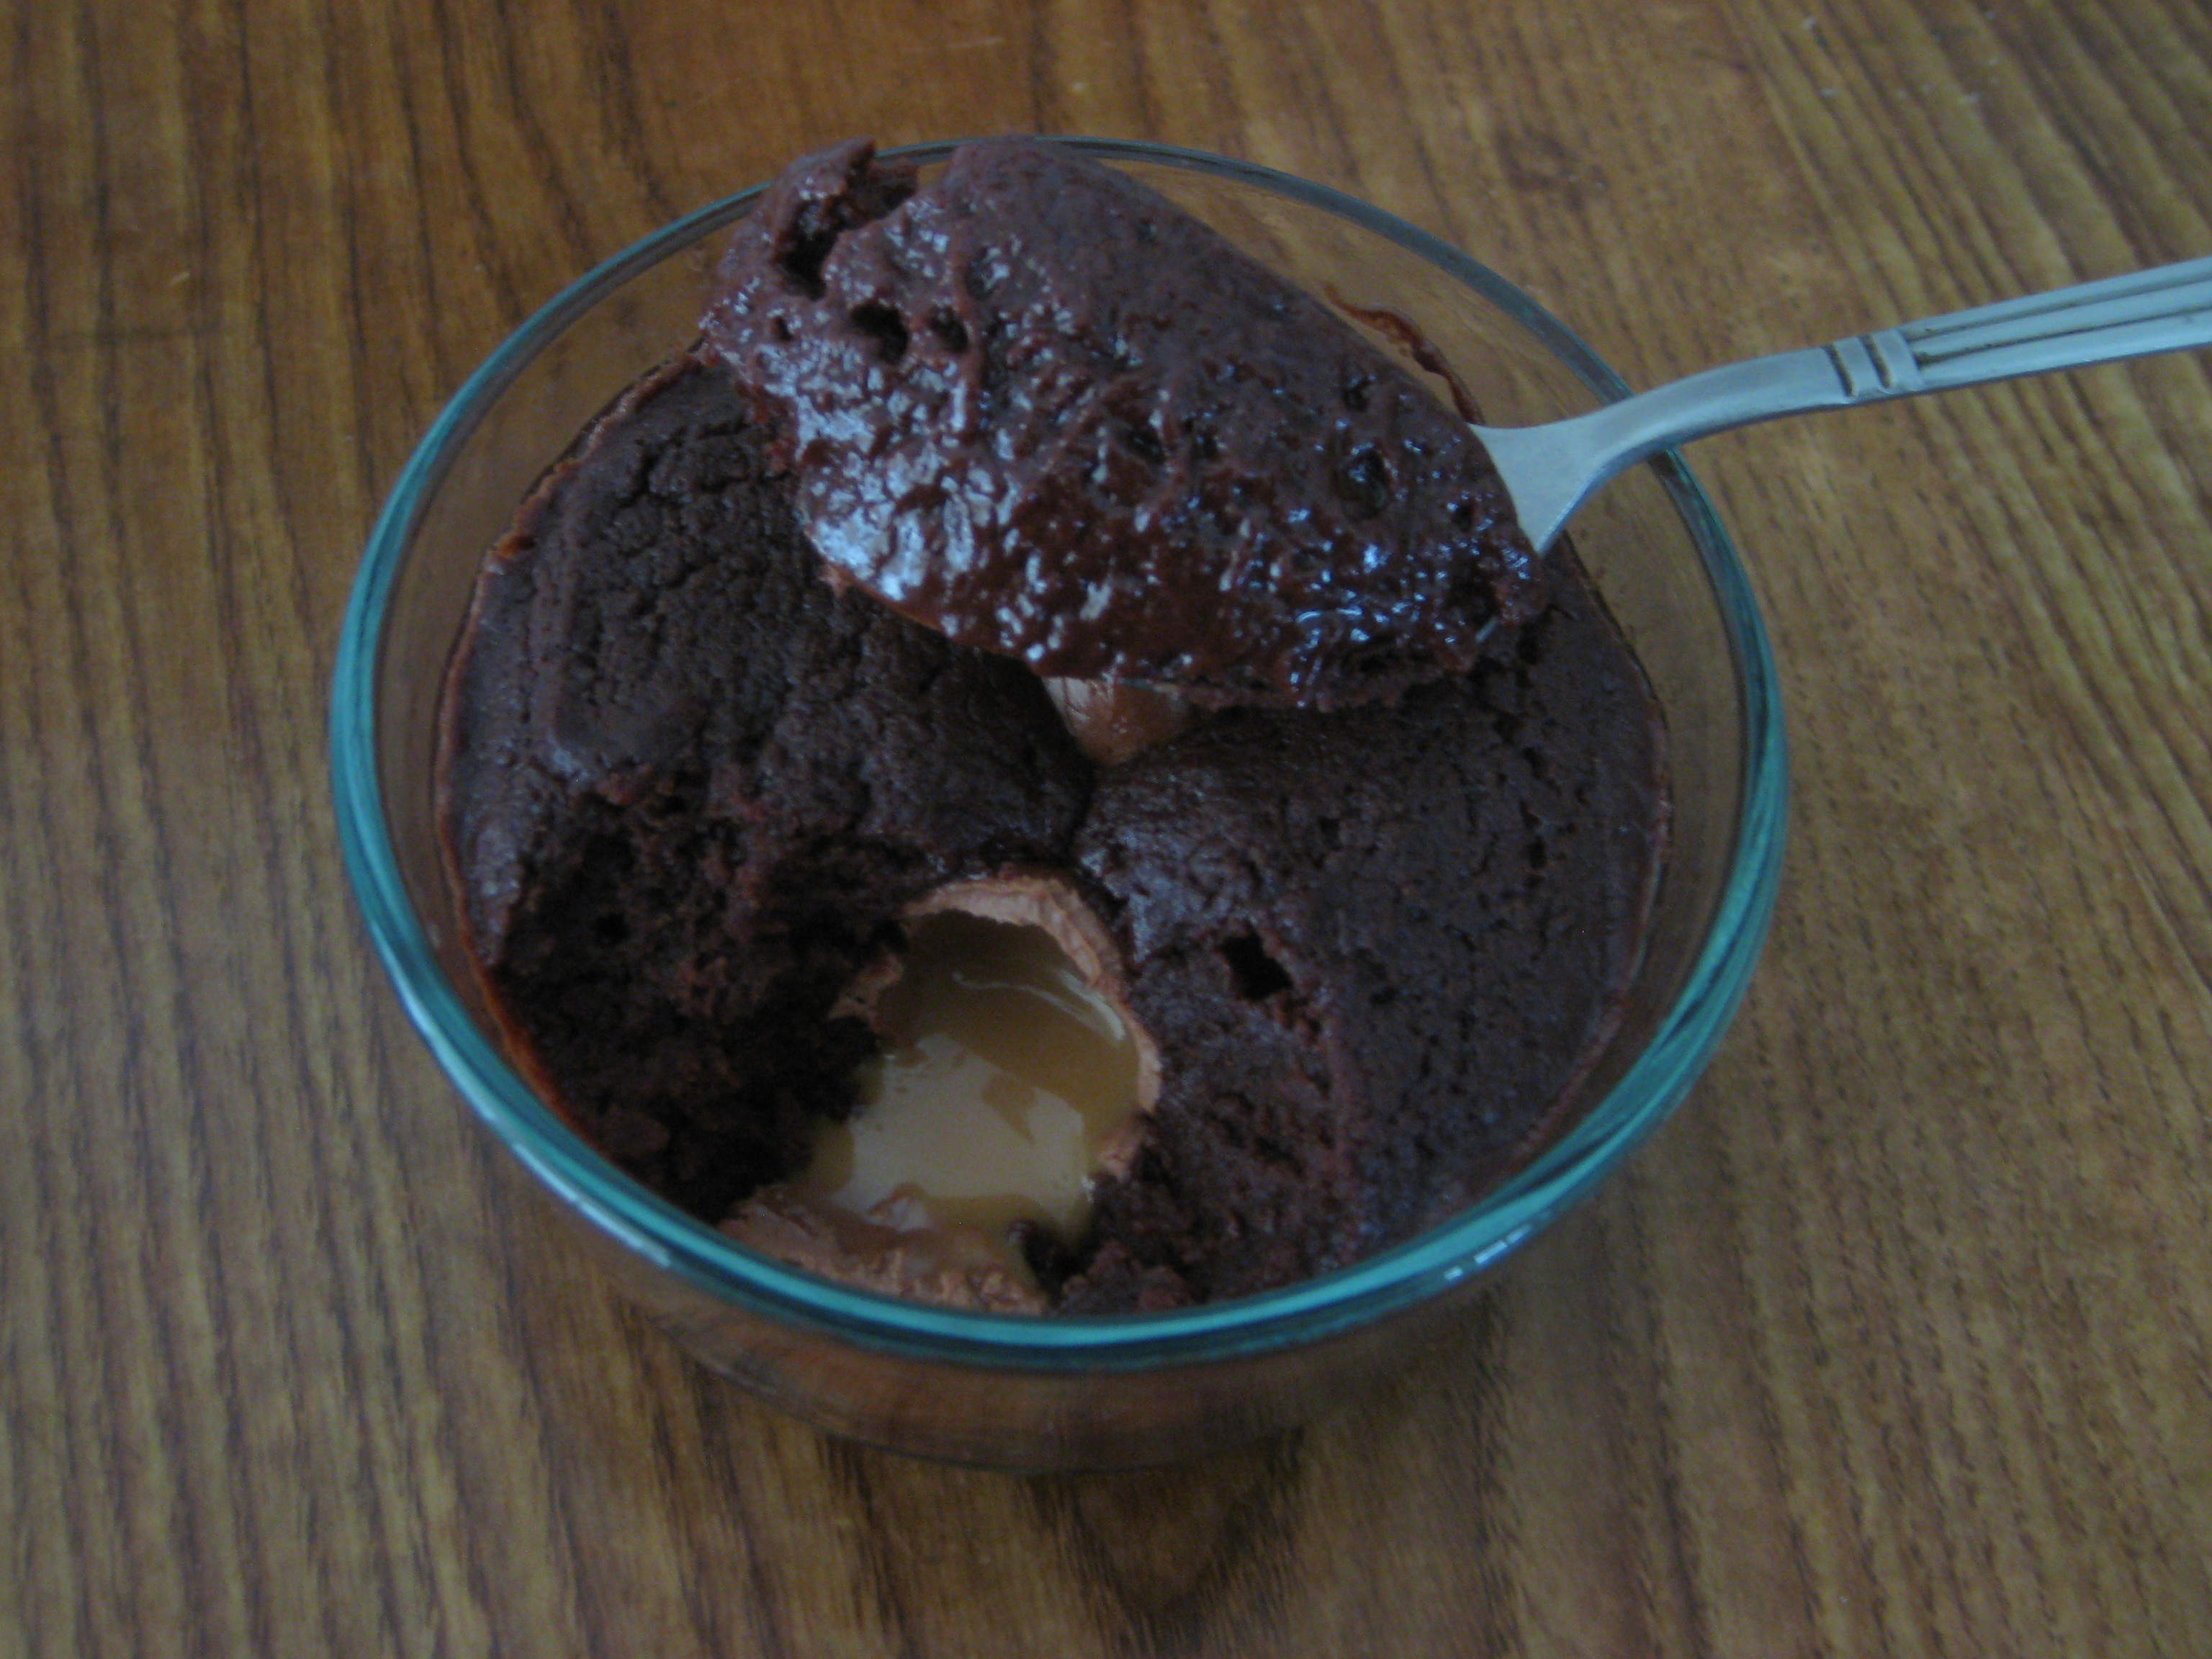
Step 5: Transfer thickened mixture into a heat-proof bowl and allow it to cool.

Step 6: Rub some of the extra butter into the palm of your hands.

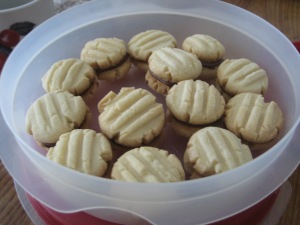
Step 7: Scoop out 1 tsp. of the Brigadeiro mixture and roll into balls.

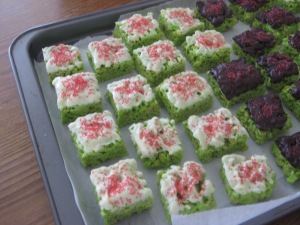
Step 8: Gently roll the Brigadeiro into a coating and then place them into mini cupcake liners.